
Viewing the right information in playlists in iTunes can be complicated, in part because iTunes defaults to a specific display when you create new playlists. In this week’s column, I answer a single question about choosing which columns of metadata display in Music playlists. And I also discuss some other nuances about playlist views, and present a few tricks to make changing what information playlists display easier and more efficient.
Playlist columns
Q: When I create a new playlist, it displays with a default set of columns, such as iCloud Download, Rating, and Genre. I would prefer that different columns display in my playlists, and I have to do this manually. Is there any way of changing the default columns that display in new playlists?
This is a great question, because it raises a number of issues around how iTunes manages and displays playlists.
When you create a new playlist in iTunes, it defaults to Playlist view. This view displays a number of columns, without headers, and you cannot change the information that iTunes shows you.
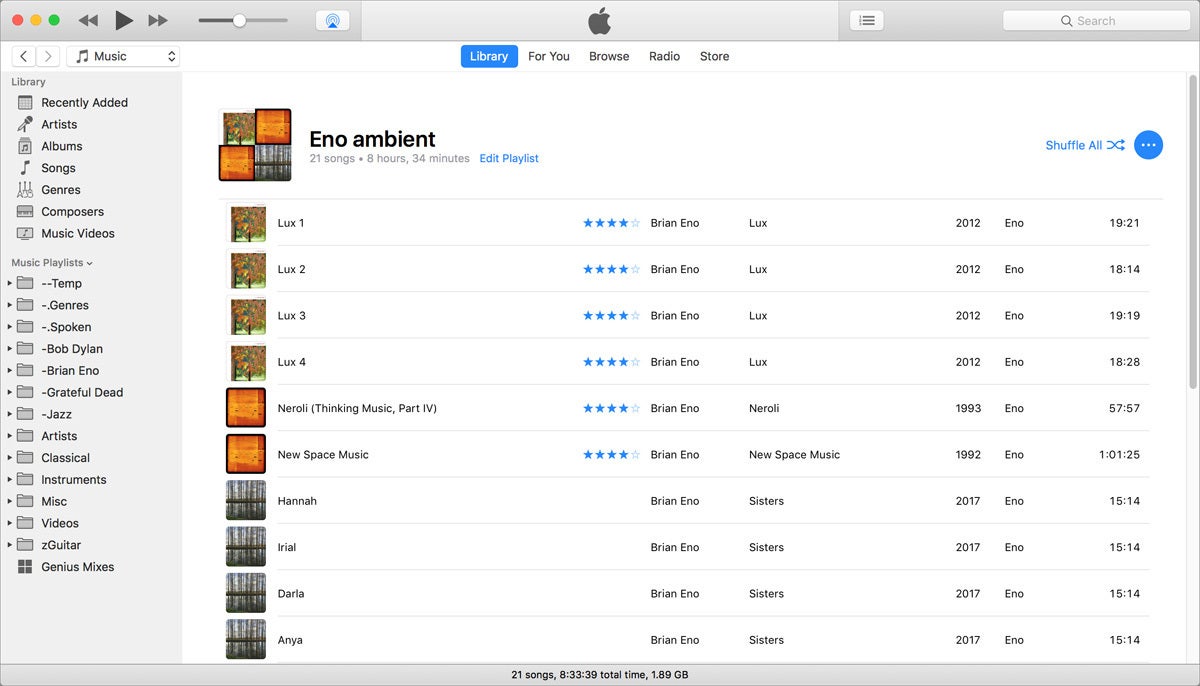 Kirk McElhearn/IDG
 You can’t change the metadata that displays in Playlists view.
All playlists in this view display exactly the same way. Not only can you not change the columns, but you can’t choose to not display artwork. That artwork takes up extra vertical space if your playlist contains albums, since each track displays an artwork thumbnail. In this view, there’s nothing you can do about it.
You can get a lot more control of what iTunes shows you by changing the display to Songs view, from the View > View As menu. Songs view looks like this:
 Kirk McElhearn/IDG
 Songs view is more flexible.
With Songs view, you can decide which columns display by choosing View > Show View Options. The View Options palette lets you toggle on or off dozens of columns—each of which displays an item of metadata from your files—and also lets you choose to display album artwork or not, or change its size.
 Kirk McElhearn/IDG
 In Songs view, the View Options window lets you control how iTunes displays your metadata.
As I said above, when you create a new playlist, it displays in Playlist view, but after you add something to that playlist, you can choose View > View As > Songs to get the columnar view, then adjust these columns. The default columns that display when you switch to this view reflect the columns in your main Music library, when it’s in Songs view (select Music from the Media Picker menu above the sidebar, then click Songs in the Library section of the sidebar). So if you want all your new playlists to show certain columns, change the columns in Songs view for your Music library.
If you find that you often create playlists then switch from Playlist to Songs view, you might want to create keyboard shortcuts for the two views to save time. This is a bit complicated, because the Playlist and Songs choices are in sub-menus, and iTunes also has the same menu items in other sub-menus. Doug Adams has written an article explaining how to set up these keyboard shortcuts.
But what if you already have a number of playlists, and you want to change the columns they display in Songs view? You could do this manually, but this can take a long time. Doug Adams’ Assimilate View Options AppleScript helps you. You select a playlist (normal or smart) and run the AppleScript. It creates a new playlist using the columns in your Music library’s Songs view, copies all the tracks from the selected playlist to the new one, then deletes the original.
You may want to have a number of playlists with different columns. Perhaps you need to know the BPM of certain tracks, so some playlists show this column. Or you may want to see the play count and last played date in some playlists. Or you may want some playlists where album artwork displays, and others where it’s not visible. You can manually change the columns in any playlist in Songs view, as I explained above, but you can also create a number of templates.
Create a playlist folder (File > New > Playlist Folder), then create a new playlist in that folder (File > New > Playlist, or Command-N). Add at least one item to it—a placeholder track that you’ll delete later—then switch to Songs view (View > View As > Songs). Next, show and hide the columns you want to see.
When you want to create another new playlist with these same columns displayed, you can duplicate that playlist (right-click on the playlist and choose Duplicate), and the new playlist will show the same columns. Add some tracks to the playlist, then delete the placeholder track you had added in the template. Make sure to change the name of the duplicated playlist to match what you want.
You could make a few different templates, or even dozens, matching the types of playlists you like to use. And when you need a new playlist with specific columns visible, you can just make a copy of one of your templates, than add music to it.
Have questions of your own for the iTunes Guy? Send them along for his consideration.
Author: Kirk McElhearn, Contributor

Kirk McElhearn (@mcelhearn) writes about Macs, music and more on his blog Kirkville. He also runs Kirk's iTunes Forum, where users can discuss iTunes, iOS devices, music, and more.