In photography terms, snapping a photo of the moment the moon drifts in front of the sun is as easy as snapping any other fleeting event. In future-blindness terms, though, it is quite different.
Staring into the nuclear furnace that is our nearest star won’t only fry your own eyes, it could also finish off your camera’s sensor. With a few simple precautions, though, you can not only view the eclipse safely through your iPhone’s lens, but take some great photos.
This post contains affiliate links. Cult of Mac may earn a commission when you use our links to buy items.
There are two problems when it comes to photographing the sun directly.
- It’s really, really, bright.
- It’s really, really, far away.
With the right gear, and the right technique, you can overcome both of these.
Protect your eyes — and your iPhone — from the sun
The most important part of all this is to protect your eyes. I hear there are eclipse glasses that offer near-blackout lenses, like a welder’s mask. Those would be a good start, but be sure that they also block UV light, or your pupils will open up to welcome the now-dim visible light, while also opening the ocular floodgates for an unfiltered torrent of UV radiation.
Those blackout lenses can be a useful photographic aid, too. Just hold them — or tape them — over the front of your phone’s lens and enjoy a massive reduction in the amount of light hitting the sensor.
Cutting the light like this puts the scene into a range that your iPhone’s camera is more comfortable with: It’s not designed to shoot ultra-bright scenes, after all.
Light reduction
Why do you need a filter to reduce the amount of light? Doesn’t a camera do this automatically? Yes, but a camera has two ways to reduce the light hitting the sensor.
One is to make the aperture — the adjustable hole in the lens — smaller. The other is to open the shutter for less time.
Those work great in most situations (allowing you to take great nighttime shots), but the sun is just too much to handle.

Photo: Cult of Mac
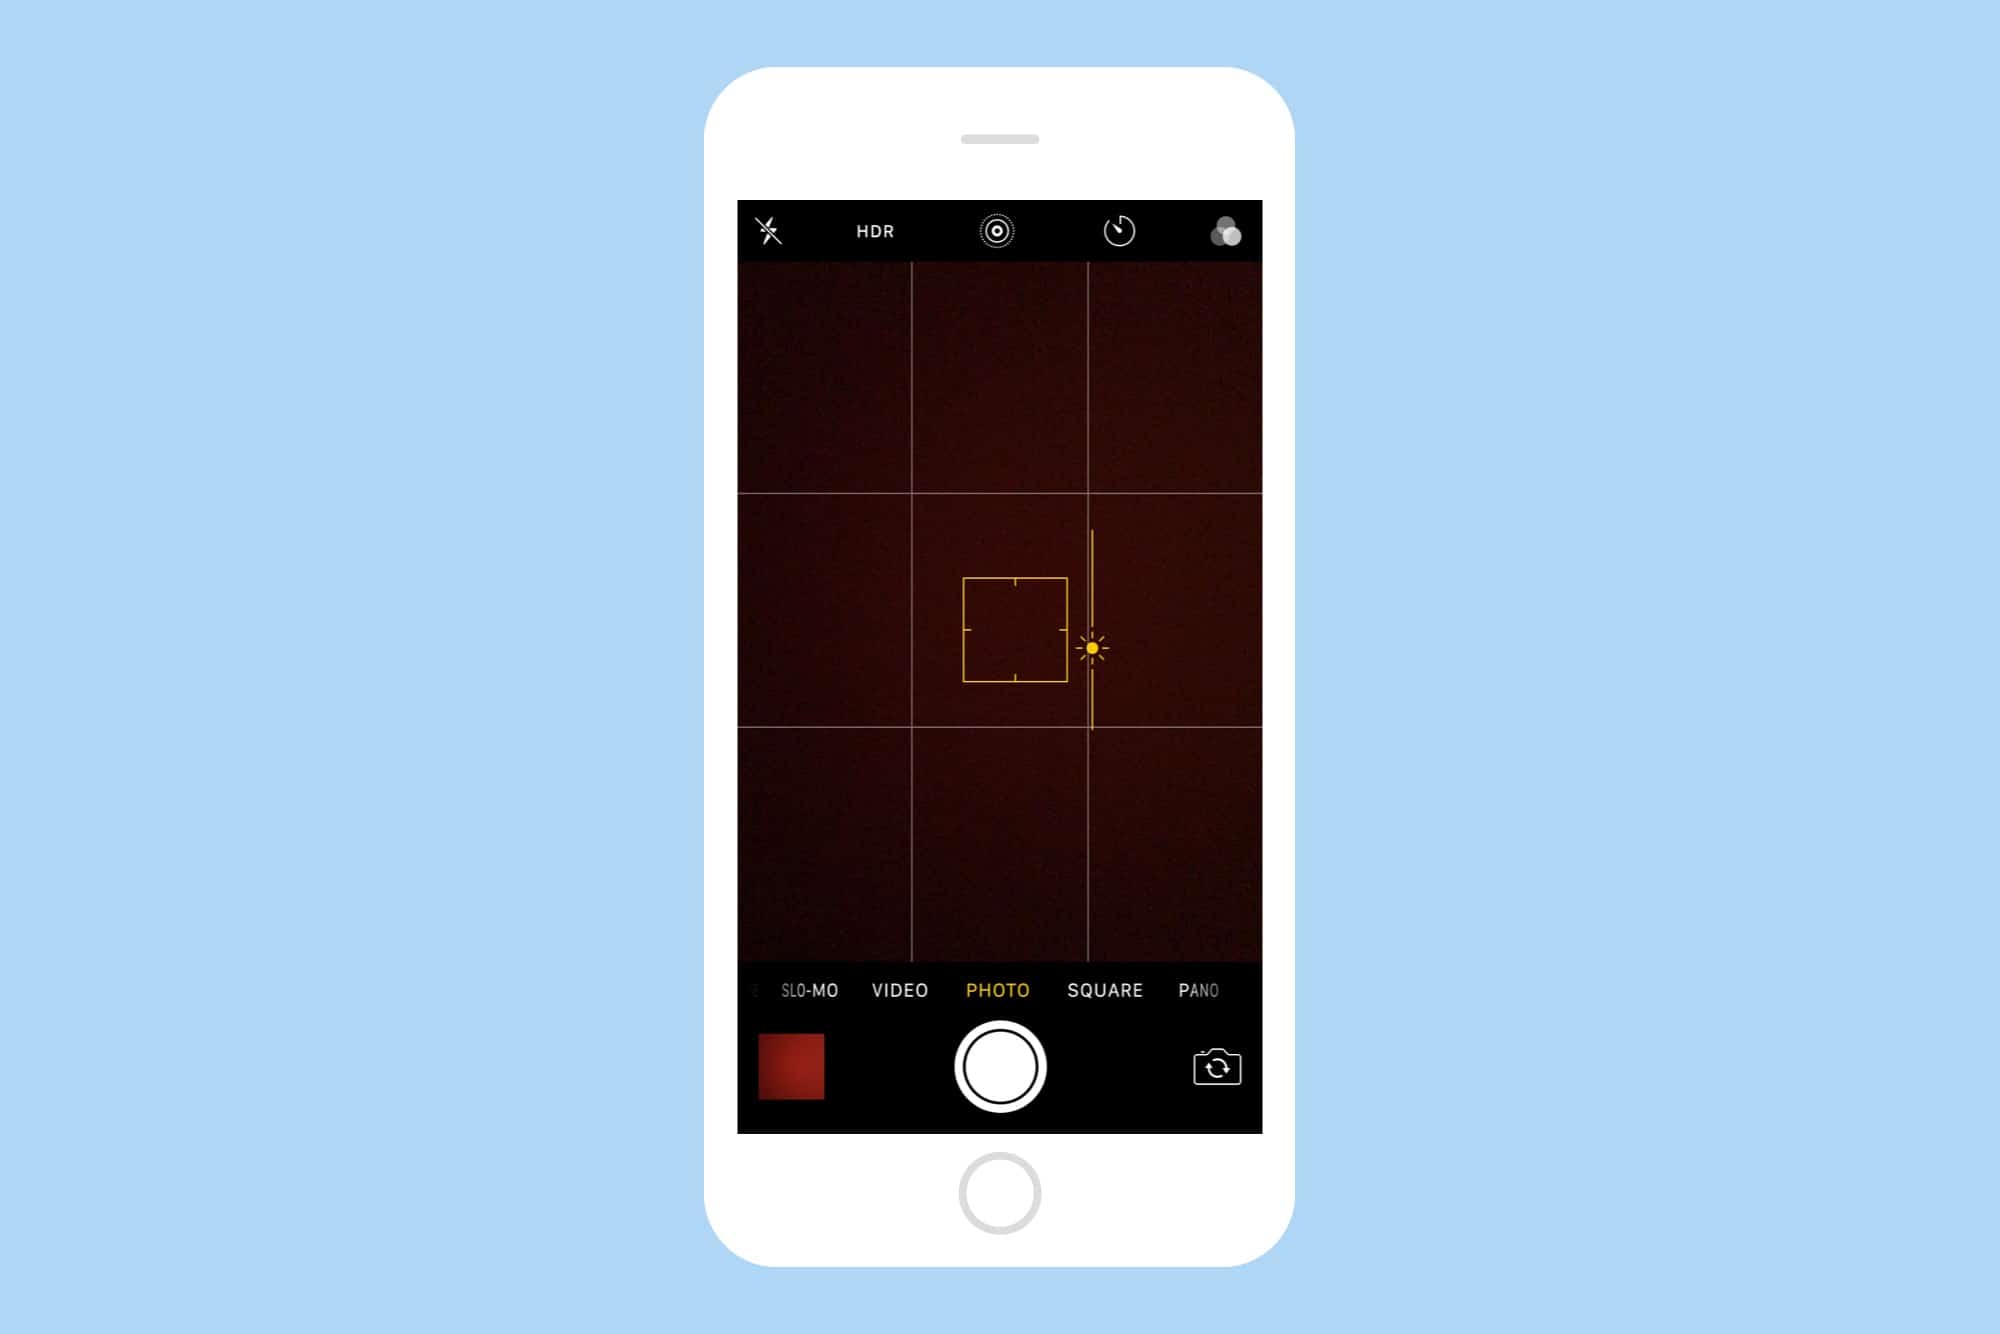
You can test it right now. If the sun is shining, point your iPhone camera at it, and use the exposure adjustment to darken it as much as you can. This is done by tapping the screen, then dragging the little manual adjuster that appears all the way down.
You’ll see that the sun is still pretty bright. Putting a dark filter — like a pair of eclipse glasses — in front of the lens will reduce that glare.
Protecting your iPhone from the solar eclipse
While taking photos of the sun won’t hurt your iPhone, pointing it at the sun for minutes at a time could damage the sensor. Unlike a regular camera, which has a metal or cloth shutter covering the sensor until the moment you take the picture, an iPhone’s sensor is uncovered all the time, right up until it snaps the photo.
At that point, its shutter closes, opens up again to make the exposure, then closes again. So, while the sun in the frame won’t hurt, you should be careful not to leave the camera pointing at it for a long time.
Use a telescope to photograph the eclipse
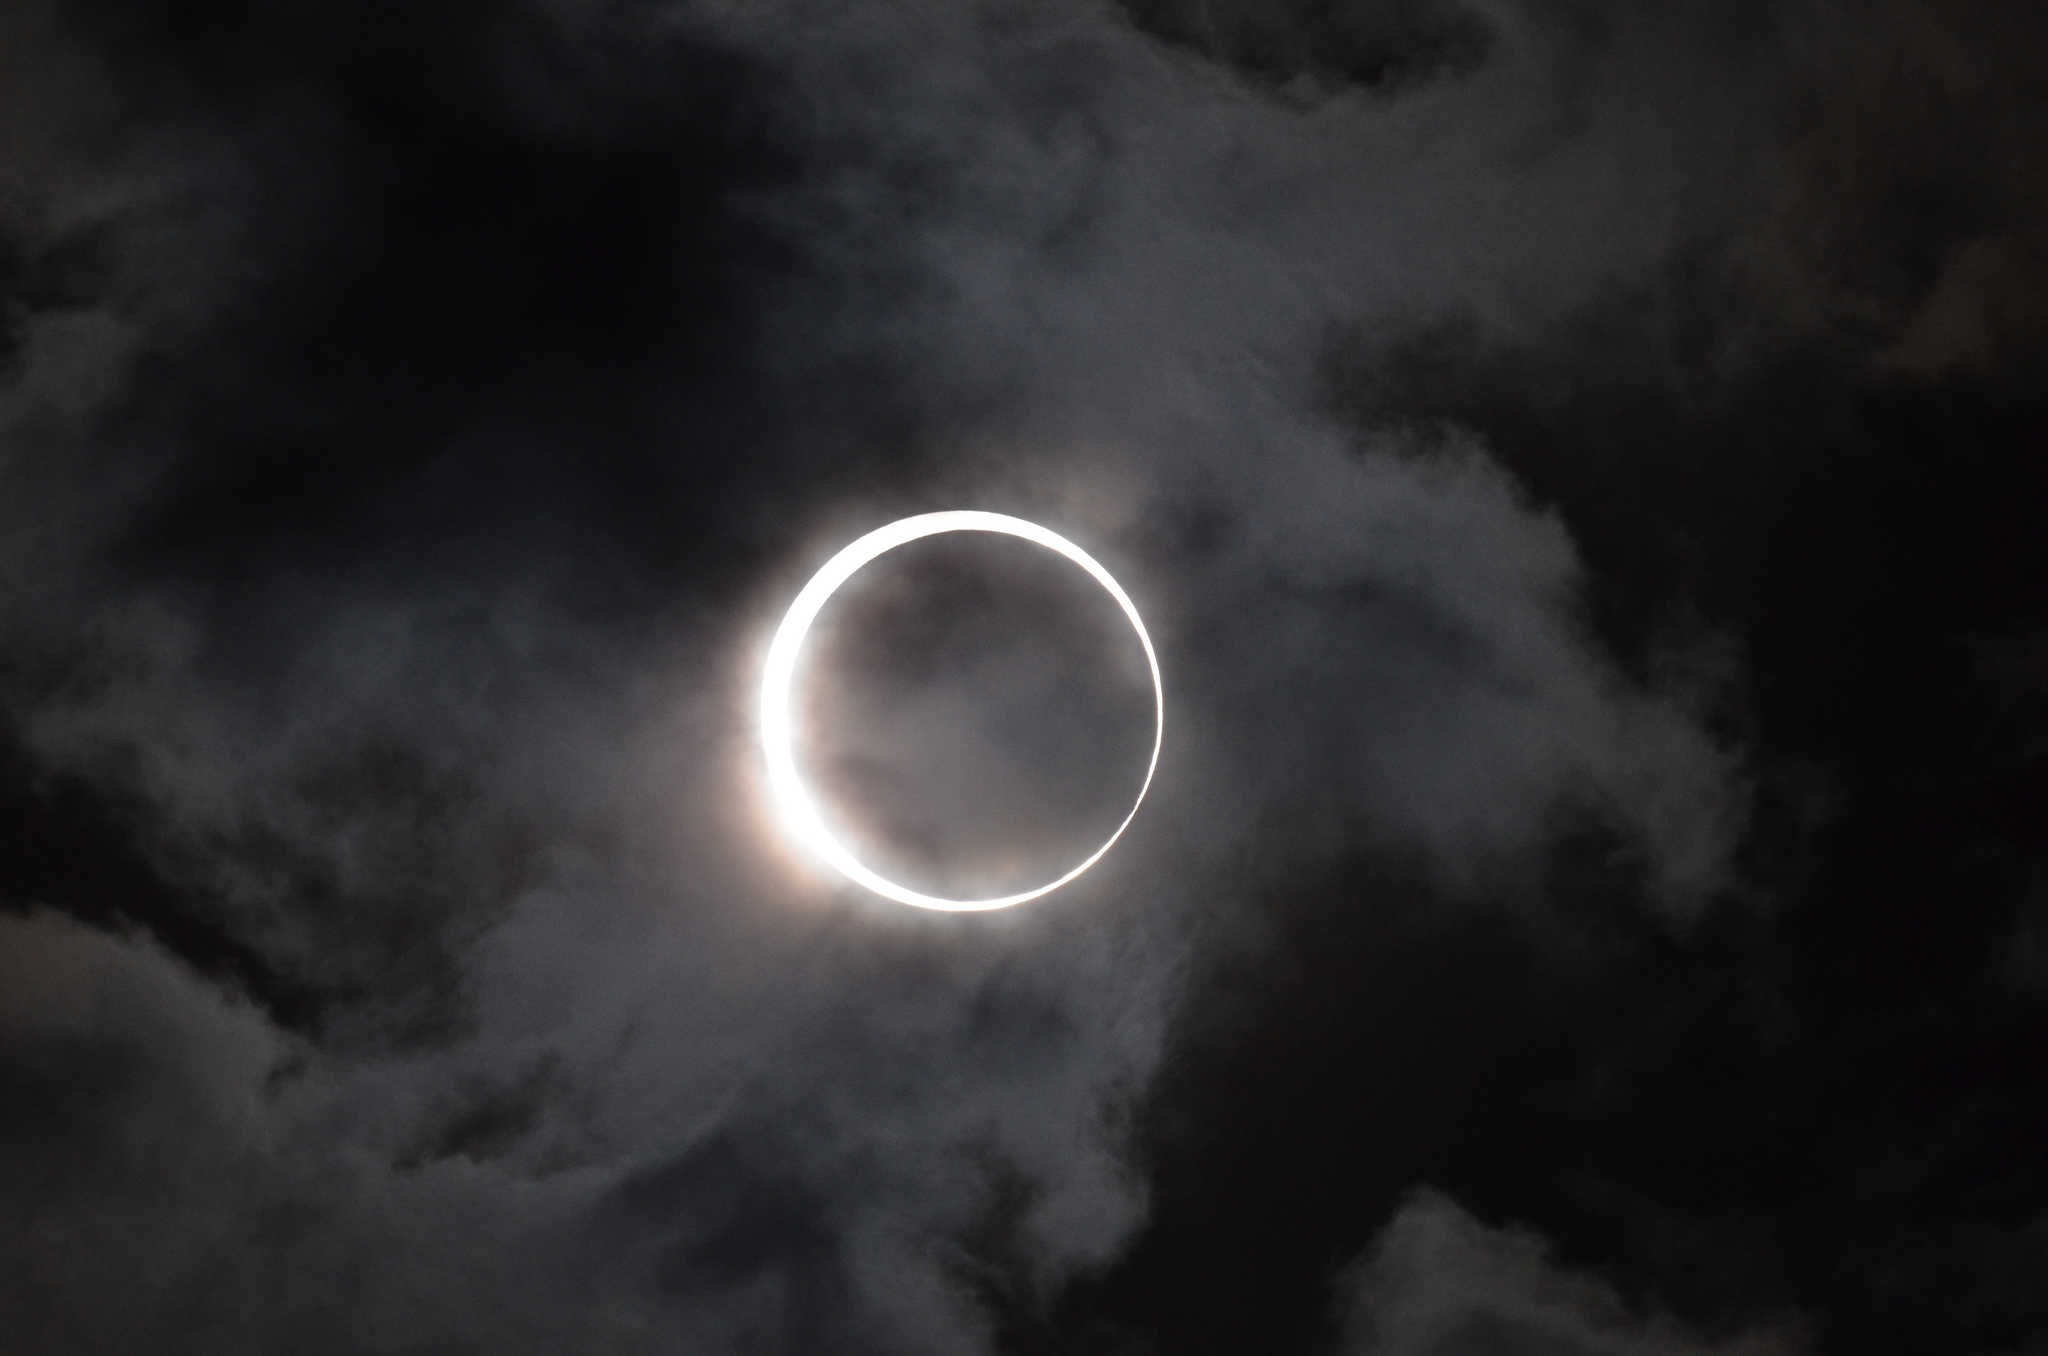
That takes care of the “really, really, bright” part. Now we’ll deal with “really, really, far way.” If you tried the above experiment, you saw that the sun looks like a tiny pinprick in the photo. Even when it’s eclipsed, that’s still a dull picture.
To take a solar eclipse photo that looks interesting, you need to magnify the sun. The easiest way to do that is to grab a telescope or a pair of binoculars.
To take an iPhone photo through a telescope (or one half of a pair of binoculars), just hold the iPhone’s lens up to the eyepiece.
That’s it — in theory at least.
In practice, you don’t have enough hands to hold a phone and a telescope, all while aiming at the sun, adjusting the exposure, and keeping the whole lot lined up.
If you can put your telescope on a tripod, do so. Then, think about taping the iPhone to the eyepiece. Painter’s masking tape is good, because it comes off easily, but if you don’t care about sticky residue, use gaffer tape or duct tape for that authentic MacGyver-esque touch.
Now, when you compose your photo, the sun will be a lot bigger in the frame
Warning: The telescope doesn’t just magnify the image. It’ll also concentrate the light, guaranteeing instant blindness and turning your naked eye into a tiny poached egg if you take a peek.
Don’t forget to experience the moment
With the technicalities taken care of, you shouldn’t forget to pay attention to the moment as you set out to photograph the solar eclipse.
When the moon blocks the sun, you don’t just see a cool ring of light. You’ll also experience near-instant dusk, as the daylight dims to night, then comes back again. Birds will go nuts, and you yourself will get creeped out.
If you ever saw a total eclipse before, you’ll know that it’s a deeply eerie phenomenon. And if you’re staring at your iPhone’s screen the whole time, you may miss the best part.


