You just bought the new iPad. Whether this is your first iPad or an upgrade, setting up a new device can take some time. Luckily, Apple has made it easy to set up a new iPad for the first time with iCloud — you don’t even need a desktop computer!
There are also resources like Cult of Mac to help you get the most out of your new iPad. We’ll show you how to get your iPad ready for prime time with this handy setup guide.
If you’re upgrading your current iPad, make sure to check out our guide on how to get ready for the new iPad before you continuing reading this setup guide.
Initial Setup
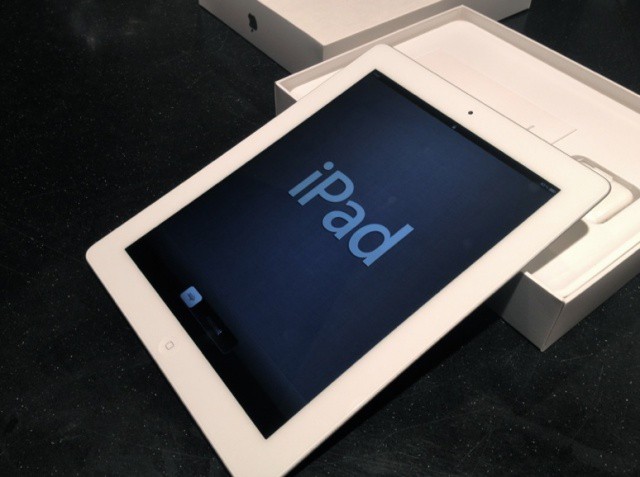
The iPad is considered a “post-PC” device, meaning that it doesn’t require a Mac or Windows computer to work. You can now take your new iPad out of its box and start using it without ever having to plug it into your desktop. For the sake of simplicity, we’ll show you the best way to set up your new iPad for the first time. Enter iCloud.
Apple has made it super easy to get up and running from the moment you peel off your new iPad’s plastic screen protector. Turn the tablet on and it will prompt you to begin setup. Let’s continue.
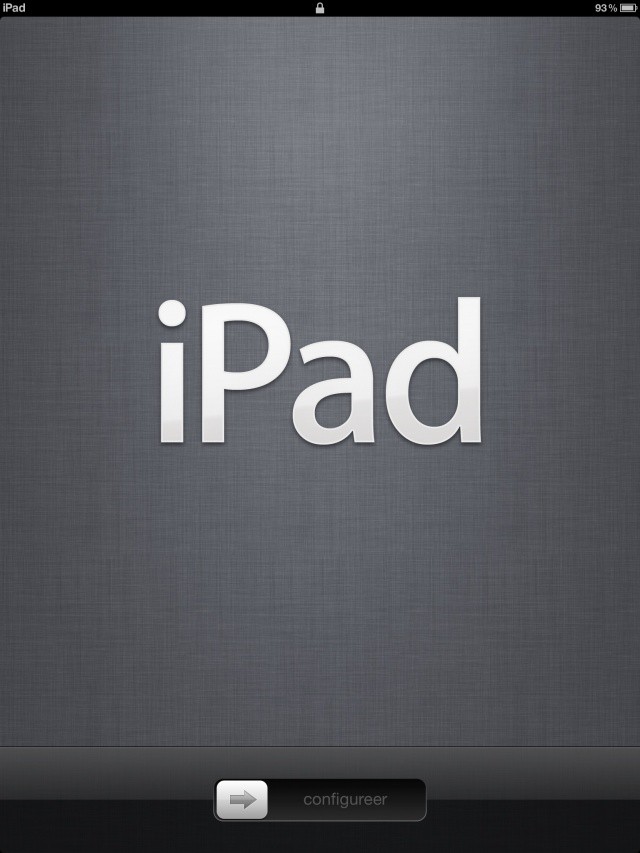
Step 1: Choose your language and region. You’ll then be asked to to enable or disable a feature called Location Services. Enable it and continue. You want Location Services turned on so apps can access your iPad’s GPS and provide you location-based information.
Step 2: Next, select a WiFi network and connect your new iPad with your iTunes account. You’ll need to enter your iTunes account password for Apple to register your device. If you don’t have access to a WiFi network during setup, you can skip this step and sign in with iTunes later.
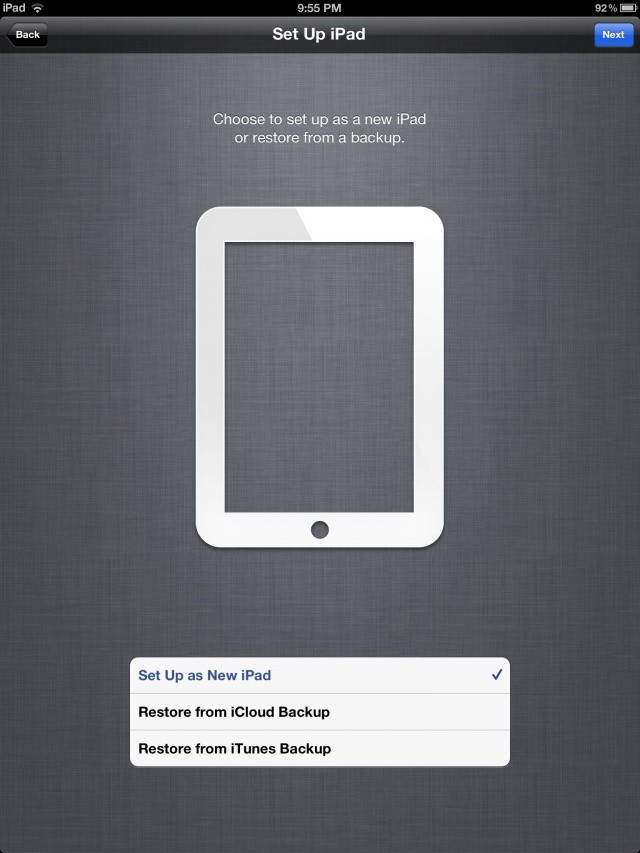
Step 3: You will then be asked you if you want to set up your device as a new iPad, restore from an iCloud backup, or restore from iTunes backup. If you have owned an iPad previously and know that you have a backup you’d like to use, select one of the last two options. If you had your old iPad only back up when it was connected to iTunes on your desktop computer, you cannot restore from an iCloud backup. Assuming that you know to restore from a backup if you have one, we’ll continue setting up your iPad as a totally new device.
Starting From Scratch With iCloud
Step 4: Once you’ve selected to set up your iPad as a new device, you’ll be promoted to enter or create an Apple ID. Your Apple ID is the same email address and password you use to purchase content in iTunes or the App Store. Enter or create one and login.
Step 5: After agreeing to the terms and conditions, choose the option to use iCloud on your new iPad. Next, choose to backup to iCloud. This option is the easiest and most convenient, as iCloud will automatically backup and sync the information on your iPad for you whenever you are connected to a WiFi network. If you definitely don’t want to use iCloud and just want to have backups stored locally in iTunes on your desktop, then choose the option to back up to your computer.
Step 6: Next, you’ll be asked to use a feature called Find My iPad. This is a very useful tool that can be used to track down your iPad should it get stolen or misplaced. Enable it and continue.
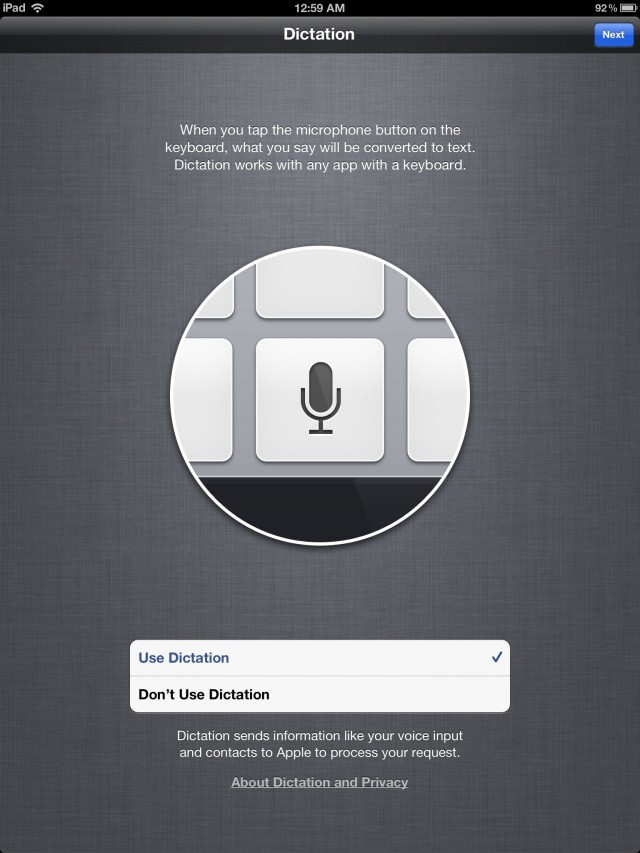
Step 7: You’ll be asked whether you want to use Dictation or not. This amazing new feature uses Siri to let you dictate text from anywhere the iPad’s keyboard is displayed. You want Dictation turned on.
Step 8: If you don’t mind Apple anonymously collecting usage data from your new iPad to improve its products, then tap the option to Automatically Send diagnostics and data usage. It won’t interfere with your experience at all.
Step 9: Continue and let iCloud work a little magic. Then you’ll be ready to go!
Learning The Basics
Apps and such
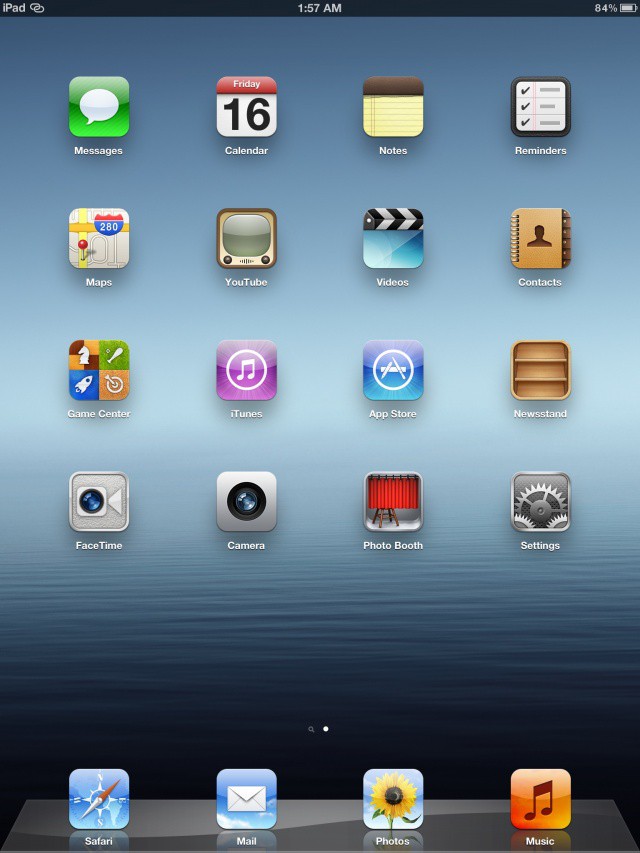
After setting up with iCloud, you’ll be taken to your new iPad’s Home screen. Here you will find all of your installed apps. Apple has several great apps, including Messages for communicating with other iPhone and iPod touch users, pre-installed for you to use. Apps can be moved around and placed on different Home screen pages by tapping and holding on an icon. Once you see apps start to jiggle, you can move them around. Dragging an app into an app will create a folder. You can name folders for different types of apps, like Games or Entertainment. You get to choose how you want to experience apps on your new iPad.
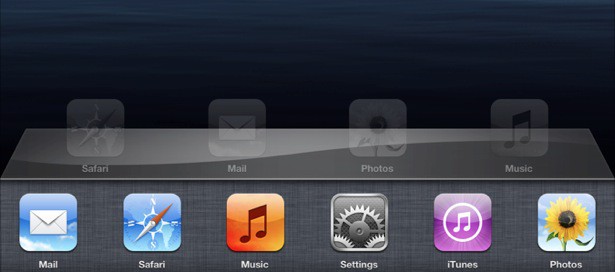
Another important part of navigating around your new iPad is the multitasking bar. Double tap your iPad’s home button to bring up the bar that displays all of your recent apps. These are apps that you currently have running and the apps you recently opened. Tapping an icon will open the app.
If you swipe down from the top of your iPad’s screen, you’ll see what Apple calls Notification Center. This little dropdown window is home to all of the push notifications you have from different apps on your iPad. You can tap on each notification to open it in the associated app, or clear individual notifications directly. Notification Center can be accessed at any time by simply swiping down from the area of the screen near the clock.
Settings and security
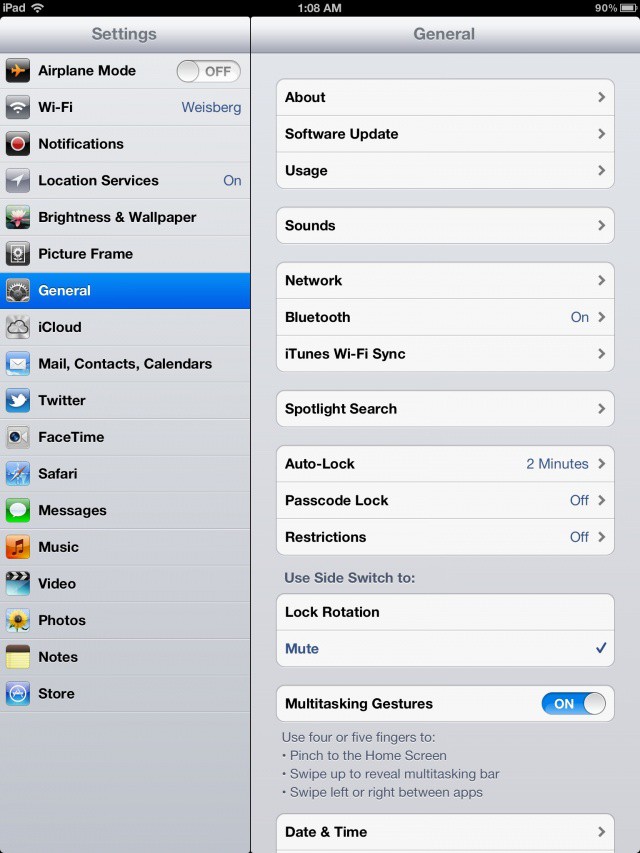
We recommend visiting the Settings app to get a good idea of what your new iPad is like. You’ll find settings and options for just about every aspect of the device, and you can set up and configure things like notifications, WiFi, email info, and more. In the iCloud settings pane, turn on Photo Stream so you can have your photos wirelessly synced across devices. Your iCloud storage and backup settings can also be configured in greater detail there. Make sure you turn on automatic downloads for the App and iTunes Store under the Store part of the Settings app. Anything you purchase will then be automatically pushed to your iPad by Apple.
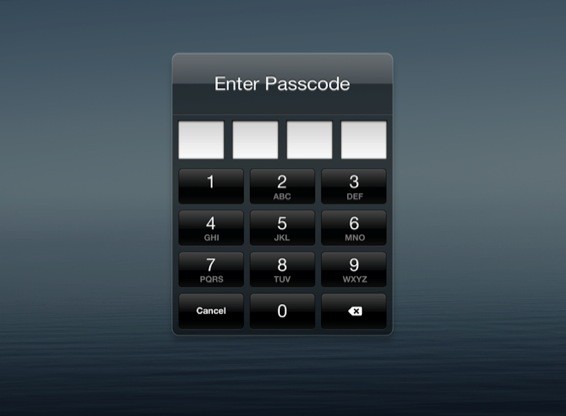
If you don’t like the idea of curious eyes seeing your Home screen, you can enable a passcode lock under General in Settings. The 4-digit PIN you create will have to be entered every time your iPad is unlocked.
Gestures
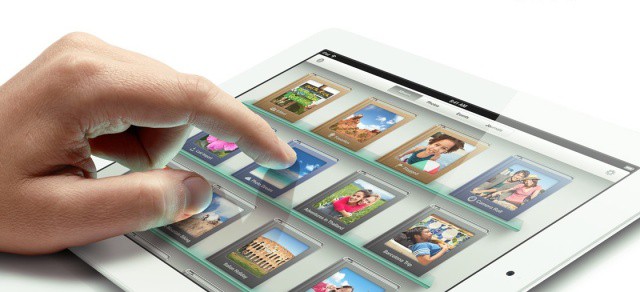
One of the greatest things about the iPad is its enhanced gesture support. Under the General part of the Settings app, you’ll see the option to enable Multitasking Gestures. You can then use four or five fingers to easily navigate through the operating system that the iPad runs on, iOS 5.
You can make a pinching gesture with five fingers to leave any open app and go back to your Home screen. Use four fingers swipe up and reveal your app multitasking bar. This gesture can be used to quickly jump between open apps. Perhaps the best gesture on the iPad is the ability to swipe with four fingers from left to right to switch between your current app and the last one you used. This is perfect for when you are, say, typing something in a word processor and researching in your Safari browser. Like Mac OS X, Apple has implemented very intuitive tools for using your iOS device productively.
Enjoy!
Now that you have the basics mastered, you’re ready to start experiencing your new iPad! Let us know if you have any more questions in the comments below.
![How To Get Started With Your New iPad — The Right Way [Setup Guide] Screen Shot 2012-03-15 at 10.45.53 PM](https://www.cultofmac.com/wp-content/uploads/2012/03/Screen-Shot-2012-03-15-at-10.45.53-PM.jpg)

