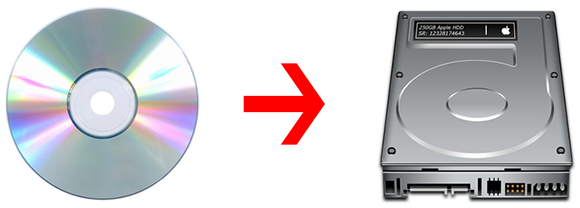
Optical discs are swiftly becoming an endangered species. Apple has been actively moving away from optical discs for a while now, and has already begun removing optical drives from many of their recent Macs (such as the Mac Mini and Retina MacBook Pro).

Many folks still have install DVDS for software they’ve purchased, raising concerns that they may not be able to use these discs in the future. There’s plenty of current software that falls in this category, such as physical copies of Parallels Desktop, or even Final Cut Pro, Aperture, or other Apple titles purchased before they were released on the Mac App Store!
Fortunately, Apple has provided a great way to rectify this concern by using Disk Utility to create a disk image of those install discs and store them on your hard drive or backup device!
Here’s how it’s done:
- Insert the CD or DVD into your Mac (you can borrow an external DVD drive or use Remote Disc if your Mac doesn’t have one!)
- Launch Disk Utility, and select the disc.
- Click the “New Image” button, and choose where you’d like to save the image.
Disk Utility will now create the image and save it in the location that you specified. Note that this could take up to 30-45 minutes for a dual-layer DVD! To use the image once it’s created, simply locate it in Finder, and double click to mount the image. You will then be able to use it just like a physical DVD!
This also works with video DVDs and most other types of discs. It’s also worth noting that disk images can take up a lot of space, so make sure you have a large enough drive or backup device to store them!


