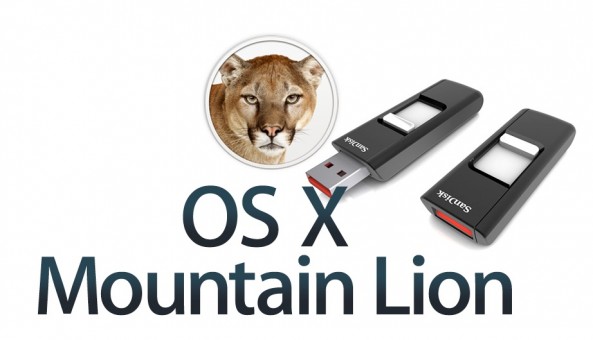
Creating a USB install drive is one of the simplest ways to ensure that a fresh clean installation of OS X Mountain Lion is only a few steps away. Gone are the clunky days of using CDs to reinstall an OS.
Inside, we’ll show you how to setup your very own OS X Mountain Lion USB installation drive, using an easy to follow video walkthrough.
Note: while some have stated that you can use a 4GB drive, and we were able to get a 4GB drive working fine with Lion, we ran into problems when trying to use a 4GB drive with Mountain Lion. Hence, we can only suggest that you use an 8GB drive instead.
Step 1: Download OS X Mountain Lion from the Mac App Store.
Step 2: Open the Disk Utility and erase the 8GB USB drive. I suggest naming it something recognizable, like “Mountain Lion Boot Drive”, “Mountain Lion USB Key”, etc.
Step 3: Open a new Finder window, and navigate to the Applications folder. Inside, you should see the following: Install OS X Mountain Lion.app. This is the Mountain Lion installation app that was downloaded from the Mac App Store. Right click on the app, and select Show Package Contents.
Step 4: Open the Contents folder, followed by the Shared Support folder, and locate InstallESD.dmg. Double click on the InstallESD.dmg image to mount the image. Afterwards, you can close any open Finder windows.
Step 5: Reopen the Disk Utility, and select the 8GB USB Flash Drive, then click the Restore tab.
Step 6: Drag the Mountain Lion USB Key to the box labeled Destination.
Step 7: Click the Source box, and then click InstallESD.dmg, which is below the USB drive in the left panel.
Step 8: Once you have verified that both the Destination and Source fields are populated with the correct info, click the Restore button in the bottom right corner.
Step 9: The Mountain Lion USB Installation drive will now be created. This step takes about a half hour depending on your system and drive. Just wait a while.
Step 10: If you receive a message that says: Restore Failure Could not restore — Invalid argument. Don’t worry, just ignore it and the USB Drive should be okay.
Step 11: Once complete, eject and remount the USB drive, and verify the presence of Library, Package, and System folders. Also, make sure that Install OS X Mountain Lion.app exists on the drive as well.
Congratulations, you now have your very own OS X Mountain Lion USB installation drive that can be used at any time, and fit in that small 5th pocket in your blue jeans!
Tell us, how do you normally go about reinstalling OS X?
