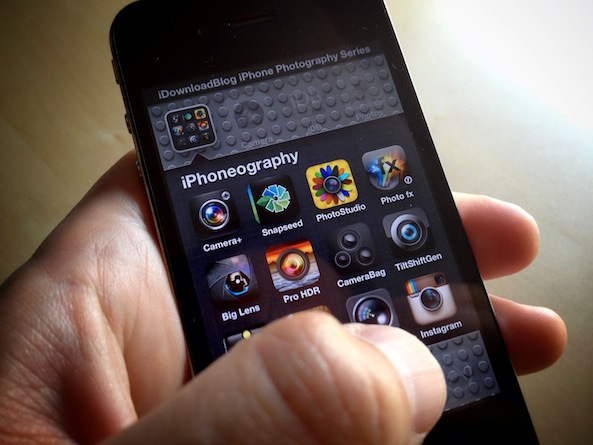
Welcome back to iDownloadBlog.com’s lessons in iPhone Photography. I hope you enjoyed making light trails the last couple weeks. They’re some pretty creative folks out there looking like they had a good time with it. In today’s lesson, we are going to revisit high dynamic range (HDR) photography. Actually, we are going to improve upon it using a great little app called Pro HDR.

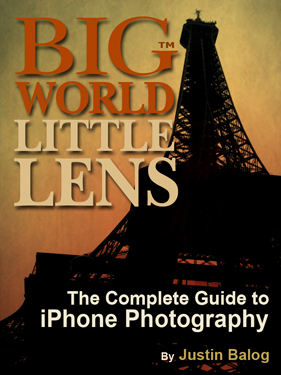
Before we get going, and to celebrate the release of the iPad mini, I decided to give away a few copies of my book “Big World Little Lens – The Complete Guide to iPhone Photography.” It is specifically designed for the iPad and iPad mini. If you haven’t picked up a copy of the book yet, you can here. The cool thing about iPad books is that you will get free updates whenever I publish a new version. Speaking of the a new version, I’m in the middle of a major update that will be hitting the shelves at the beginning of the year. If you get the books now, you will automatically get the free update then.
Today’s Lesson
If you remember back to our original lesson in HDR photography, you know HDR photography is a technique used to achieve a balanced exposure in high contrast scenes. If you don’t know that, I suggest you go back and re-read the post.
However, in the original post we were using the iPhone’s native HDR capabilities. In this post, we are going to gain a bit more control using Pro HDR. Why is does offer more control you ask? Easy, Pro HDR allows you to determine what areas of the scene you would like to meter as the bright and dark areas of the scene.
The Problem
Here in this image, I have a great blue sky and barn, but my brief case is a dark. I’d prefer if it was brighter.
In this image, my bag is properly exposed and you can see its great detail and character (I love this bag) but the barn and sky are way too bright.
The Solution
The solution is simple, take a few photographs that are exposed for the blue sky and beautiful bag rich in character, and blend them together. That would be a pain in the rear for us, but not for your iPhone running Pro HDR. Nope, it’s easy!
Step 1: Fire up Pro HDR and change its HDR mode.
Step 2: Set it to manual.
Step 3: These are your exposure meters. In the photography world we call them “spot meters” because they will meter the light and determine the appropriate exposure at that spot. Makes sense, right? You will want to set one exposure for the bright area of the scene and another for the dark area.
Step 4: Here you will want to apply some finishing touches. You can perform some basic image tuning using the sliders. Then, if you are feeling extra creative you can apply some nifty filter effects.
Brightness – Controls how bright or dark the image is.
Contrast – Controls the relative difference between the dark/light area of your images. Increasing will give you image some pop as it makes dark areas darker and light areas lighter. Decreasing it will make your image flat by doing the opposite.
Saturation – Controls how rich the colors are. Increasing it will boost the vibrancy of them while decreasing it will create a black and white image.
Warmth – Controls how warm or cold your image is. Increasing it will emphasize red tones. Decreasing it will emphasize blue tones.
Tint – It just ‘funkifies’ your colors.
Step 5: If you choose to apply a filter, do so.
Step 6: Once you have your image the way you like it, make sure to save it!
Tips
The only thing you need to look out for when making HDR images is movement. Because you are taking separate photographs and blending them together, any movement (whether it is your iPhone or your subject) will result in ghosts. To combat these ghosts you need to hold still, brace your iPhone, or use a tripod. I know Sebastien hates the idea of tripods, but they really work!
Here’s an example of a ghost or ghosting.
Assignment
Hopefully you all know what to do by now. Let’s spend the next two weeks getting out and making some Pro HDR magic! Make sure to tag your Instagram photos with #iDBProHDR so we can all follow along.
Justin Balog is an award winning photographer and filmmaker. You can follow his daily creative adventures at HOSSedia.com or learn more about iPhone Photography in his iBook “Big World Little Lens”. Click Here for the iPad Version. To find out more about Justin, follow him on Twitter and Facebook.
