
Our comprehensive guide to iOS will help you get started, and provide you with advice on how to set it up your device, navigate around, and come to grips with some of operating system’s most useful functions.
Setting up your new iPhone or iPad
The first thing you will do when you get your new iOS device is, of course, turn it on.
Step 1: You will be greeted with a screen that says, “Hello,” and a message at the bottom asking you to “Press home to open.”

Step 2: Select your language, and then your country or region.

Step 3: At this point, you’ll need to activate your device. You can select a Wi-Fi network and log in as you normally would, or you can tap Use Cellular Connection to utilize your data.

Step 4: You will then be asked to enable or disable Location Services. You can disable this later if you wish. If you enable it now, however, then your device will be able to automatically set the correct time.

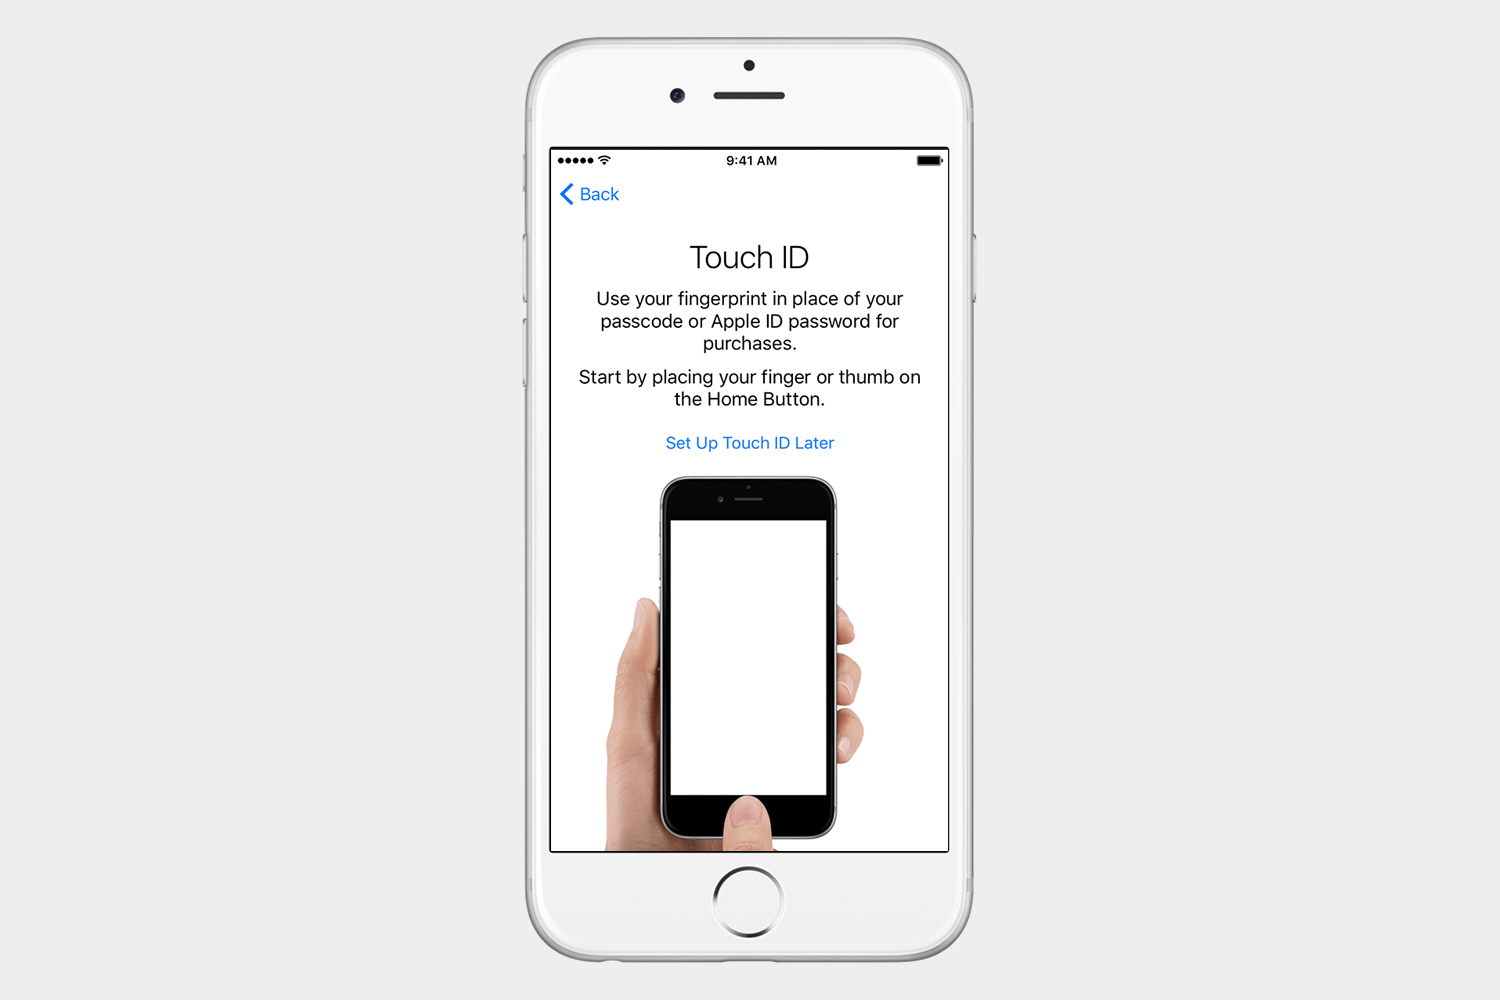
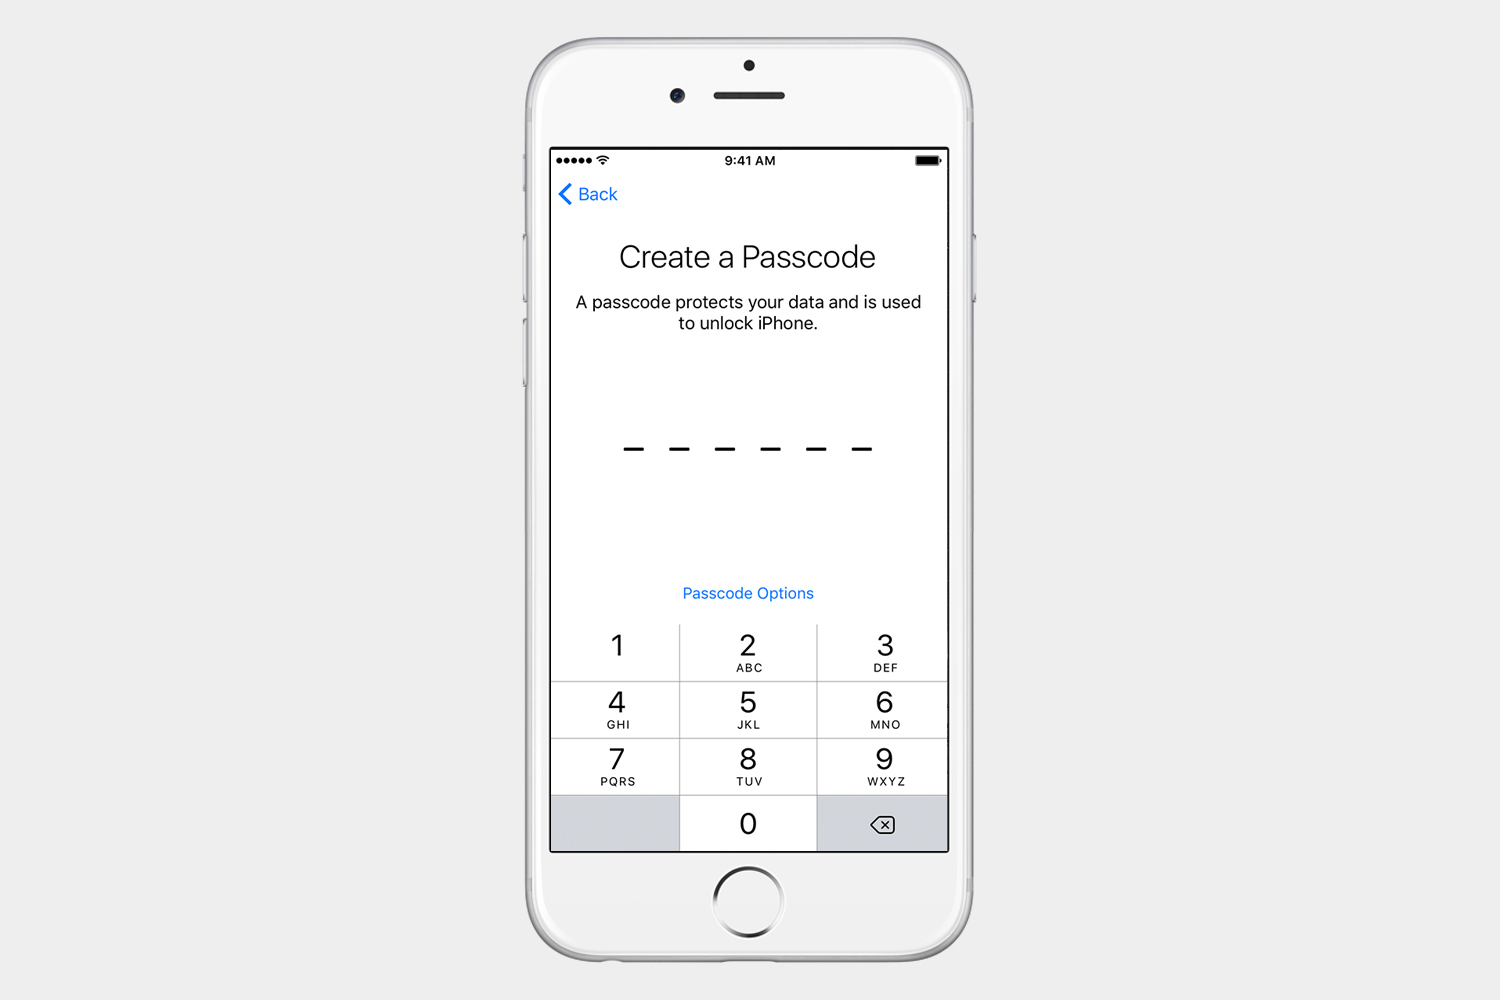
Step 5: If you purchased an iPhone 5s or later — or an iPad Pro, iPad Air 2, or iPad mini 3 or later — then your device comes equipped with Touch ID. You will be asked to set it up at this point, which can be done by following the on-screen instructions. You will be able to set up more fingerprints later. Once done, you will be asked to set up a six-digit passcode. We recommend that you do so. You can tap Set Up Touch ID Later or Passcode Options, but, either way, you will eventually need to set up a passcode. Take a minute to get this out of the way.
Step 6: If you’re reading this guide, then you probably don’t have anything to restore from a backup. If you do, however, then you can select it here. If not, tap Set Up as New iPhone or iPad.
If you’re moving from an Android device, then choose Move Data From

Step 7: If you already have an Apple ID, log in and tap Next in the top-right corner. If not, select Don’t have an Apple ID.

Step 8: You can set up Siri on the following screen. If you want to set it up now, tap Set Up Siri and follow the on-screen instructions.

Step 9: If you have an

Step 10: The last screen will ask you to choose your desired view. You can select either Standard or Zoomed, the latter of which uses larger text and controls. Once chosen, tap Next in the top-right corner.

At this point, you can tap Get Started to begin using your iOS device.
Navigating the interface
The first thing to wrap your head around is that the iPhone has a single Home button, which covers all your basic features. Not only does it serve as your fingerprint scanner, but tapping this button allows you to navigate your iOS device.
Single Press: Any time you need to close the screen you’re on — whether you’re in an app or merely navigating your settings — simply press the Home button. This will bring you back to your home screen.
Double Press: Pressing the Home button twice in quick succession will bring up any apps you’ve recently used, and that are currently opened. This is also ] referred to as multitasking. You can swipe left or right to navigate to previous app. This will allow you to quickly open an app that you were using without having to locate the app on your home screen or in a folder.
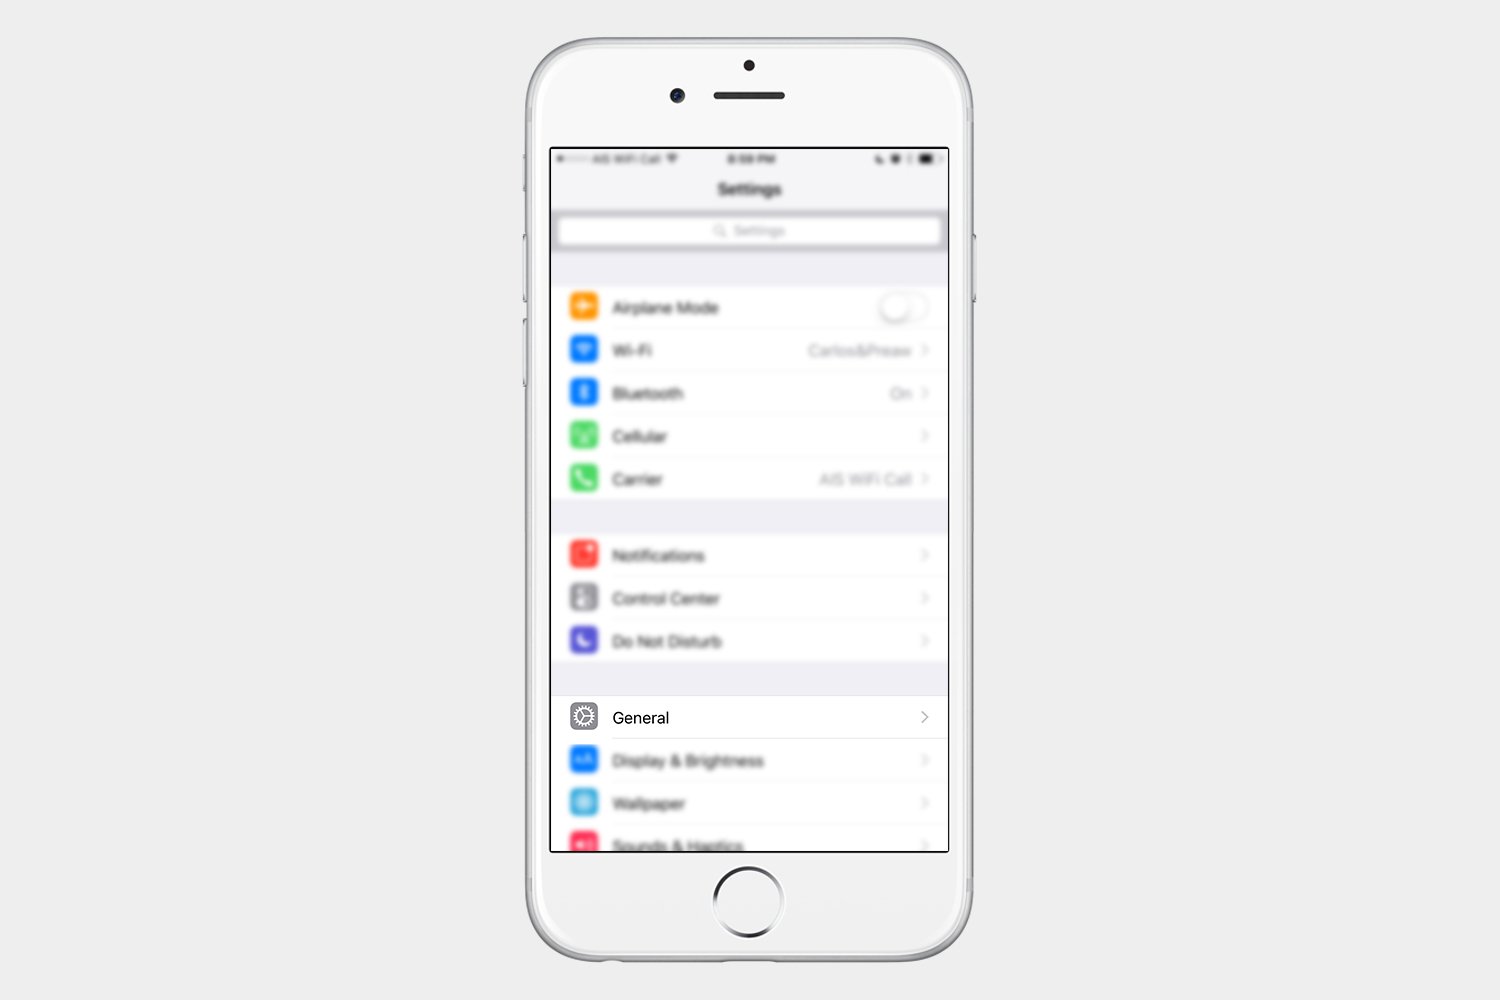
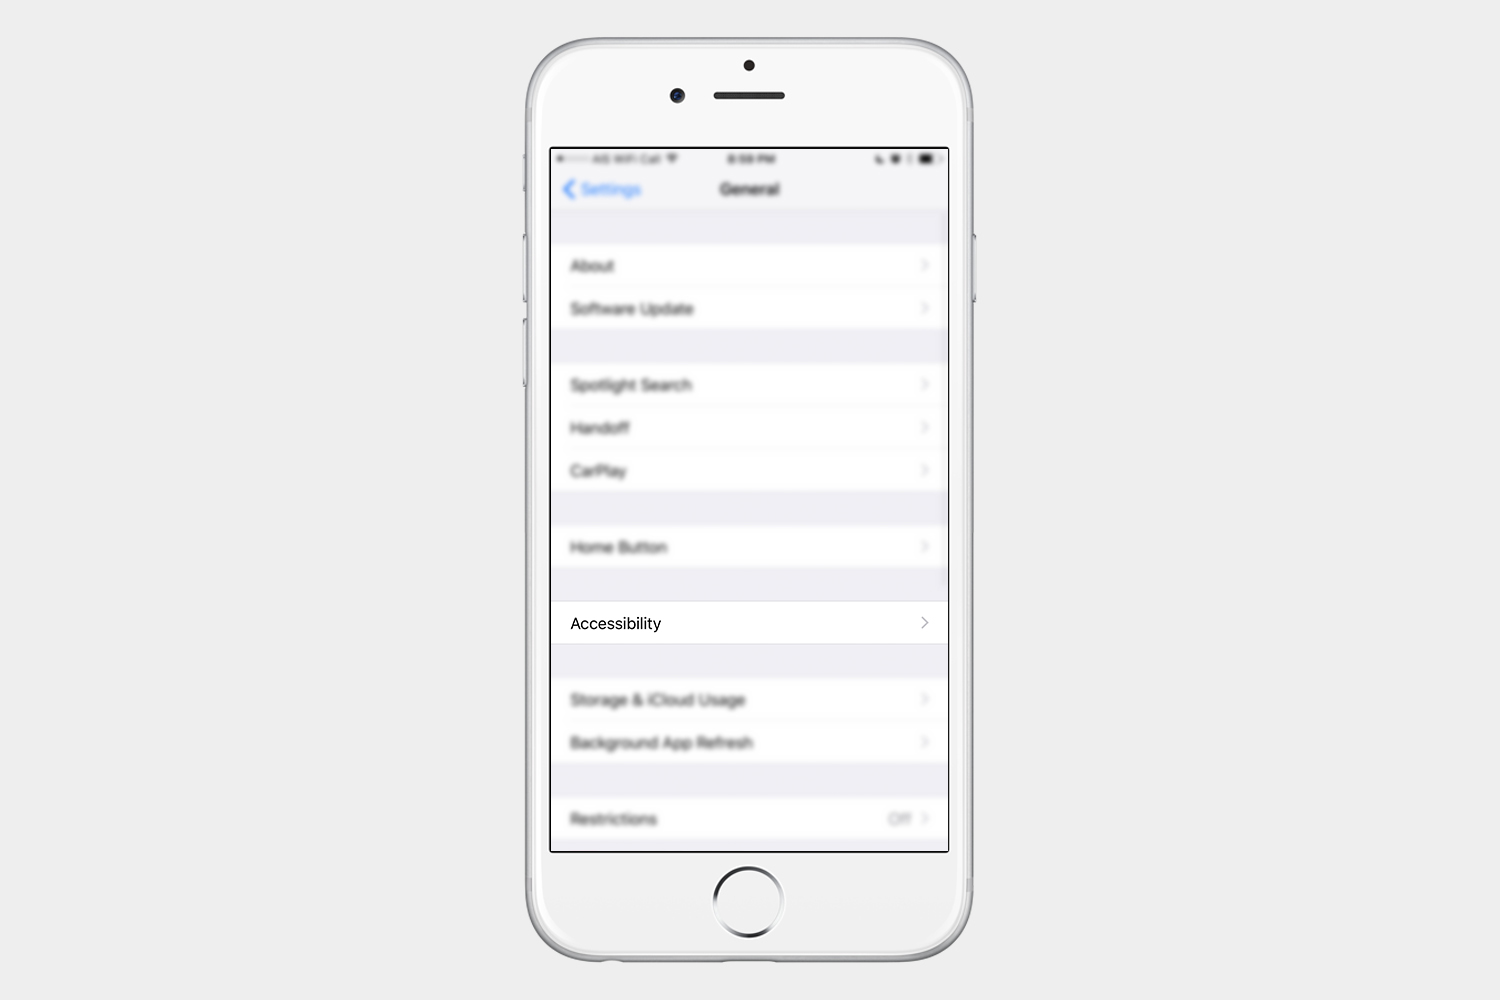
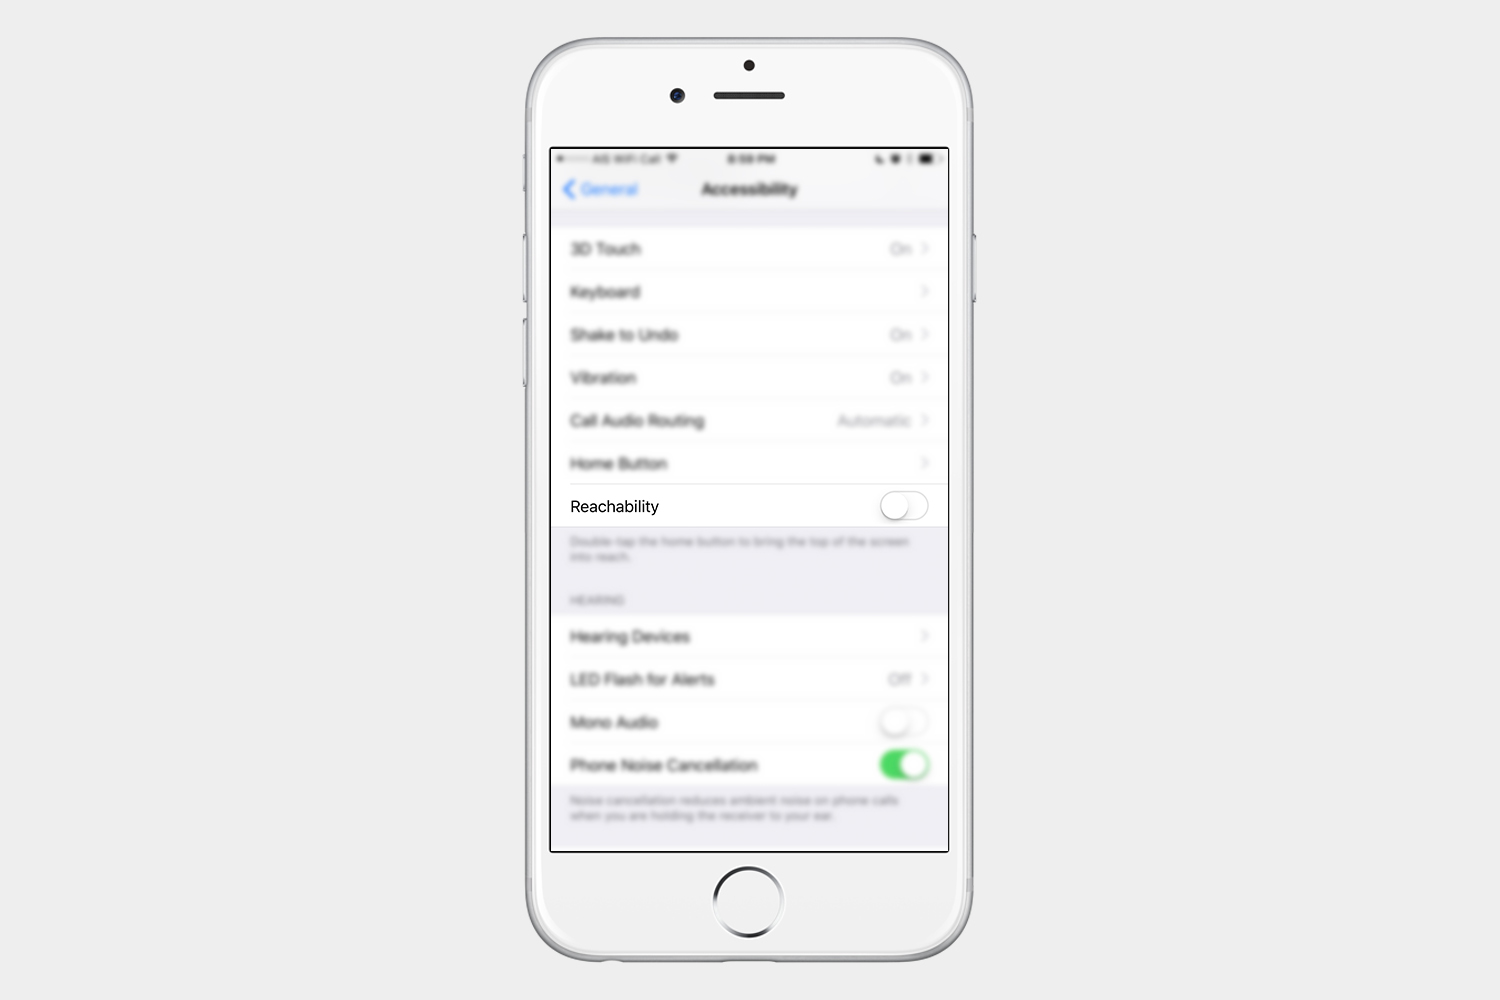
Double Tap: This is also known as Reachability. If you double tap — not press — the Home button, your entire screen will move down, so that you can more easily reach the top of the screen with your thumb. If you don’t like the feature, go to Settings > General > Accessibility, and turn off Reachability.
Managing your home screens
If you’re new to iOS, this is where things get tricky. If you were an
Moving icons to another home screen
To move an app, press and hold its icon until everything starts wiggling. Then, while still holding the icon, move it to the edge of the screen.
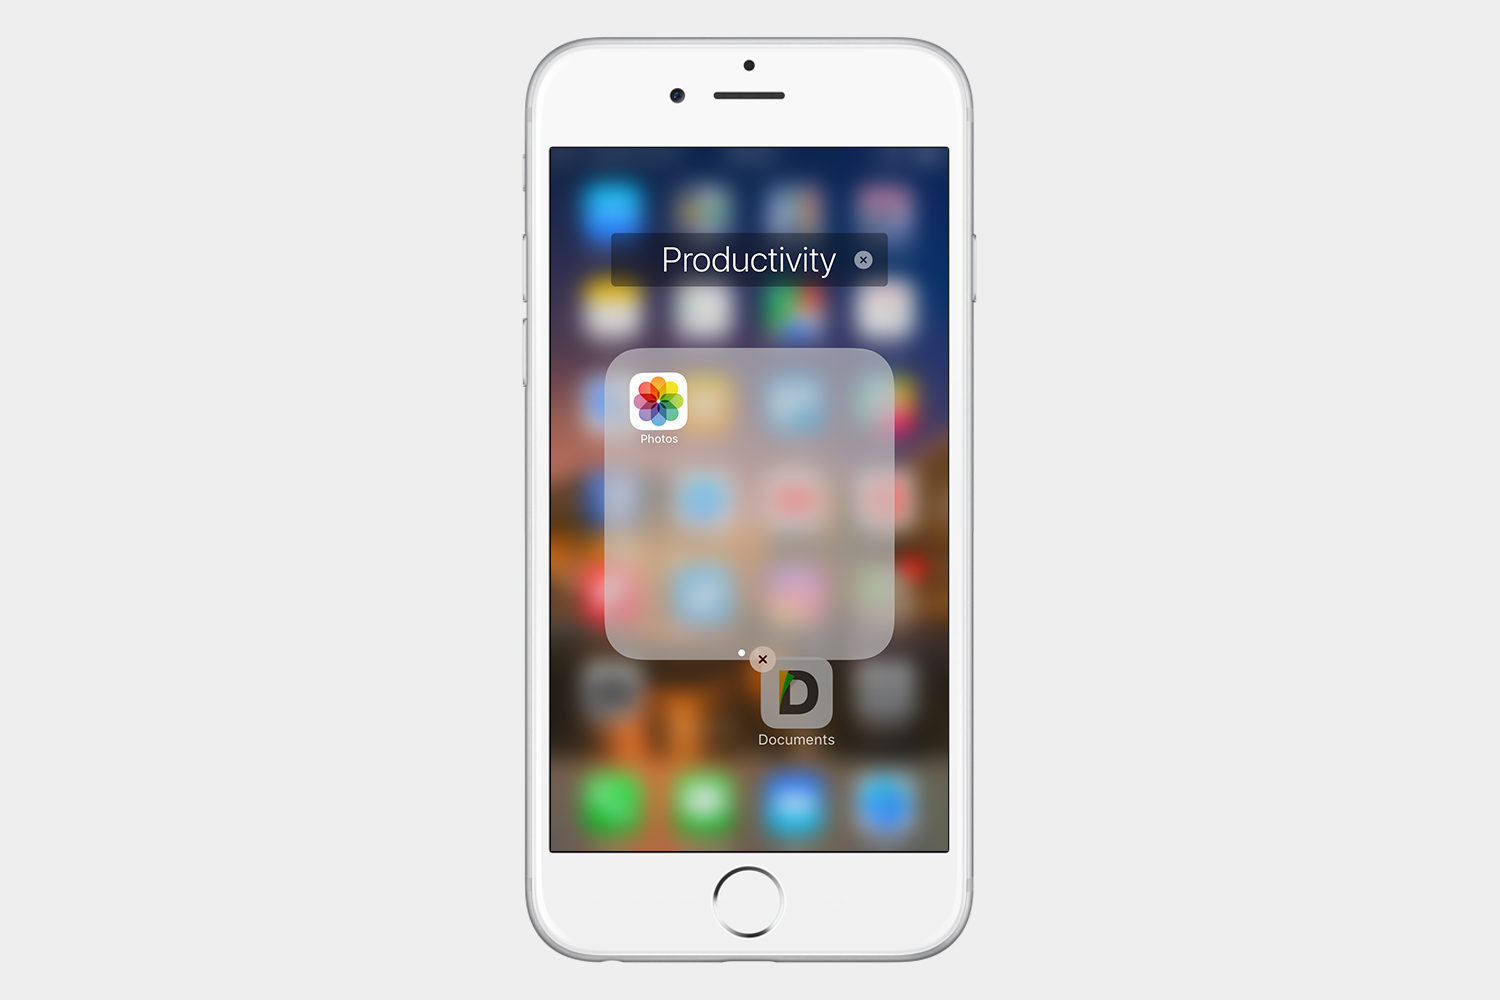
Moving icons to create a folder
Just like with moving an app, start by pressing and holding the icon until it starts wiggling. Afterward, move the app icon on top of the app you want to group it with. Keep dragging icons on top of the folder you created to drop them inside. You can also rename the folder while the icons are wiggling.
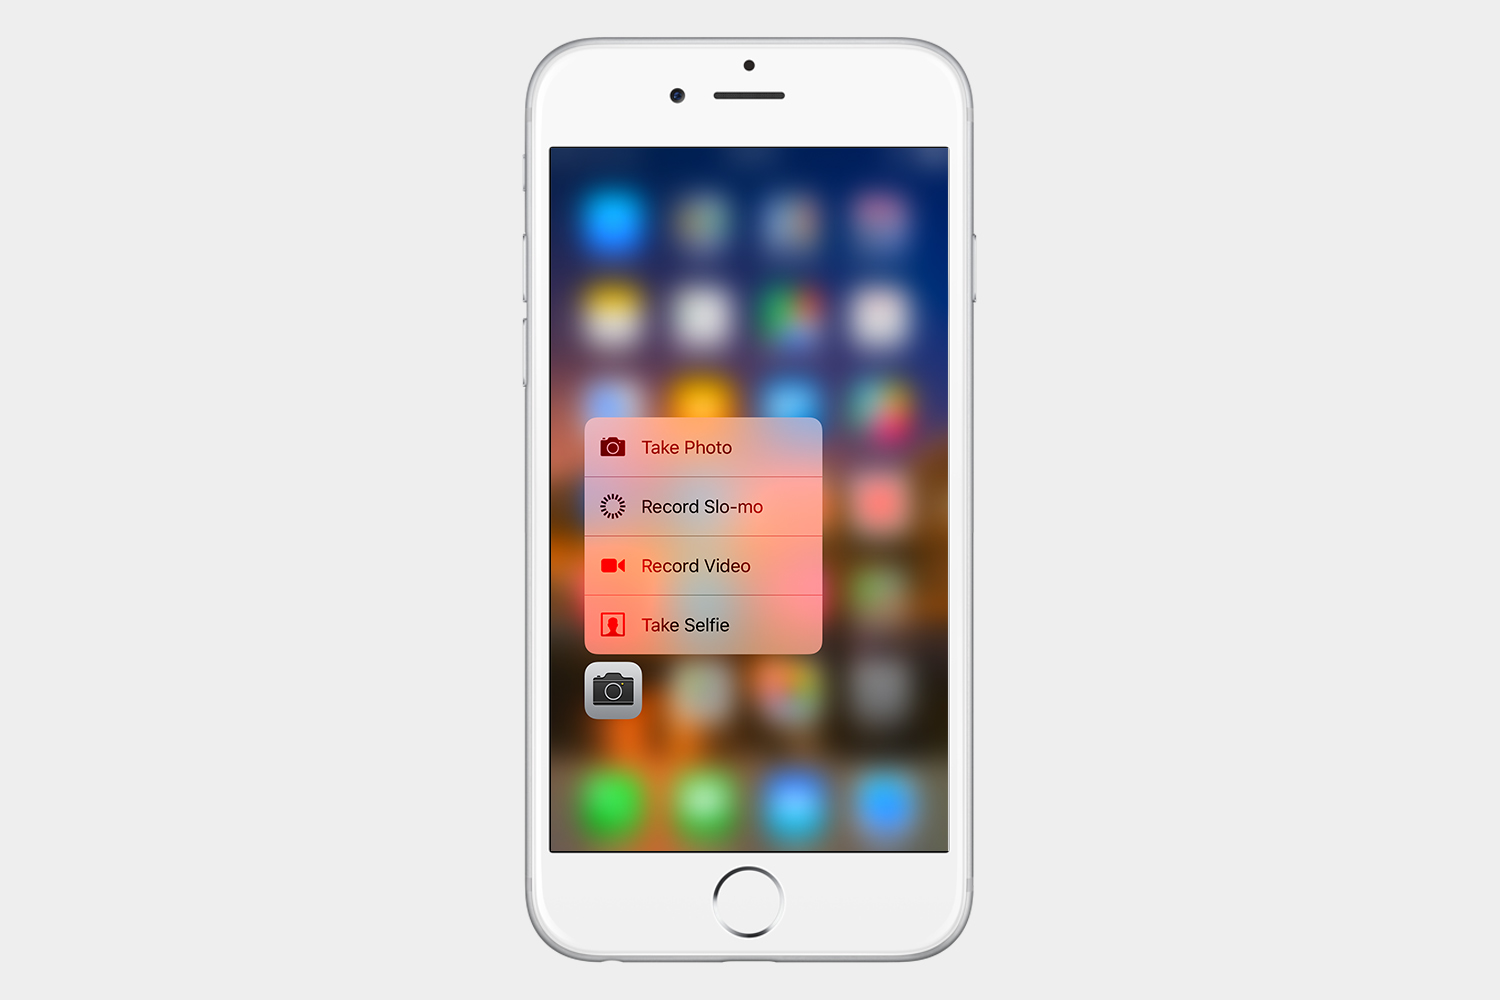
Using 3D Touch
If you have an
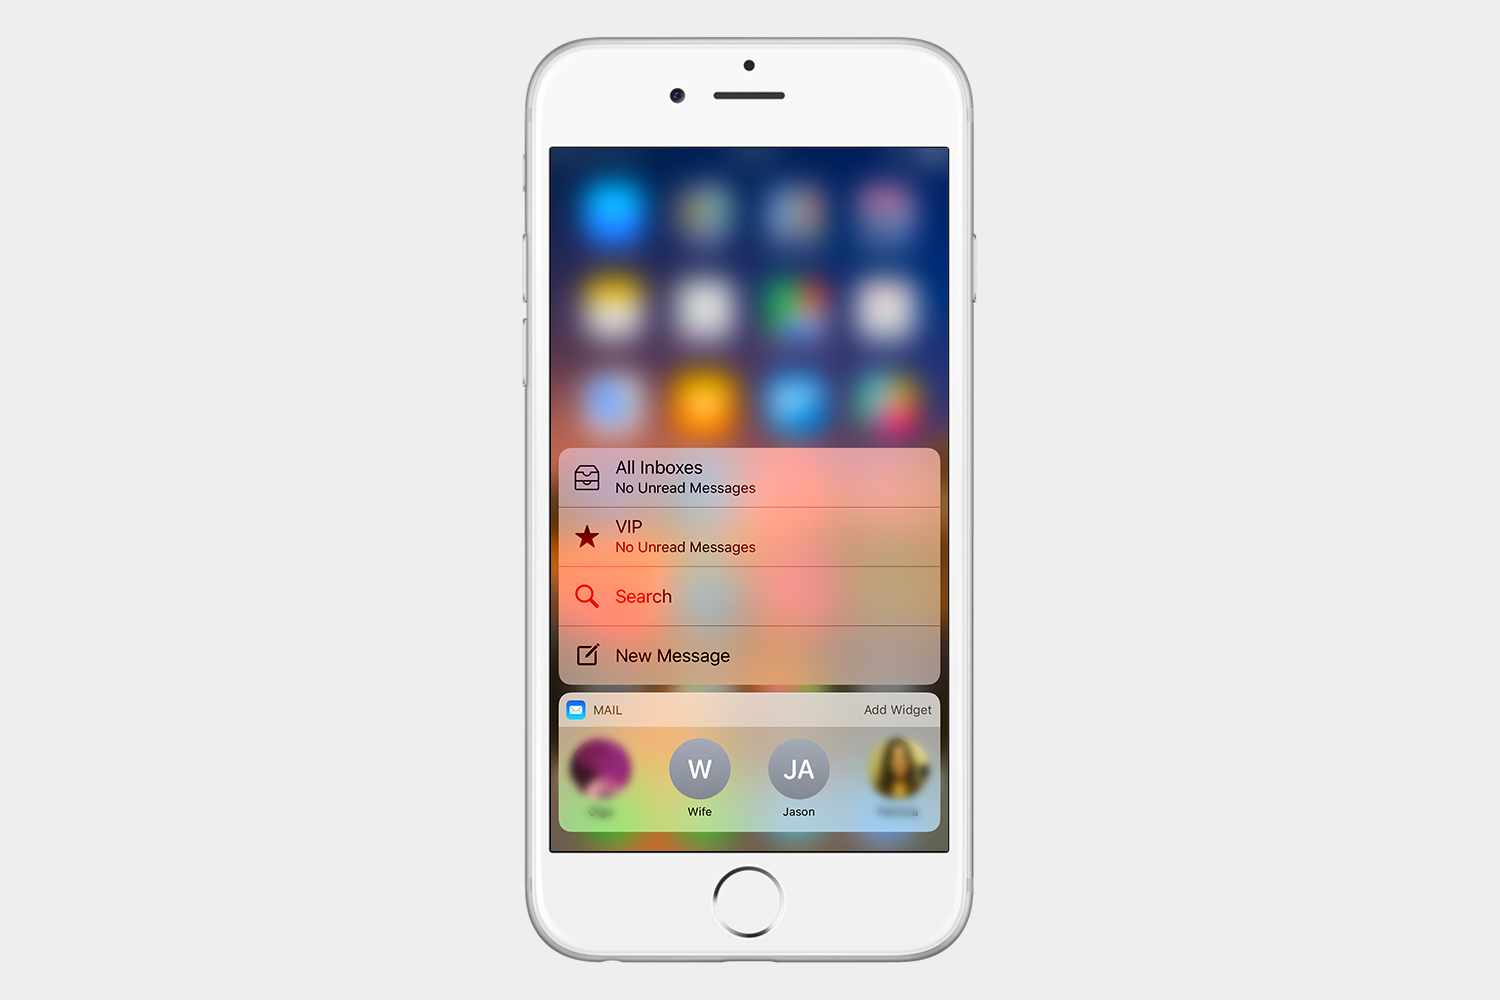
If you press down on the Mail icon, for instance, you’ll be able to quickly access your contacts and compose a new message. If you press down on the camera, on the other hand, you’ll be able to quickly snap a selfie or record a video. If you press down on an email, you can preview it. You can even press down on a link to preview the webpage without having to visit the website.

Apps, customization, issues, and more
What apps should I get?
There are hundreds of thousands of apps in the App Store, which allow for all sorts of things. At first, the platform may seem a little restrictive, but if you browse the App Store, you will find some great apps that open up countless possibilities. Below are some of our favorites, whether you’re into productivity software or social media.
Documents 5 – File manager, PDF reader and browser

This may be one of the, if not the, best apps to download for both the iPhone and iPad. The app allows you to manage and organize all of your files directly on your iOS device. It also features a built-in browser that you can use to download files, movies, and music onto your iOS device. Documents5 will serve as the player, and because it supports a range of apps, you can easily convert files to PDF, scan them, print them, and carry out a host of other actions.
Google Chrome

Google Chrome represents a notable upgrade from Apple’s default browser, Safari. The app can sync your history and bookmarks across devices and includes autocomplete, unlimited tab functionality, and a myriad of other useful features.

YouTube

YouTube used to come pre-loaded on the iPhone, but Apple removed the app with the release of iOS 6. Thankfully, Google brought it back, providing you with access to nearly every video under the sun. The app is now compatible with YouTube Red, too, a monthly subscription service that lets you download playlists for offline use.

It may be owned by
Customizing your iOS device
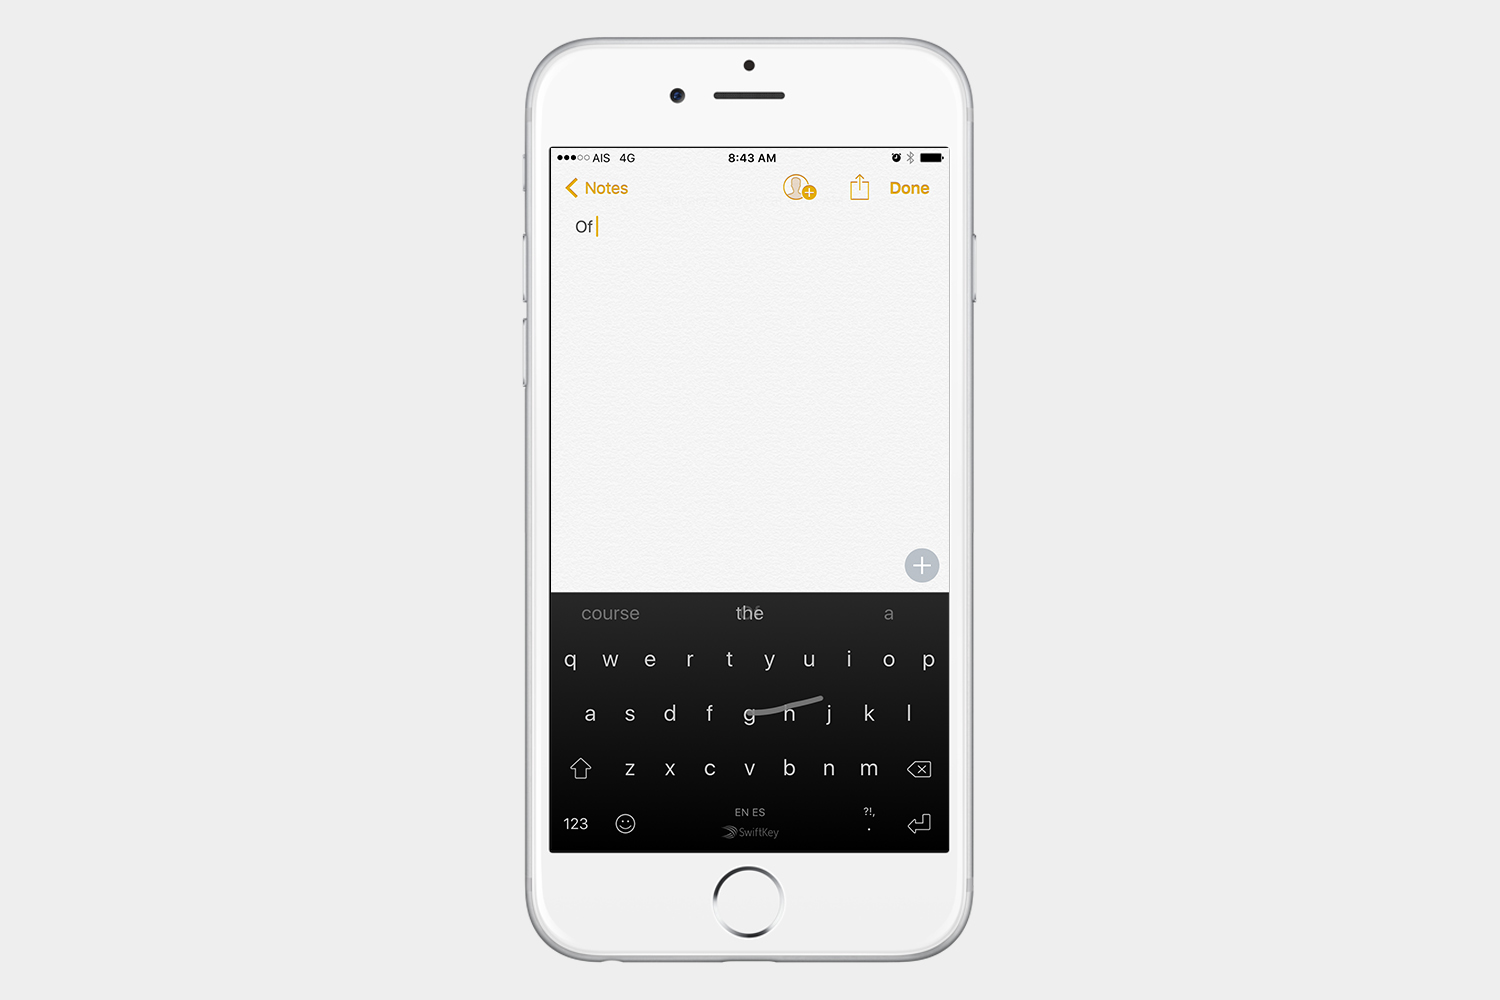
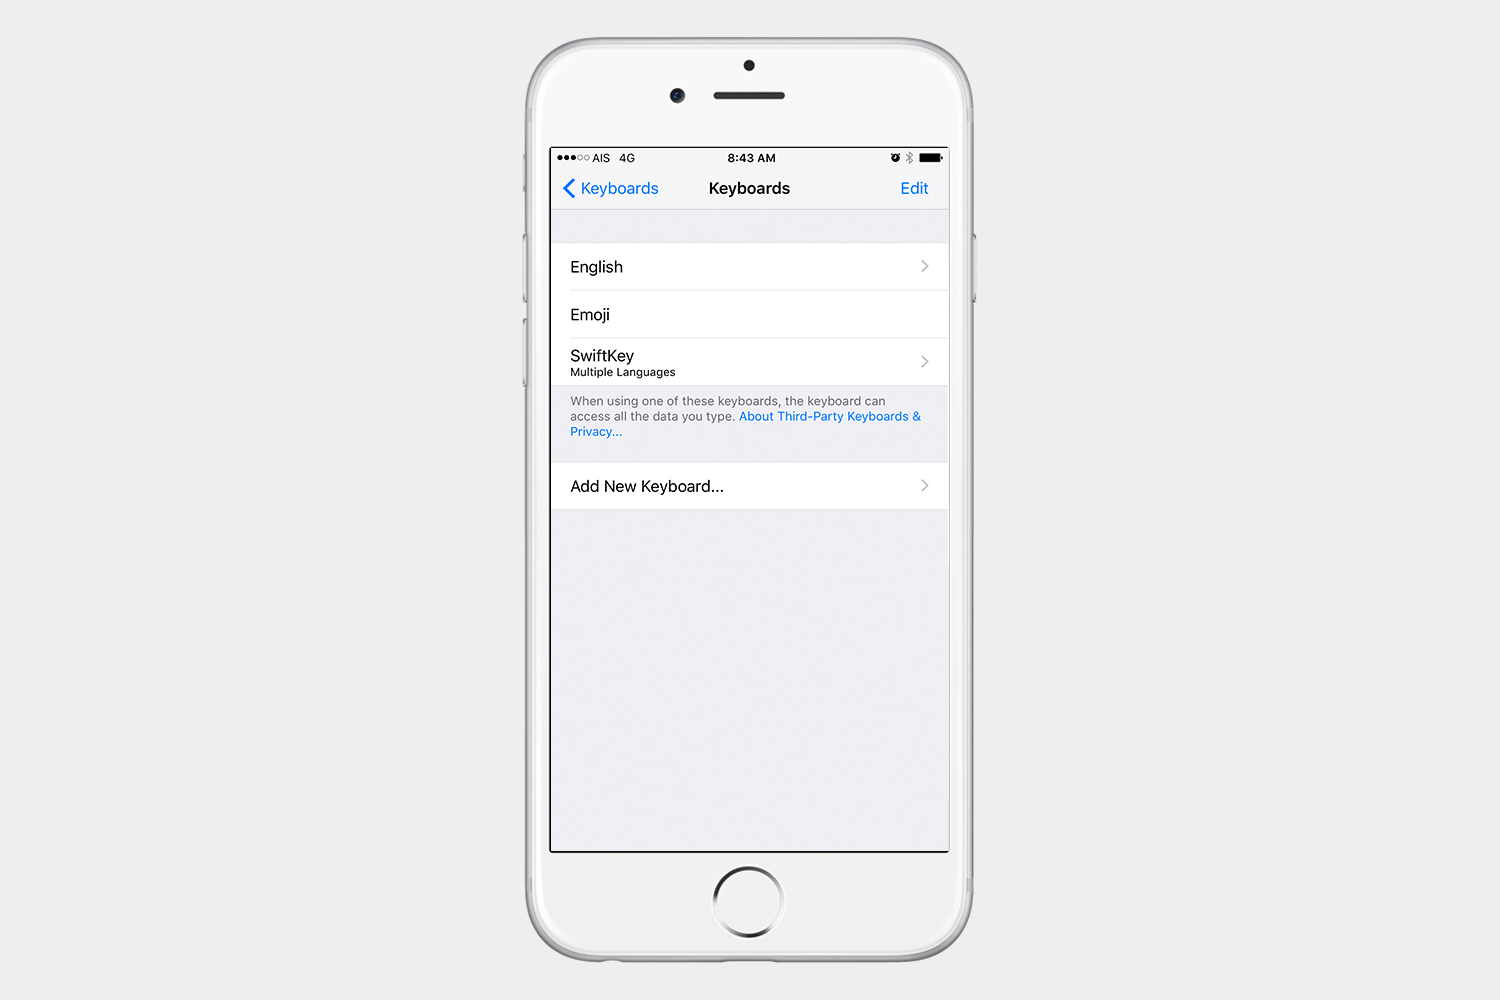
There’s not a lot to do in terms of customization in iOS. You can change your wallpaper to a still image, or use an animated one. One of the best ways to customize your iOS experience, however, is to install a custom keyboard. This will allow you to change the look of your keyboard and access a wealth of features, such as swipe, which isn’t available in the default iOS keyboard.

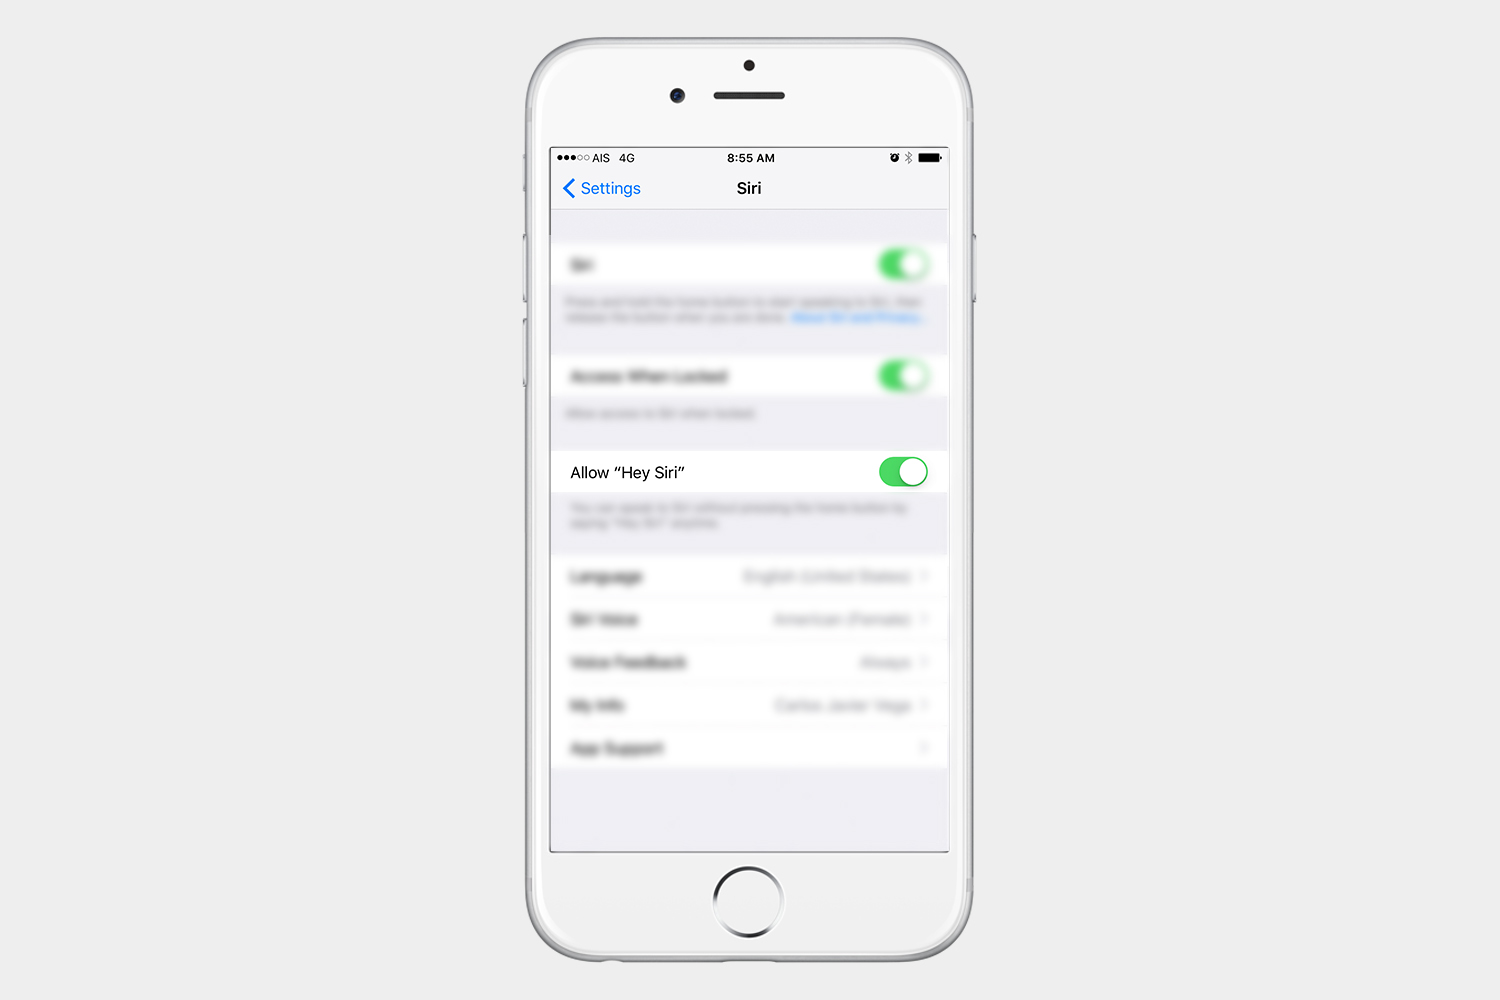
Making the most of Siri
Your virtual assistant in iOS is called Siri. If you’re a former
Once activated, you will hear two beeps. This means Siri is listening and waiting for your input. You can then ask Siri to create reminders, search the internet, call a friend, provide contact information, get directions, and snap a photo, among countless other tasks. If you say something like,”How do I use you?” Siri will even give you tips on how to use the feature. The virtual assistant is also integrated with apps like Home Kit, meaning it can turn on the lights in your home.
Utilizing Apple Pay
If you set up Apple Pay, you will be able to pay for things using your iOS device. Sadly, not every iOS device is compatible with Apple Pay, so click here to check if your device is. Also, not every bank will support Apple Pay, so click here to see if your bank does.
Setting up Apple Pay on your iOS device

Step 1: Launch the Wallet app, or go to Settings > Wallet & Apple Pay on your iPad.
Step 2: Tap Add Credit or Debit Card, and follow the on-screen instructions.
Setting up Apple Pay on your Apple Watch
Step 1: Open the Watch app on your iPhone.
Step 2: Navigate to the My Watch tab, and tap Wallet & Apple Pay > Add Credit or Debit Card.
Step 3: Follow the on-screen instructions to add your card.
For an in-depth walk-through of Apple Pay, check out how to use Apple Pay to buy things in stores and online.
Common issues you may face
We think iOS devices are great. They’re powerful, the software is nicely optimized, and, unlike many
Battery drain
This is probably one of the bigger issues with iOS, one that may arise after an update or suddenly without warning. You may notice that your iOS device doesn’t get you through the day like it used to. All batteries eventually lose their ability to retain a charge, however, and this usually starts happening after a year or two of use. After all, batteries have a certain lifetime that is calculated in charging cycles. For help, take a look at our tips to make your iPhone battery last longer.
Update issues
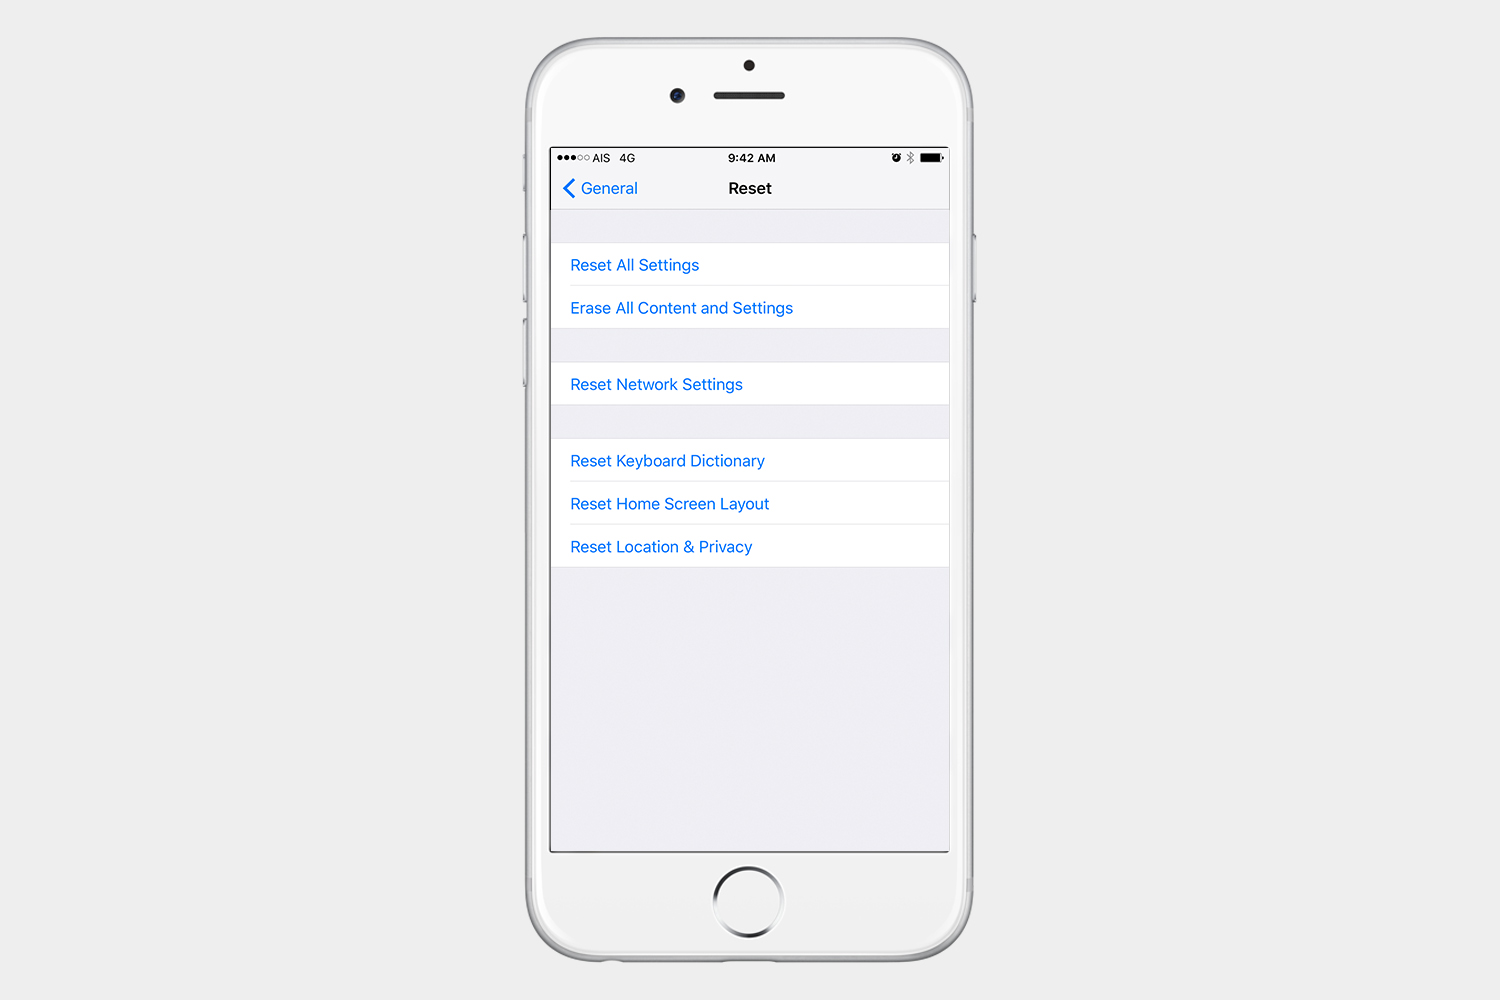
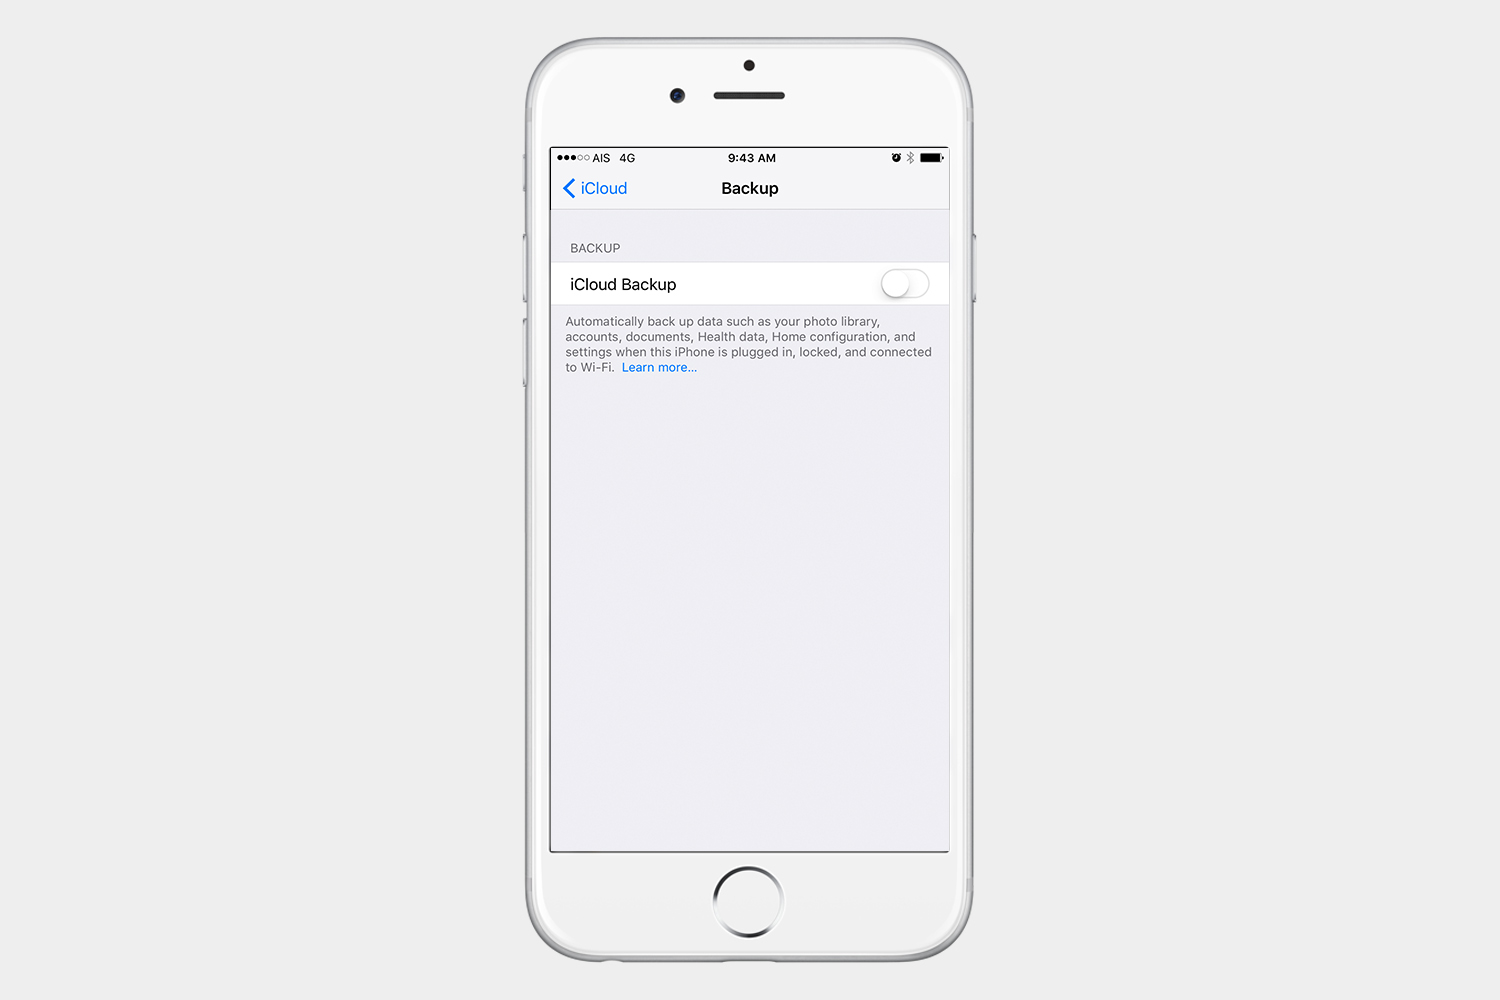
Every time Apple releases an update to iOS, many users experience some sort of issue. When all else fails, issues can often be resolved by resetting your iOS device. To do this, go to Settings > General > Reset. You can select Erase All Content and Settings to factory reset your device, but this is an extreme measure, one that will wipe your information and return your device to the condition it was in when you first turned it on. Just remember to back up your device first by going to Settings > iCloud, and turning on Backup. You can also back up your device through iTunes, then restore your device after resetting it.
Keep in mind that we have a host of devices and OS-specific articles that detail many of the issues you may be facing, including problem guides to iOS 10 and the recently-released iPhone 7.
The bottom line
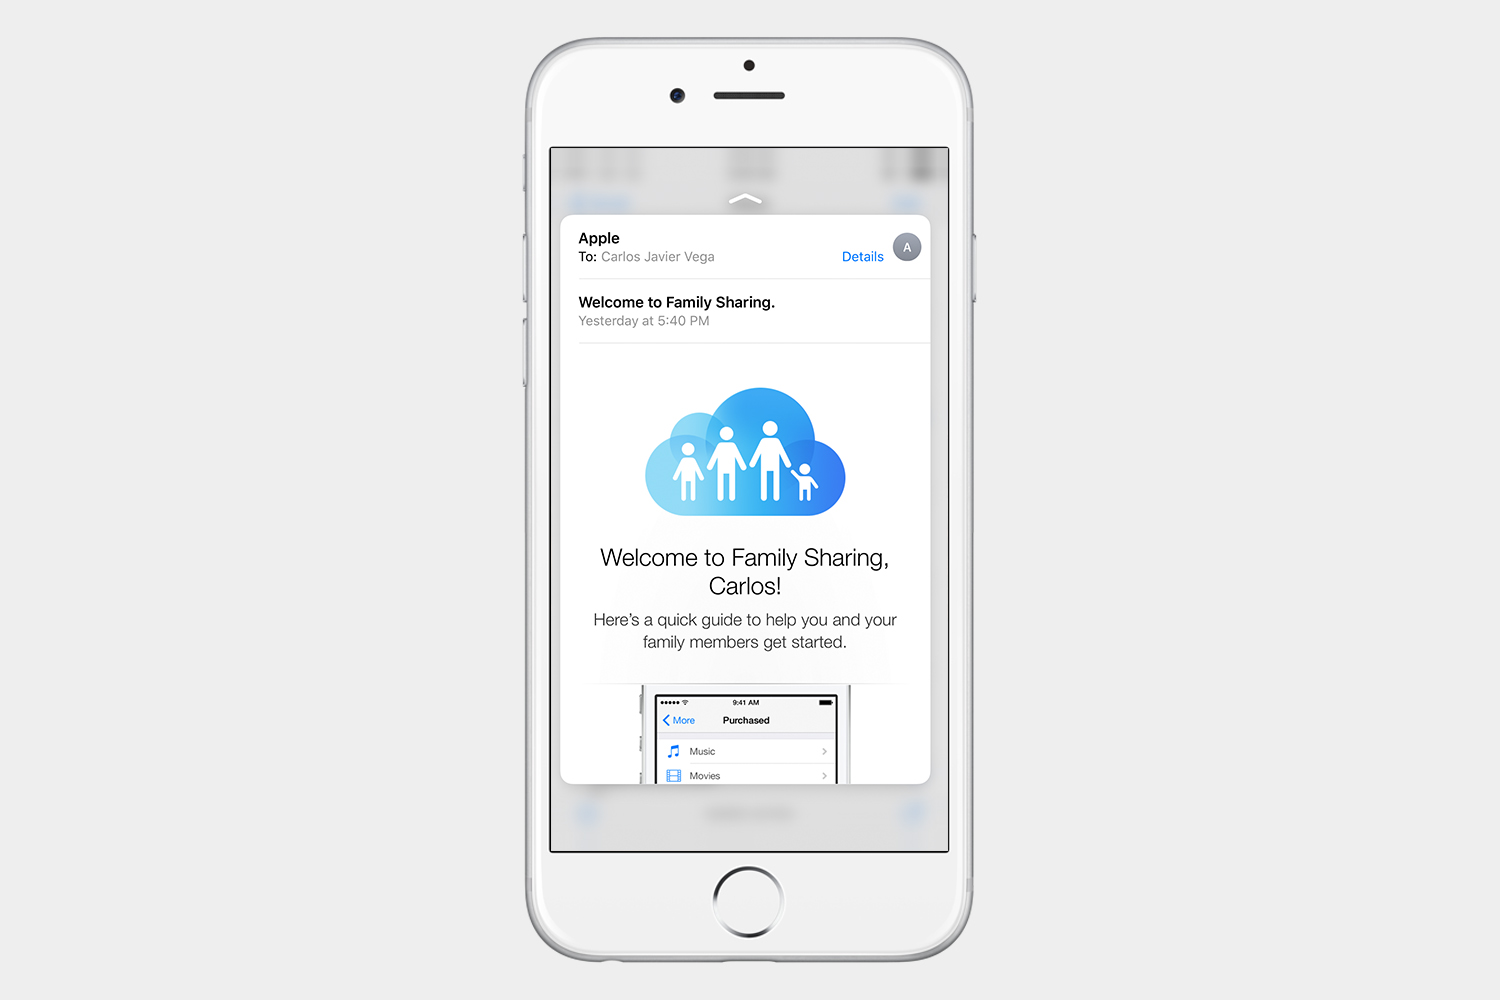
If you chose iOS, then you’re going to enjoy the best app selection of any platform, not to mention great performance and ease of use. Once you get set up, however, you’ll want to dig a bit deeper into the operating system if you truly want to make the most of it. Learn how to use iMessage on iOS 10, how to use FaceTime, and how to use family sharing in iOS. Take a look around our site and you’ll find many more iOS guides, all of which are aimed at helping you master your new iPhone or iPad.
Editors' Recommendations
- 10 iPhone productivity apps you need to download right now
- The 10 best photo editing apps for Android and iOS in 2024
- This could be our first look at iOS 18’s huge redesign
- iOS 18 could add a customization feature I’ve waited years for
- The best iPhone keyboard apps in 2024: our 12 favorites