When you send files to your Mac via AirDrop, the received files are automatically saved to the Downloads folder. While this is a logical place for them to go, it’s non-configurable and lumps them in with your Mail attachments and Safari downloads.
This approach is not granular enough for some users who may wish to designate a specific folder for AirDrop files to be saved to. Although macOS does not allow this out of the box, it’s possible with some straightforward steps.
In this guide, we show you how to change the save location of files you receive via AirDrop on your Mac.
How to change where AirDropped files are saved on Mac
Before you begin:
- Decide where you want to save the AirDropped files. It can be your Desktop, a folder on the Desktop, a folder inside the Downloads folder, or just about anywhere else. Just make sure you have created that folder. Note that there is no need to create a folder in case you wish to get AirDropped files on the Desktop or any other folder that already exists.
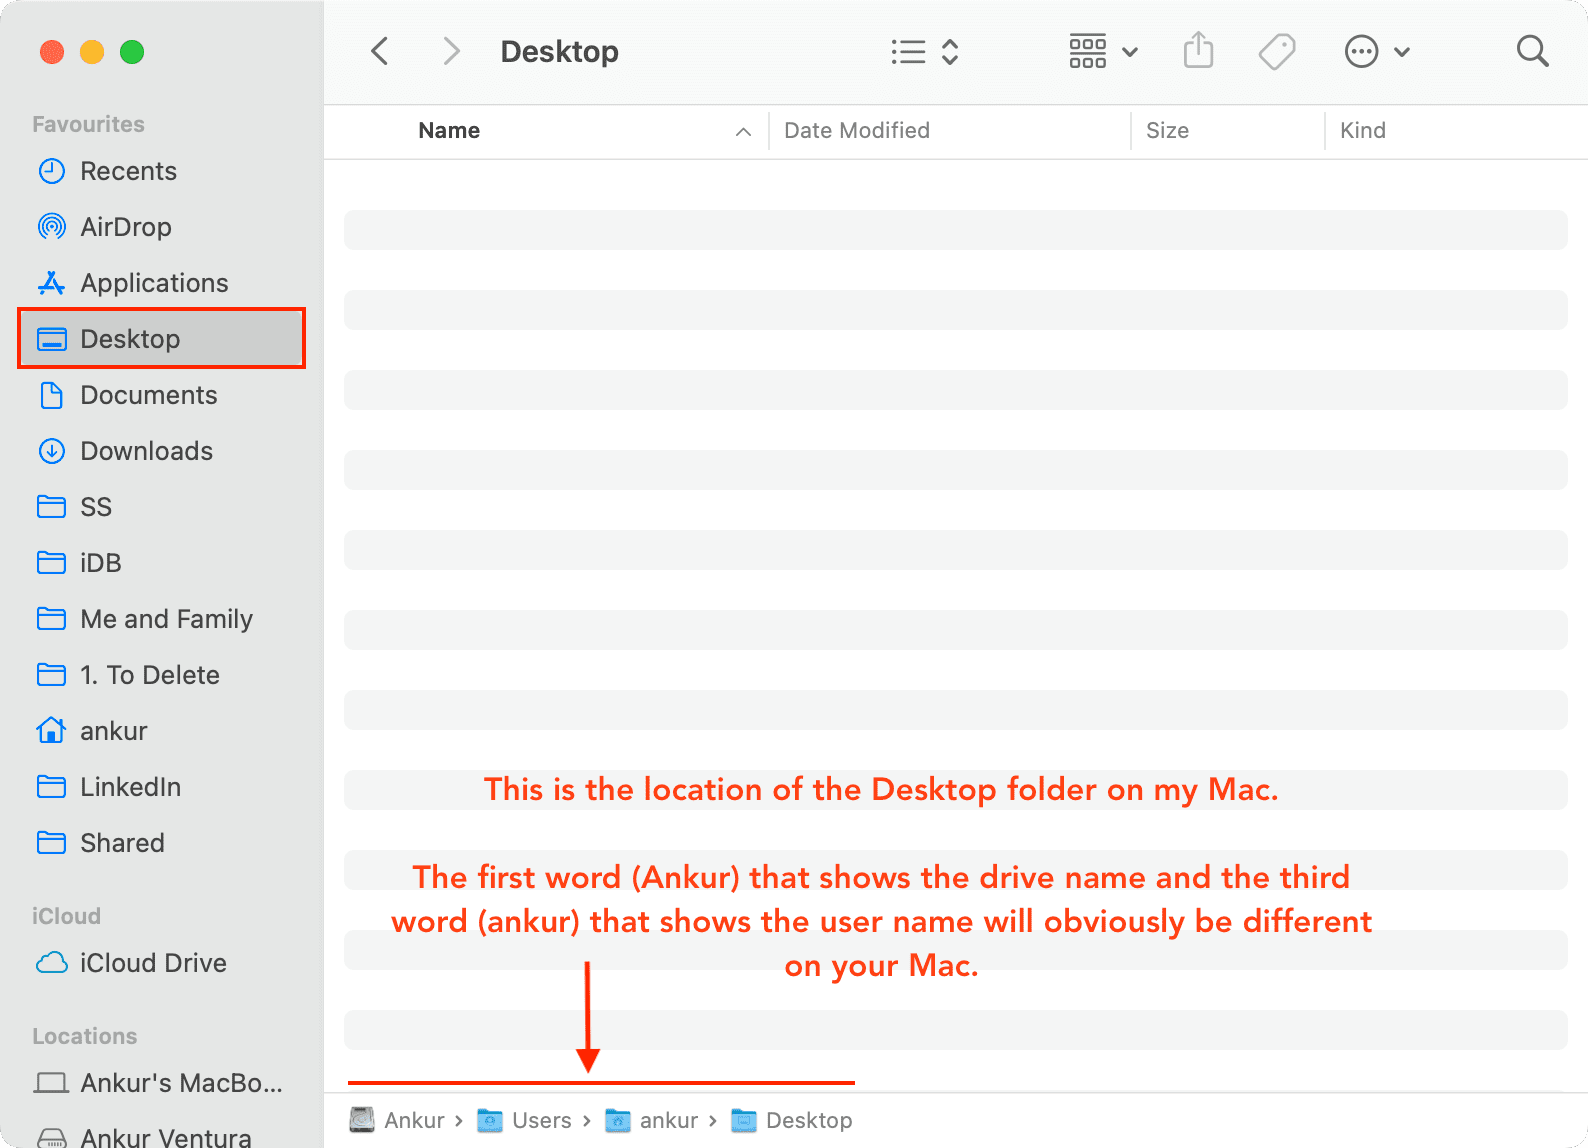
- I want you to open a Finder folder and click View > Show Path Bar from the top menu bar. From now on, you will see the folder address, which will help you while following the steps below. For more info: How to use Finder’s interactive Path Bar on Mac
The entire process seems lengthy, but it’s easy (and enjoyable). Plus, I have included all the relevant screenshots to help you.
Here’s how to change where AirDropped files are saved on your Mac:
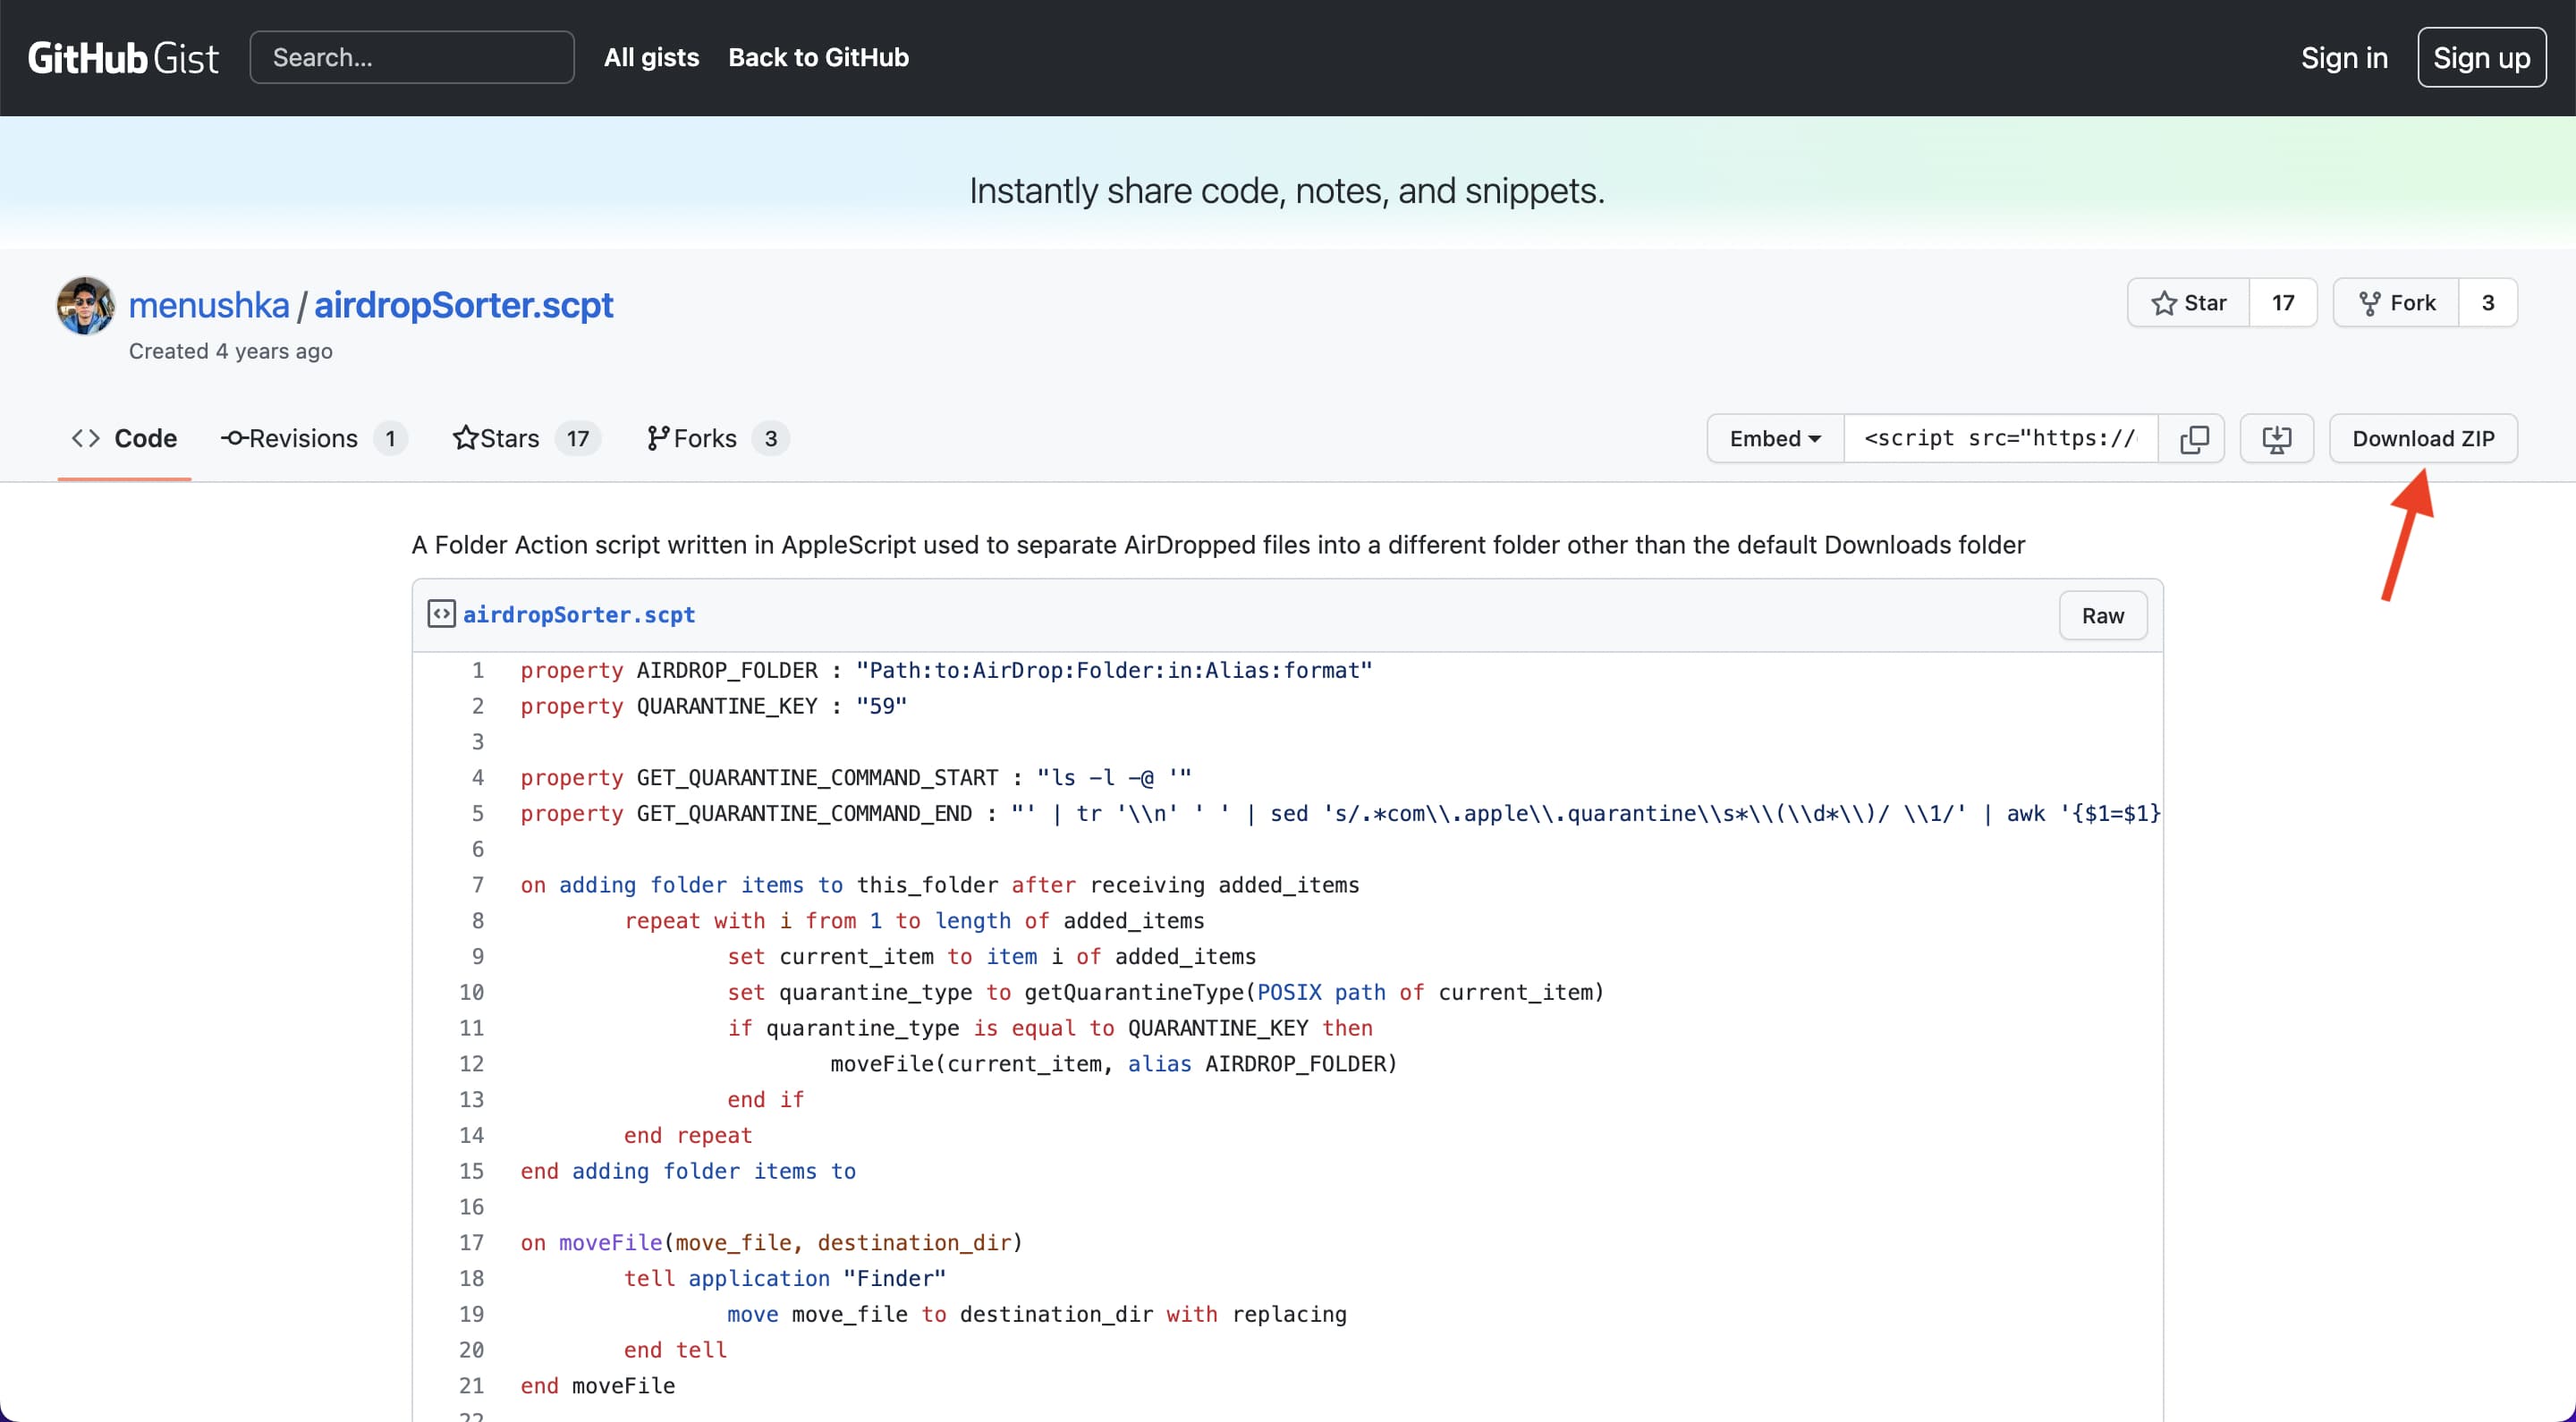
1) Go to this GitHub page to get the required script. From here, click Download ZIP to save it to your Mac. Thanks, and credit to Menushka for creating this.
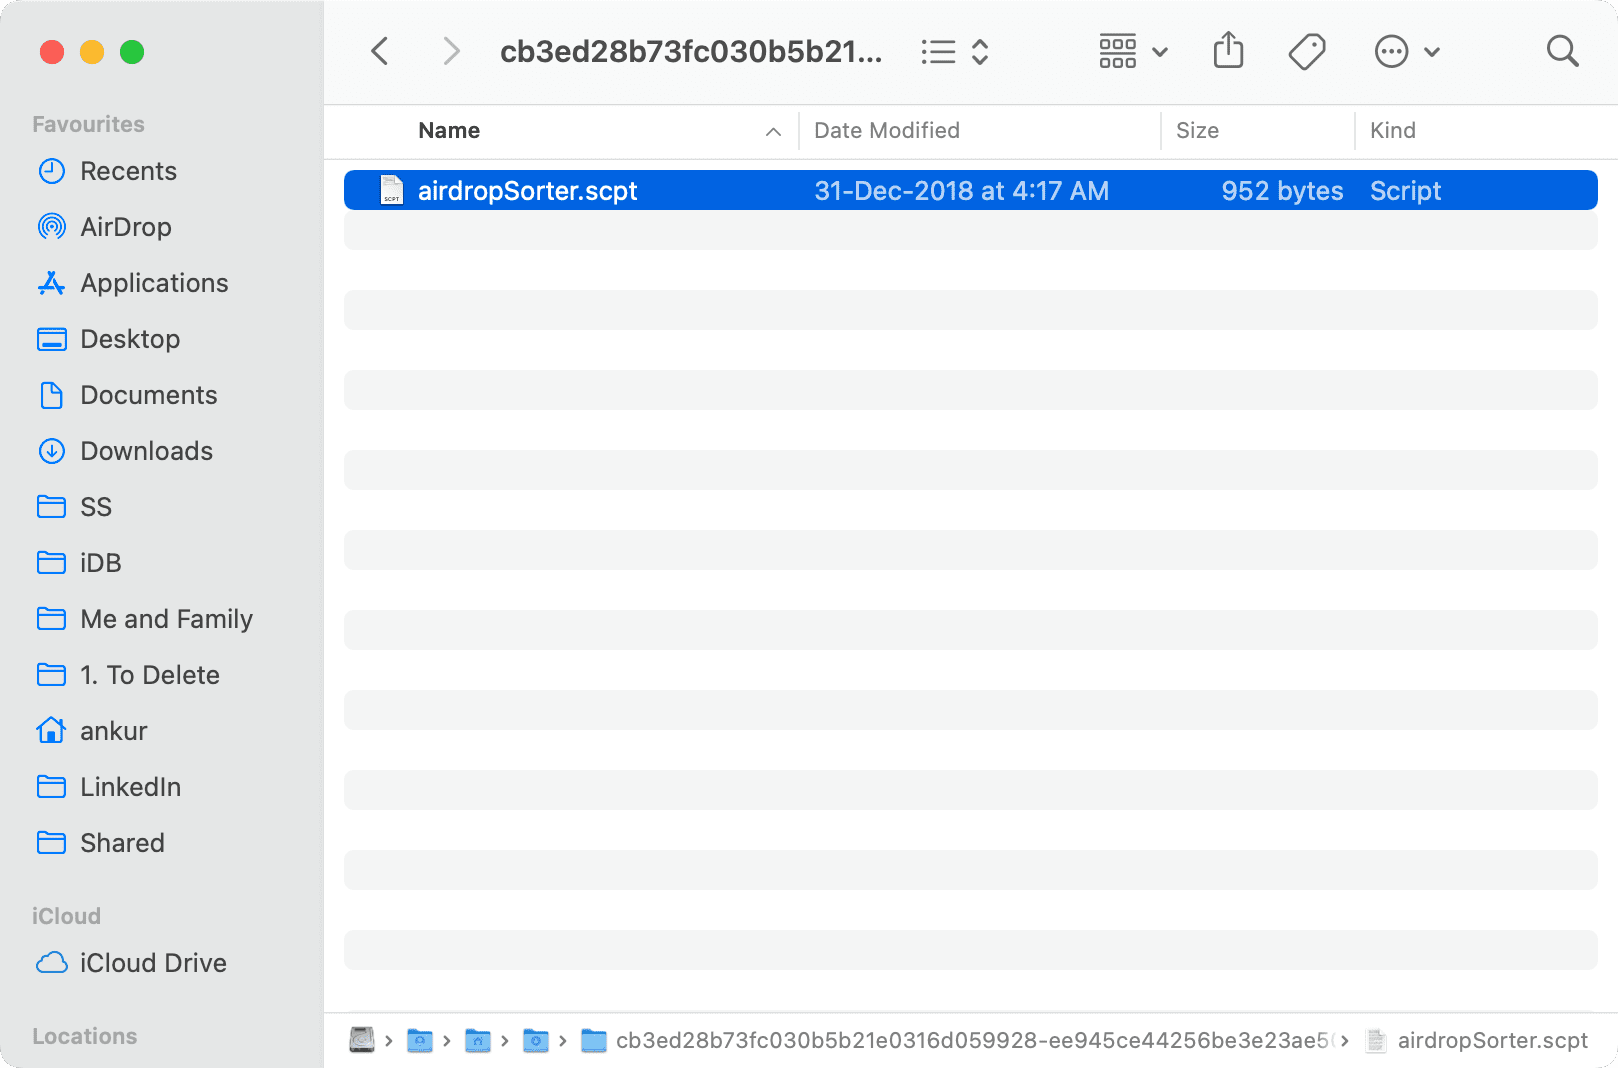
2) Double-click the ZIP file to unzip it and go inside the folder.
3) Here, you’ll find airdropSorter.scpt file. Double-click, and it should open by default in the macOS Script Editor program.
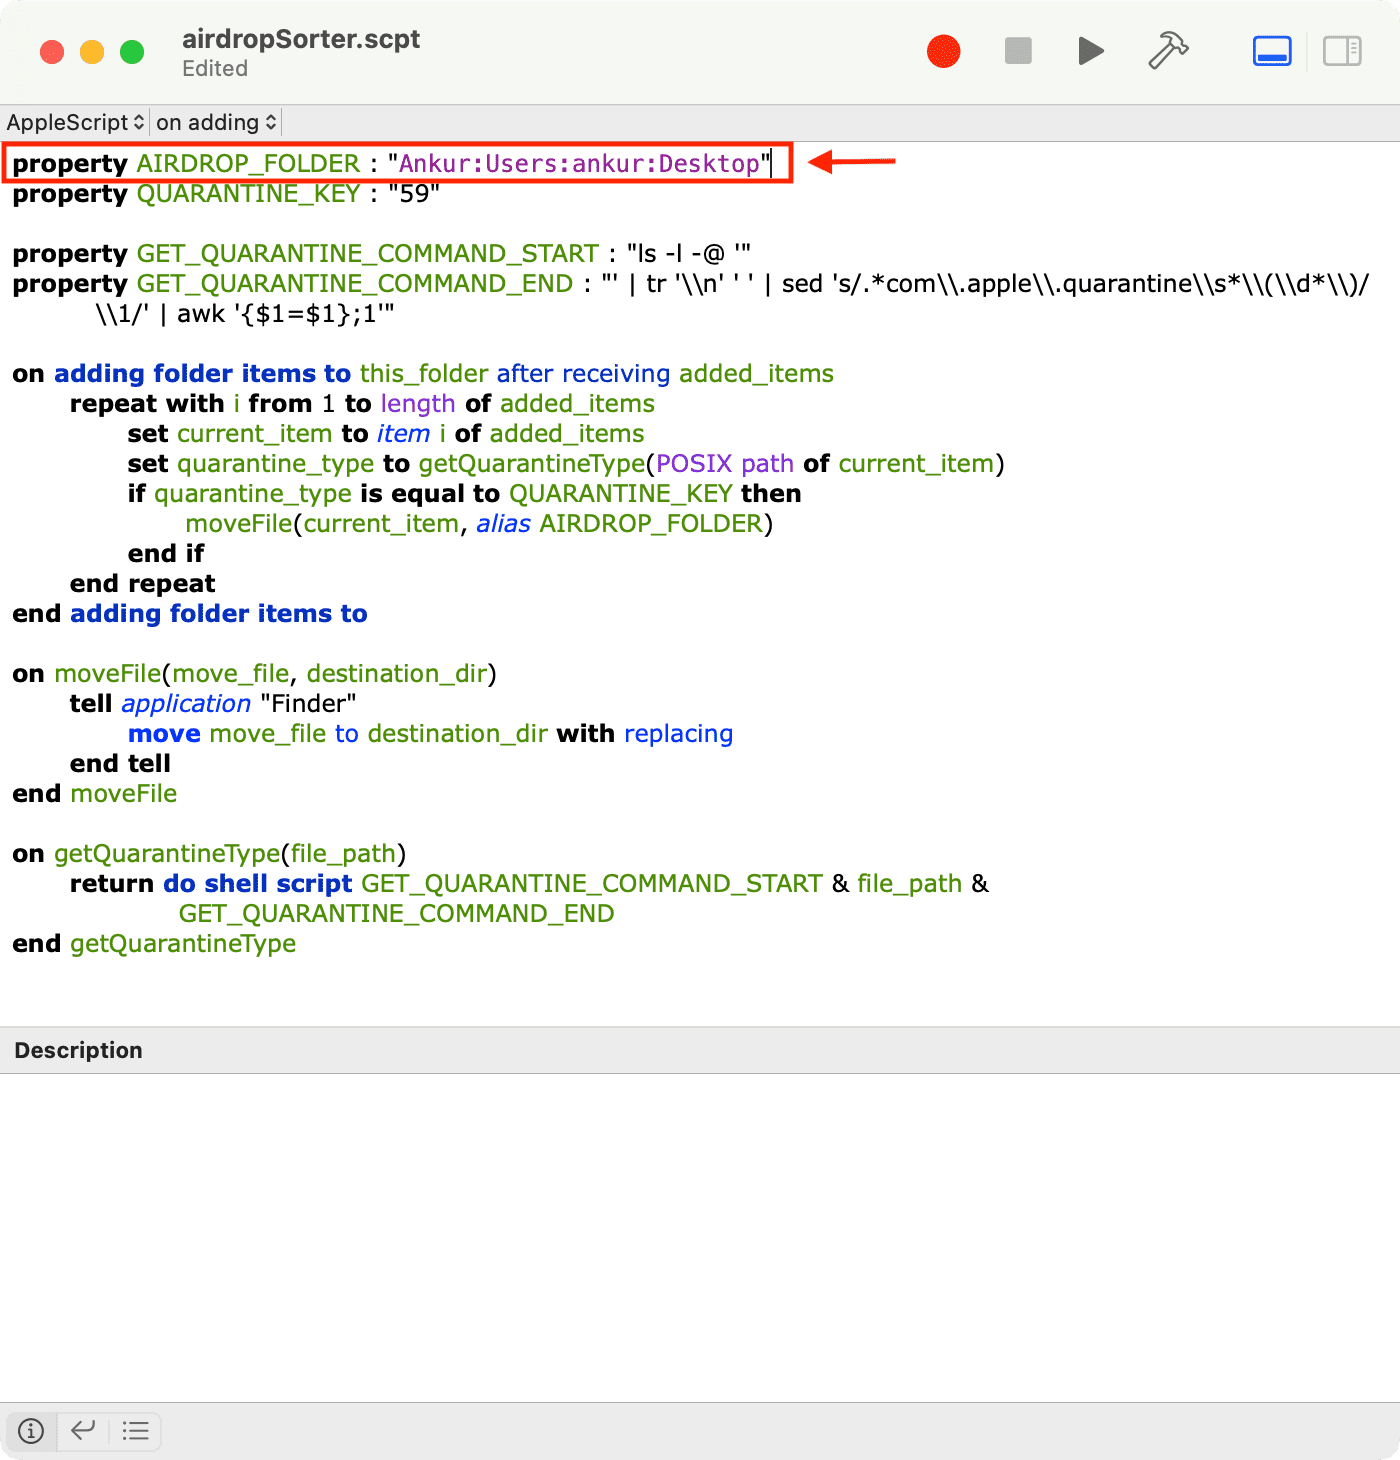
4) We must now customize the script to reflect our chosen AirDrop folder location. Look for the field called property AIRDROP_FOLDER. It should be the first line of the script:
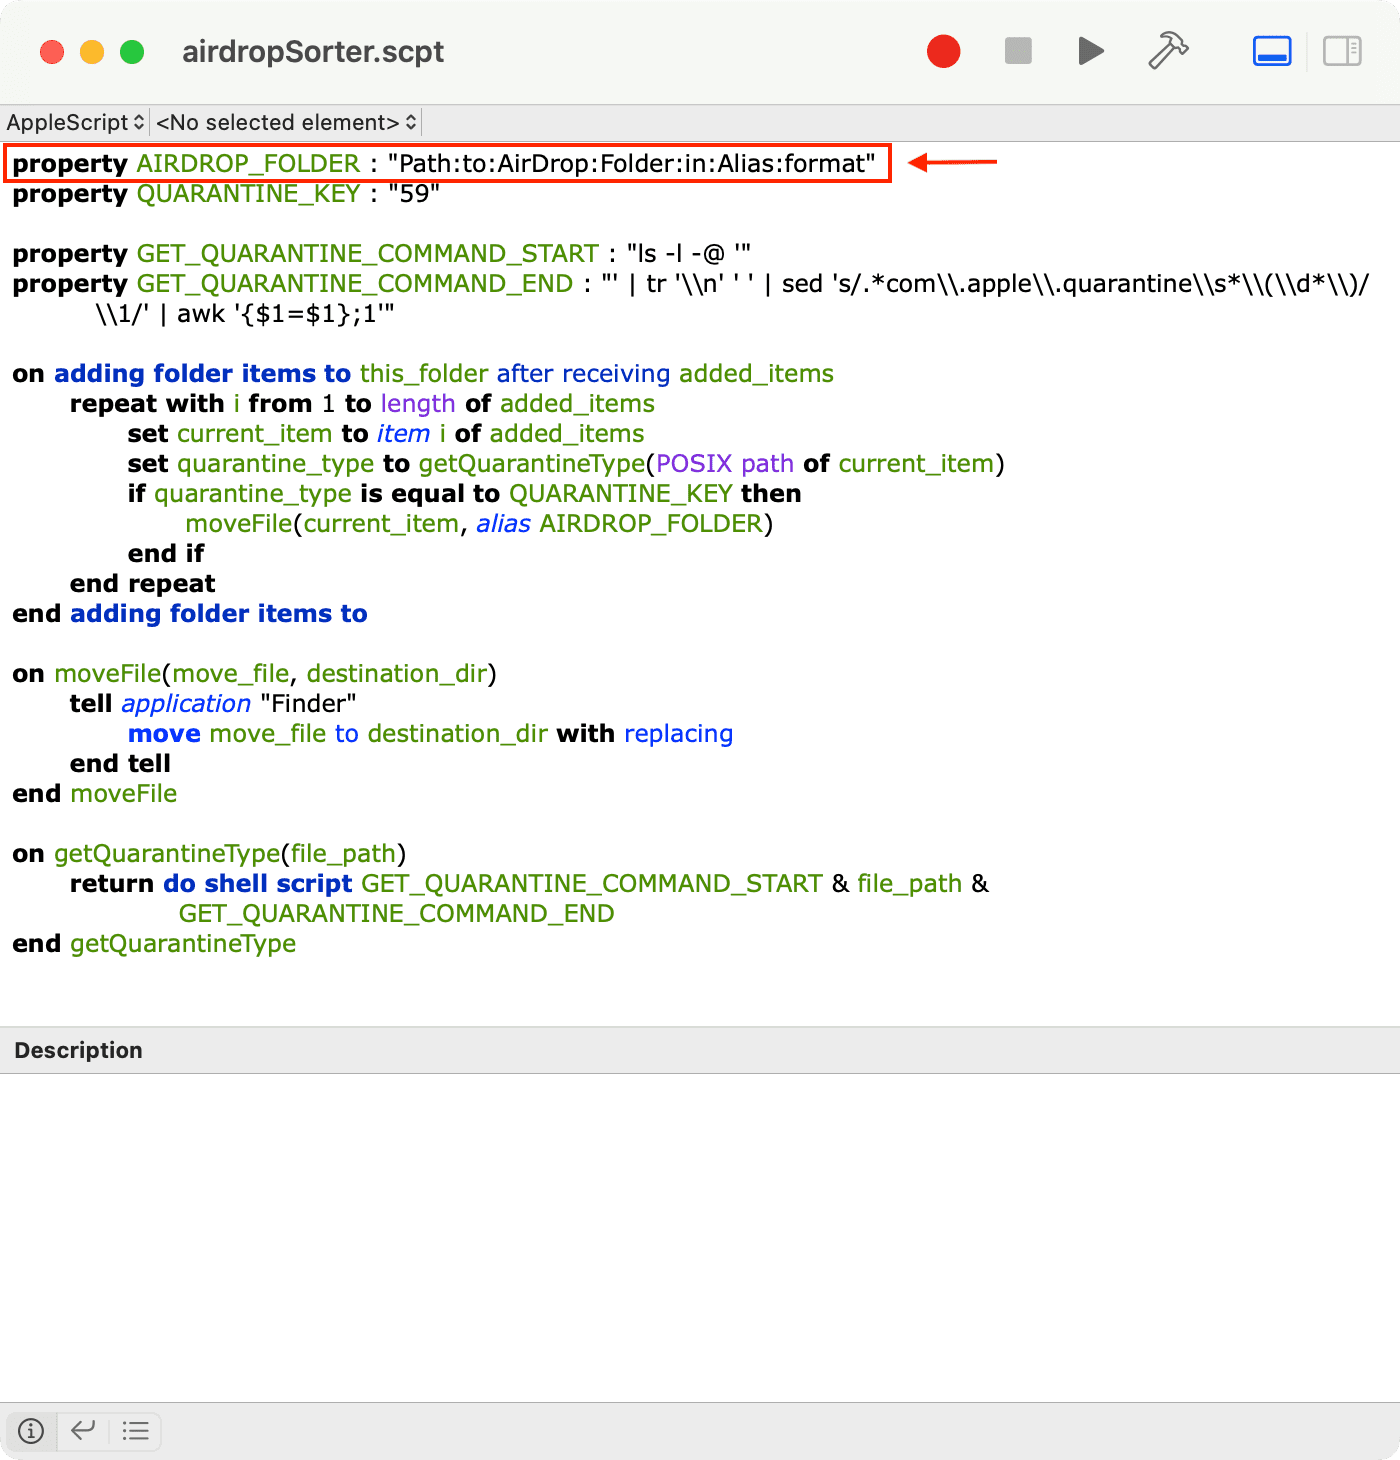
5) Edit the property AIRDROP_FOLDER field to reflect your desired AirDrop folder. Edit only the file path between the quotes (” “), and leave the quotes in place. Due to the script using the alias format, the folder hierarchy should be shown with a colon (:) and not with the macOS default of forward-slash (/). For example, the file path
Macintosh HD/Users/idownloadblog/Desktop/Photos/AirDrop
would be written as
"Macintosh HD:Users:idownloadblog:Desktop:Photos:AirDrop"
I (iDB author Ankur) want my AirDropped files to go to my Desktop. So the path I chose was:
"Ankur:Users:ankur:Desktop"
I got this Desktop address easily thanks to the Path Bar I had enabled earlier. As a result, I went to the Desktop folder, and the Path Bar showed me the address, which I typed in the script. For more on this, you may see six ways to find the full path of a file or folder on Mac.
Similarly, you can choose the Desktop folder of your Mac or any other folder you like.
Here is my finished script:
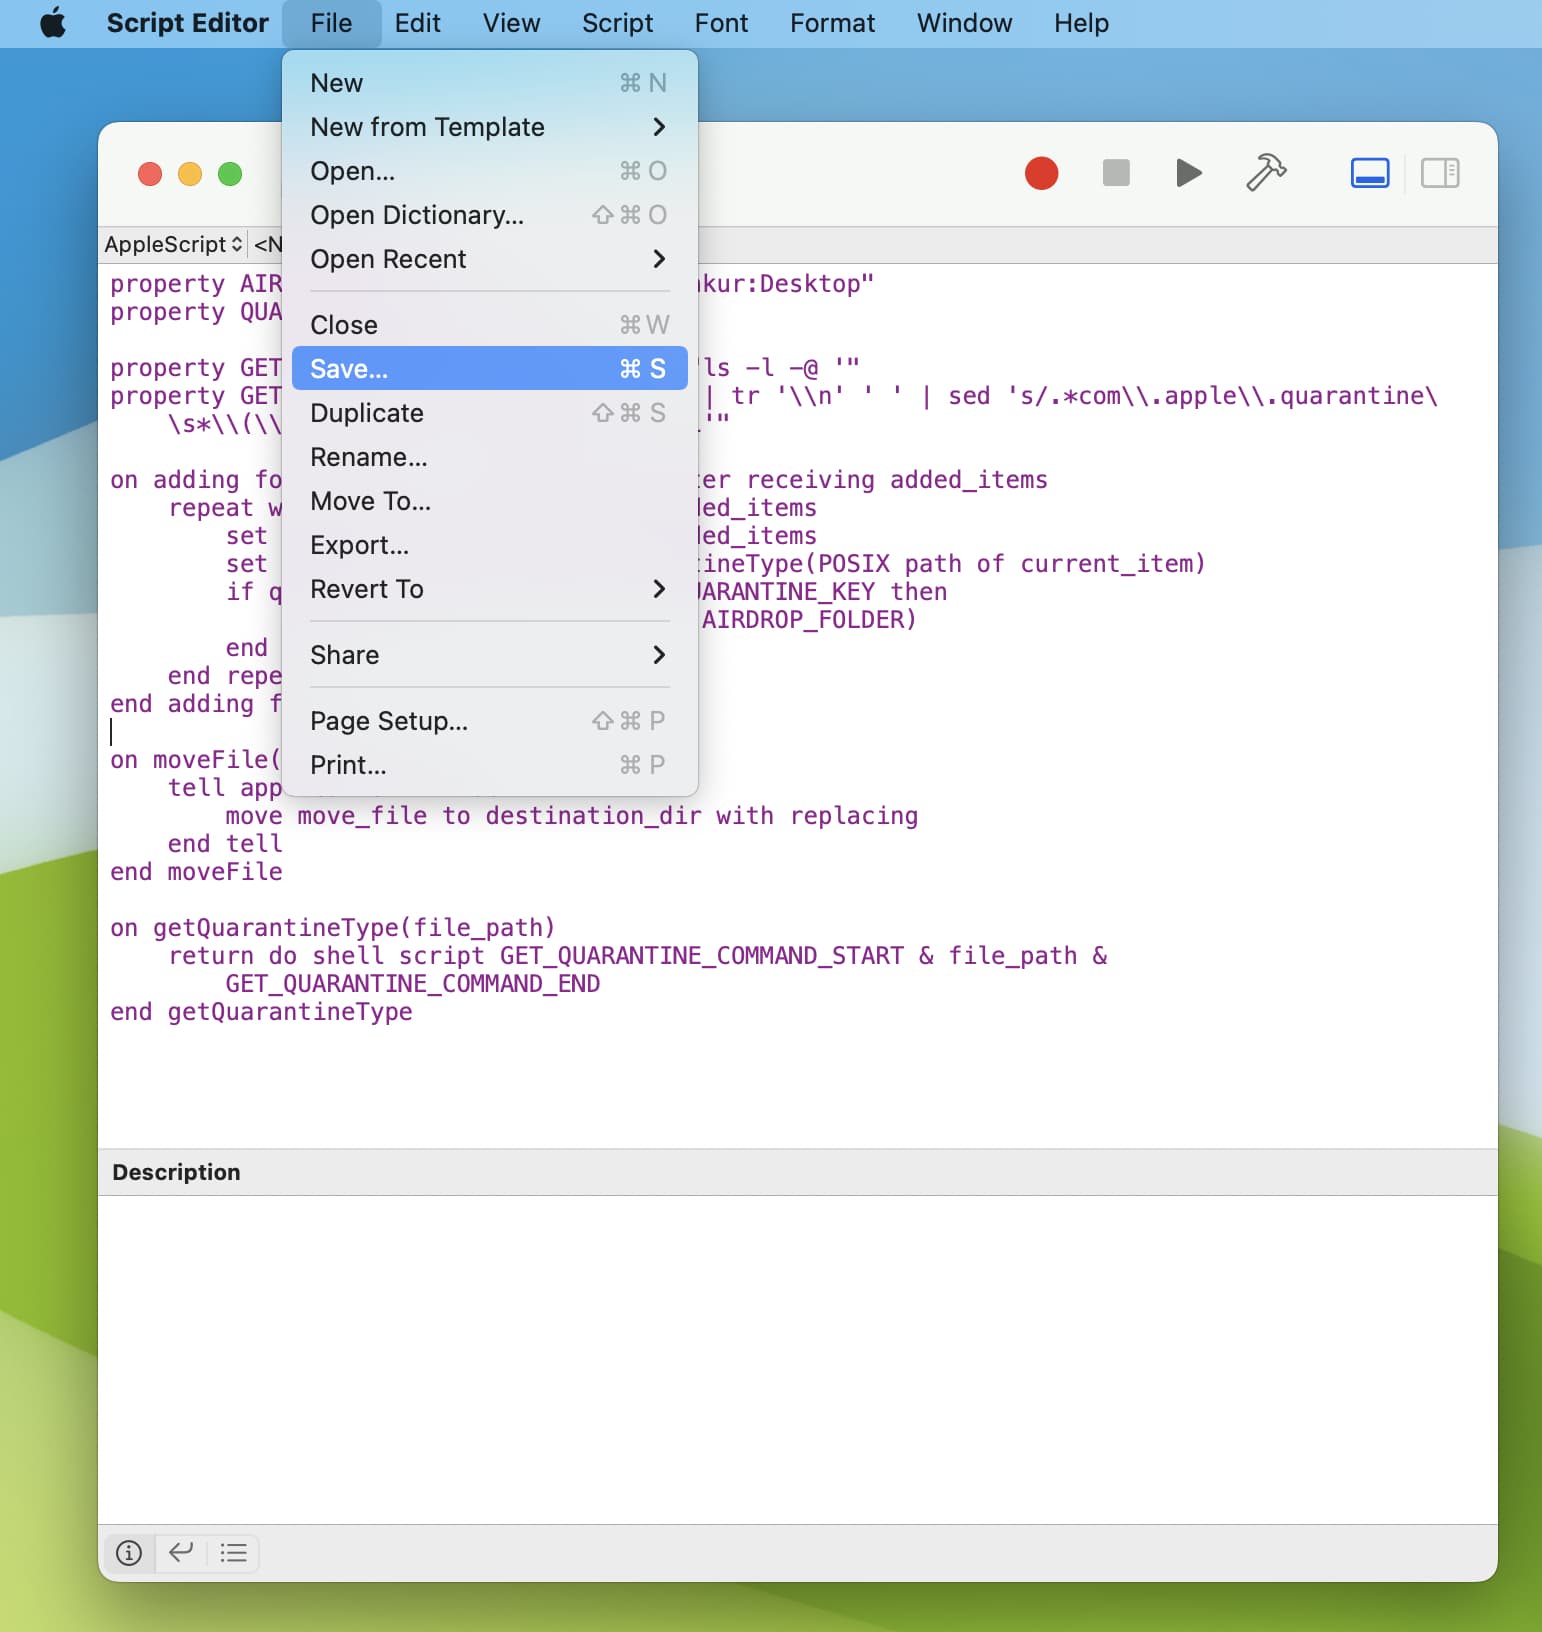
6) Once the changes are made, save the script by clicking File > Save from the menu bar. If you’re successful in saving the file, jump to the next step.
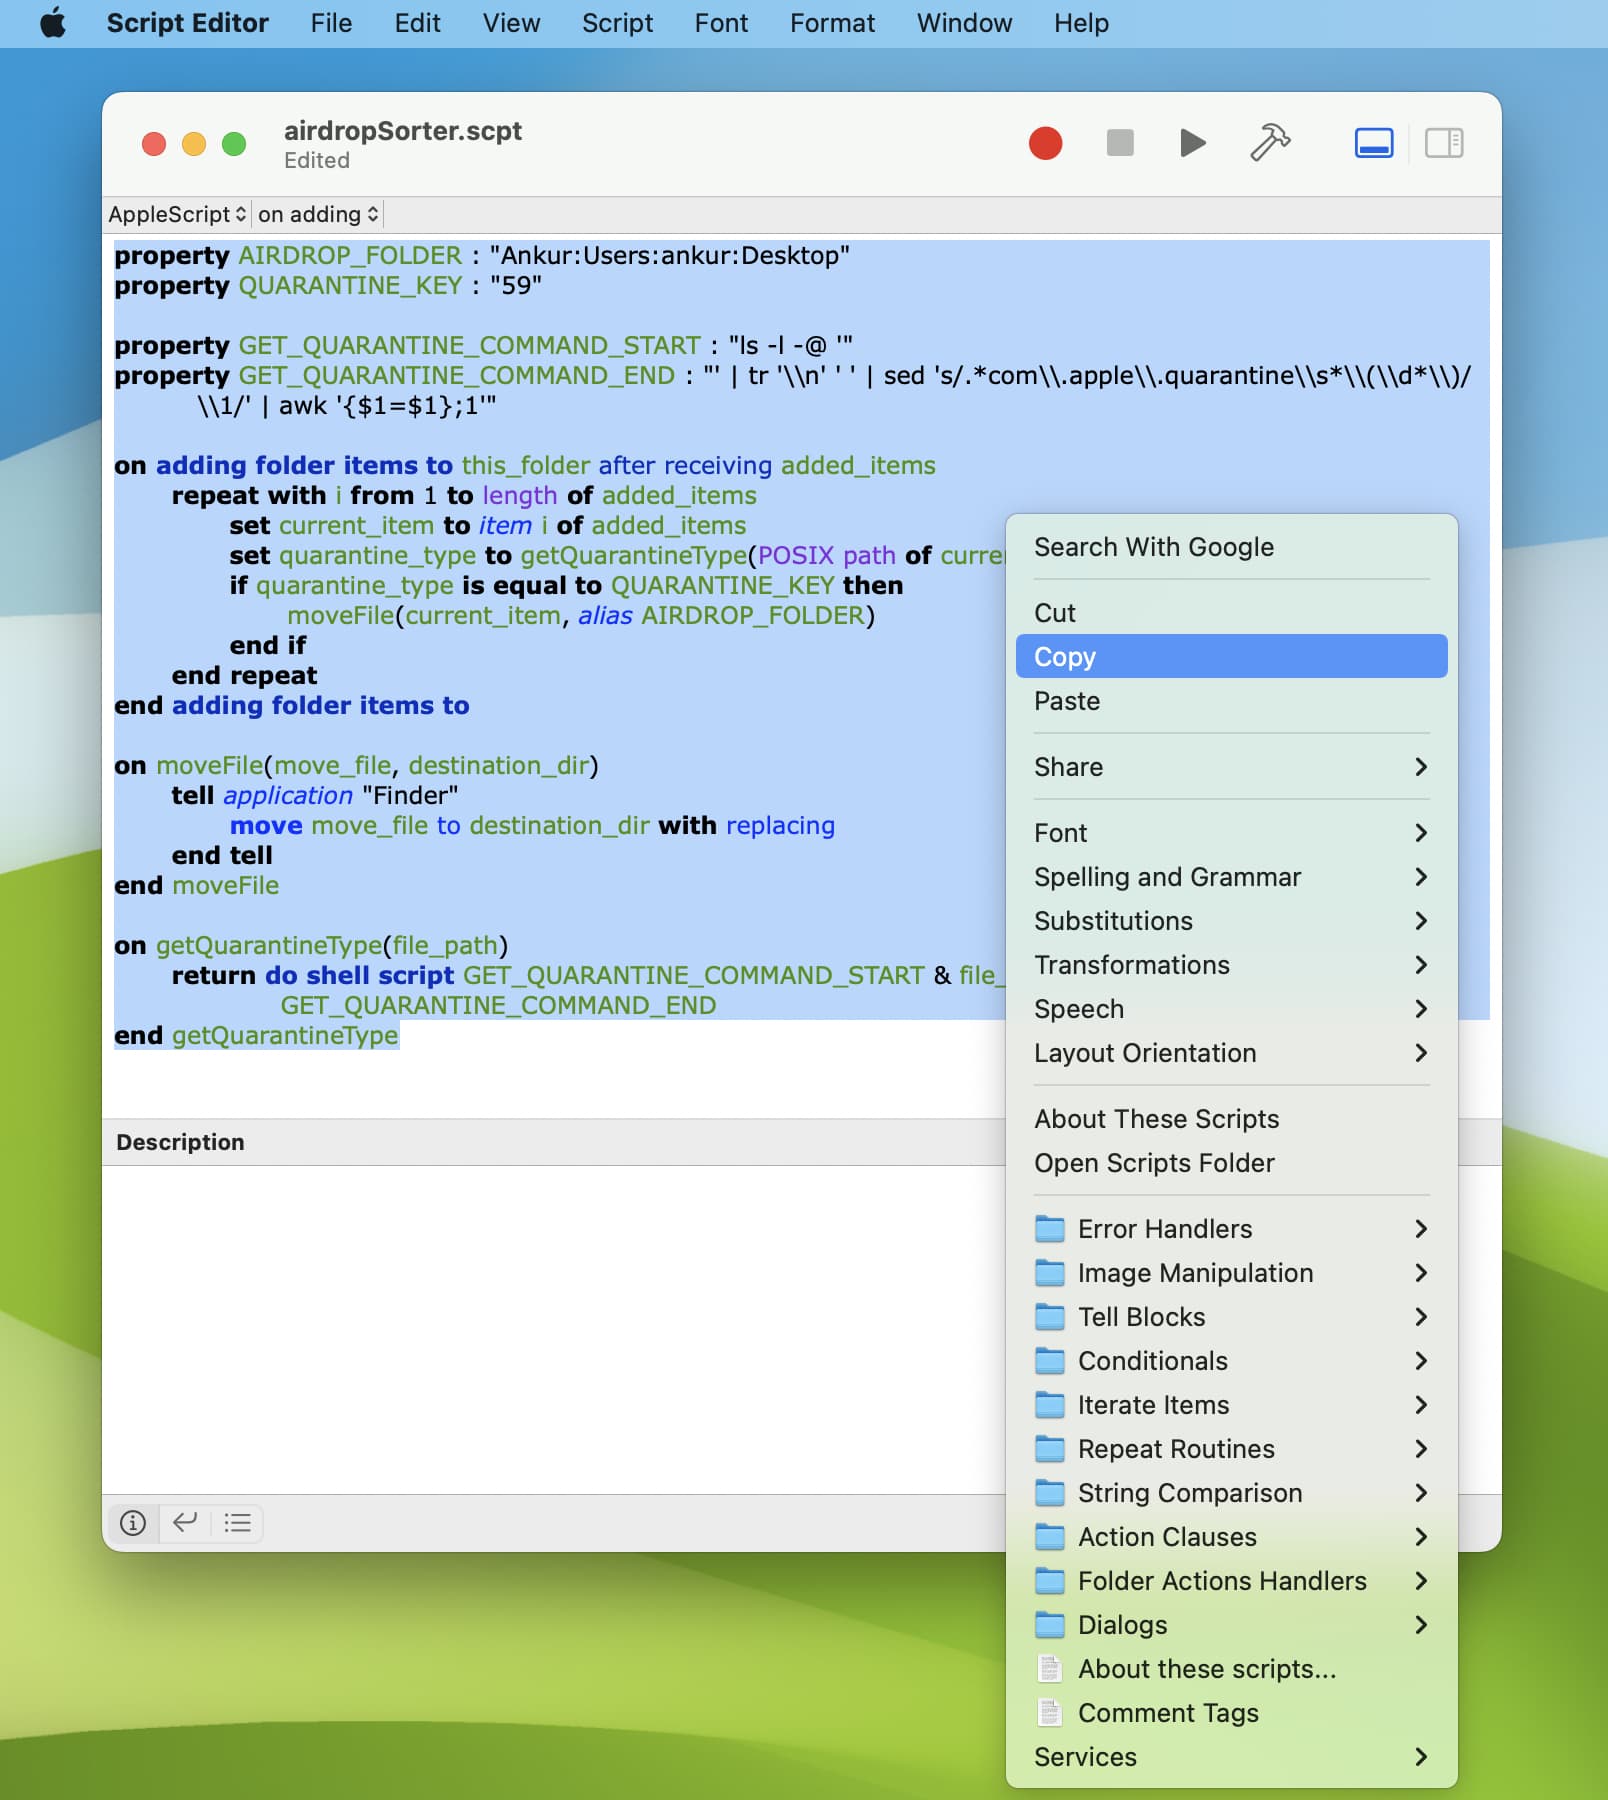
But there is a high chance that you might see an error saying, “The document “airdropSorter.scpt” could not be saved. (Error -1,752).” To address this, click inside the Script Editor, press Command + A to select everything, and then copy it.
Next, click File > New and paste everything here.
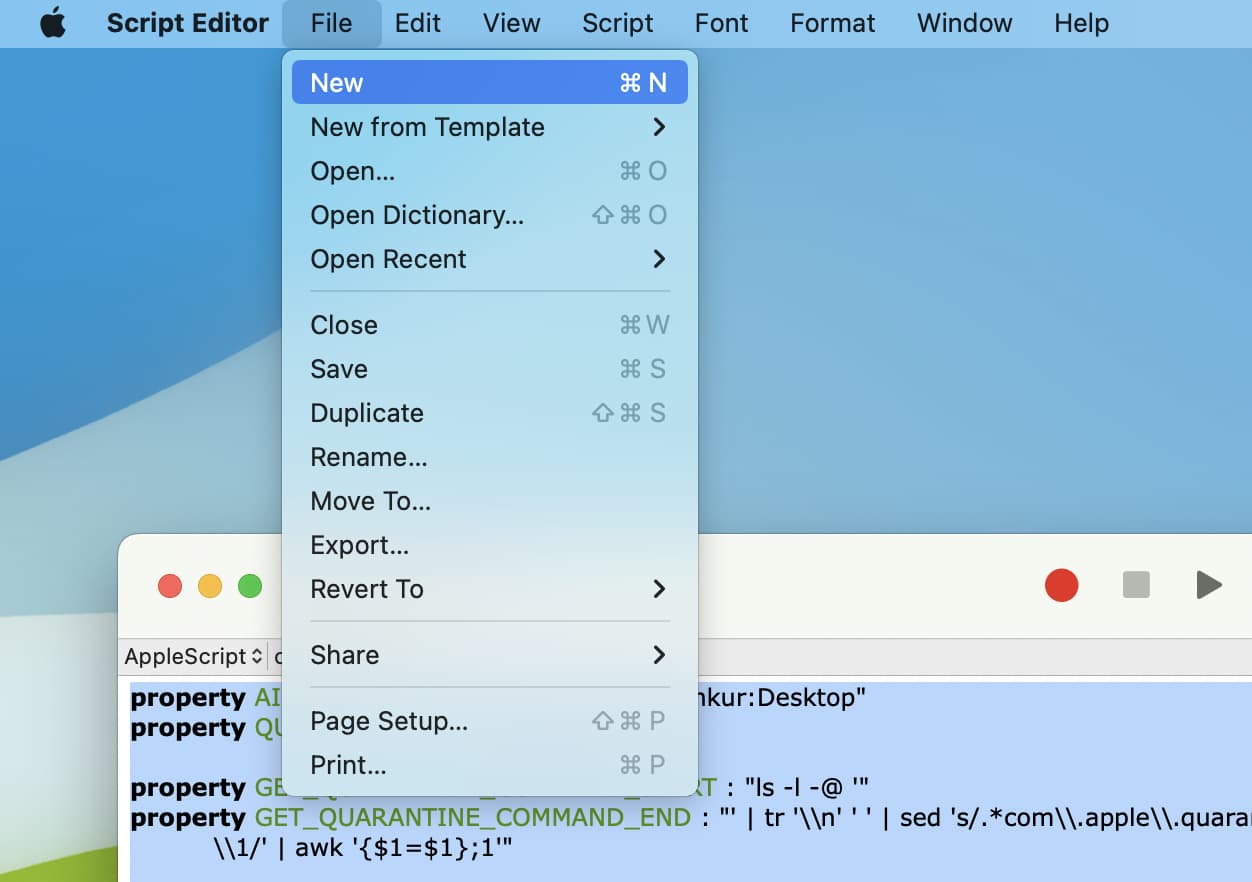
Now, click File > Save.
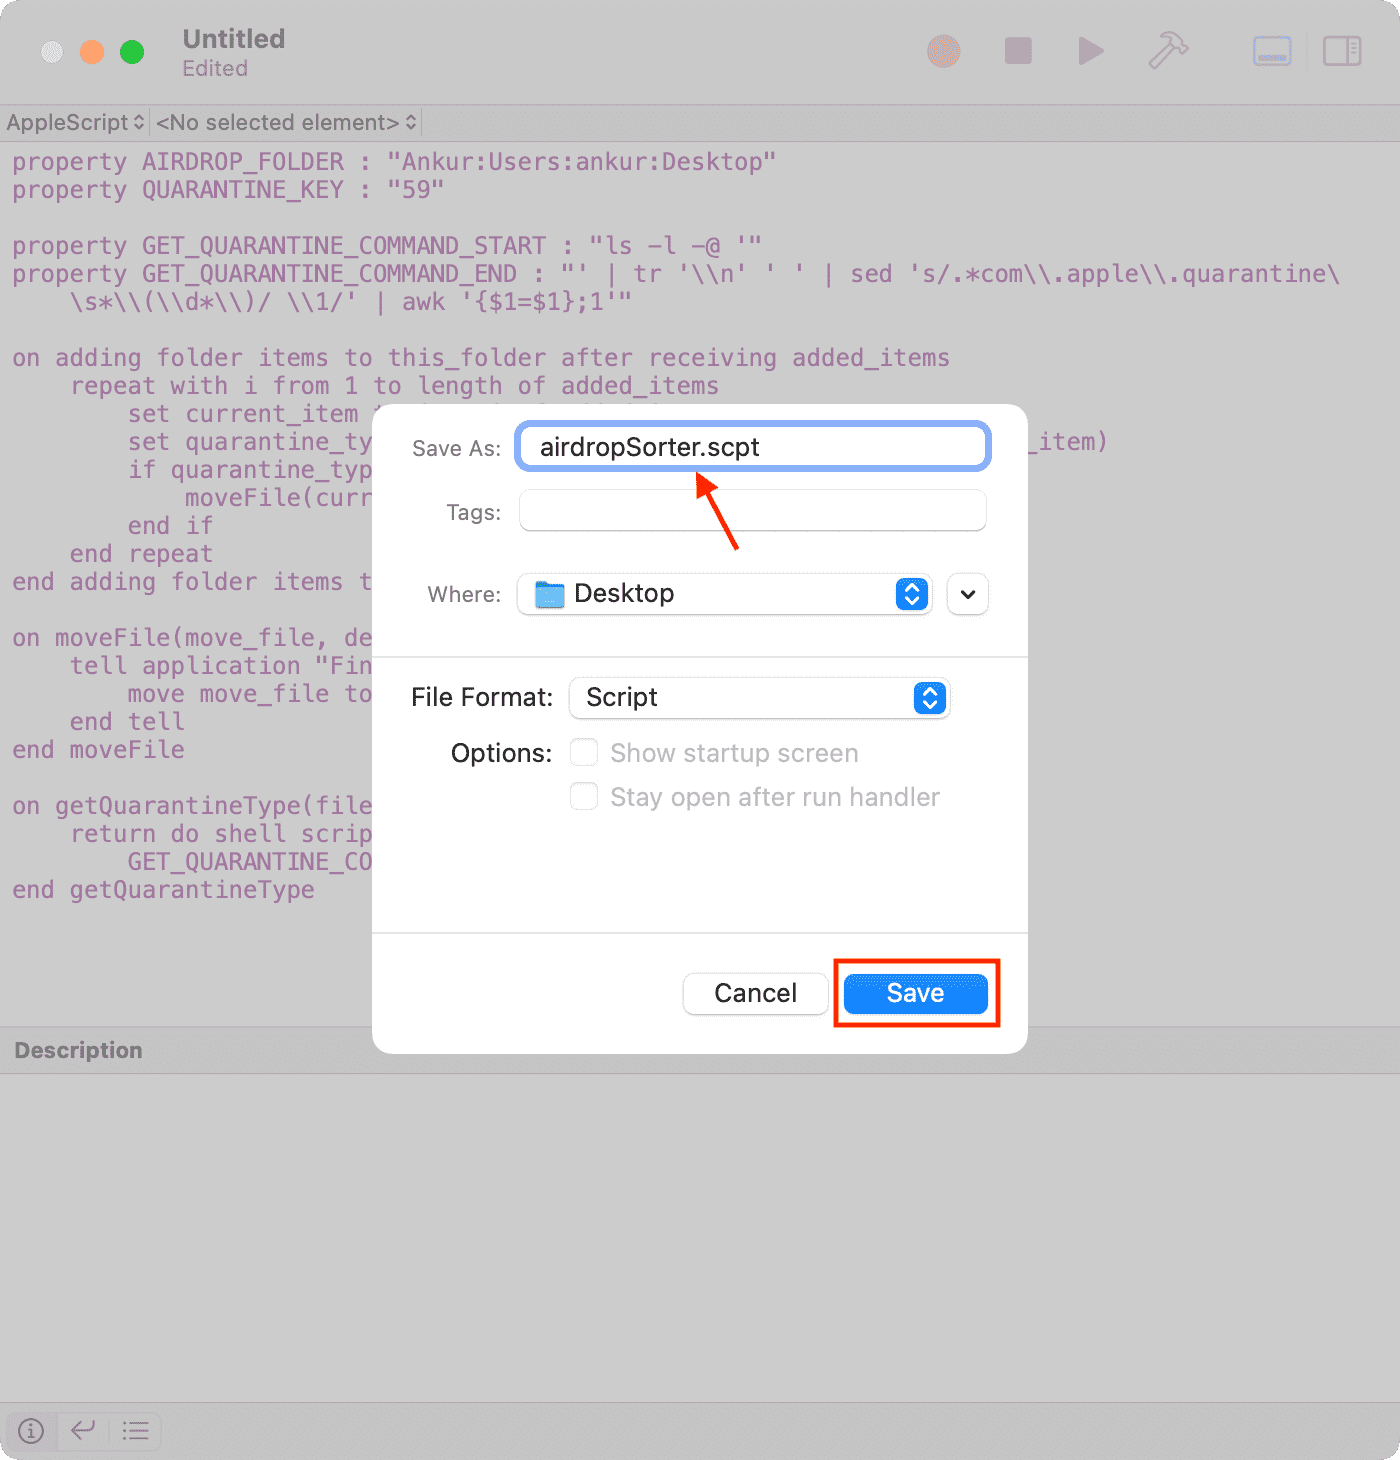
Here, change Untitled to airdropSorter.scpt. In the Where field, you can choose to save this file anywhere you want. When everything is set, click Save.
Optionally:
- You may now close all open windows of the Script Editor. Discard the first file that wasn’t letting you save the changes.
- You may also go to your Downloads folder where you downloaded the ZIP file in step 1. From here, delete the ZIP file and the folder, or at least delete the airdropSorter.scpt file you downloaded from GitHub. This is to prevent confusion by ensuring you only have one airdropSorter.scpt file that you just saved above in step 6.
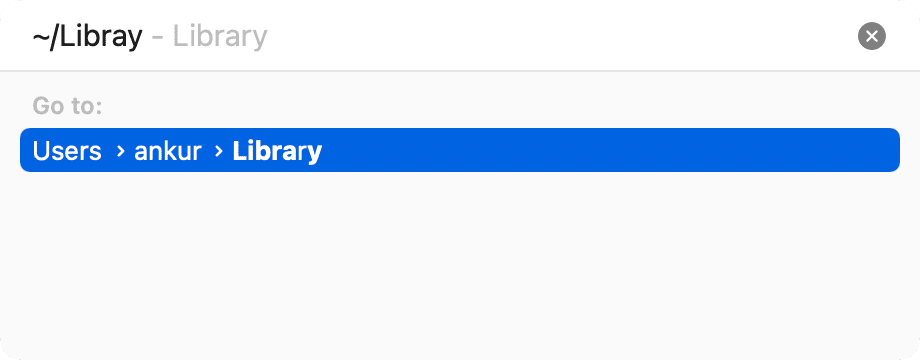
7) Go to Finder and click the word Go > Go to Folder. In the box that appears, type ~/Library and hit the Return key to open the Library folder.
8) Once you’re in the Library folder, do the following:
- On a Mac with an Intel processor, go to Scripts > Folder Action Scripts. Note: If you don’t have the Folder Action Scripts folder, simply create it.
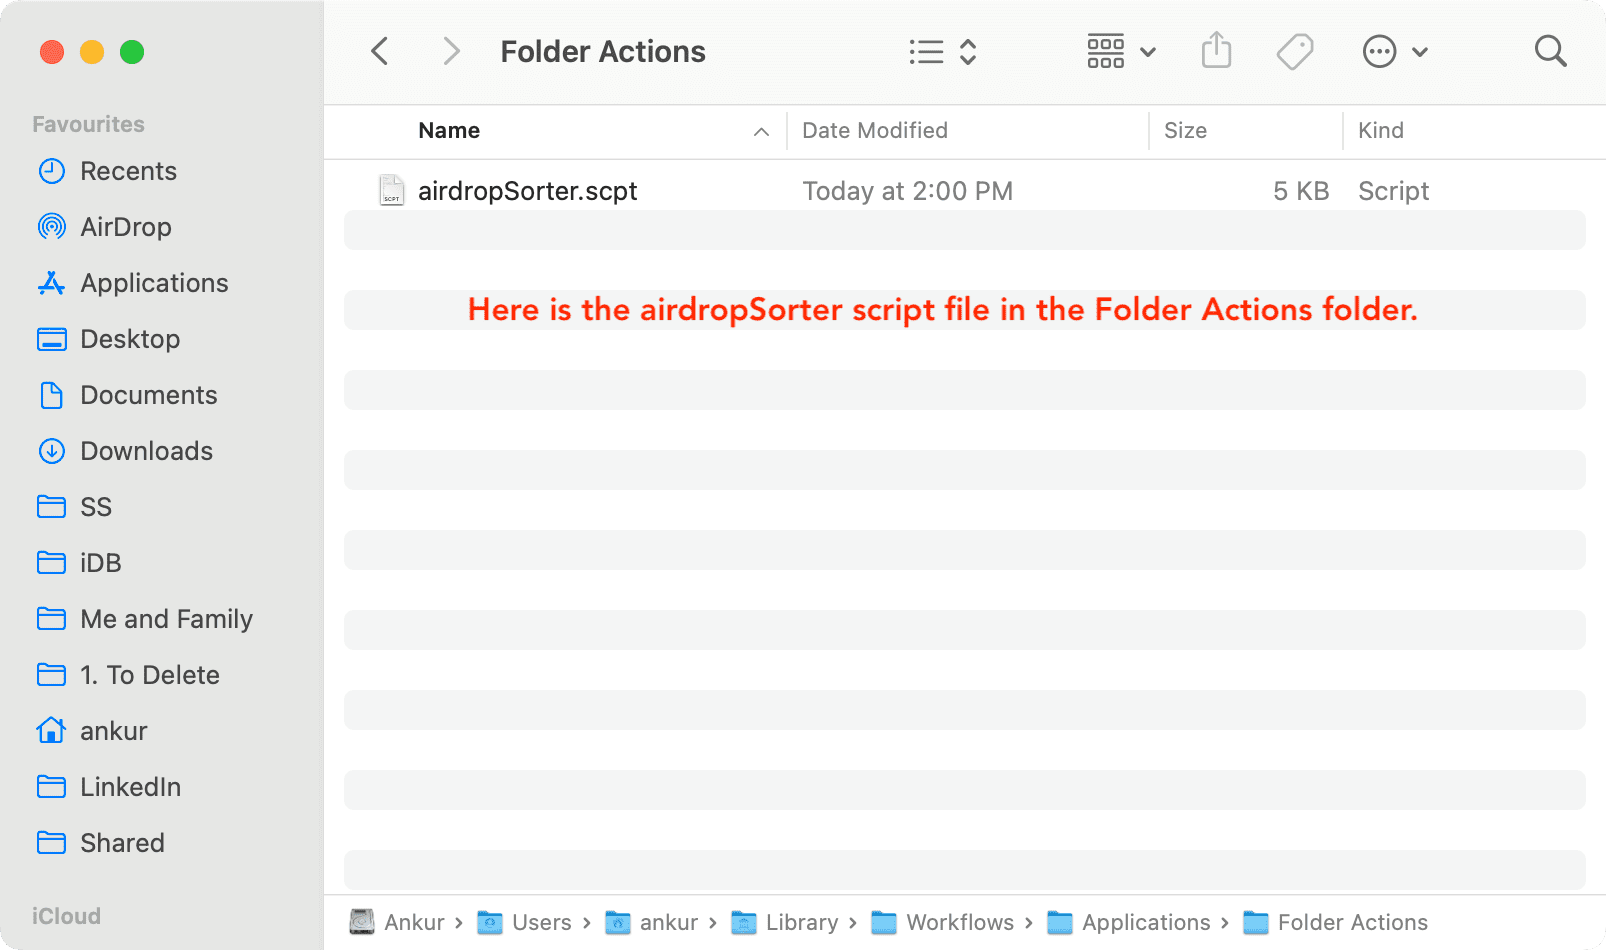
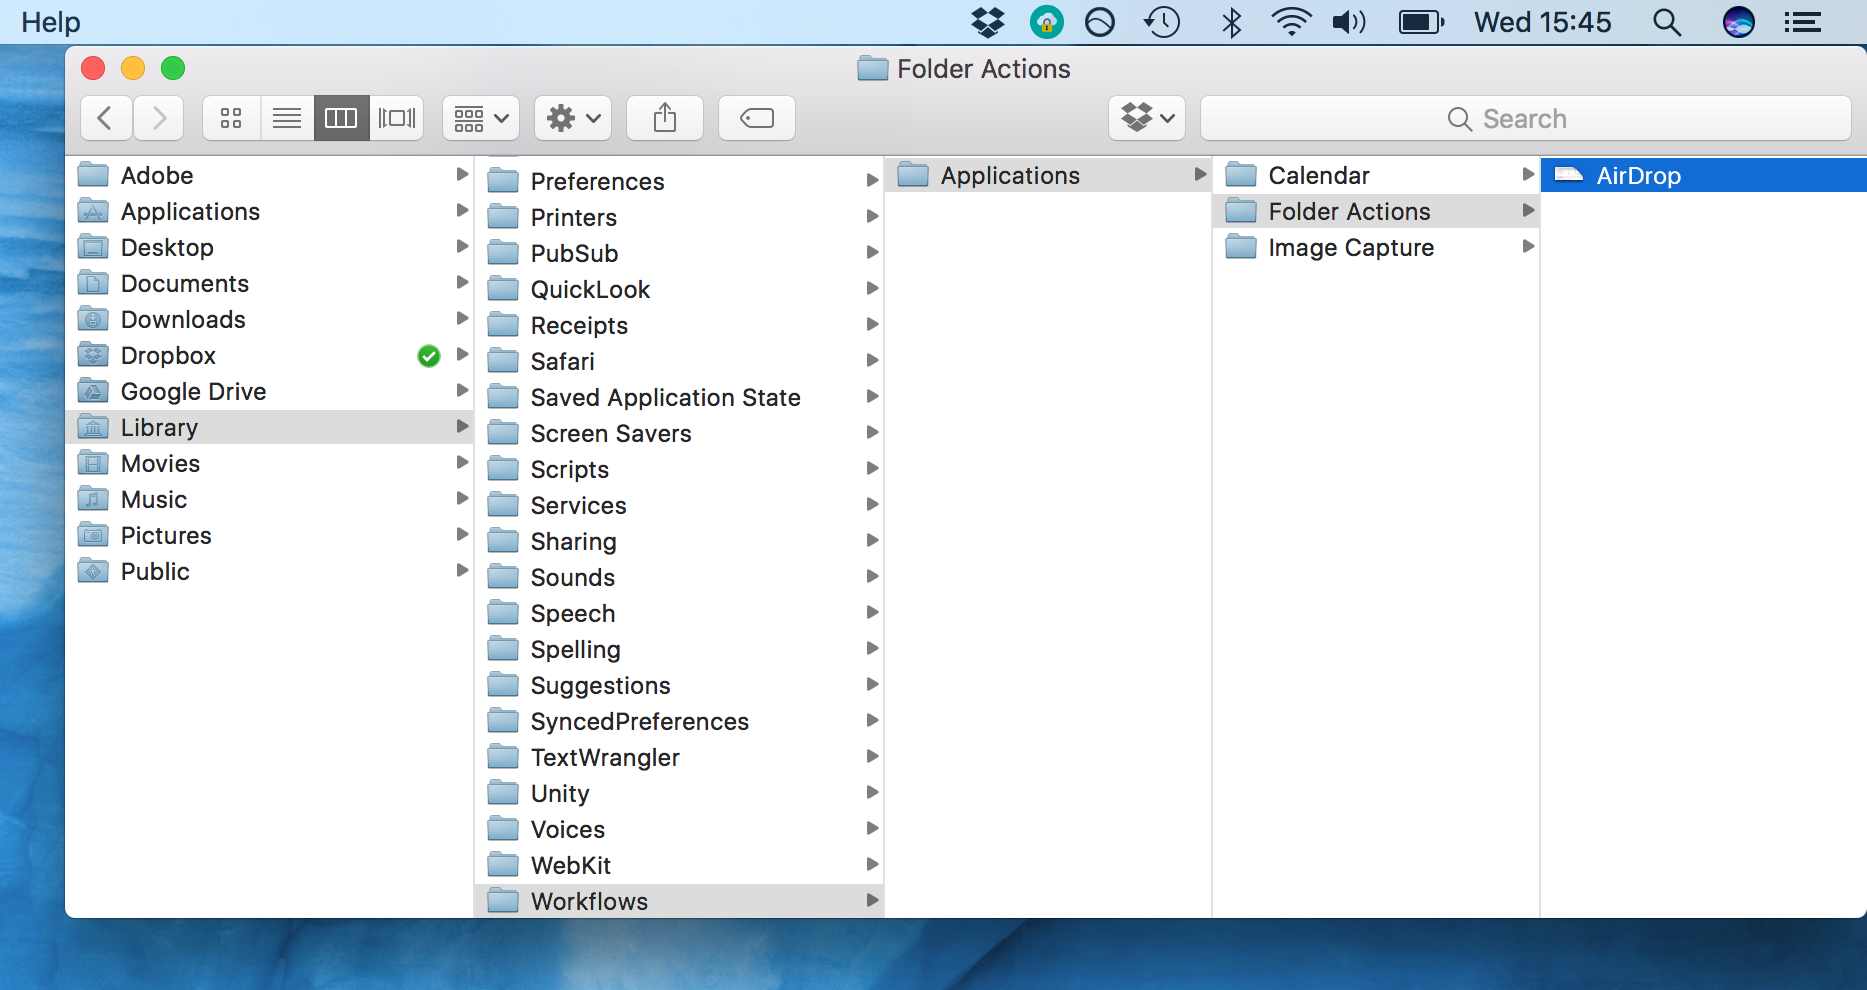
- On a Mac with Apple silicon running the latest version of macOS, go to Workflows > Applications > Folder Actions.
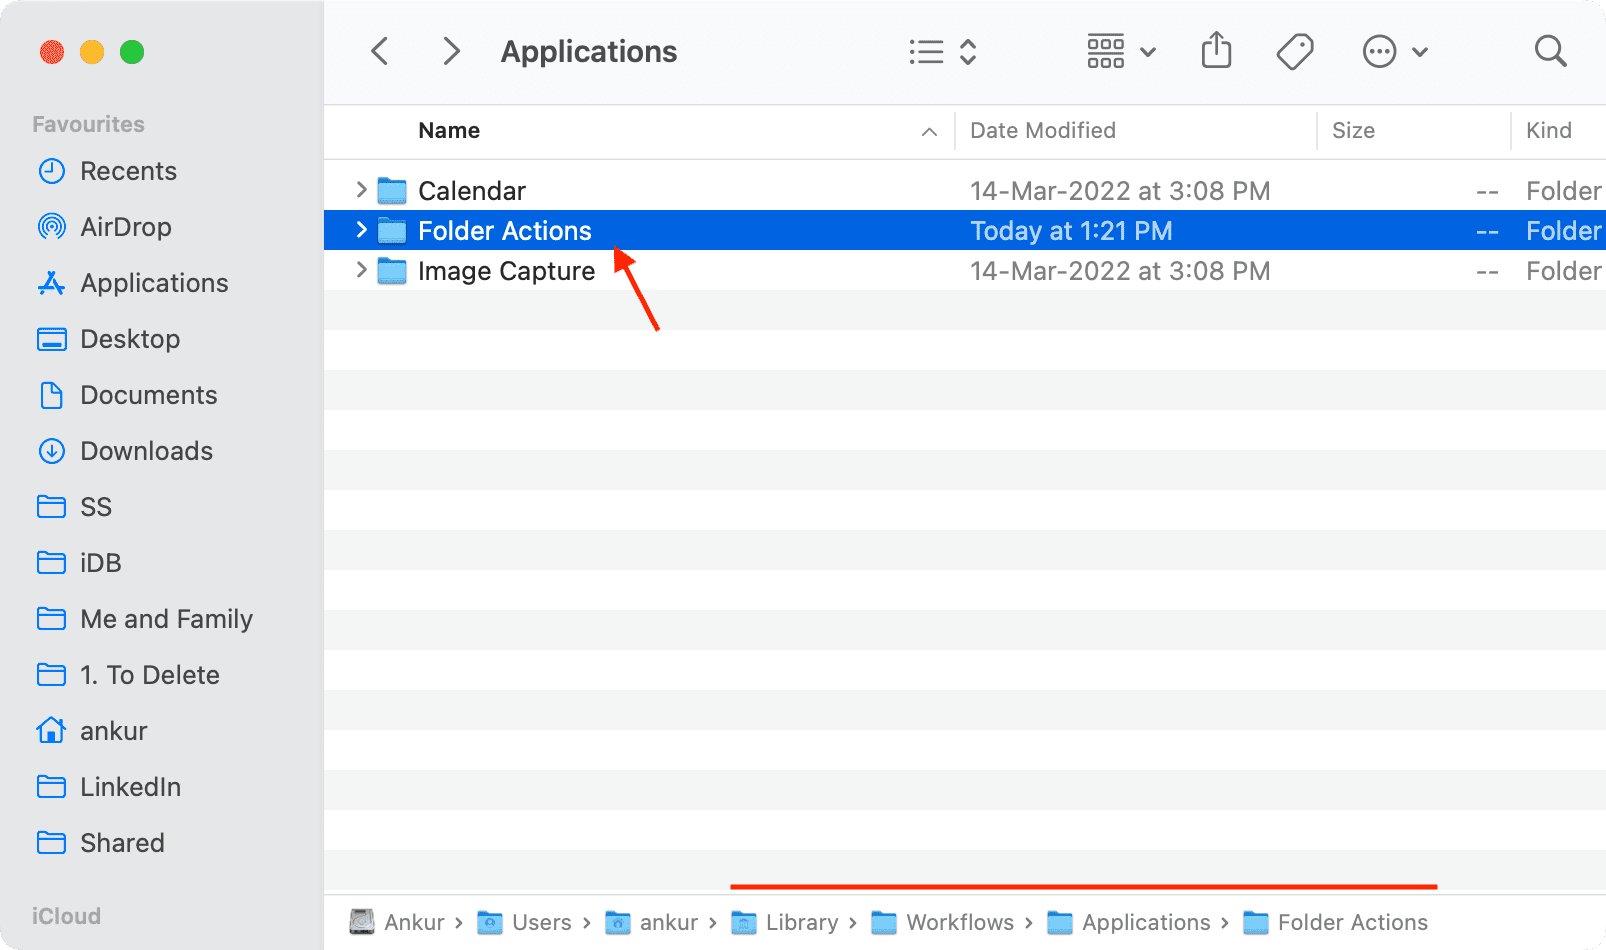
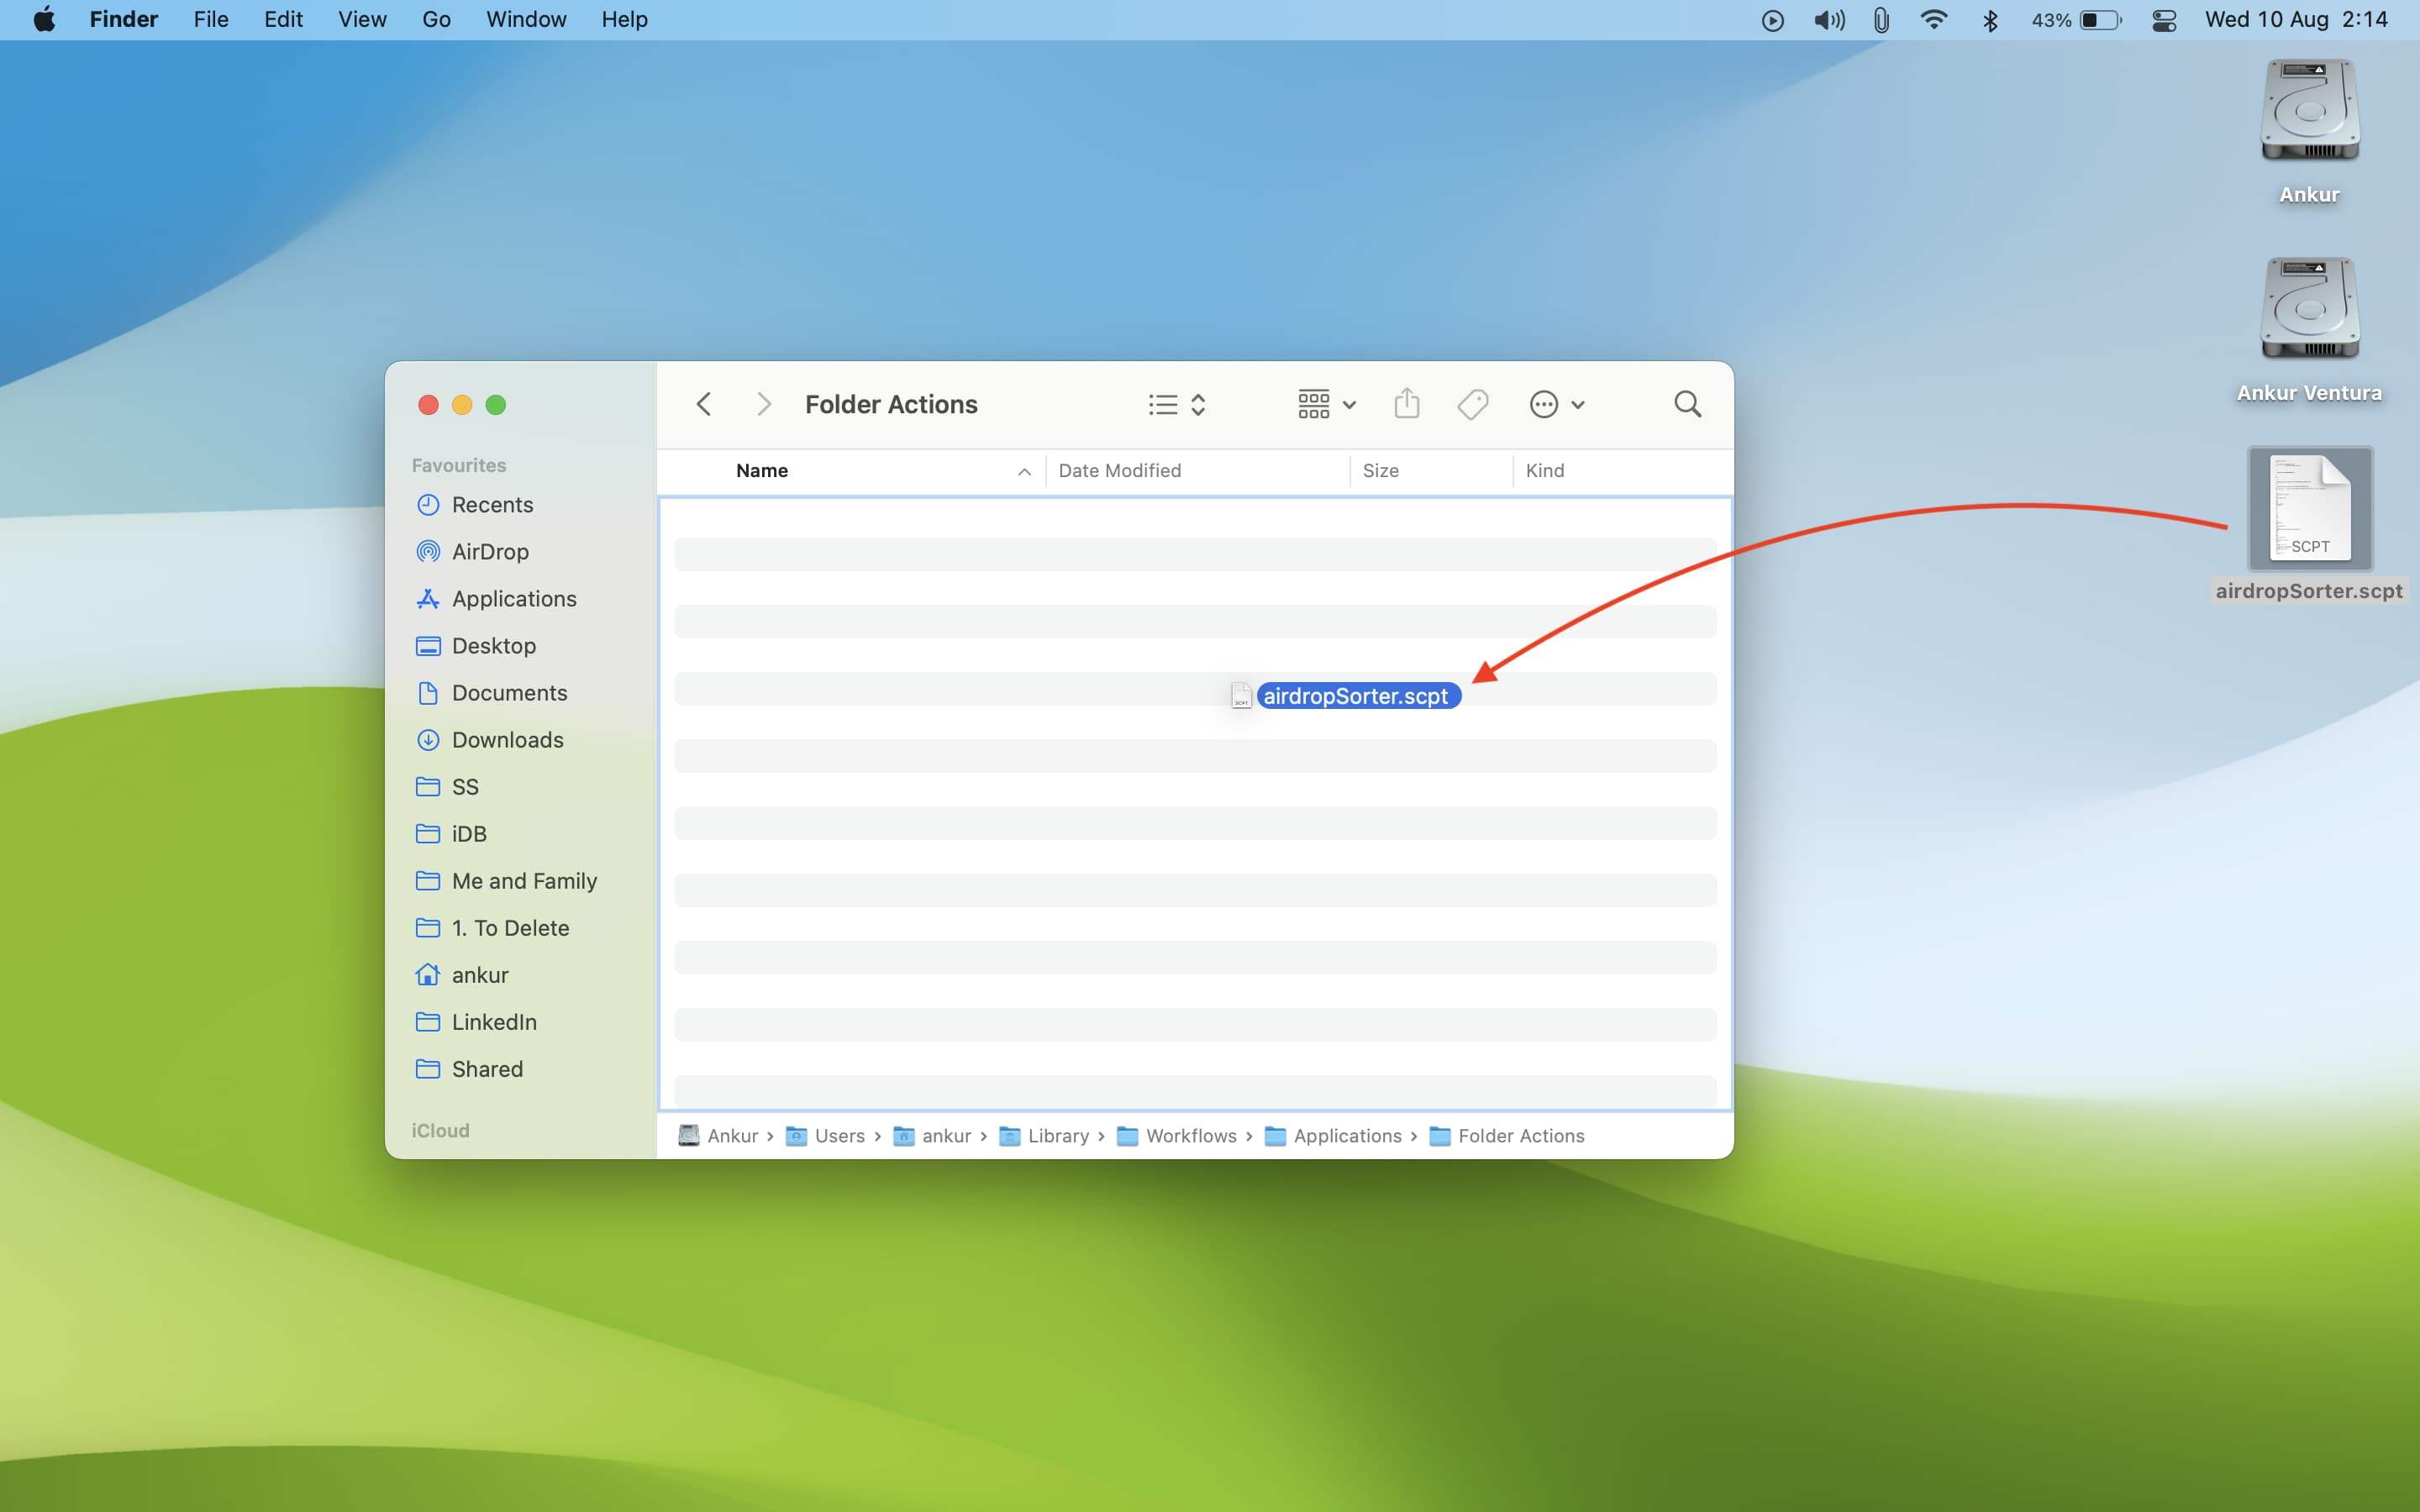
9) Drag & drop or copy & paste YOUR airdropSorter.scpt file into the Folder Actions or Folder Action Scripts folder. I should remind you not to paste the airdropSorter.scpt file you downloaded from GitHub.
10) We must now enable the action.
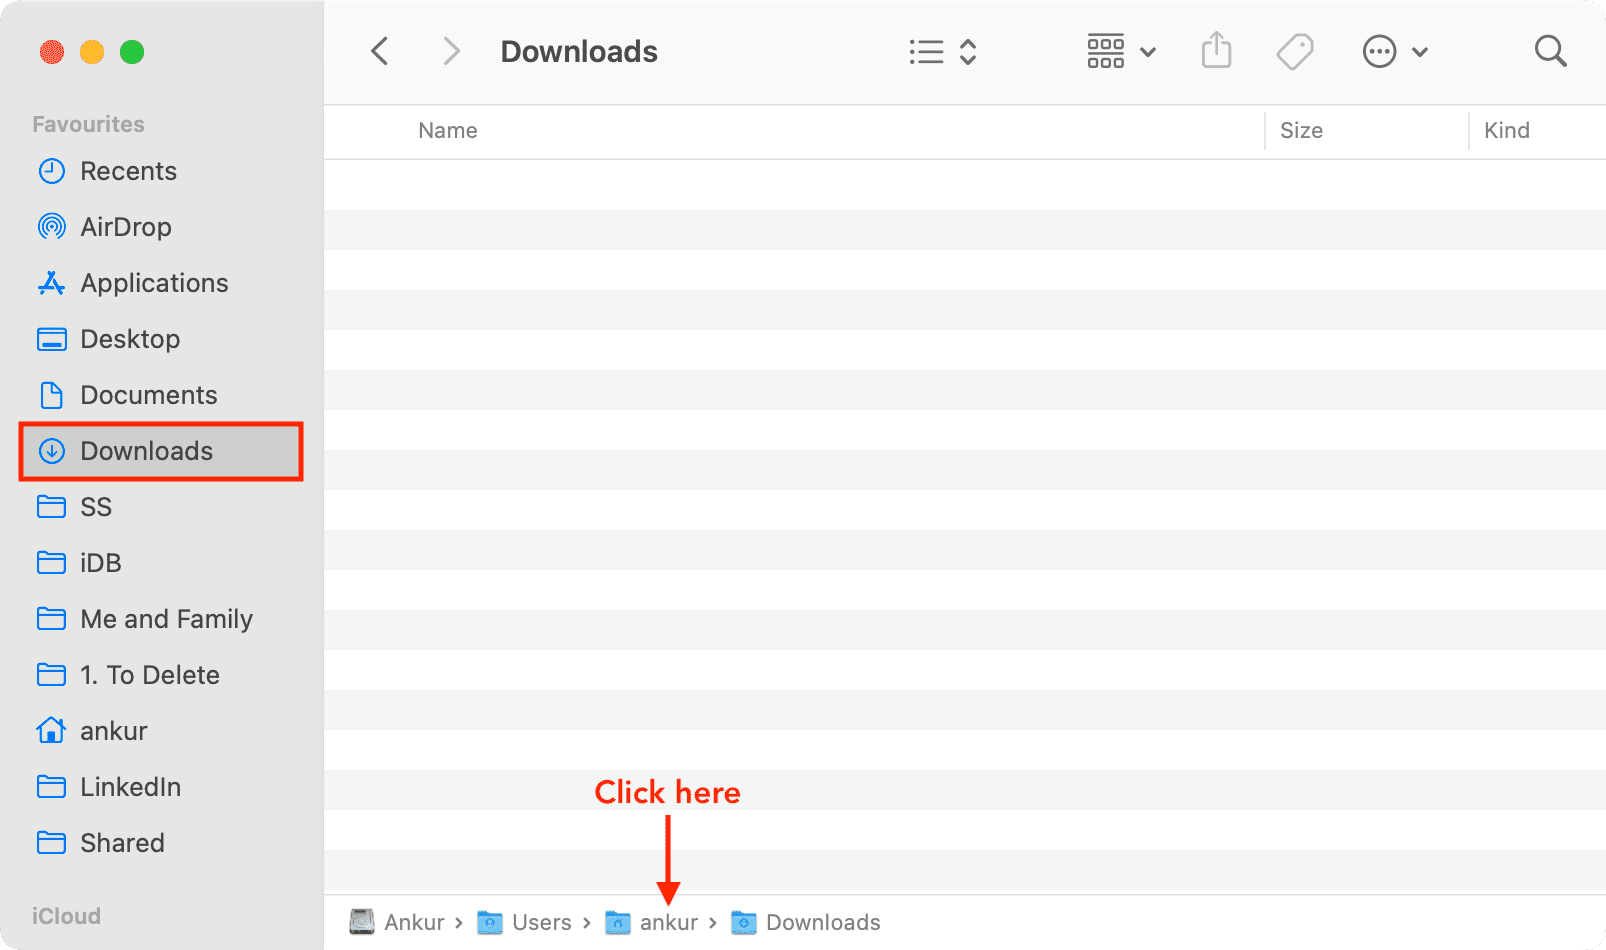
Start by going to your Downloads folder location. The easiest way to do that is to open the Downloads folder and, from the bottom of the Finder, click the user name just before Downloads in the Path Bar.
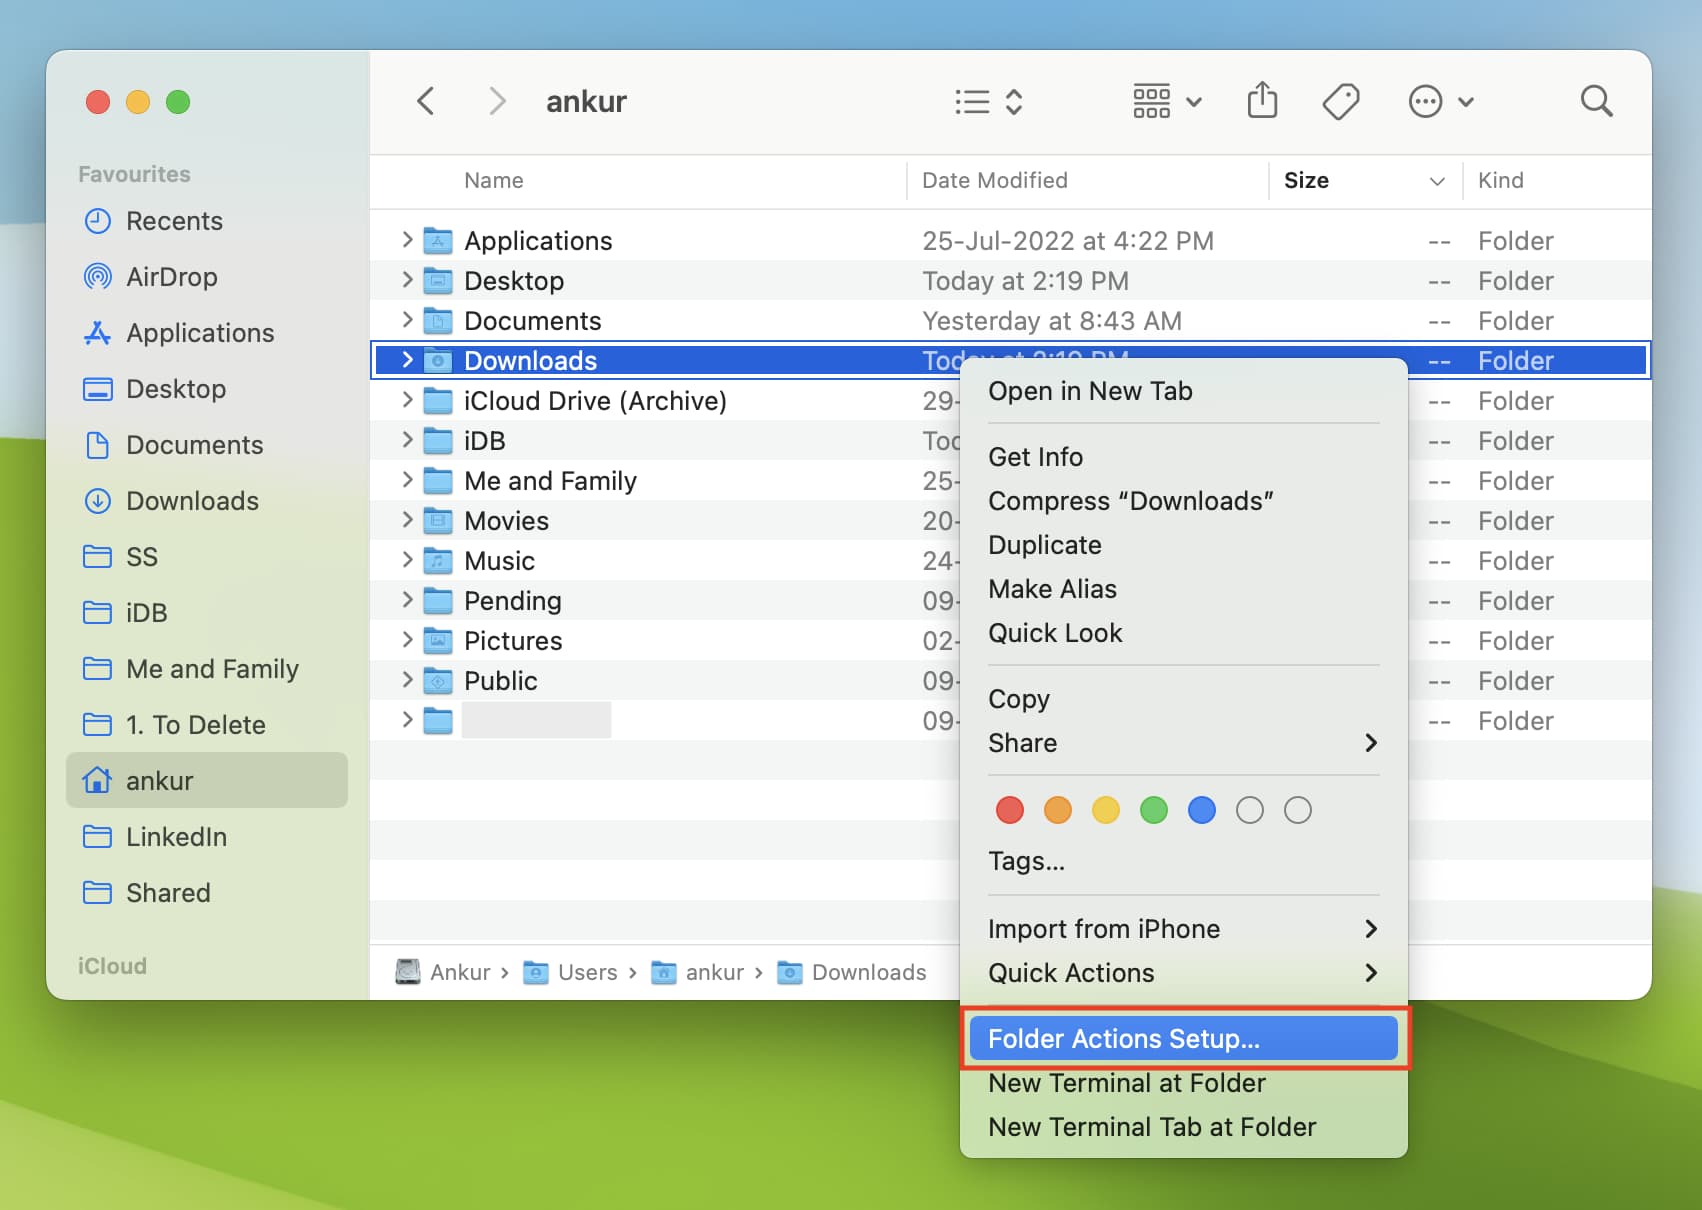
Next, right-click on the Downloads folder and choose Folder Actions Setup. If you don’t see it, click Services and then select Folder Actions Setup.
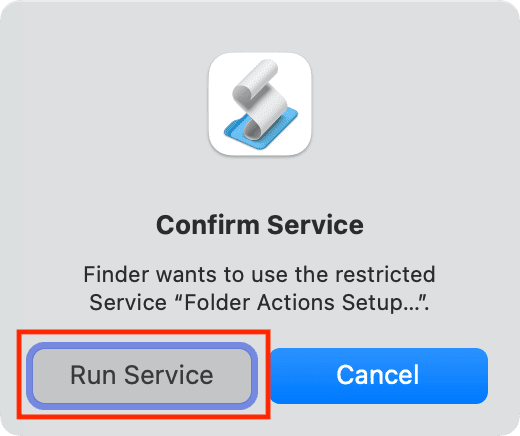
11) Most likely, you will be asked to Confirm Service. Click Run Service and this popup should disappear.
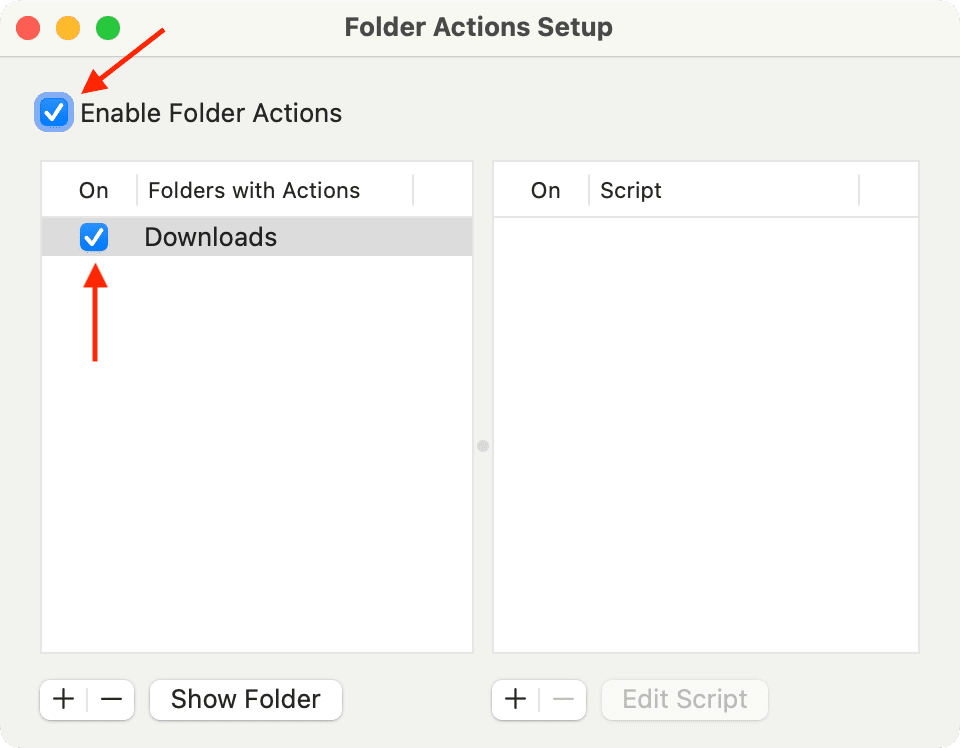
In the small Folder Actions Setup window, ensure Enable Folder Actions is ticked. Also, make sure Downloads is listed in the left-hand column and it’s also ticked.
12) Now click the plus button (+) in the bottom right to add our script to the folder.
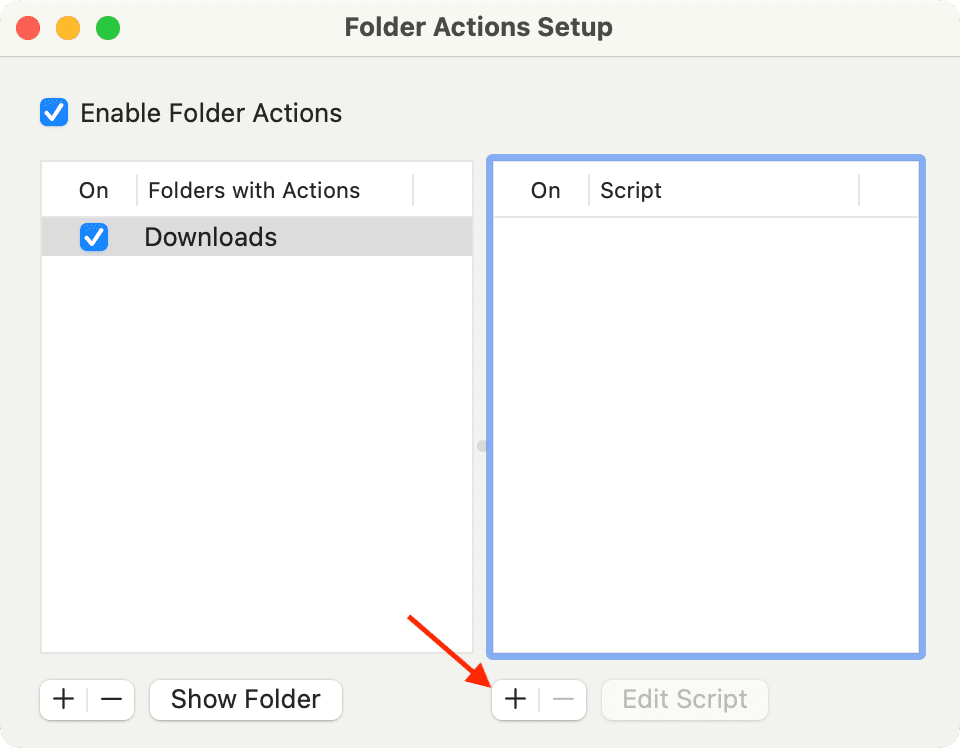
In the list which comes up, find airdropSorter.scpt, and hit Attach.

13) And that’s it! You can now close the Folders Actions Setup window. The script is now active and attached to your Downloads folder. Any files AirDropped to your computer should now be automatically relocated to the folder you specified in the script. But the first time you AirDrop something to your Mac, you may have to attend to one or two popups.
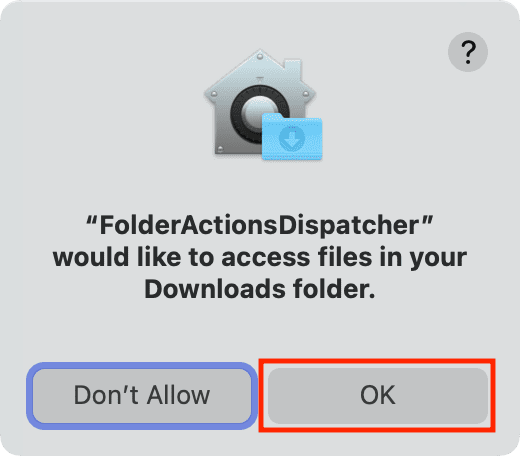
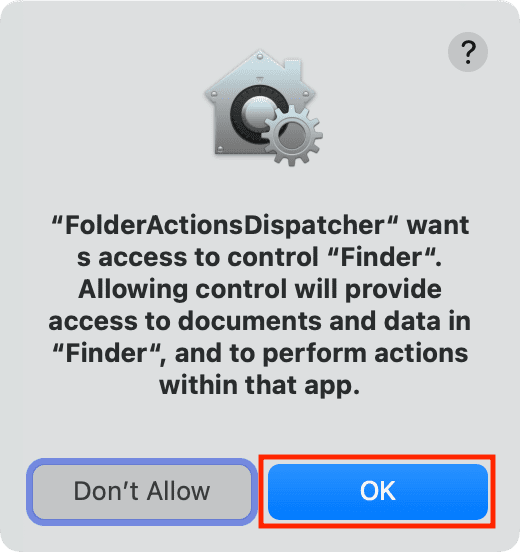
Once you click OK on these alerts, all future AirDropped files will now save to the chosen folder/location and not the Downloads folder.
Older method for pre-macOS Mojave
Do not follow both sets of instructions. These are legacy instructions for pre-Mojave operating systems.
1) Head over to mlilback’s GitHub page to grab the tool we need. Alternatively, a direct download is also available.
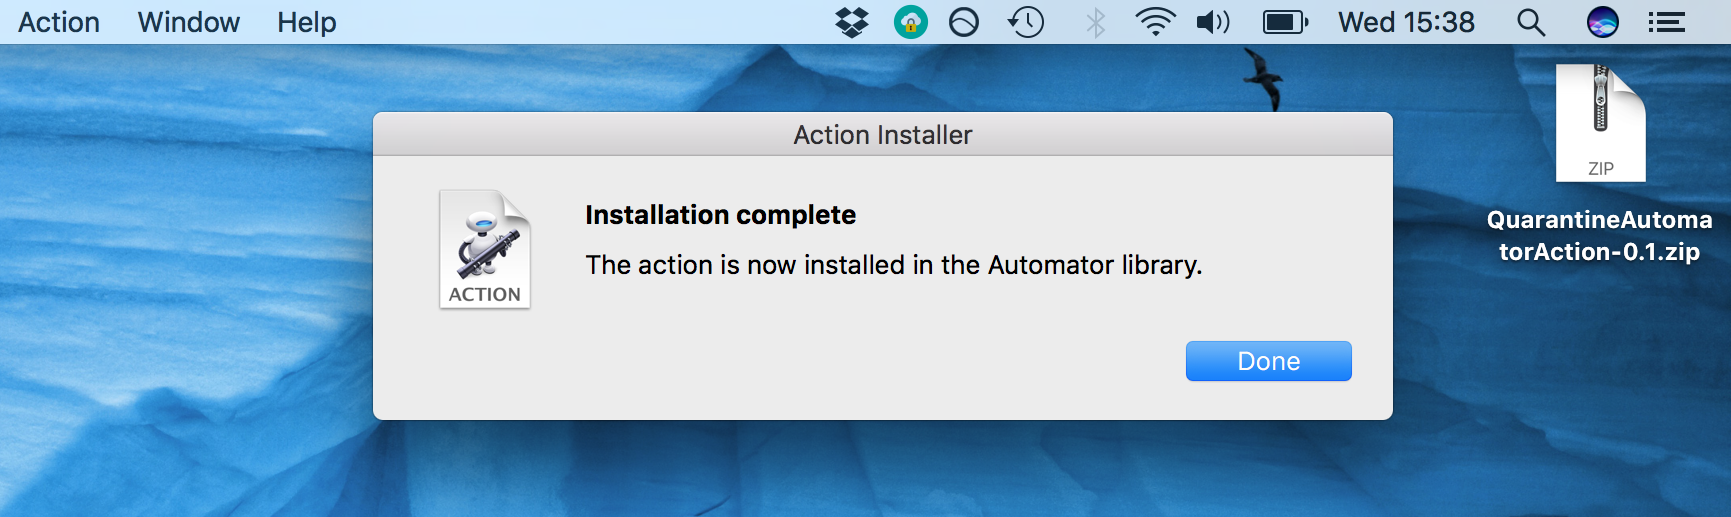
2) Double-click the downloaded .zip file to open it, and then double-click the resulting file entitled Quarantine Filter.action.
3) A prompt will appear asking if you want to install the action. Select Install.

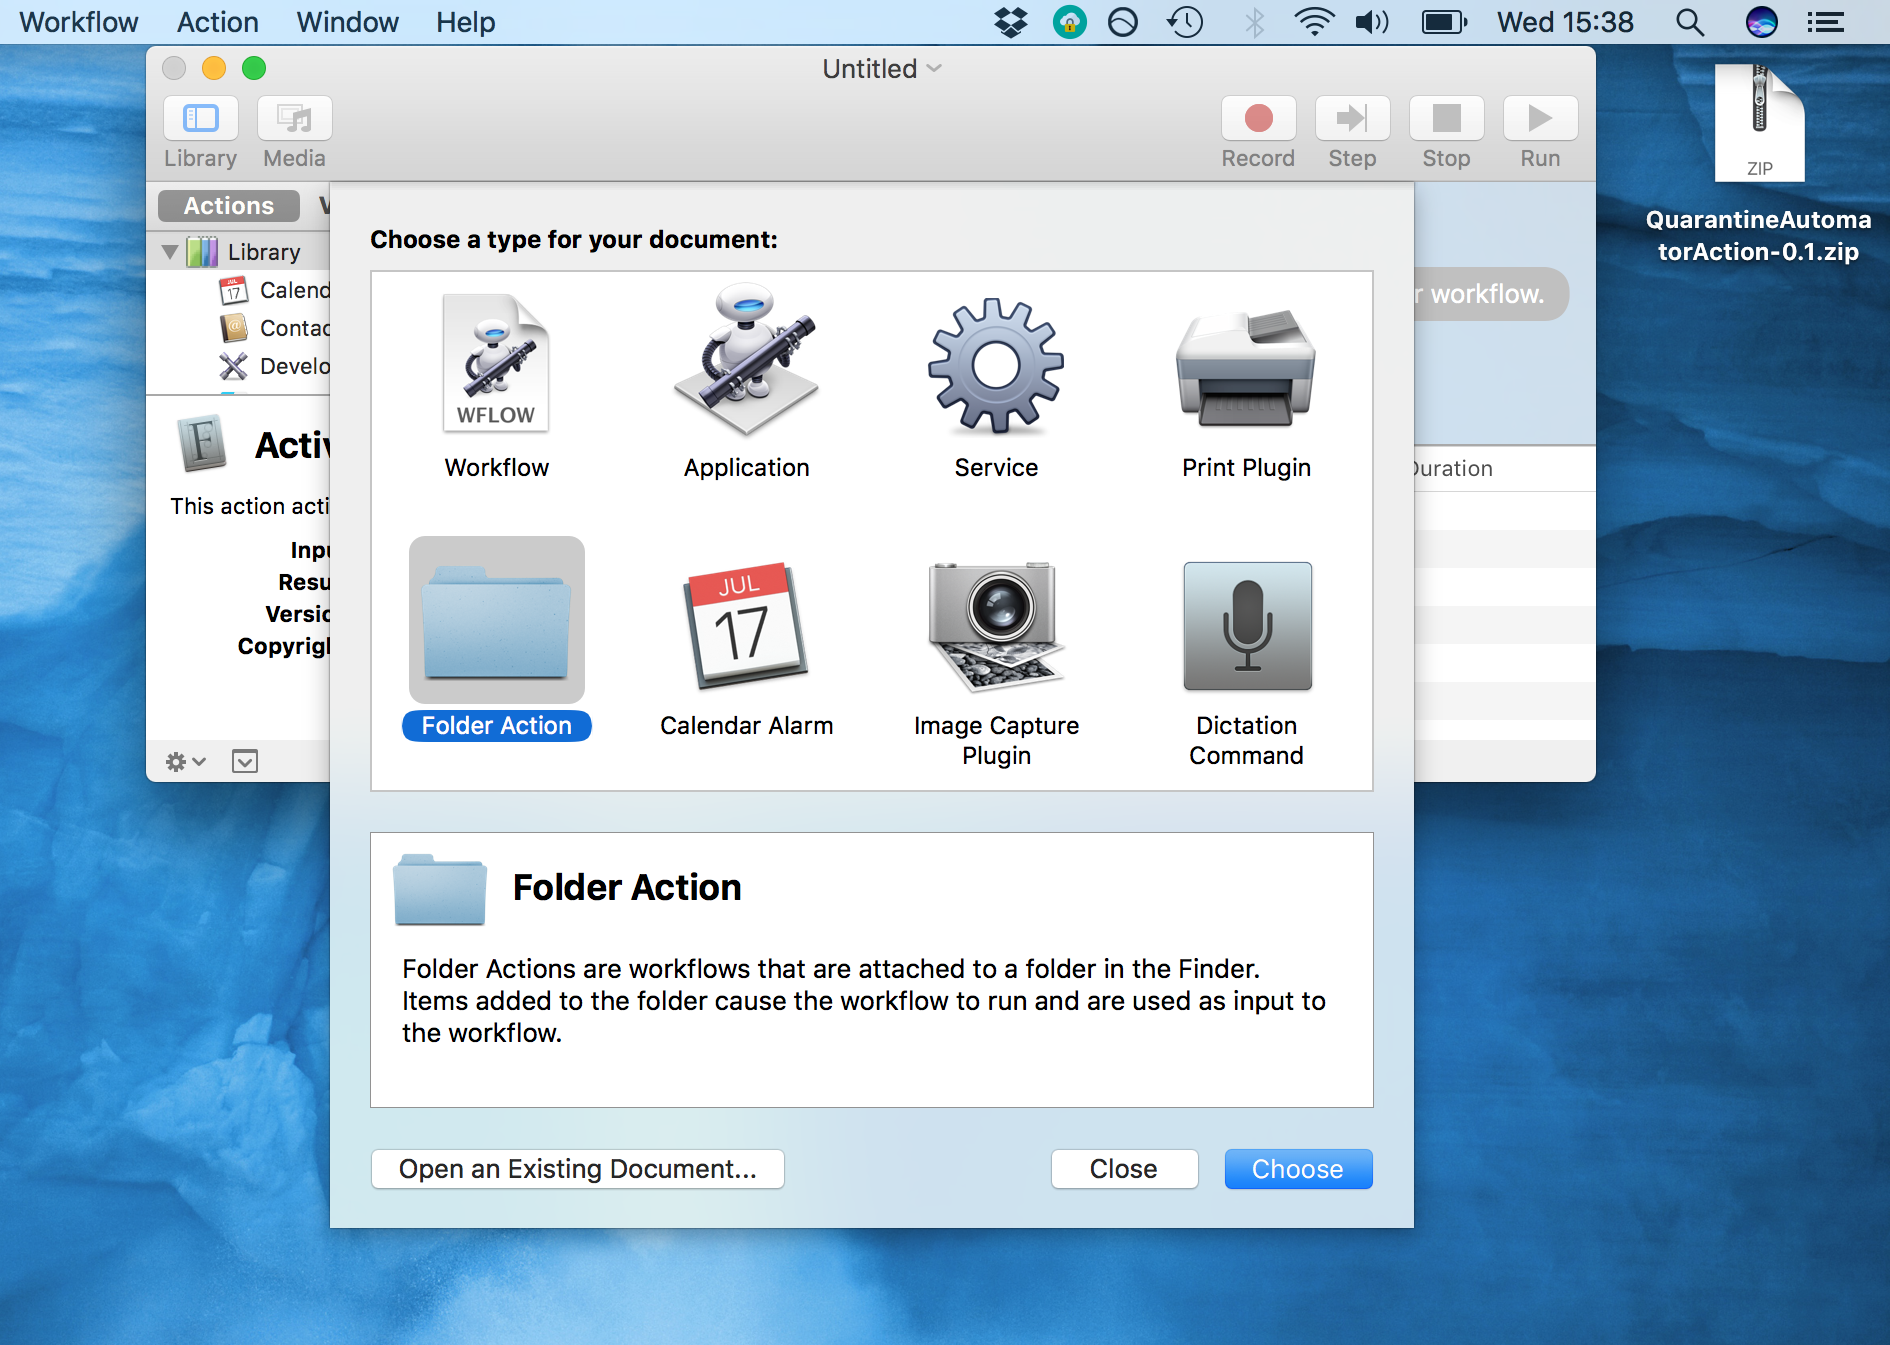
4) Next, launch the Automator application, and select New Document. When prompted, select Folder Action as the document type.
5) Once the document is open, look at the very top of the Workflow on the right-hand side. Where it says, Folder Action receives files and folders added to:, make sure you select your Downloads folder.
6) Now, make sure you have the Actions tab selected in the top-left (rather than Variables), and then click on the Search bar next to it.
7) Search for Quarantine in the search bar. The action we installed should come up. Click and drag the Quarantine Filter over to the Workflow space on the right-hand side.
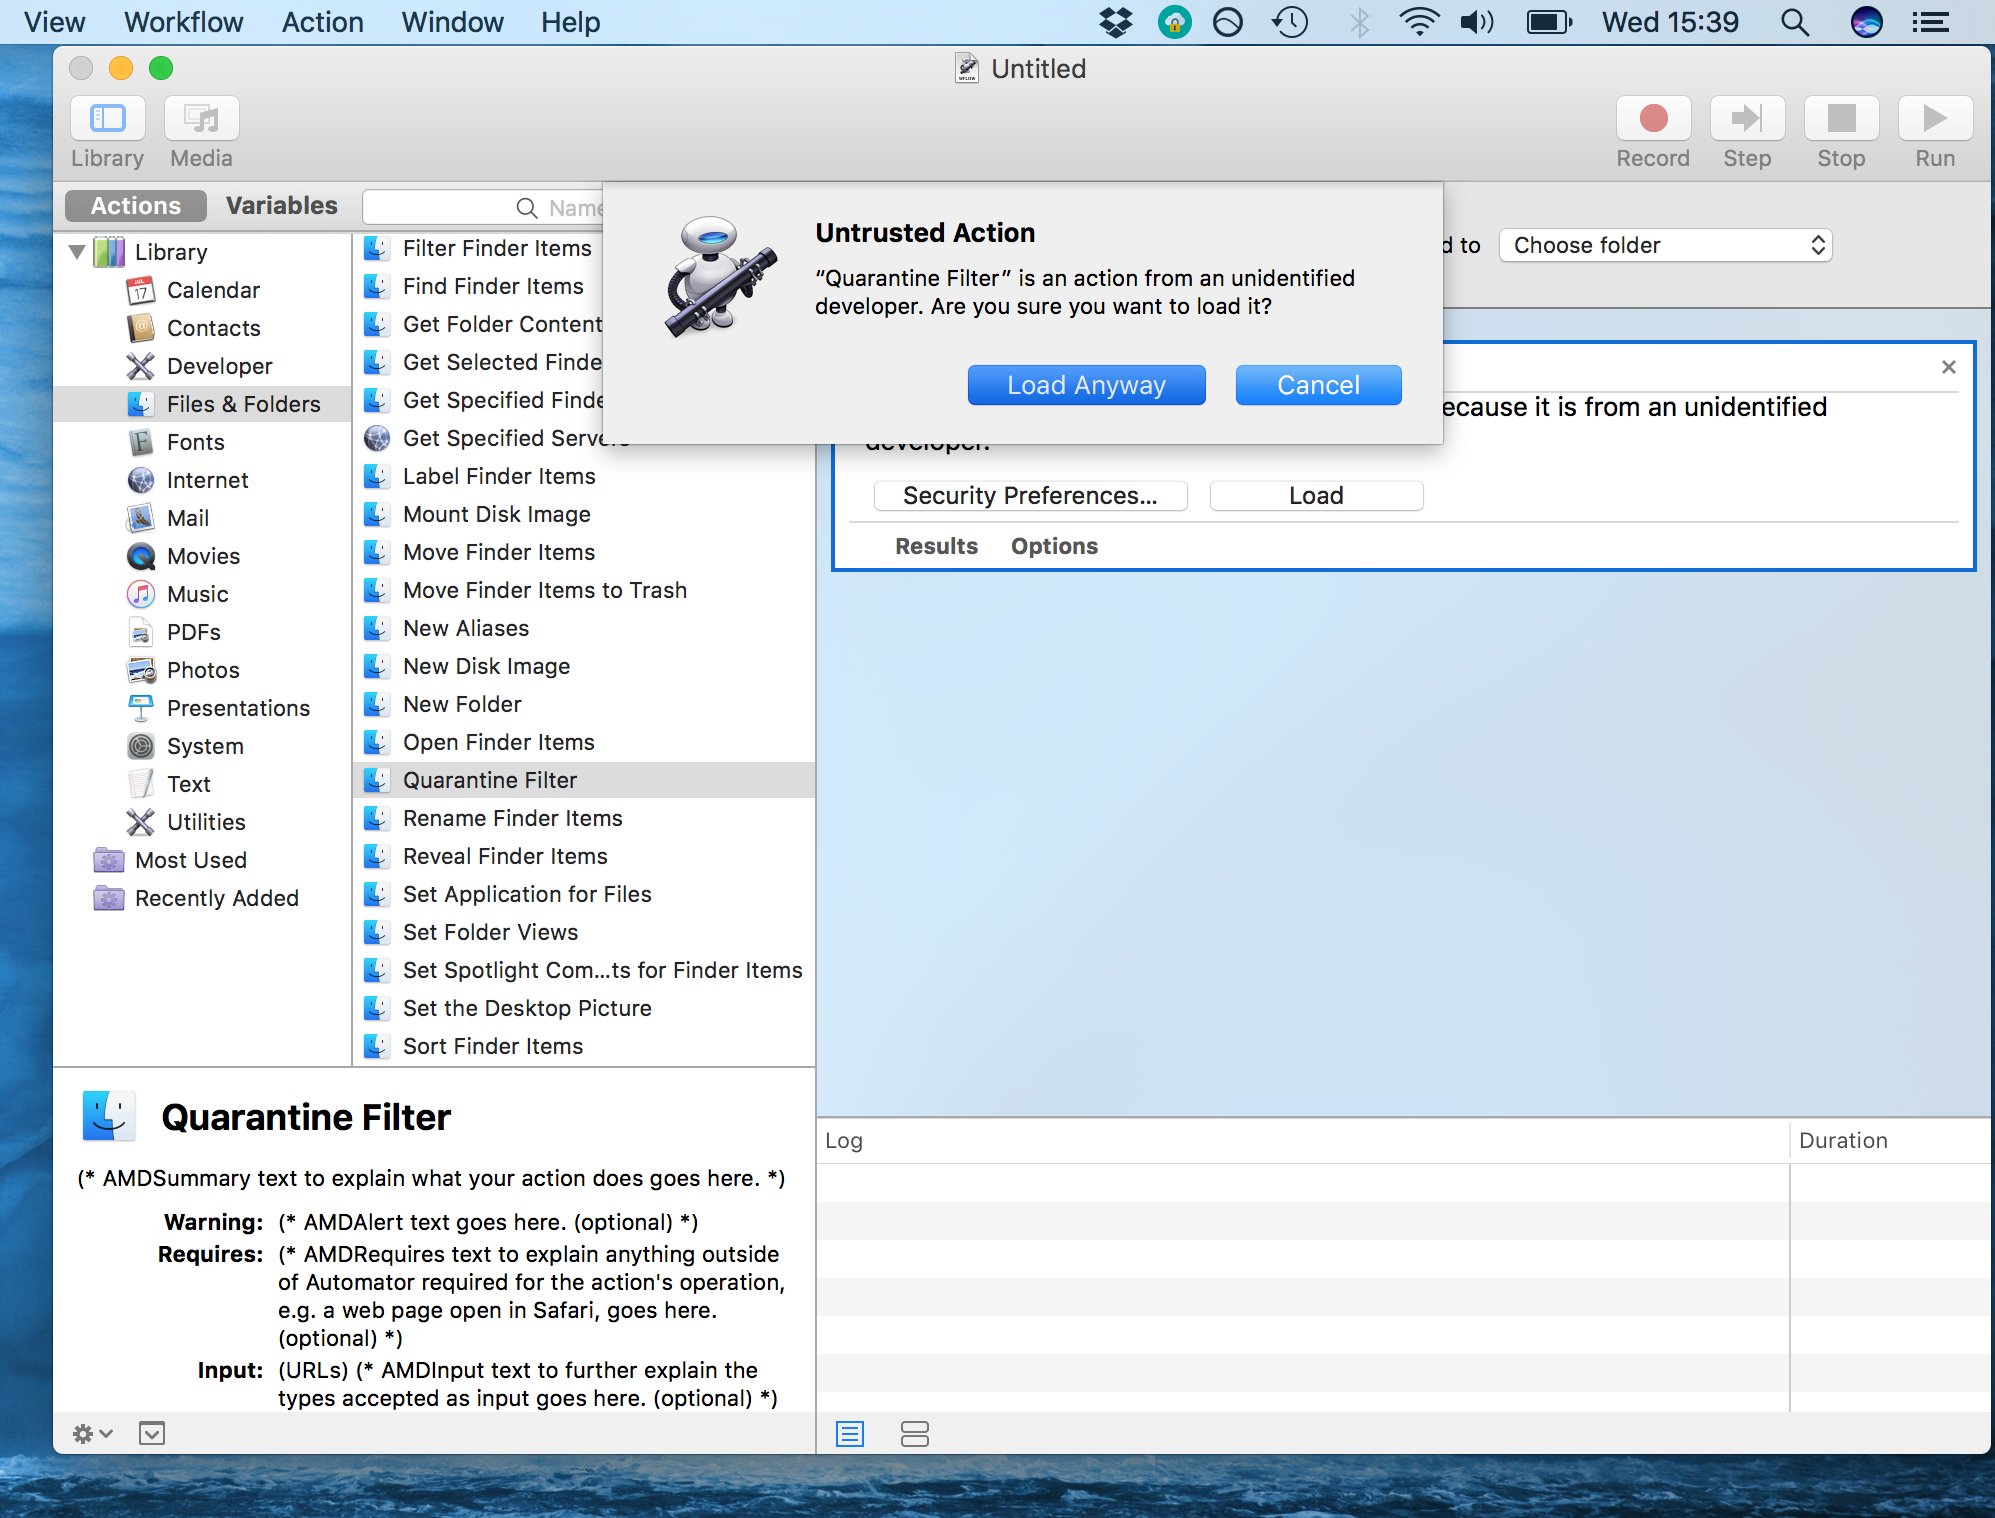
8) Click the Load button. Automator may prompt you to load the action we installed. If so, select Load Anyway to use it.

9) Once the Quarantine Filter is in place in the Workflow, click its drop-down menu entitled Filter for:, and select Filter for: AirDrop File.
10) Now, return to the Search bar in the top-left. Search for Move Finder Items. Drag the Move Finder Items action over to the Workflow on the right-hand side, underneath the first action.
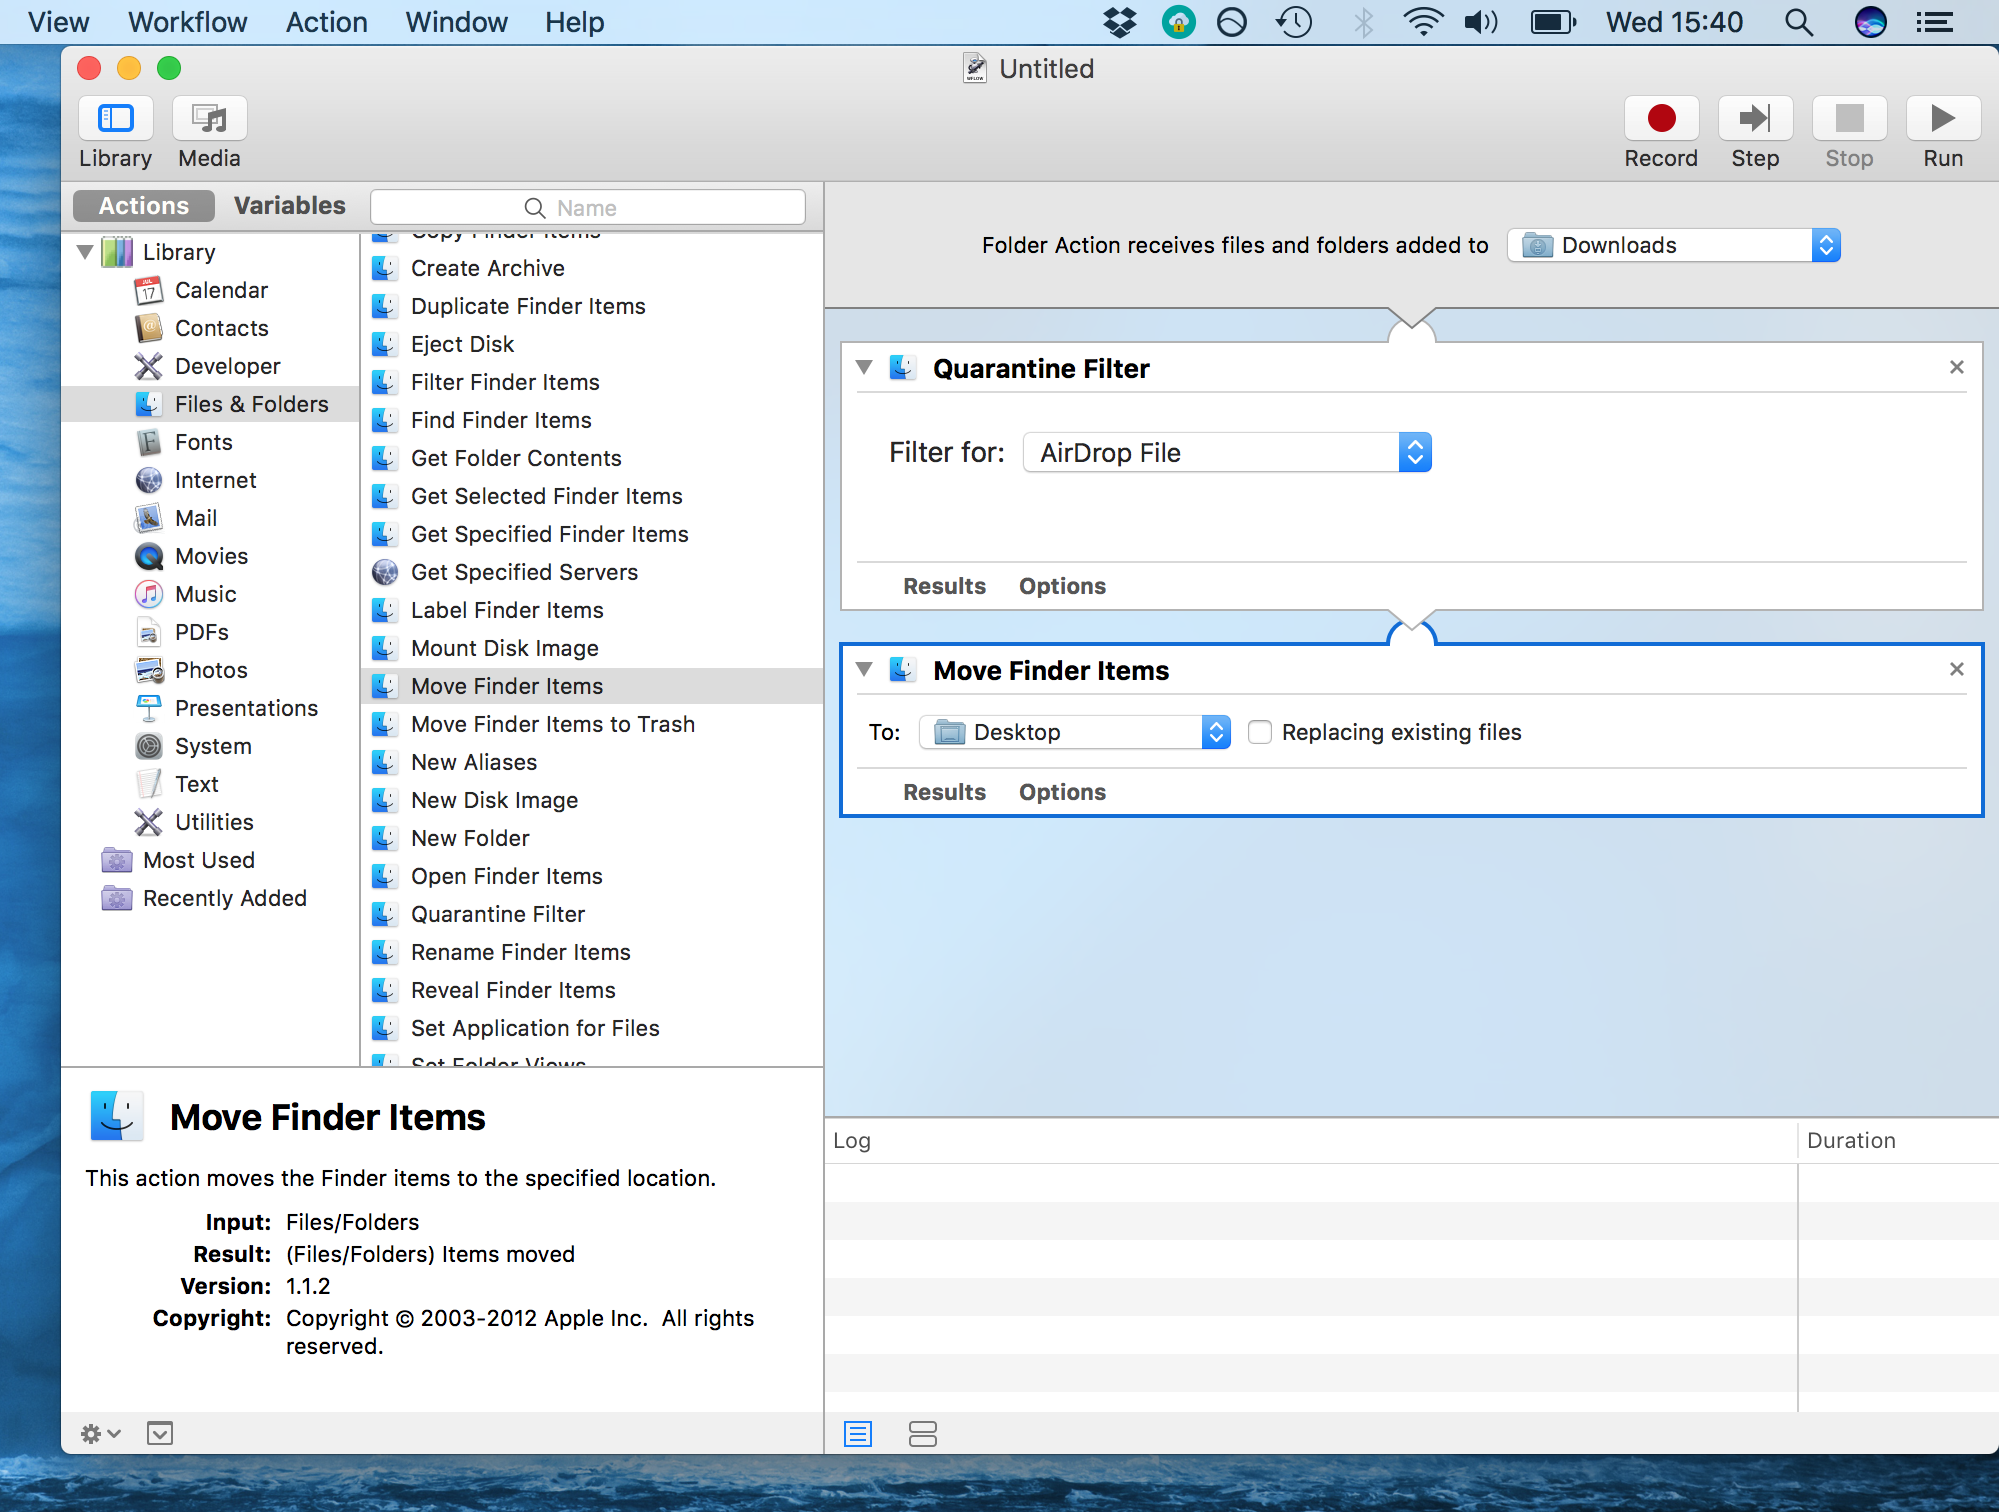
11) The drop-down menu in the Move Finder Items action is where our AirDrop files will be saved to. Set this option to whatever destination folder you choose. I set mine to the Desktop, but you may wish to create a “Received AirDrop Files” folder somewhere.
12) Now save the document with cmd-s, or with File… Save. Call it AirDrop. You can now quit the document.
13) Test it out by sending a file from your iOS device to your Mac. It should now be received in the folder you set instead of the Downloads folder.
And there you have it! Anytime you AirDrop a file to your Mac, this file will be saved on the default location you set.
If you ever need to revert these changes, you can follow the instructions below. They will set the default AirDrop folder back again and delete the Automator action you installed.
How to revert your changes
Do you want AirDropped files to once again save to the Downloads folder? If yes, follow these steps to revert the change you made earlier:
1) Navigate to your Downloads folder, and right-click it. In the options menu which appears, select Folder Actions Setup or navigate to Services, and then select Folder Actions Setup.
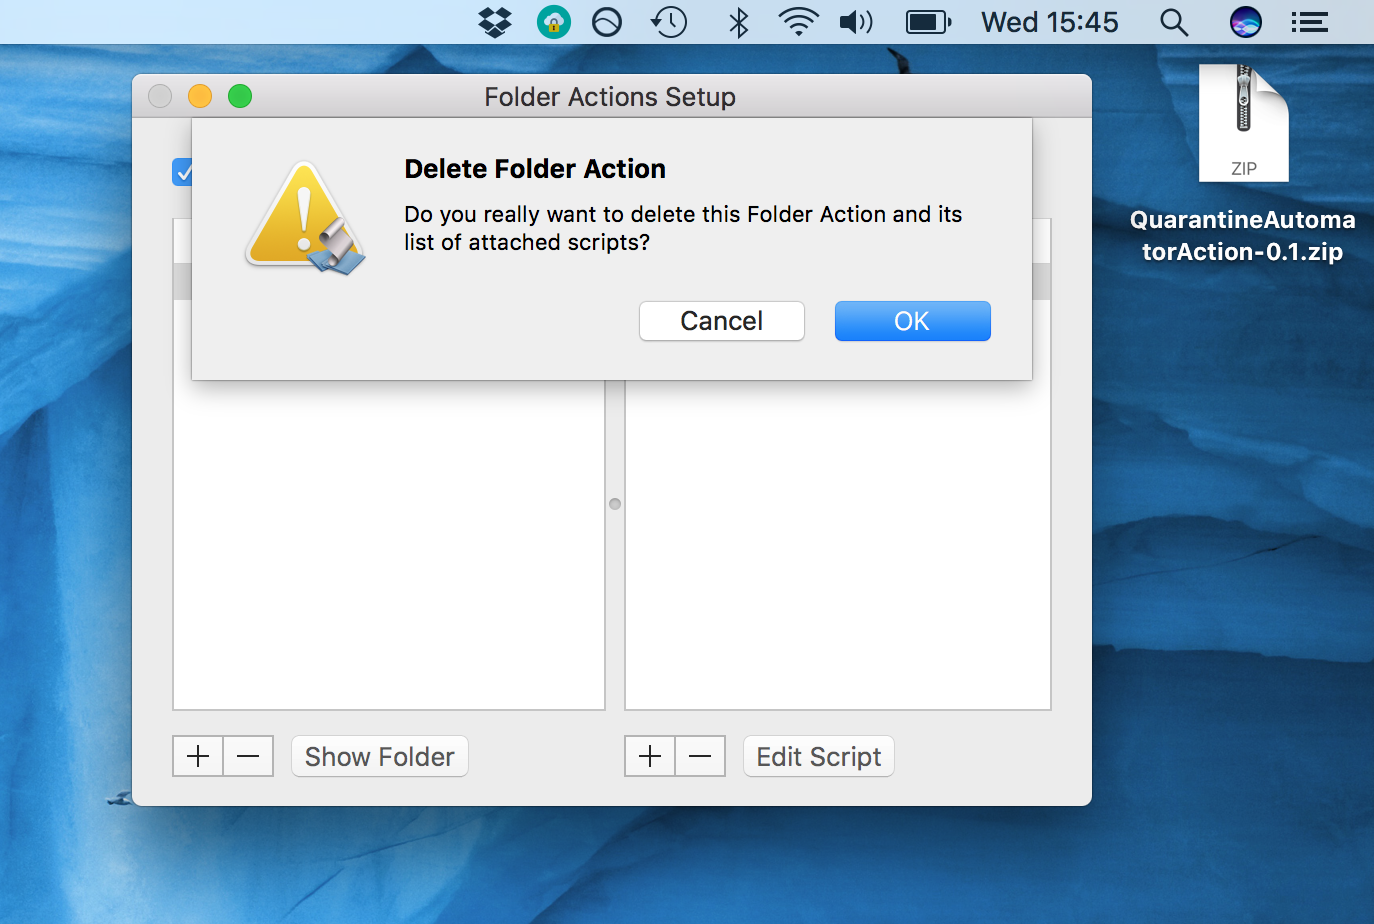
2) In the window which appears, select the Folder Action that you created and click the minus symbol to delete it.
3) Now go to /Users/USERNAME/Library/Scripts/Folder Action Scripts and delete the file called airdropSorter.scpt (if present).
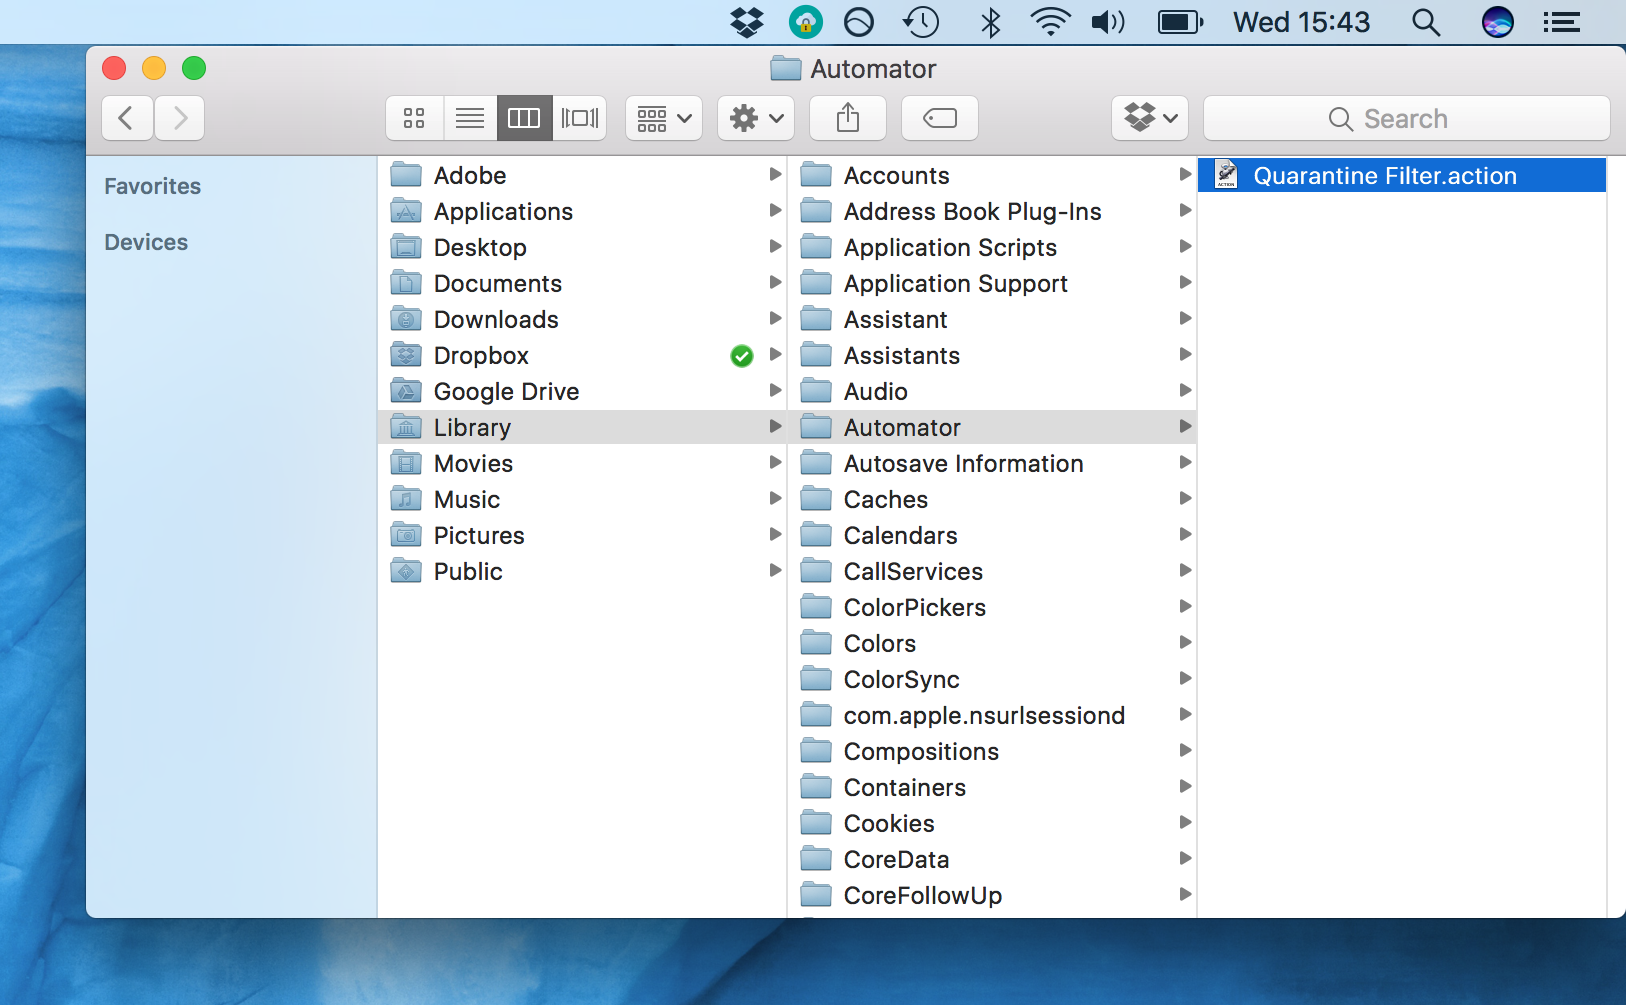
4) Next, navigate to /Users/USERNAME/Library/Automator and delete the file called Quarantine Filter.action.
4) Lastly, navigate to /Users/USERNAME/Library/Workflows/Applications/Folder Actions and delete the file called AirDrop.
AirDrop receiving folder changed on Mac
This is how you can change the default AirDrop folder on your Mac. I hope this tutorial was helpful and answered your query.
Besides the method I explained in this tutorial, there are a few other workarounds that can save files to a destination other than the Downloads folder. However, they generally affect all files going into the Downloads folder, not just AirDrop files. The advantage of the method we described above is that it leaves your Safari and Mail downloads alone, redirecting only your AirDrop files to a new home.
I often send large numbers of photographs from my iPhone to my Mac, and I wouldn’t say I like having to sift through my Downloads folder to collect them afterward. This method lets me send them all into a separate folder together.
Check out next: