
Like many features native to iOS and MacOS, AirDrop is both quick and easy. Similar to sending files via text and email, you can use the cross-platform utility to send photos, videos, songs, and even robust PDF files. This is particularly handy when you are in close proximity to the person you’d like to send your file to, as AirDrop only works when users are near one another.
The feature uses a Bluetooth connection to create a peer-to-peer Wi-Fi network between your iOS and MacOS devices and uses encryption to obfuscate your files. You can access it from directly within Photos, Notes, Safari, Contacts, and Maps too, without having to navigate to a different screen or copy and paste the information. Learn how to use AirDrop and it could become your best friend for file transfers.
Accessing AirDrop on iOS
Apple reconfigured the Control Center in iOS 11, making AirDrop less accessible than it once was. Thankfully, the feature is still easy to access.
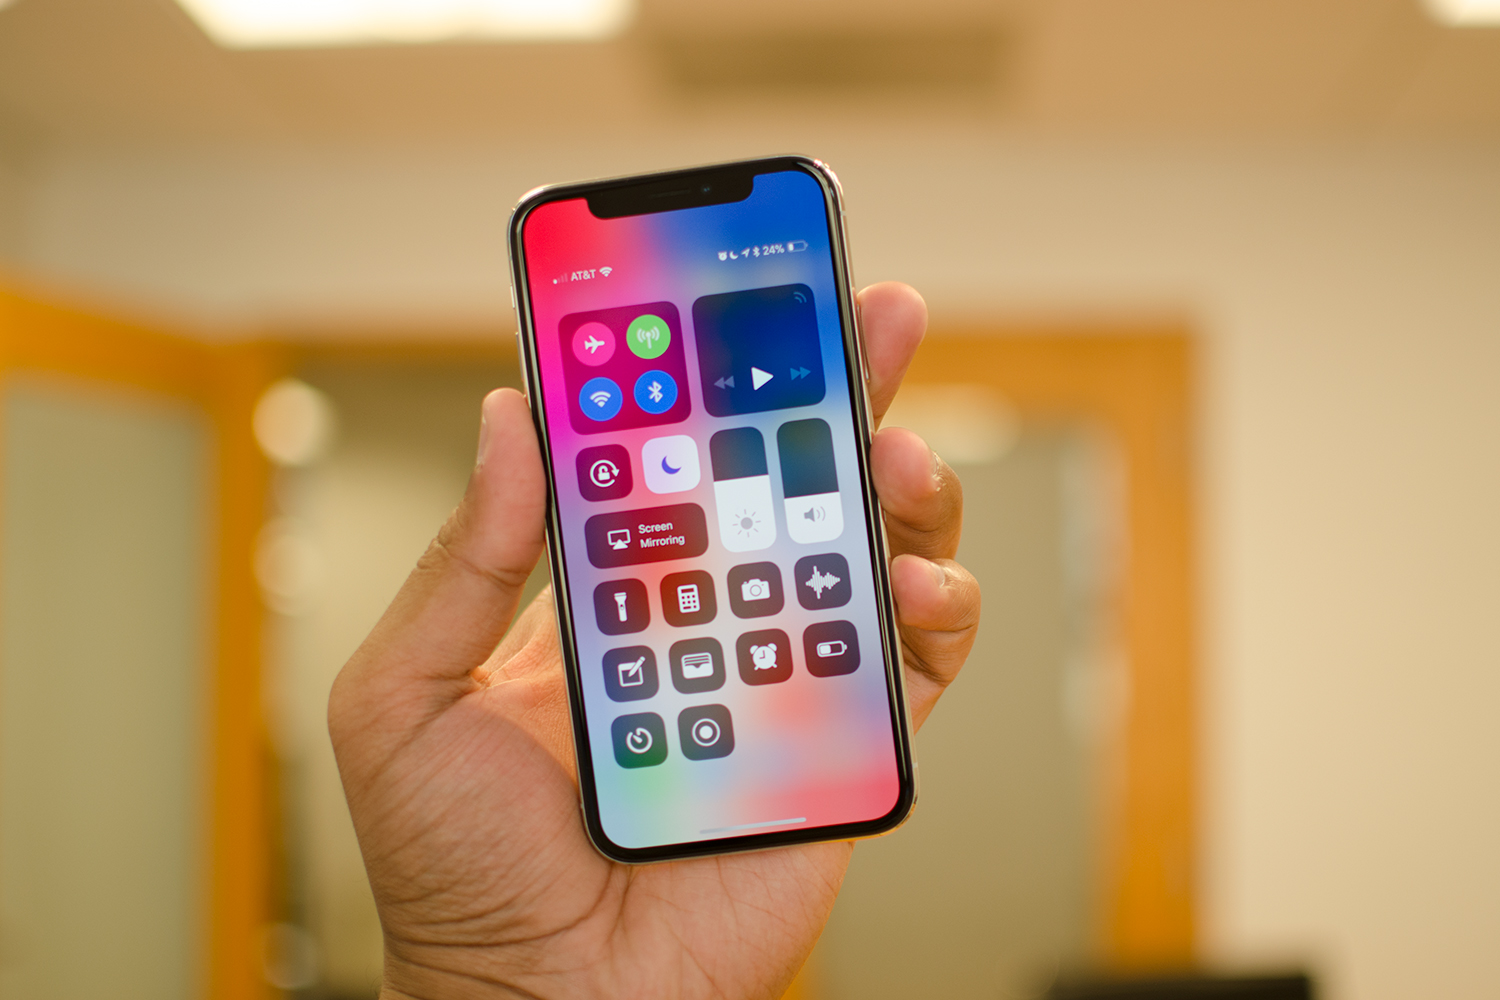
Step 1: Swipe up from the bottom of your iPhone, iPad, or iPod Touch to reveal the Control Center. If using an iPhone X, swipe down from the upper-right corner of the display.
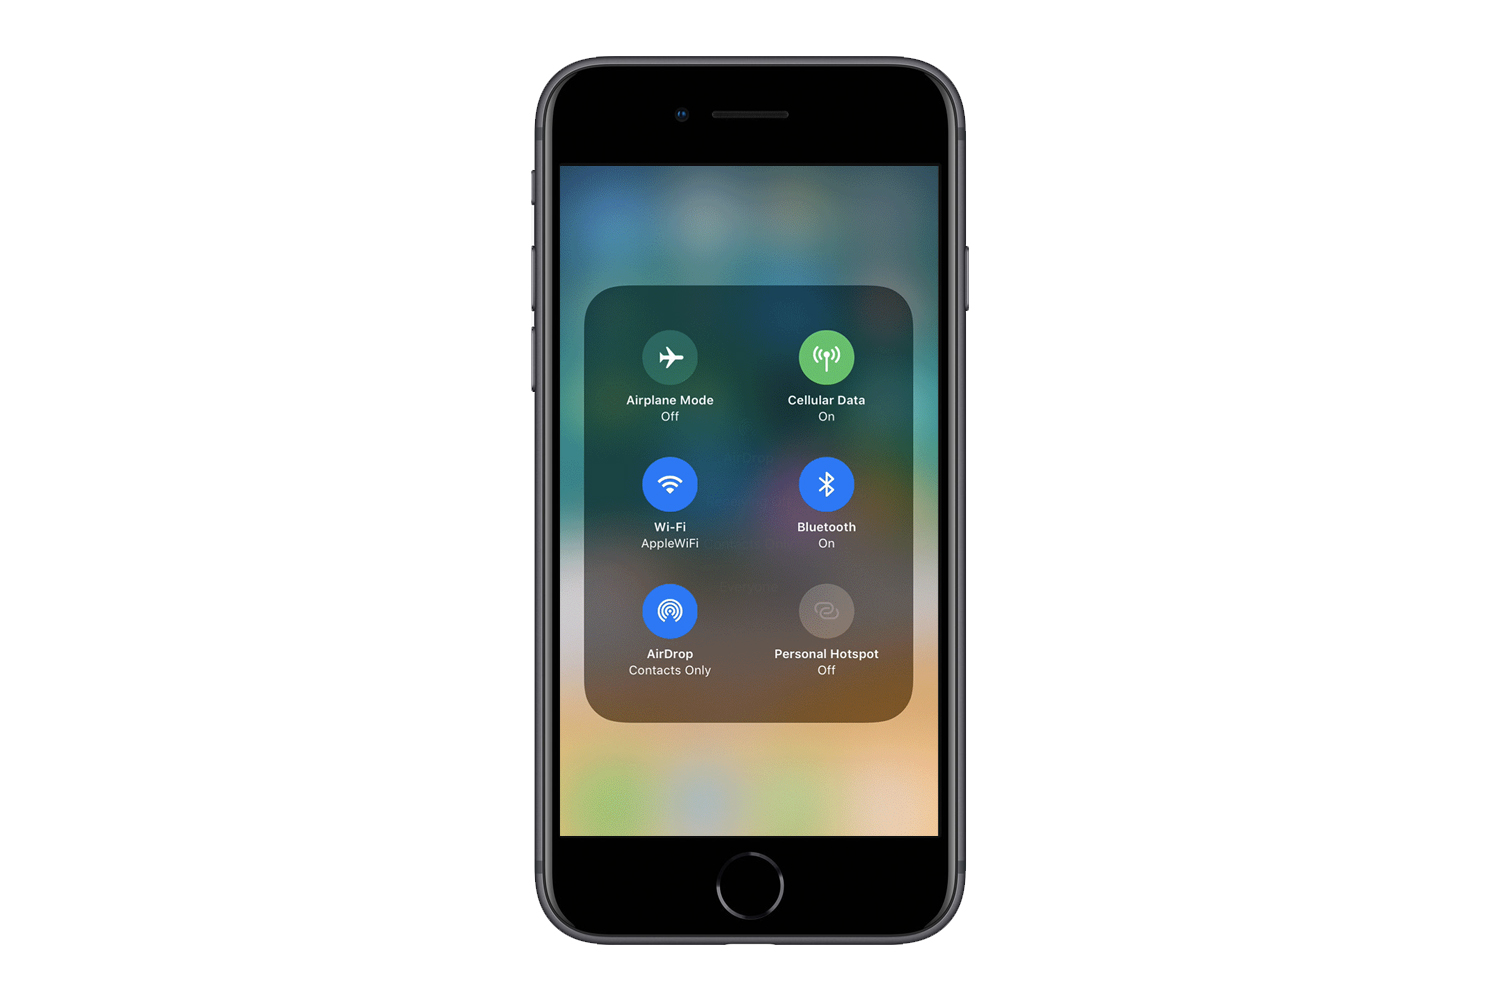
Step 2: Locate the upper-left box, which contains Airplane Mode, Bluetooth, and other connectivity controls. Make sure both Wi-Fi and Bluetooth are turned on.
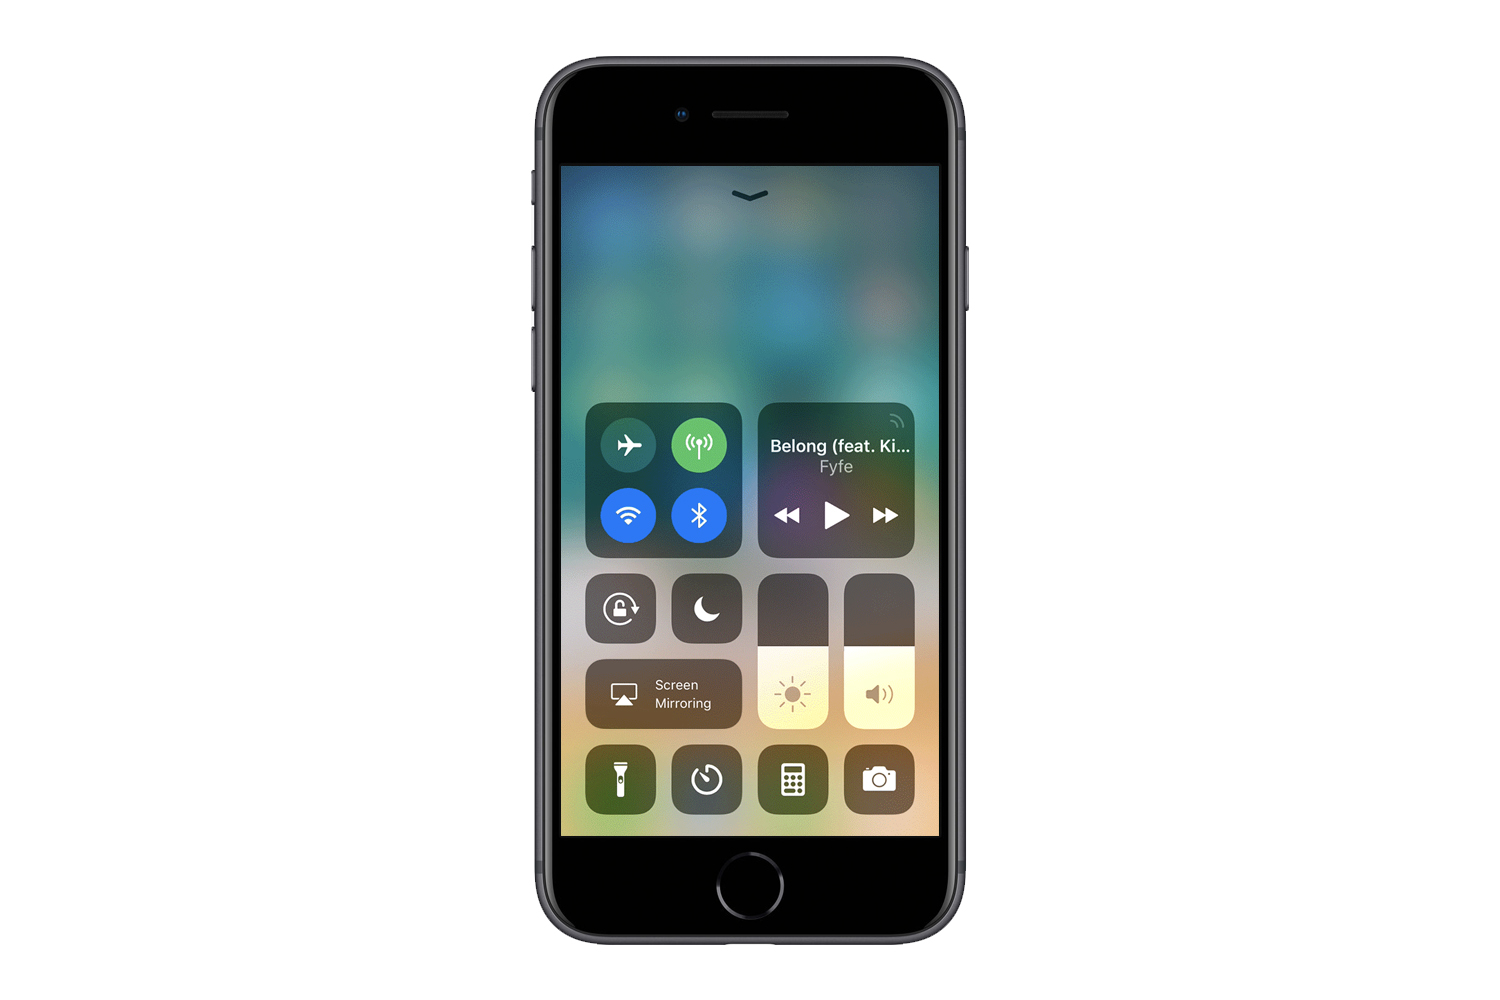
Step 3: Perform a 3D Touch or hold down on any of the aforementioned icons. This will expand the box, and reveal additional controls like AirDrop.
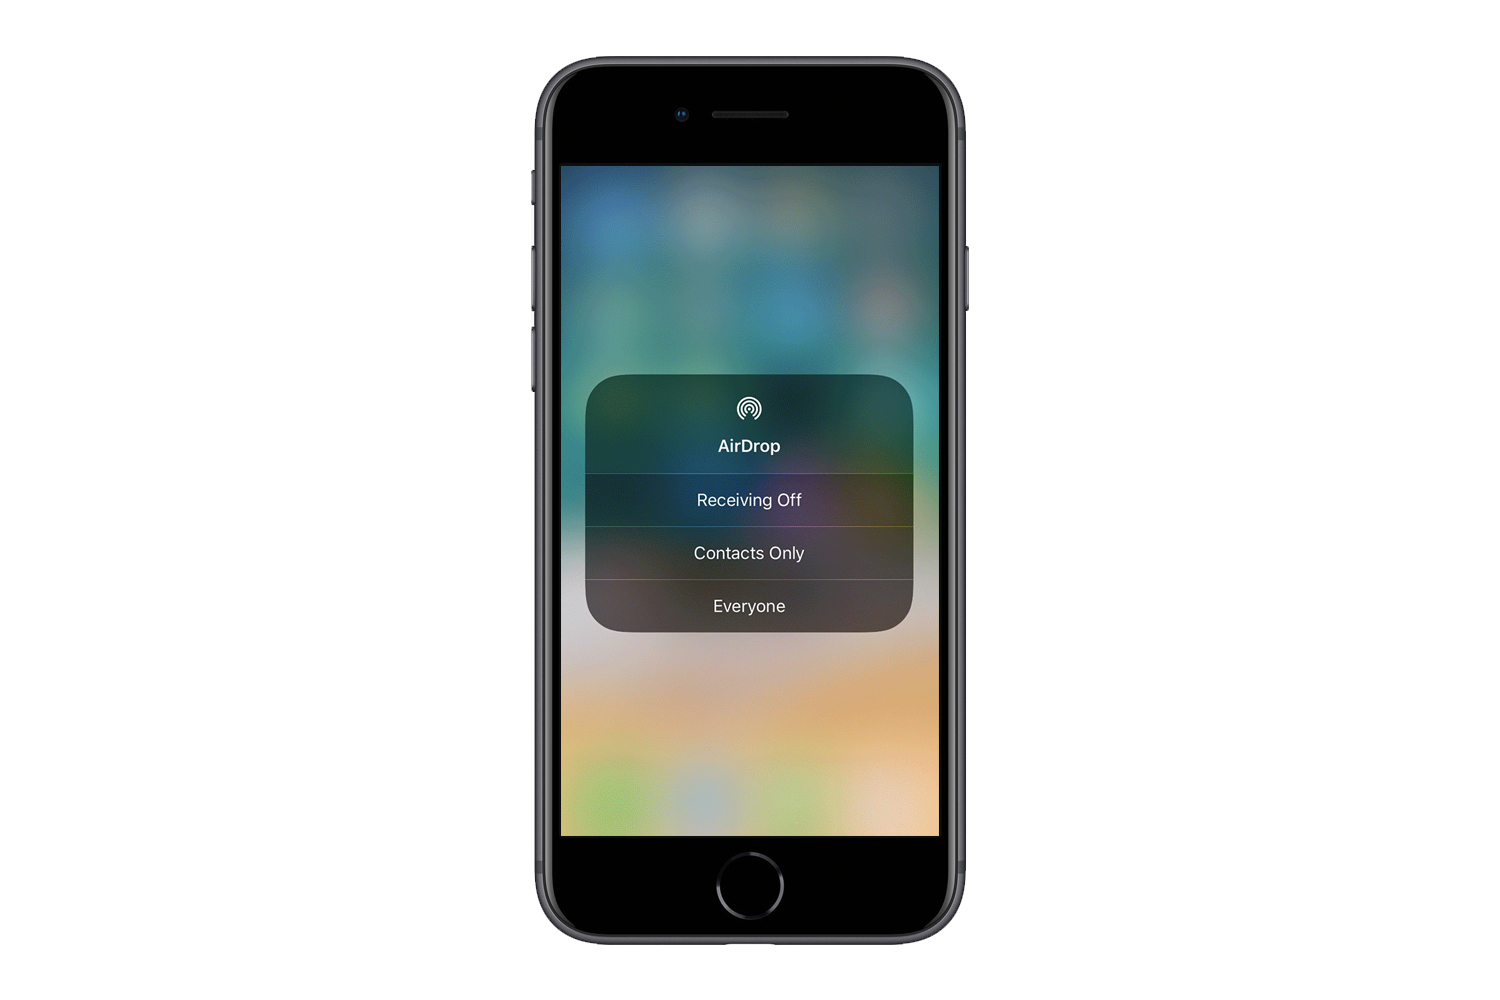
Step 4: Tap the AirDrop button to open the quick settings menu. Here, you will be able to set your ability to send and receive files via AirDrop.
Note: If you see “Receiving Off” and can’t seem to change it, go to “Settings,” then “General,” and finally “Restrictions,” and ensure the AirDrop feature is toggled on
Using AirDrop on iOS

Using AirDrop on iOS is easy. Just follow these steps:
Step 1: Go to the file, photo, or other piece of content you’d like to share.
Step 2: Tap the Share button in the bottom-left corner of your device’s display. The feature’s icon will depict a box with an arrow pointing upward.
Step 3: Directly below the image or piece of content, you should see a list of available devices. Tap the name of the device with which you wish to share.
Step 4: Once accepted, “sent” will appear under the device name.
AirDrop on MacOS

AirDrop works just as well on MacOS as it does on iOS. Here’s how to take full advantage of it.
Step 1: Open “Finder” from the Dock.
Step 2: If you don’t see it in the lefthand sidebar, you can find it from the menu bar. Just select “Go” and then “AirDrop.”
Step 3: The AirDrop window will show you all nearby devices that can accept your files and documents. Drag what you want to send on to the intended recipient, and drop it to begin the transfer.
Alternatively, you can open the file you want to send and click the share button — it looks like a rectangle with an up arrow pointing out of it. Choose “AirDrop” from the sharing options and then choose a recipient to send the file to them.
Accepting or declining an AirDrop transfer
Sending a piece of content via AirDrop is easy, as is accepting or declining an AirDrop transfer. But it is a little different depending on which platform you’re using.
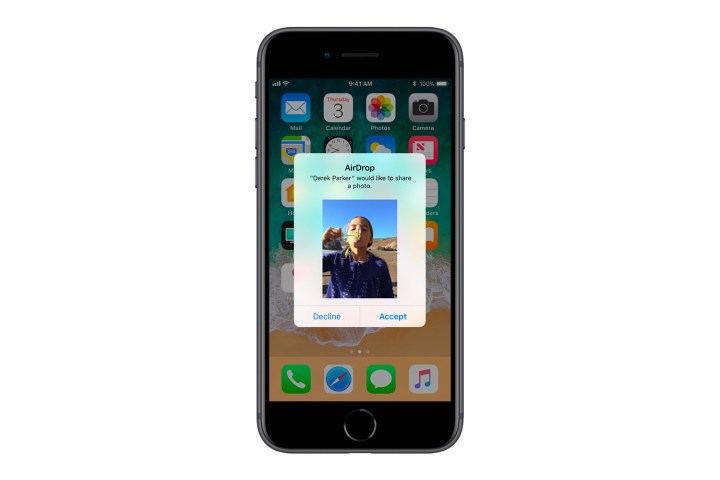
If someone sends a file or photo to you using AirDrop, an alert will appear on your screen with a preview of said content. You’ll need to accept it to complete the transfer. On iOS, you can tap the “Accept” button that pops up in the center of your screen. On MacOS, you’ll need to look to the AirDrop window, or at the notification in the top corner.
Selecting “Accept” will open the app that corresponds with the file (Photos, for instance), whereas tapping “Decline” will cancel the transfer. Keep in mind that if you’re sharing content with yourself via AirDrop, you won’t see an option to accept or decline an AirDrop transfer; the content will automatically transfer between your devices, assuming both are signed in using the same Apple ID.
Making sense of AirDrop’s quick settings
Once you have access the quick settings menu, you’ll be presented with three options:
- Receiving Off: This blocks your device from receiving any and all AirDrop requests.
- Contacts Only: This makes it so only your contacts can see your device.
- Everyone: This allows all nearby iOS users who are using AirDrop to share files with you.
Troubleshooting
If you’re having trouble transferring content between devices, double check that both Bluetooth and Wi-Fi are turned on. This applies to each device, as AirDrop only works when both Wi-Fi and Bluetooth are enabled.

If that doesn’t solve the issue, ensure you’re not using your iPhone or iPad as a personal hot spot. To do so, go to “Settings,” then “Cellular,” followed by “Personal Hotspot,” and ensure the slider beside the feature is toggled off.
If none of the above solve the issue, make sure the two devices are within range of one another. AirDrop will not work if either user is out of Bluetooth and Wi-Fi range. Also, if the person you’re attempting to share your content with has AirDrop set to Contacts Only, and your information is not saved in their contacts, make sure they toggle their AirDrop configuration to receive AirDrop content from “Everyone.”
Editors' Recommendations
- The 6 best tablets for kids in 2024
- 10 iPhone productivity apps you need to download right now
- Everything you need to know about the massive Apple App Store outage
- Apple may stop updating one of its best Apple Watches this year
- We now know when Apple is adding RCS to the iPhone


