
Are you looking to securely erase a Mac’s SSD? You’ve come to the right place. I recently needed to erase the SSD on an old MacBook Pro that I was selling to a friend—I wanted to give them a machine that’s as clean as the day it was bought. While not all Macs are the same, erasing an SSD is surprisingly easy if you know your way around macOS Disk Utility features. Here’s everything you should know.
Is It Safe To Erase Apple SSD?
For those attempting to erase a Mac SSD so that they can transfer or sell a device, there are a couple of things you should prepare. Even if you’re not transferring the device, it’s a good idea to go through this list to ensure a smooth, seamless process.
 NOTE
NOTE
1. Make a Time Machine Backup
It’s always a good idea to have backups, and fortunately, Time Machine creates them if you have an external drive. However, to start a new backup manually, just click the Time Machine icon in the top-right corner and select Back Up Now. If you then need to restore anything from a Time Machine backup, our full guide has you covered. You can also automatically perform a backup with a dependable tool, saving time and effort. With that in mind, you can try Acronis Backup, as it offers a complete backup feature, meaning that you can choose to backup locally, to the cloud, or even both.
NOTE
2. Determine What’s Under the Hood
Before erasing your SSD drive, you need to identify the macOS version, processor type, and storage drive type of your Mac. Fortunately, all of this information is in the same general area.
- First, navigate to the Apple menu and select About This Mac.
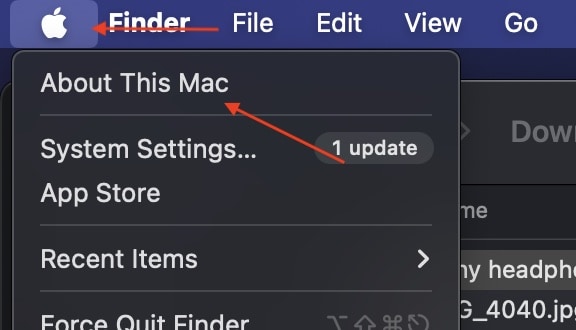
- It should mention the macOS version within the About window.
- Check the Processor/Chip section. If it says Apple, you’re using an Apple-based processor. If it doesn’t say Apple, you’re using an Intel processor.
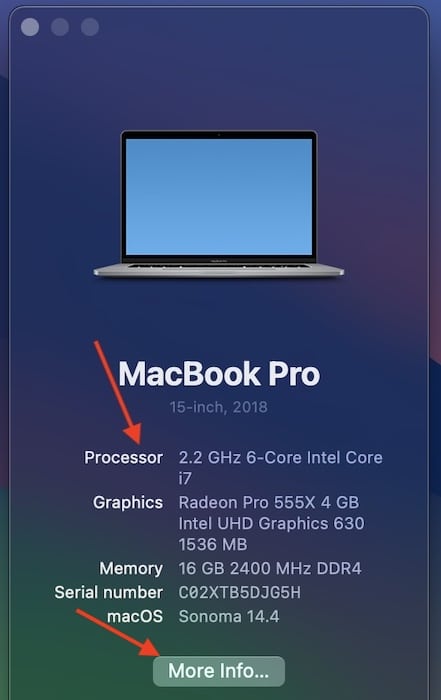
- Tap More Info and then scroll down and select System Report. For older Macs, just click System Report on the About screen.
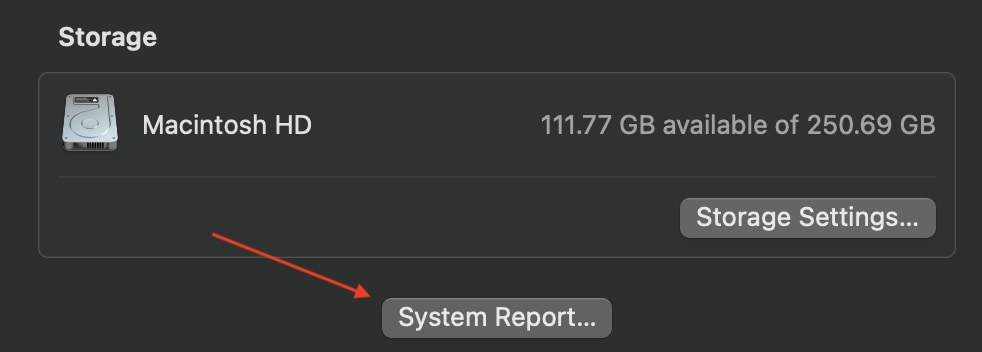
- Click Storage. Under Media Type, it will let you know if your machine has an SSD drive.
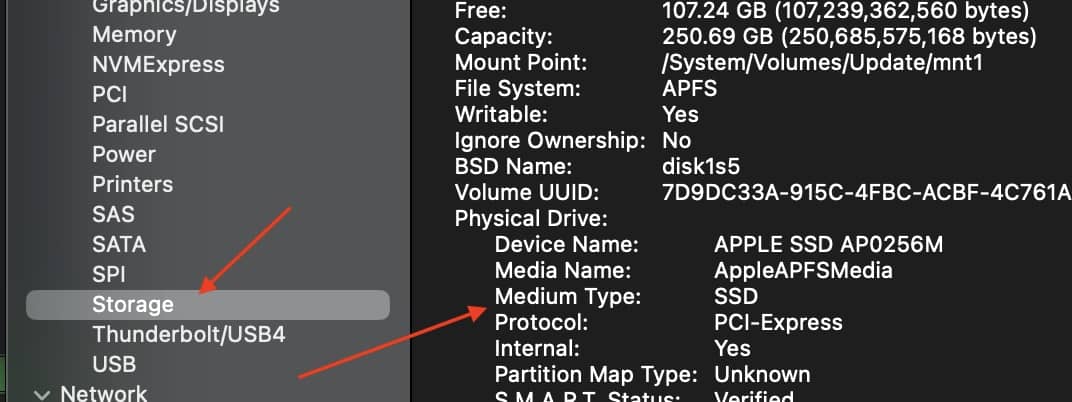
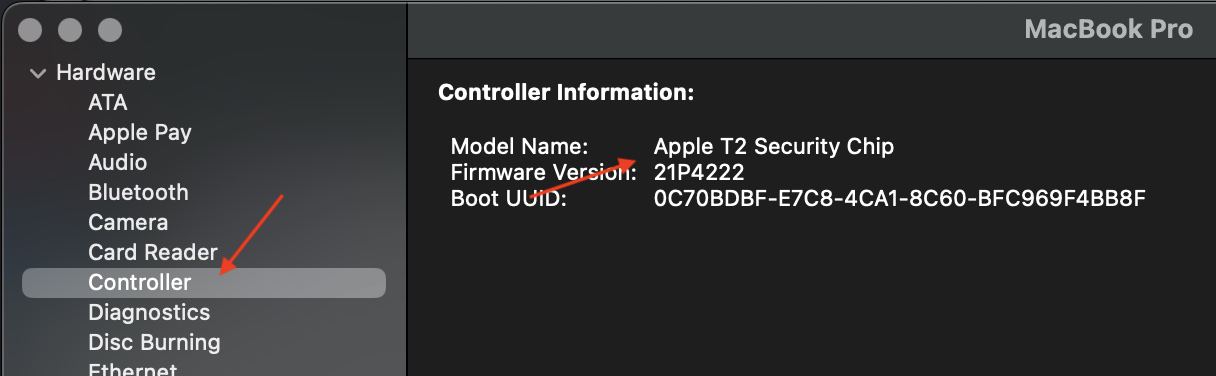
- If you have an Intel Processor. You will need to determine if is a T2 Chip. This will allow you to use Erase Assistant. While in the System Report menu, select Controller. If it says Apple T2 Security Chip under Model Name, you’re good to go.


Obviously, it’s important to know if your machine is using SSD, but it’s also important to know the processor and macOS version, as this can help determine how the SSD will be erased.
3. What Happens After Erasing Your Mac’s SSD
There are several security measures to take after you erase your Mac’s SSD. If you’re clearing your SSD to use it as an external drive or reinstall macOS, then you’re good to go. However, users who will sell or give away their Mac should consult Apple.
How to Erase a Mac SSD
NOTE
The exact steps for erasing your Mac’s SSD will depend on its processor and operating system, so double-check these specs beforehand.
1. Erase SSD on macOS Monterey or Later with Erase Assistant (Apple Silicon/T2 Chip Only)
Thanks to Erase Assistant, if your Mac is running macOS Monterey or later, erasing the SSD is as simple as navigating to your settings.
Follow these steps if you’re using macOS Ventura or later:
Time needed: 15 minutes
To use Erase Assistant:
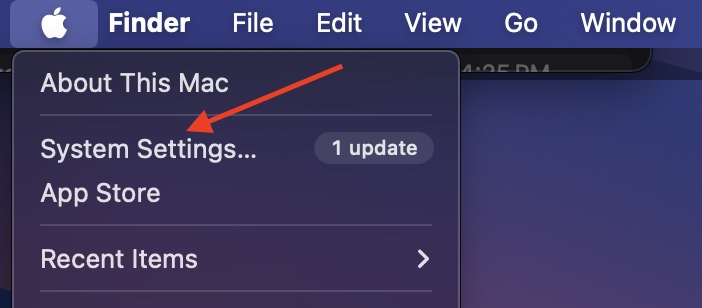
- Navigate to the Apple menu and select System Settings.

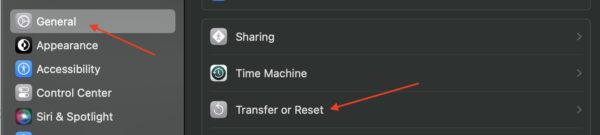
- Select General.
- Click Transfer or Reset.
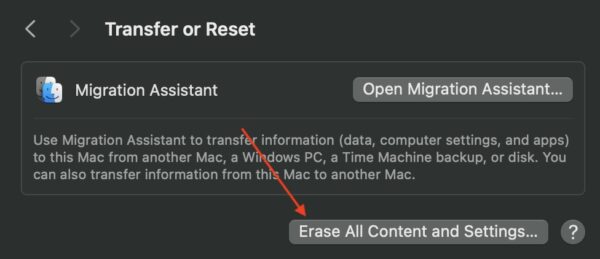
- Select Erase All Content and Settings. Follow the instructions onscreen.


That’s all there is to it. Your machine will help you create a backup with Time Machine, and work through the steps to erase the system’s SSD. Once the process is complete, the machine will restart automatically and reset to the Setup Assistant screen.
If your Mac runs on macOS Monterey and has an Apple processor/T2 Chip, follow these steps:
- Go to the Apple menu and select System Preferences.
- With the System Preferences window open, go back to the Apple menu and select Erase All Content and Settings from the drop-down menu.
- The Mac will begin erasing your SSD—follow the onscreen instructions.
Just like with macOS Ventura, Monterey and older macOS versions will guide you through the process. You’ll get a clean, writable machine afterward.
2. Erase SSD with Disk Utility (Apple Silicon)
NOTE
If your Mac doesn’t support the Erase All Content option, then our pal Disk Utility can come into play. In addition to a variety of features that help manage a drive, including repairing the disk, Disk Utility is also capable of erasing them.
- First, shut down your Mac.
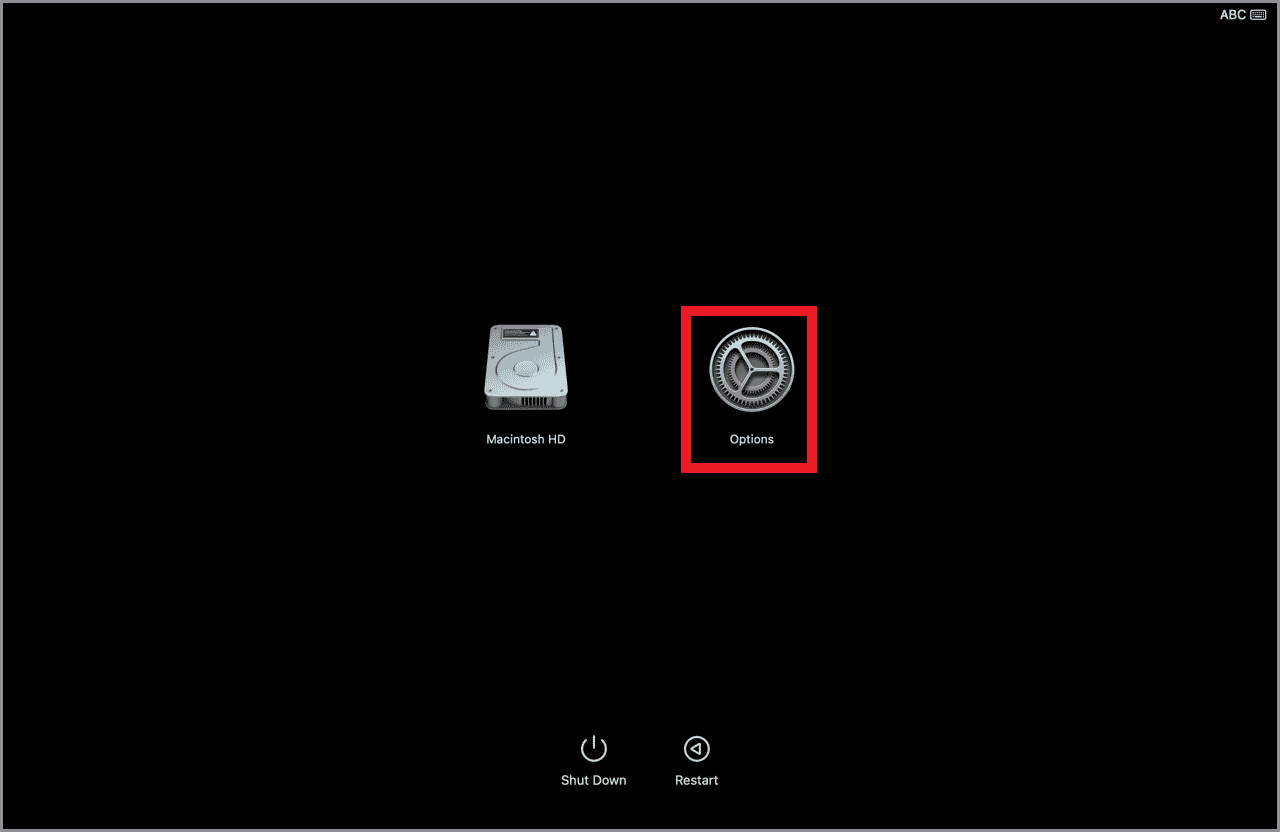
- Wait a few minutes, restart your device, and then hold down the Power Button until you see the Startup Options page. You’ve successfully entered Recovery Mode.
- Select Options > Continue. You may need to enter your Apple ID information or admin profile information.
- The Utilities window will pop up. Select Disk Utility and then click Continue.
- At this point, if there are other drives within the startup disk, click the Delete button (minus sign) to remove them.
- Now, select Macintosh HD from the sidebar.
- Select Erase. You will be asked to select a file system format and name it. Since this is an M-series Mac, APFS will be the only choice.
- Now, select either Erase or Erase Volume Group, if the latter is an option. Confirm your decision and wait for the device to restart.
- Your machine will then ask to connect to Wi-Fi or a network cable. Once activated, click Exit to Recovery Utilities.

While not as easy as Erase Assistant, Disk Utility can still get the job done without causing too much of a headache. What’s important is to enter the proper boot screen.
3. Erase SSD with Disk Utility (Intel-Based Macs)
For those with an Intel processor, you can also use Disk Utility to erase your SSD. Just like with Apple silicon, you will be using Disk Utility. Note that this works for Fusion Drives (a combination of SSD/HDD) as well.
- Shut down your Mac.
- With the machine off, press the Power Button and then immediately hold down the Command + R key combination. Hold these buttons until you see the Apple logo—it’ll bring you to Recovery Mode.
- You may be asked for your admin password.
- Select Disk Utility when the Recovery window pops up.
- Select Macintosh HD from the sidebar.
- Click Erase. You will then need to select a file system format as well as a name for it. Those on macOS 10.13 or later will click APFS, while users running macOS 10.12 or earlier will select macOS Extended.
- Now, select Erase or Erase Volume Group, if the latter option is available.
- You can repeat these steps for other storage volumes as well.
- You can now Restart the machine or Quit Disk Utility.
4. Go More Secure with FileVault
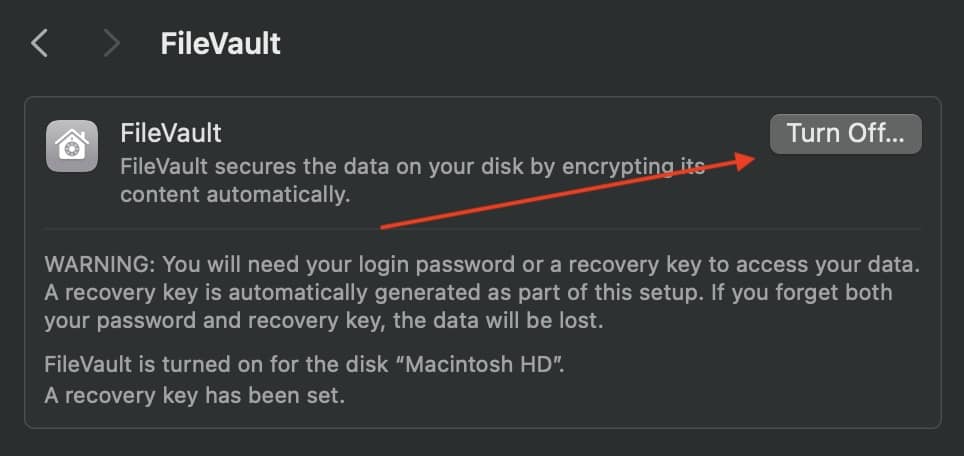
If you’re really looking to delete your SSD securely, consider using the appropriate Disk Utility erasure option on FileVault. It provides encryption for the entire disk. Once enabled, you’ll have to set a password or recovery key, and you’ll lose all your data if you forget them.
You typically get the option to enable FileVault when you first set up your Mac, although you can still access it afterward. Here’s where you’ll find FileVault:
- Go to System Settings/Preferences on your Mac from the Apple menu.
- Select Security & Privacy/Privacy & Security.

- For newer machines, select File Vault > Turn On. For older machines, click Turn On to the right of File Vault. Either way, note that it may take hours for your Mac to encrypt everything. Again, remember the password you create.
- Once complete, you can erase your SSD using the Disk Utility methods listed above. Remember to unlock your drive by selecting the disk, clicking File, and selecting Unlock.


When you undergo the disk erasure process, unlocking your drive will erase the key for FileVault, making any potential leftover data on the drive worthless. You can then reinstall macOS if needed. This process may be a bit too much for most people, but it’s great for those who need true security.
While all of the options may make everything seem complicated, it’s just a matter of knowing which method works best for your machine. Of course, remember that if you really want to erase a drive, then perhaps consider physically destroying it with a screwdriver and hammer.
Of course, you may also want to know what to do if your Mac is slow after an SSD upgrade.
Huh? I followed the “Cryptographic erase” because I’m going away my MacBookPro (Monterey). There’s no “unlock” in disk utility and then Disk Utility sees the drive as encrypted, but allows that drive to be erased and changed to non-encrypted drive without entering a key or any name/password, etc.
You can check progress of FileVault encryption for an SSD by opening a Terminal window and entering the command: diskutil apfs list. When done, the FileVault status for the Data disk will indicate “Yes (Unlocked)”.
Hi, thanks for your explanation.
In stet 4 of internal erase, you Write, one should unlock the volume and enter the password. Why should I? I can easily format that volume in DU without unlocking the volume.
Thanks.
How to Wipe Your Hard Drive.
Just format the drive, duplicate a large file (as a movie) to fill it, fill the rest duplicating a smaller file and so on until no free space is left, format again and you are done!
Now, is there an application to do that automatically on the Mac? Thanks.