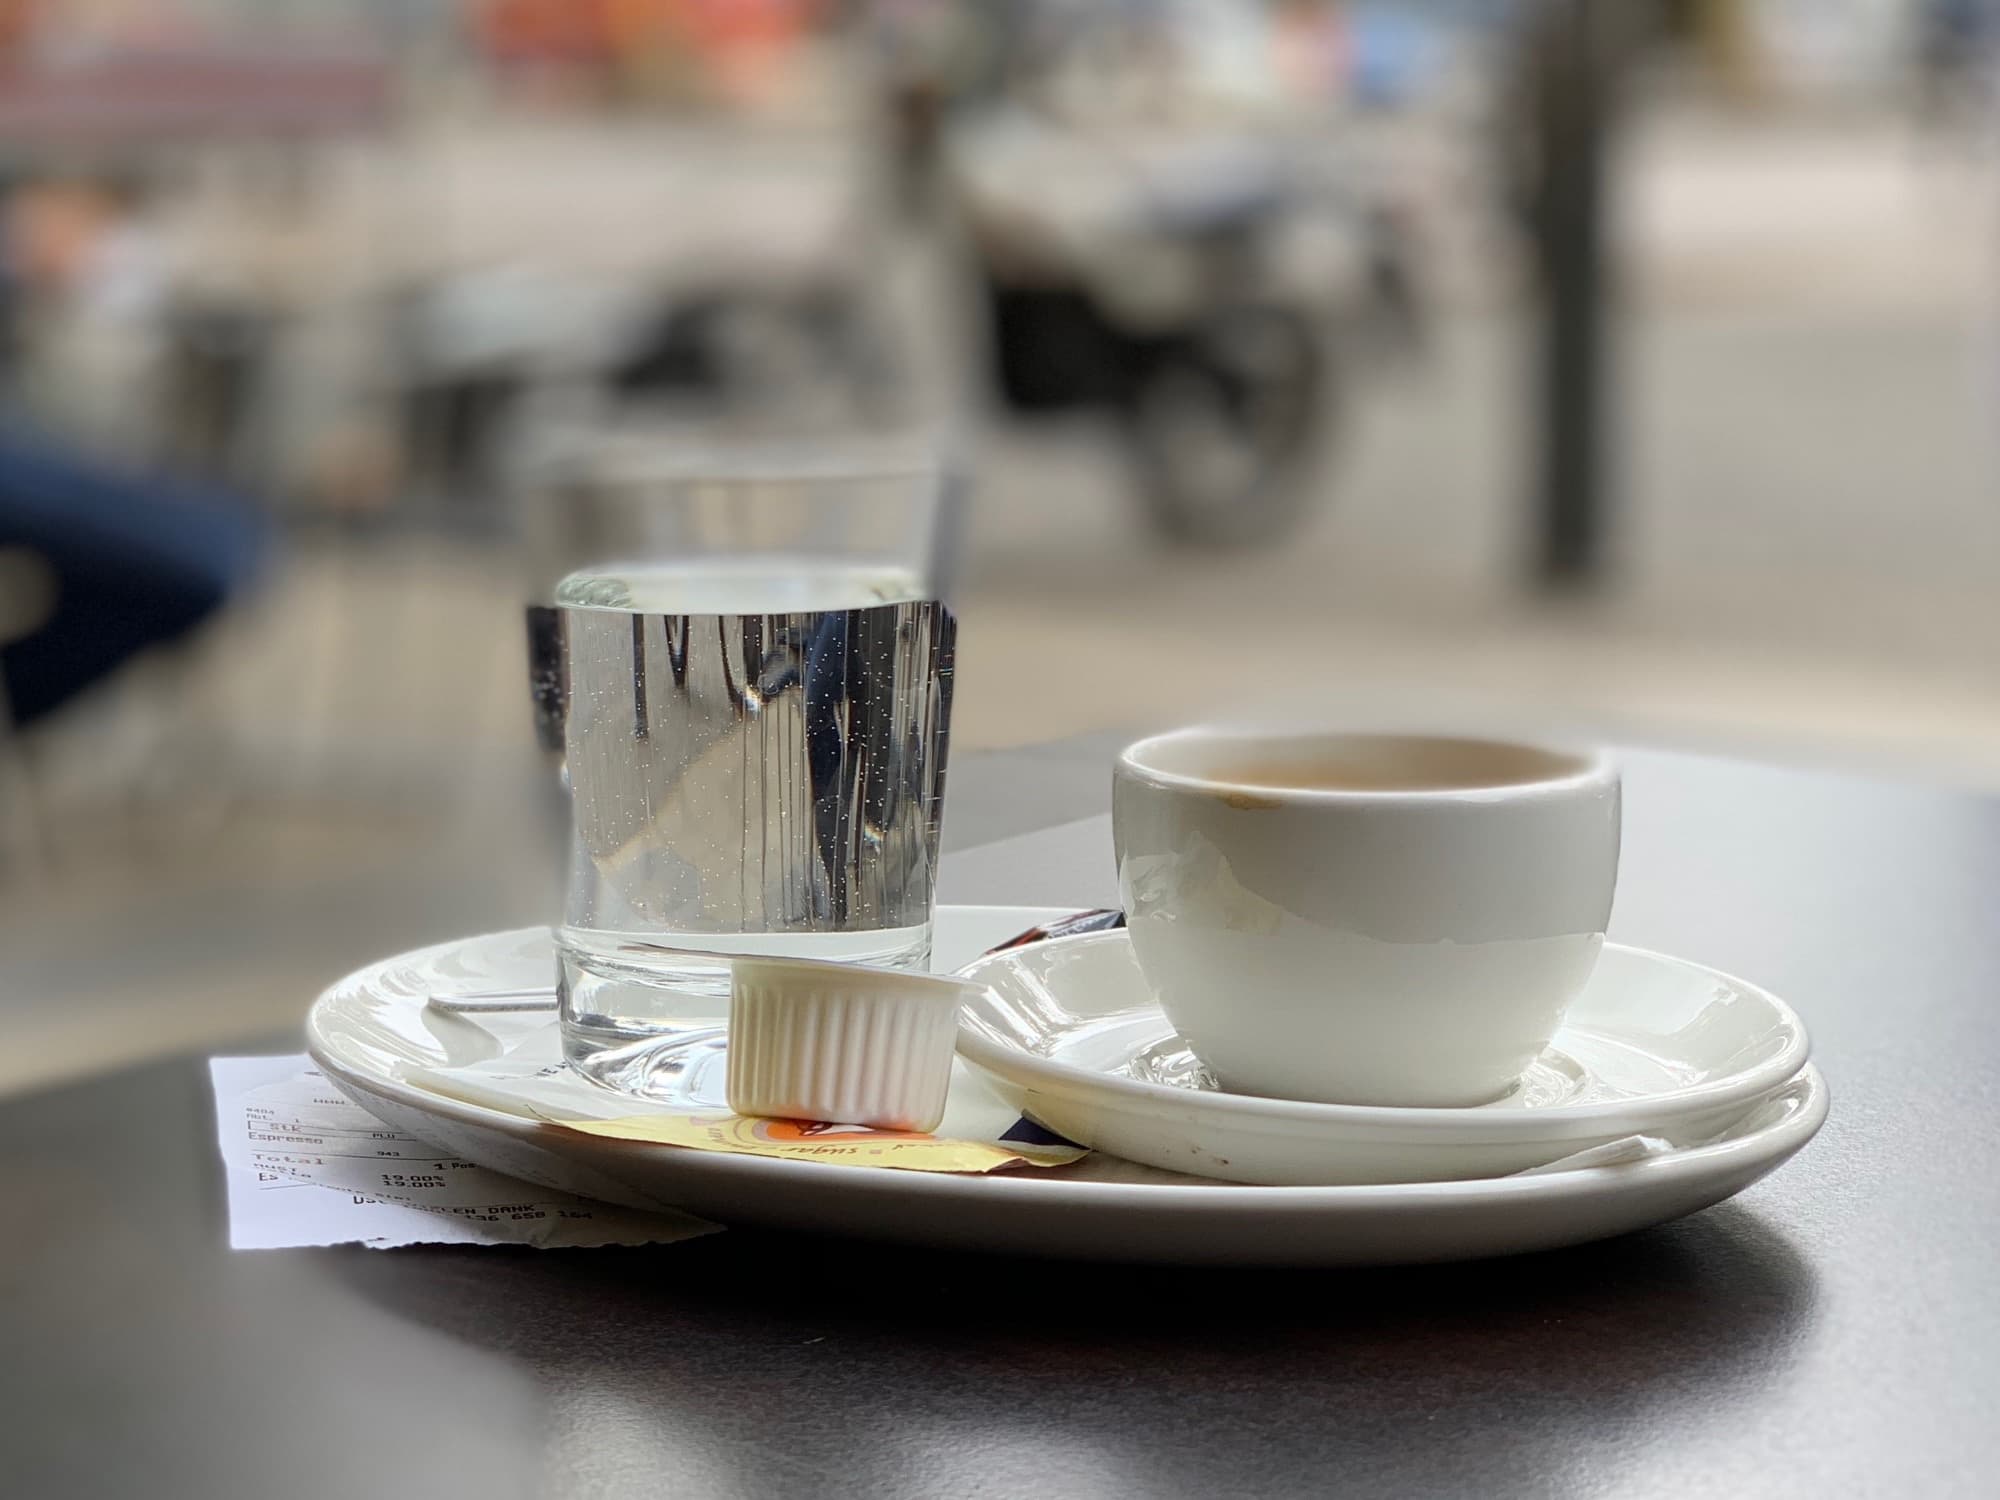
The Portrait Mode in the iPhone XR and XS is hands-down amazing. In the time it take to snap a photo, the camera scans the depth of the image in front of it, and uses that data to blur the background, and make the subject pop out, sharp. But it doesn’t always work. The depth detection gets confused by glass, for example, ruining what could have been an amazing image.
Today we’re going to use and app called Focos to fix these depth glitches. Focos is an all-round focusing powerhouse of an app, recently updated to support the iPad, including the new iPads Pro. The area we’ll focus on today (sorry) is the ability to edit the depth map, and paint back in the glass or hair that the iPhone missed.
Focos is like Photoshop for focusing
Essentially, Focos does one thing: it takes the depth map or Portrait Matte that the iPhones X save with their Portrait Mode images, and edits it. But that hides the power of Focos, which can do the following:
- Add custom bokeh, mimicking classic real-world lenses.
- Edit and fix the depth map.
- Add fog to the background.
- Add effects to the background and foreground, separately.
- Re-light an image using a 3D view of the scene. This one is totally wild.
Focos fixes focus glitches
Today, we’re just going to see how to fix the glitches in many Portrait Mode images. First, let’s take a look at the problem image.
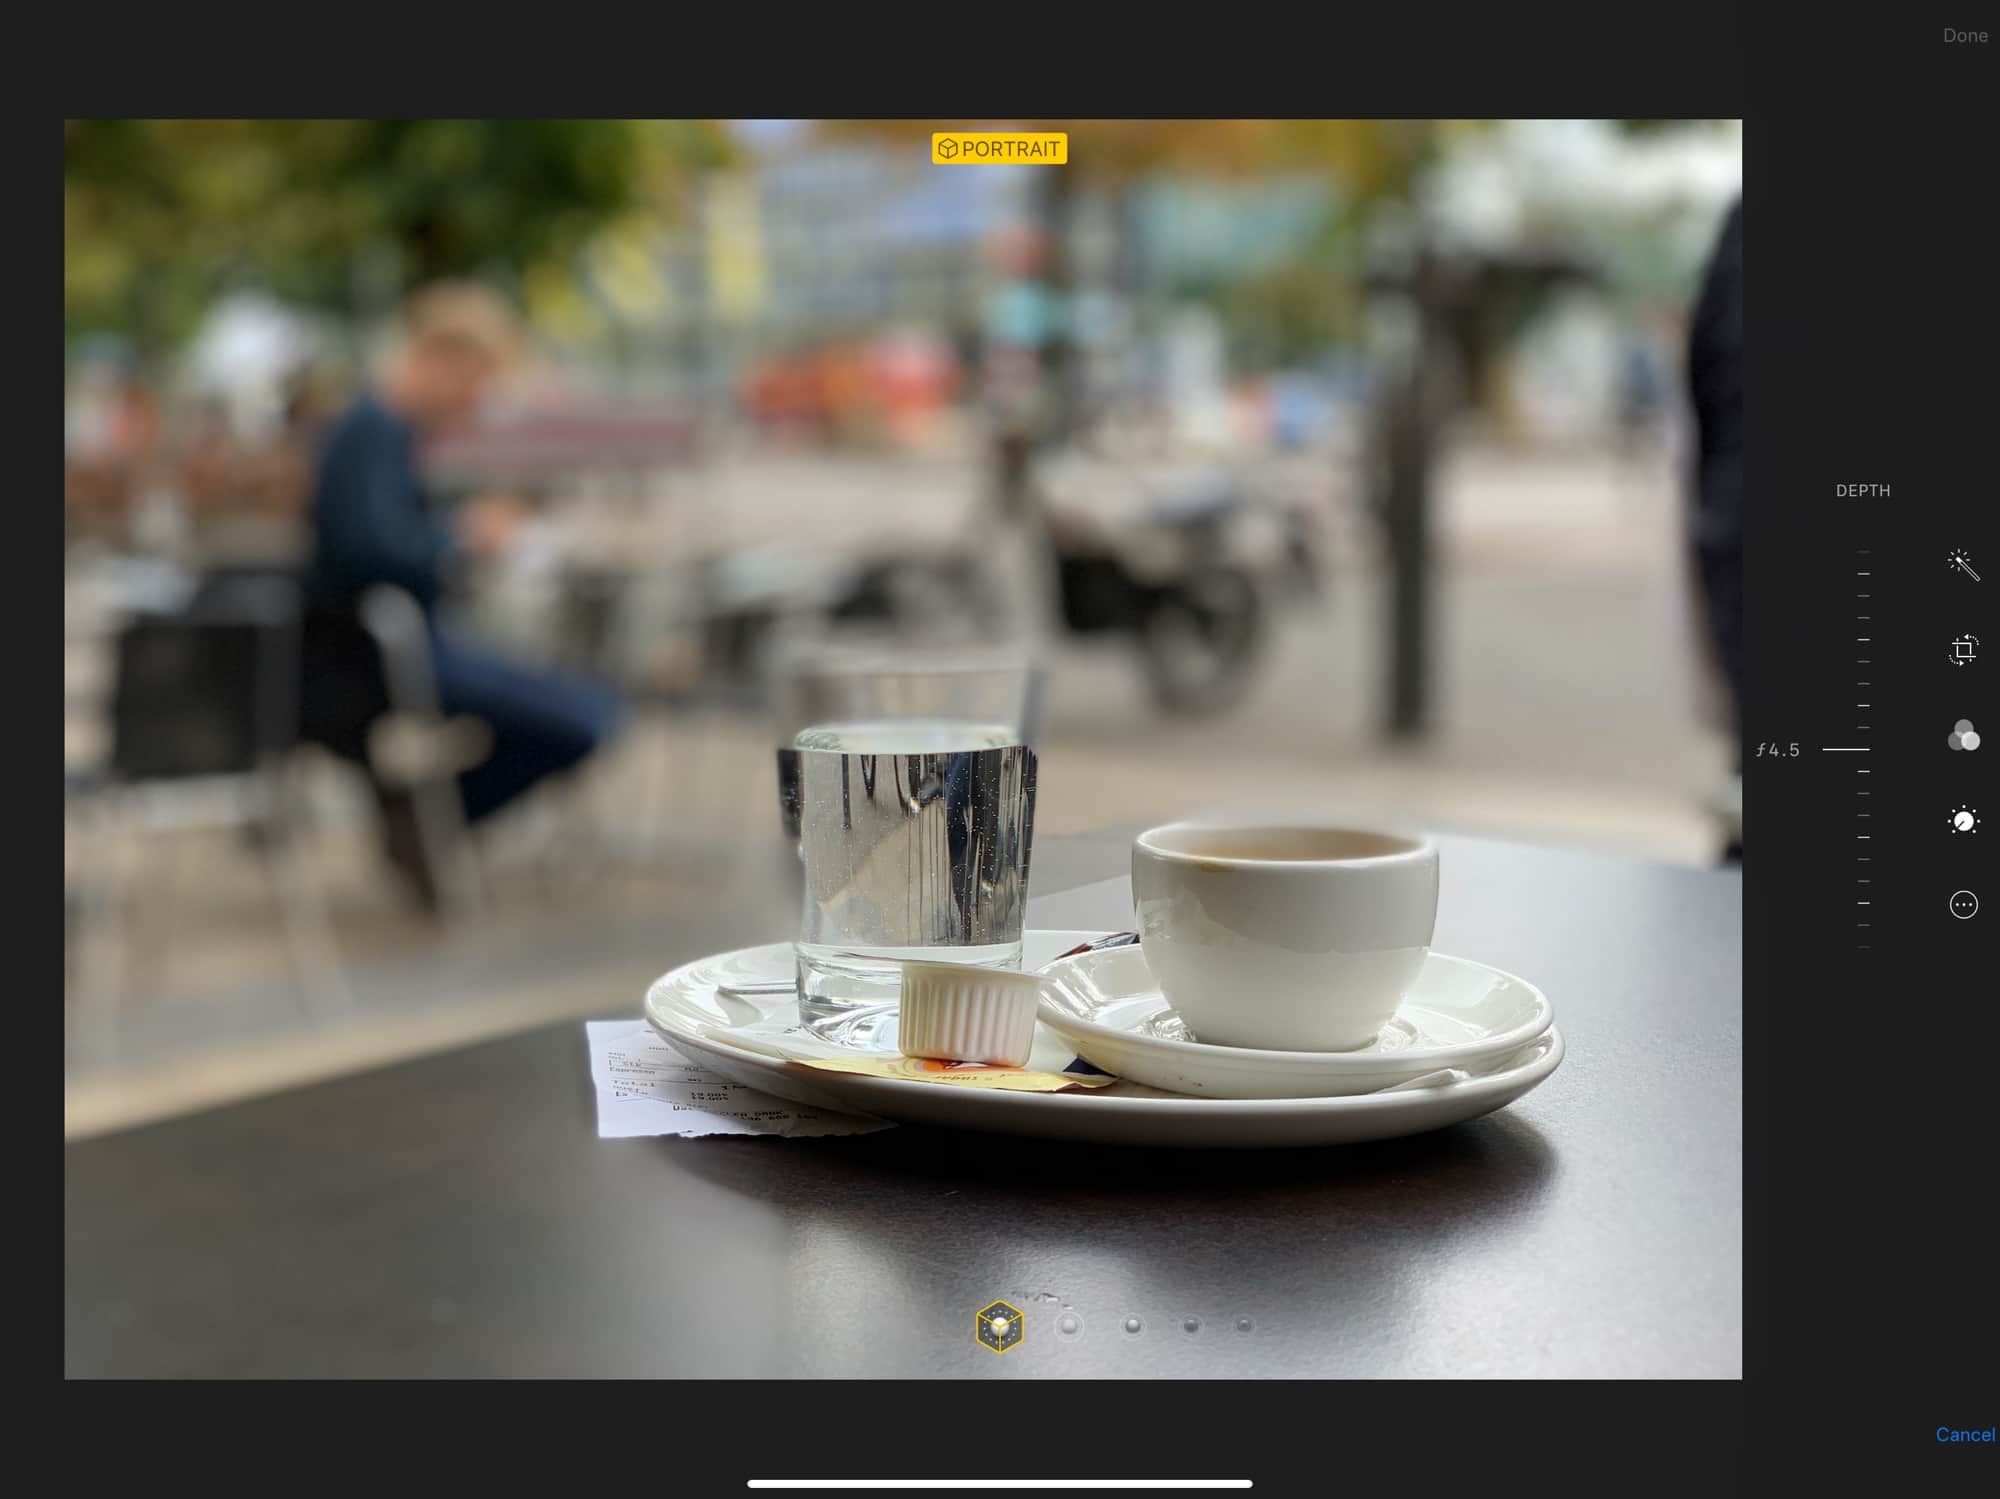
Photo: Charlie Sorrel/Cult of Mac
Here you see the original image, inside the Photos app. The photo is from my iPhone XS camera review, and shows how great the native portrait blur can look. But it also shows off the glitches on the glass. The water shows up right, but the glass has fooled the iPhone, which blurs it as if it were in the background.
Focus has a tool to fix this. But before we begin, take a look at the same image opened in Focos, before I do anything to it. See if you can spot the difference.
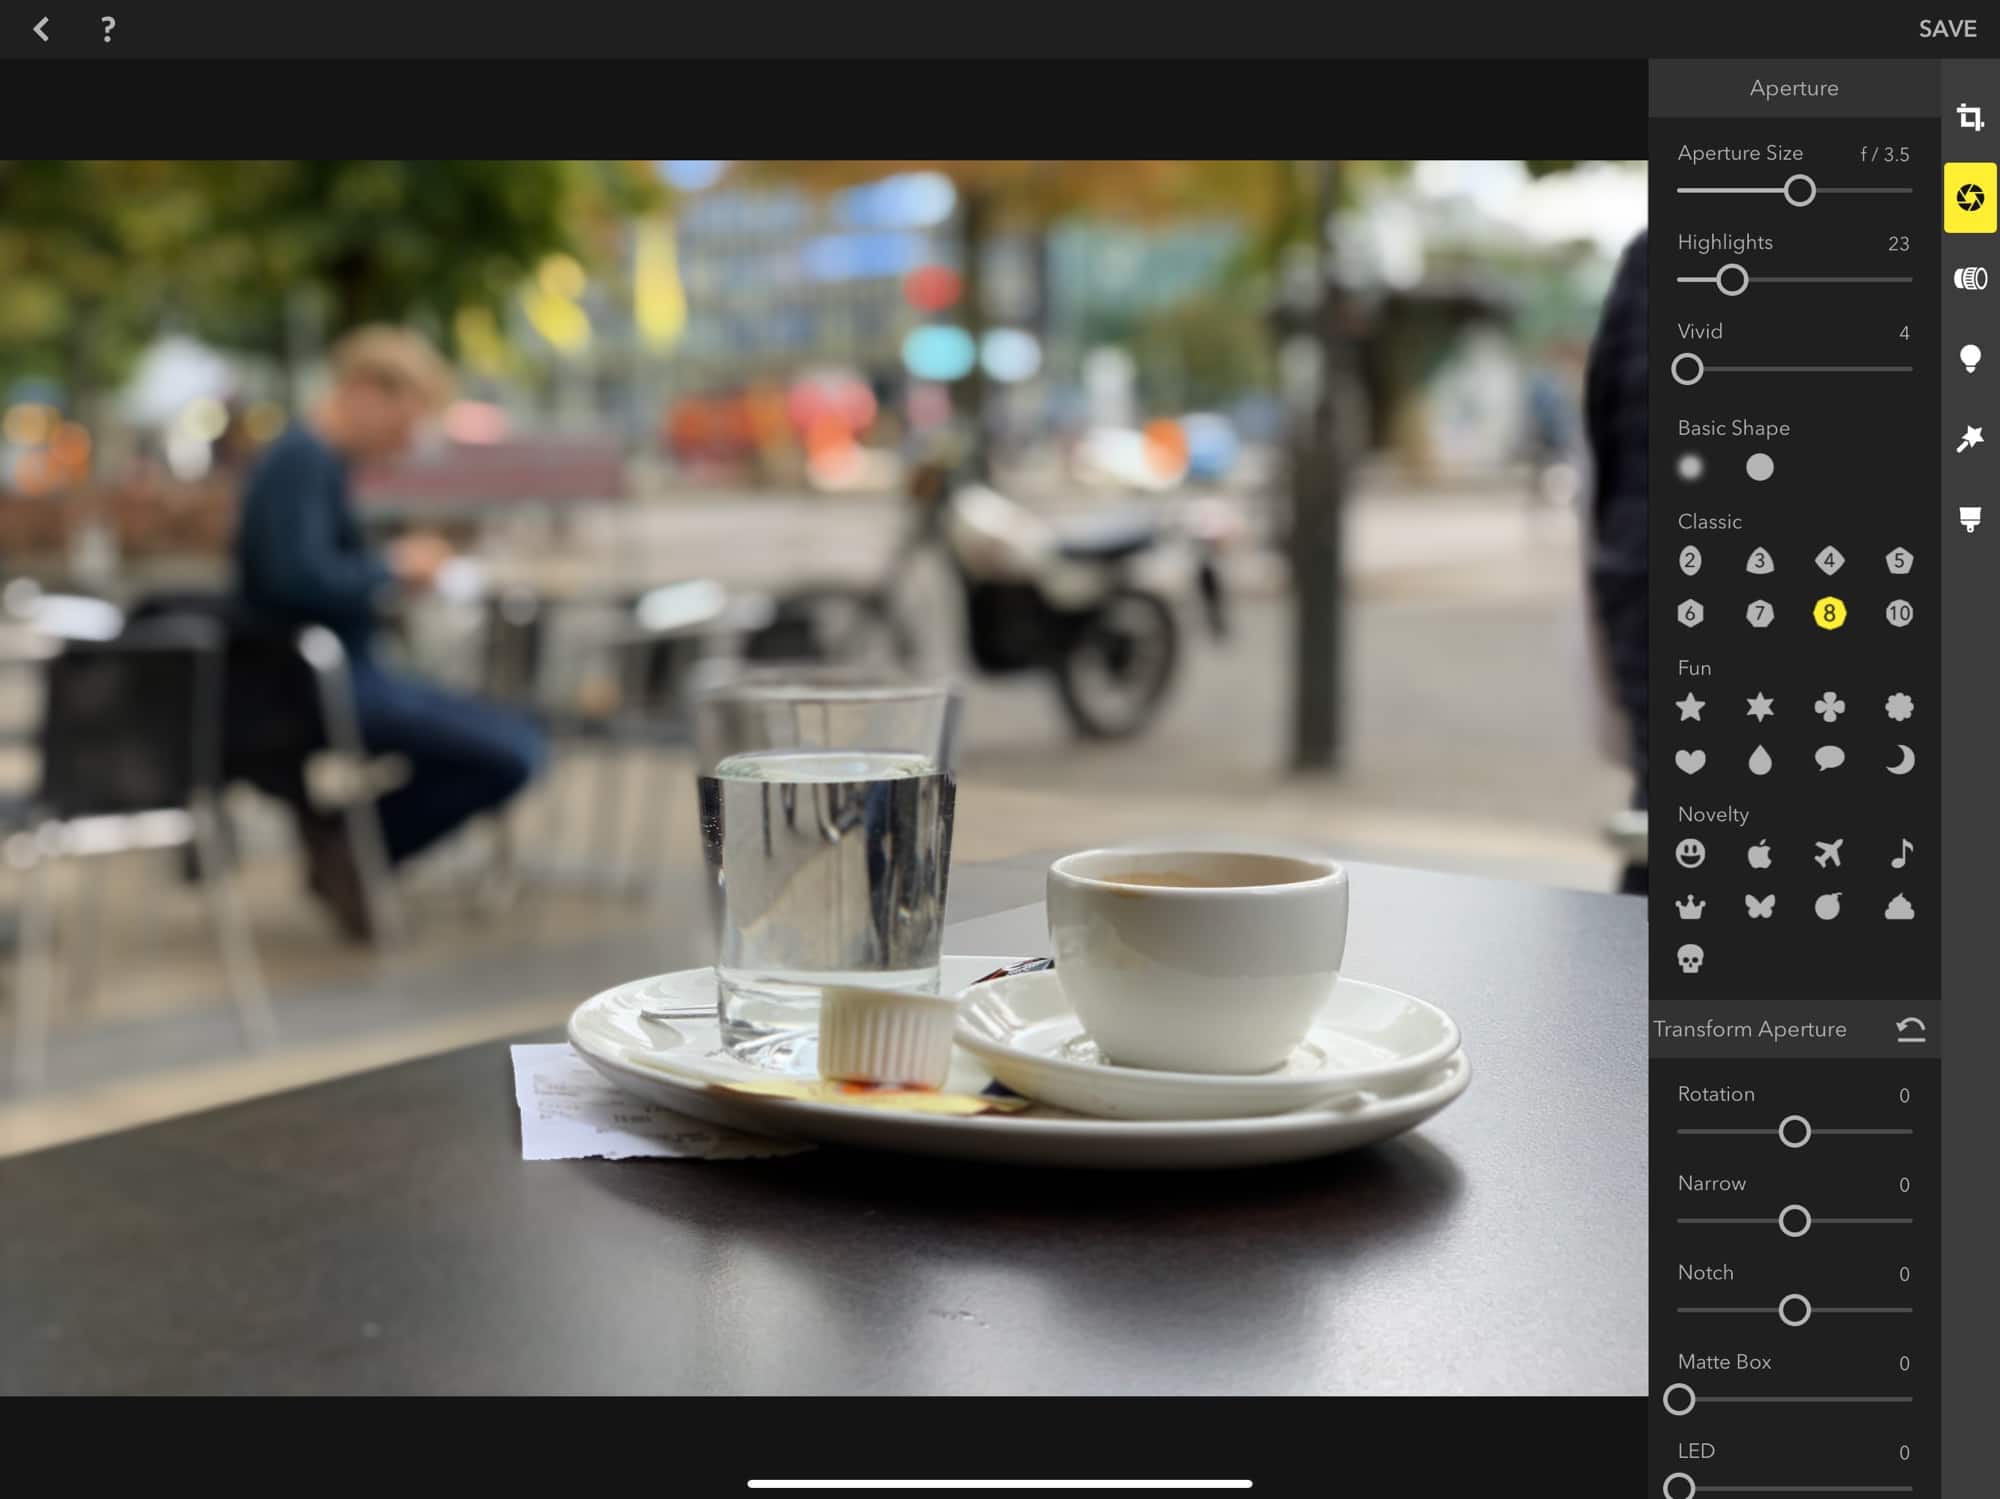
Photo: Charlie Sorrel/Cult of Mac
That’s right. Focos has applied a custom blur and bokeh. There’s also less background blur for more or less the same aperture setting. Still, that can all be changed. Let’s open up the mask editor page. It’s the paintbrush icon at the bottom of the rightmost toolbar.
Paint in a new focus map
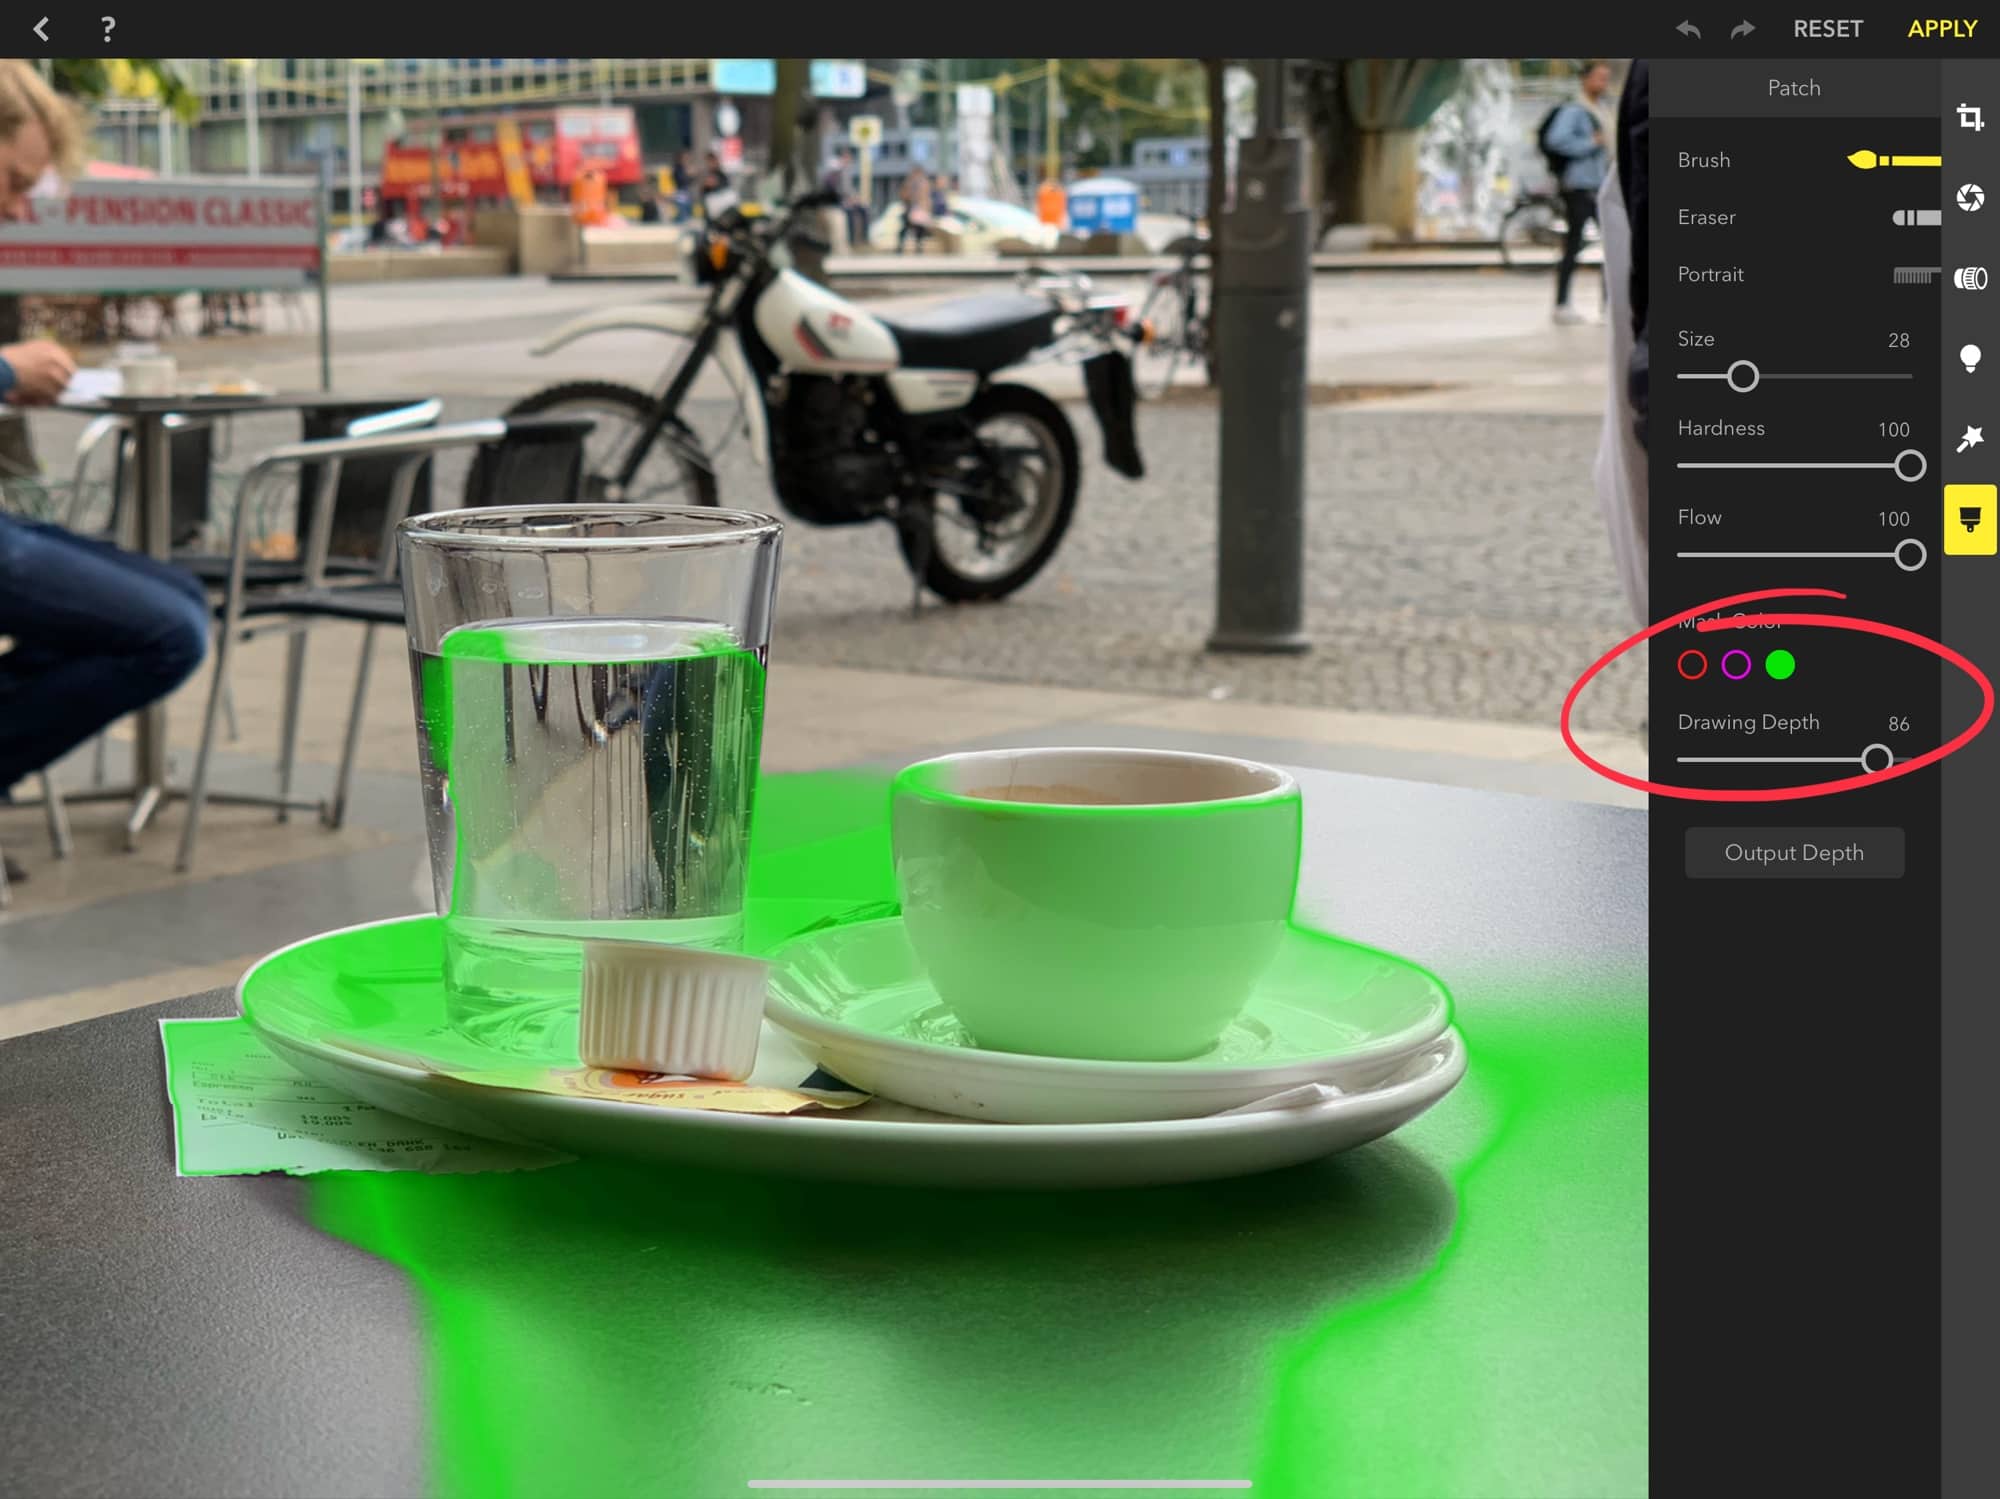
Photo: Charlie Sorrel/Cult of Mac
Grab the slider I’ve marked in the image, and drag it from side to side. This will show you the depth mask at various depths from front to back. As you move the slider, the green mask shifts and flows though the image. To fix the glass, just move the slider until the rest of the glass is green, and then paint over the part that was missed:
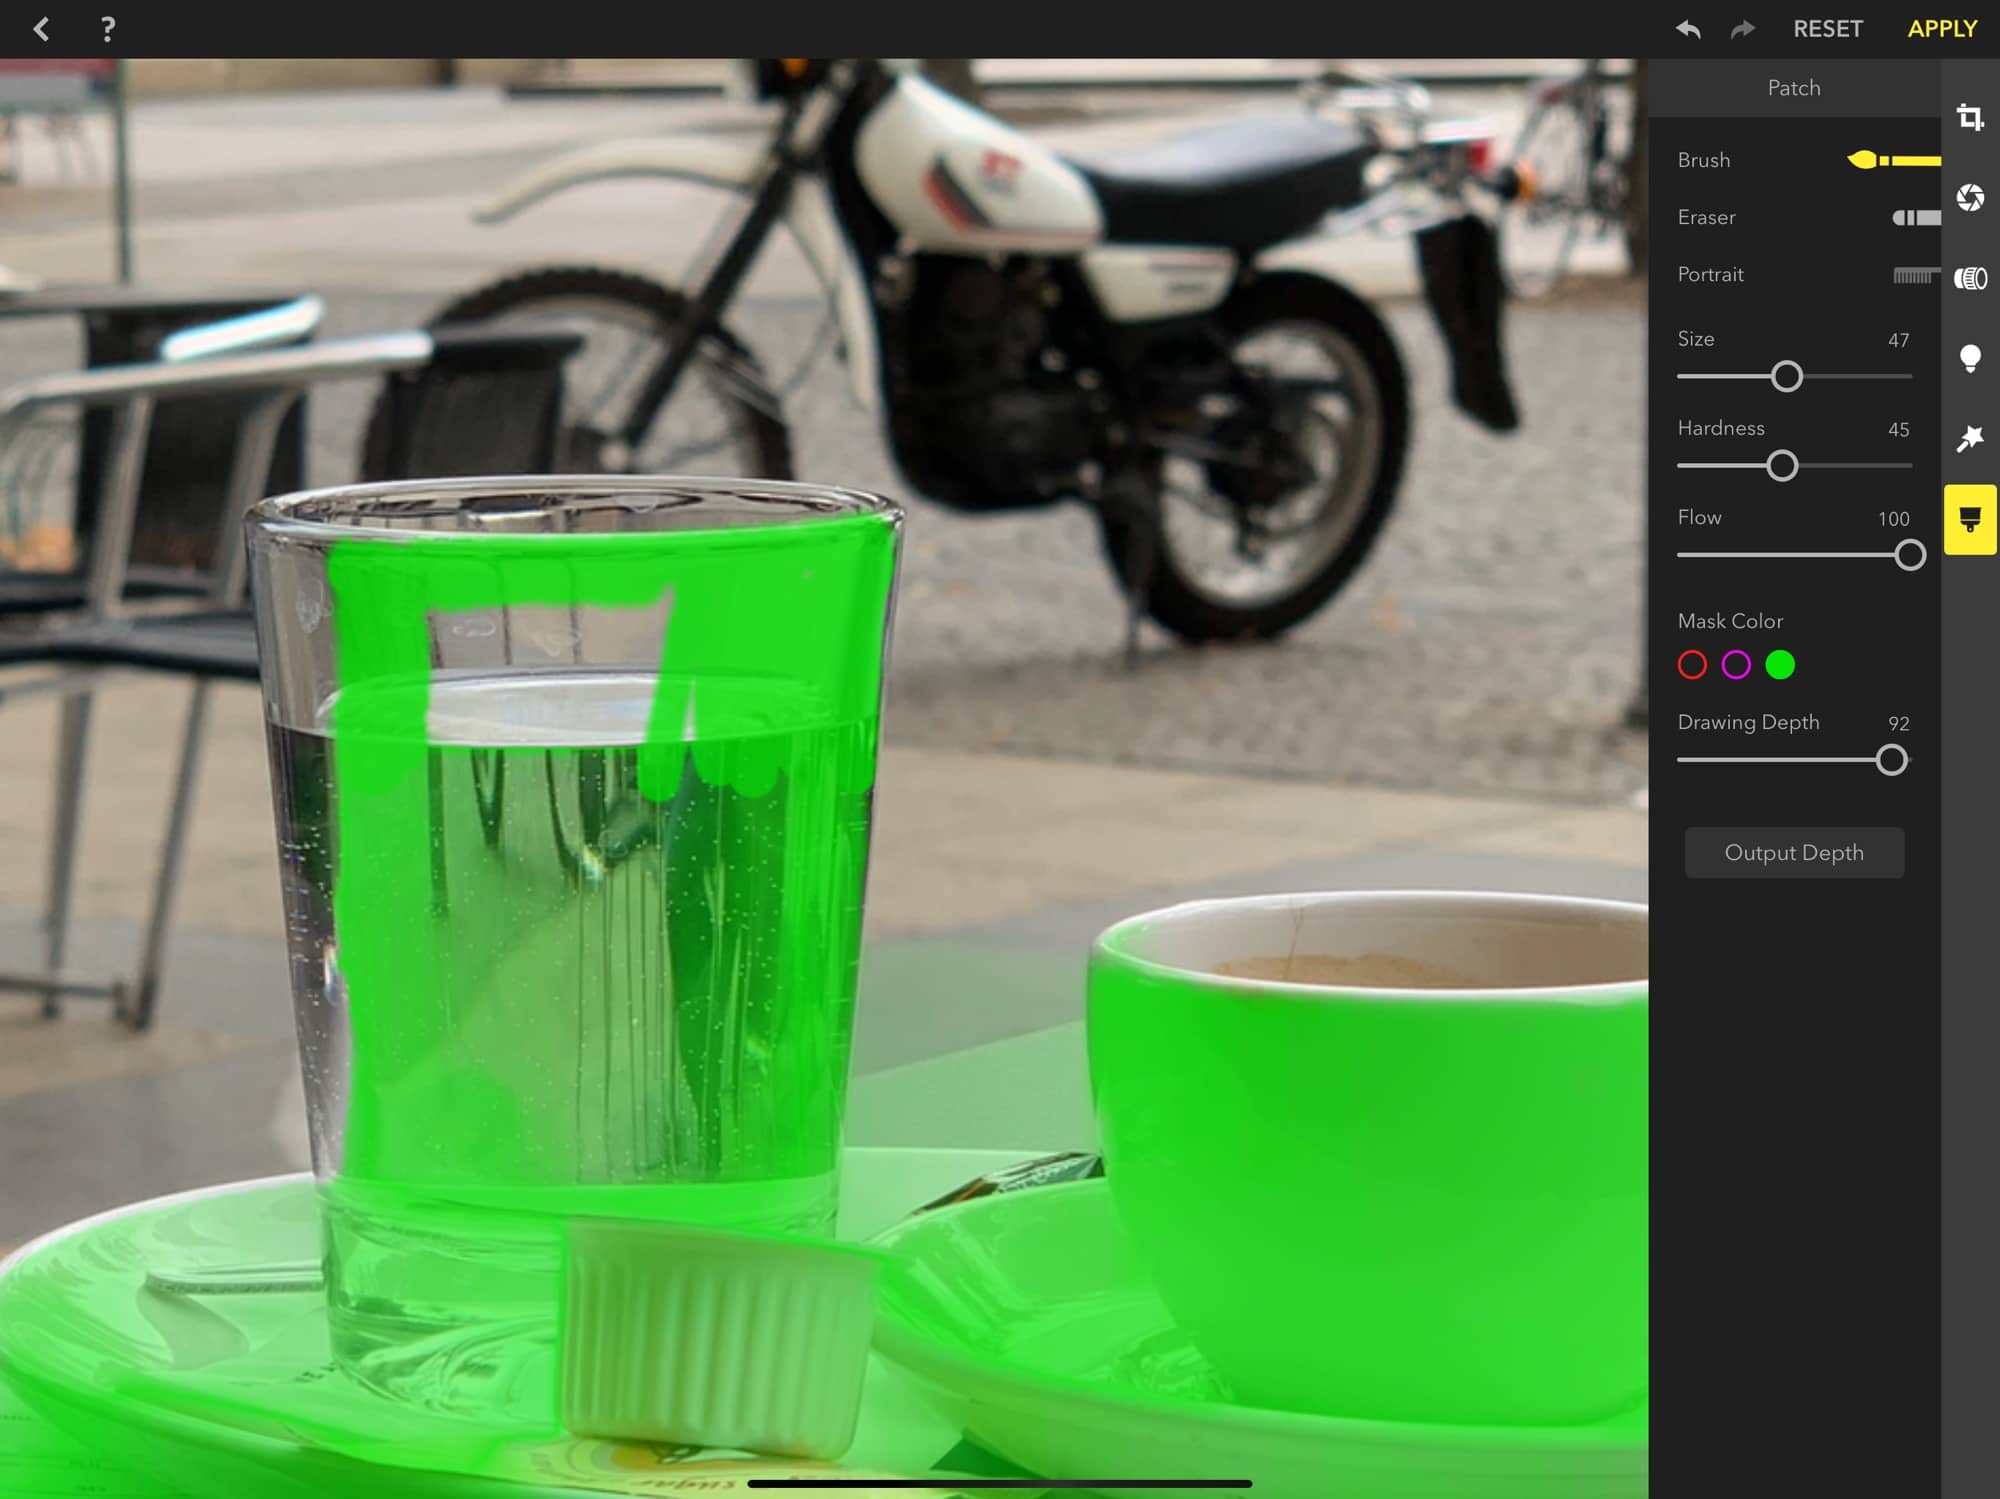
Photo: Charlie Sorrel/Cult of Mac
By moving the slider back and forth, you can get all the parts of the glass at the right depth. Then hit apply to apply the mask to the image, and to see an instant preview of the result. You can even save the mask separately, for use in other apps, like Photoshop, or even Shortcuts.
Try harder next time
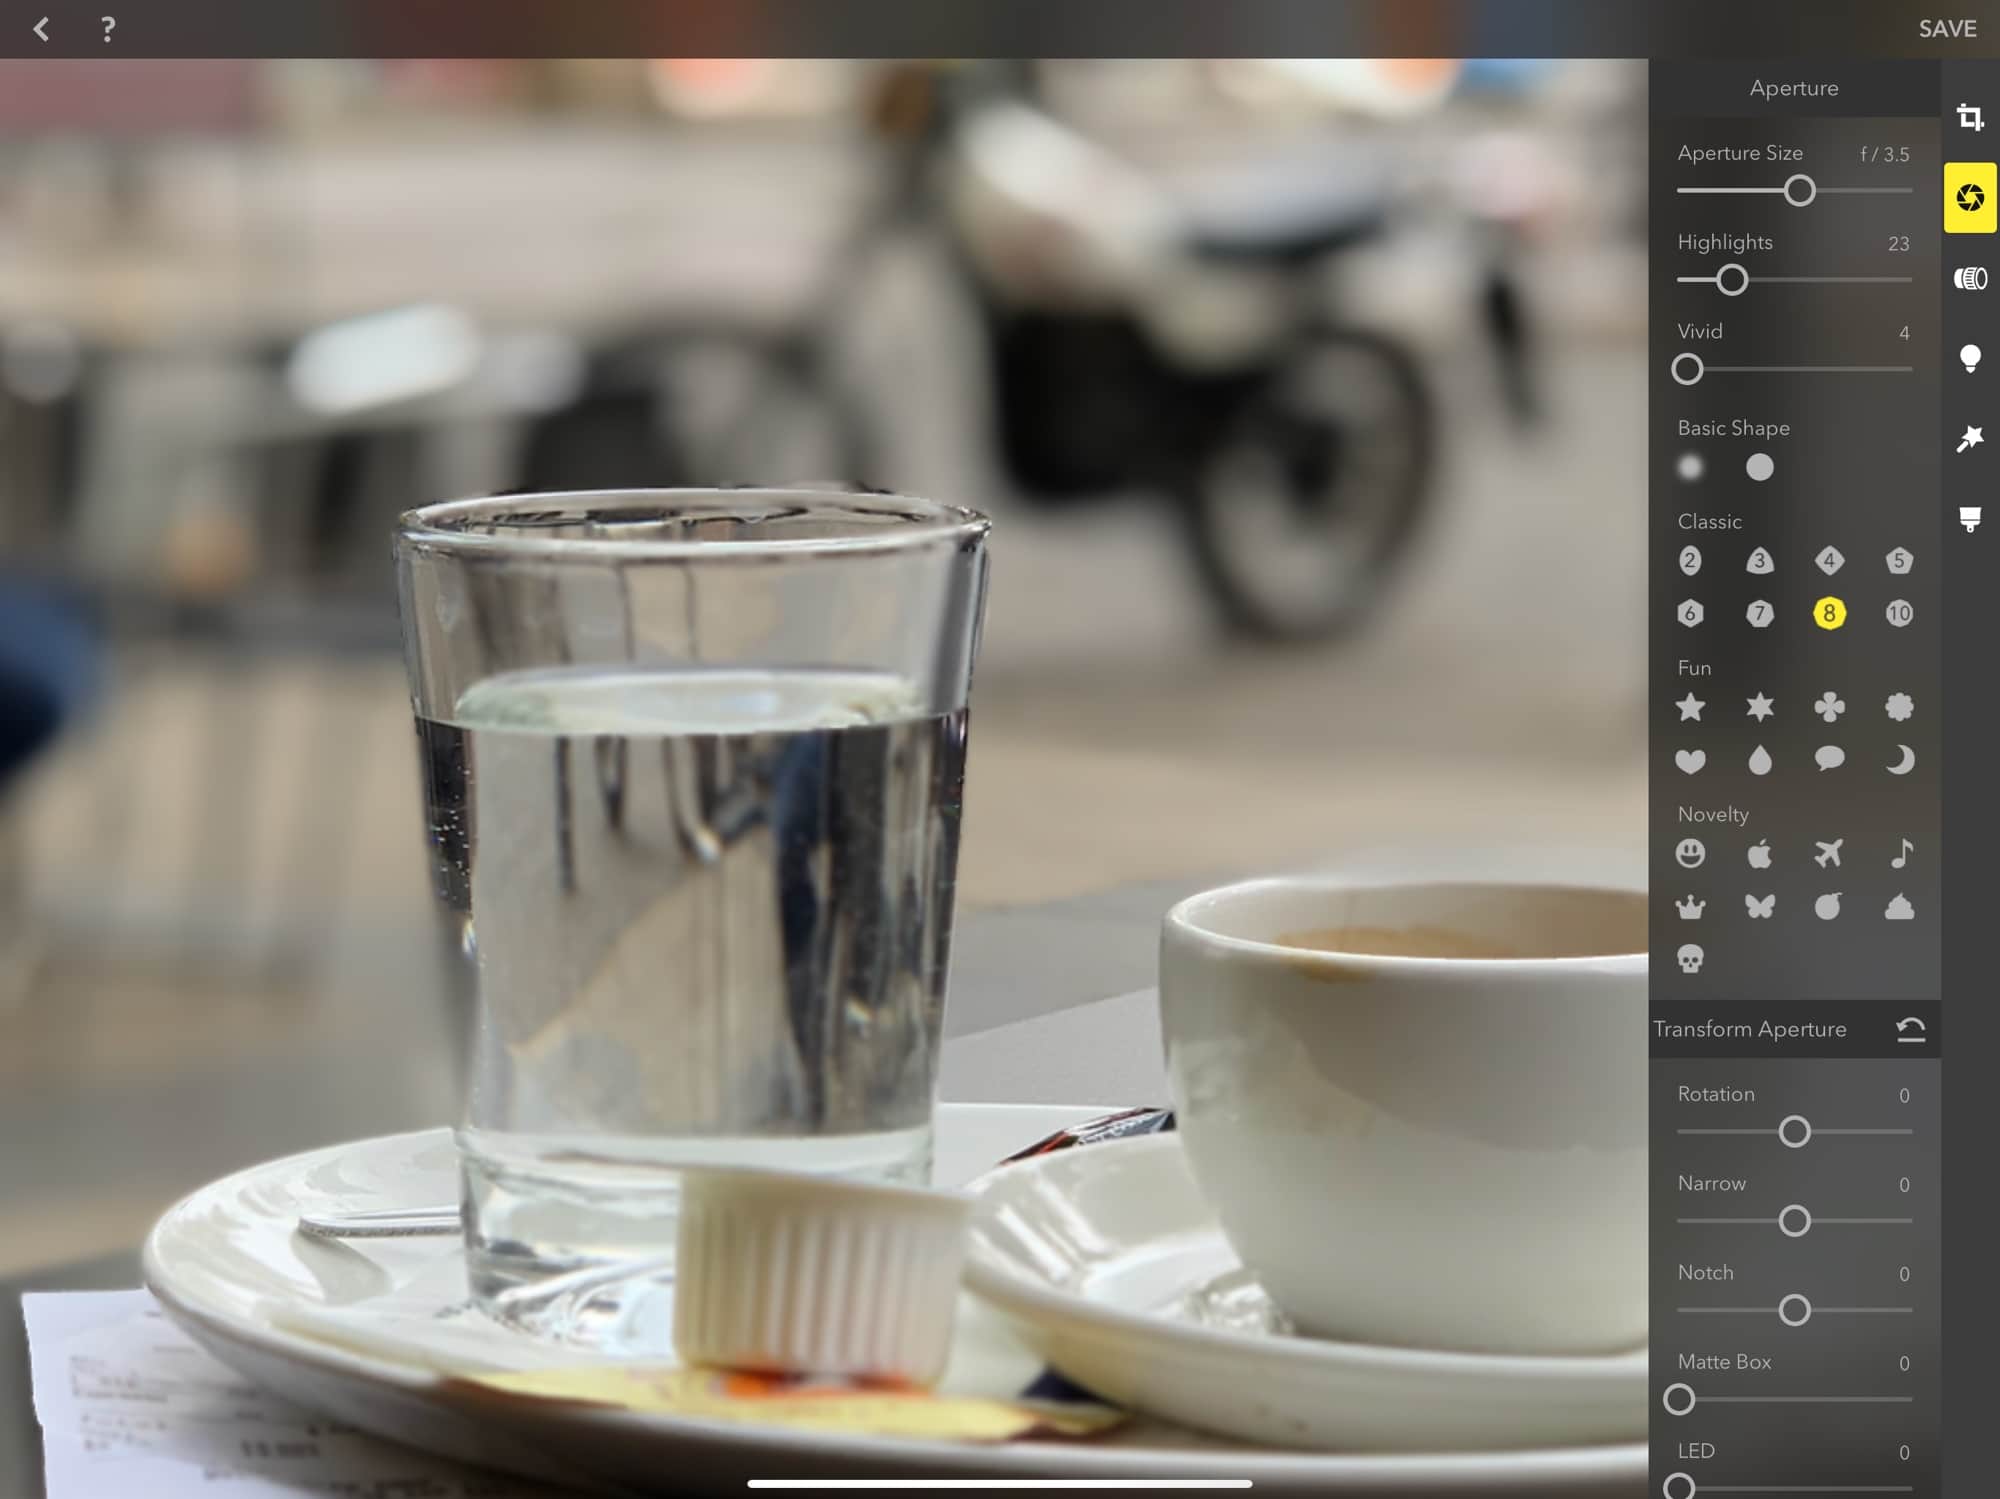
Photo: Charlie Sorrel/Cult of Mac
Here’s my result, which shows that you can actually mess things up, too. Here I’ve managed to make the edges look a little wobbly. Which brings us to a tip: with glass, use broad strokes, with a softish brush, and a medium flow. If you get too surgical with your edits, the results look like mine. If you’re trying to separate a sharp, opaque edge, then a sharp, opaque brush is perfect, For glass, it’s trickier.
Now you can apply any of the other editing filters and tools, and they’ll use your new depth map. Take a look around — Focos is pretty amazing, and very intuitive in use.
Wishlist
My wishlist is short: I’d like Focos to save an image with just the new depth map included. Then I could use the blur that’s built into the native Photos app, which I find less obtrusive. As it is, saved images no longer show up as portrait photos.
You should totally check Focos out. It’s free to try, with an in-app purchase to unlock the pro features.
Focos
Price: Free with in-app purchases
Download: Focos from the App Store (iOS)
