How to see your Mac's documents across your network on your iPad with the Files app
 William Gallagher
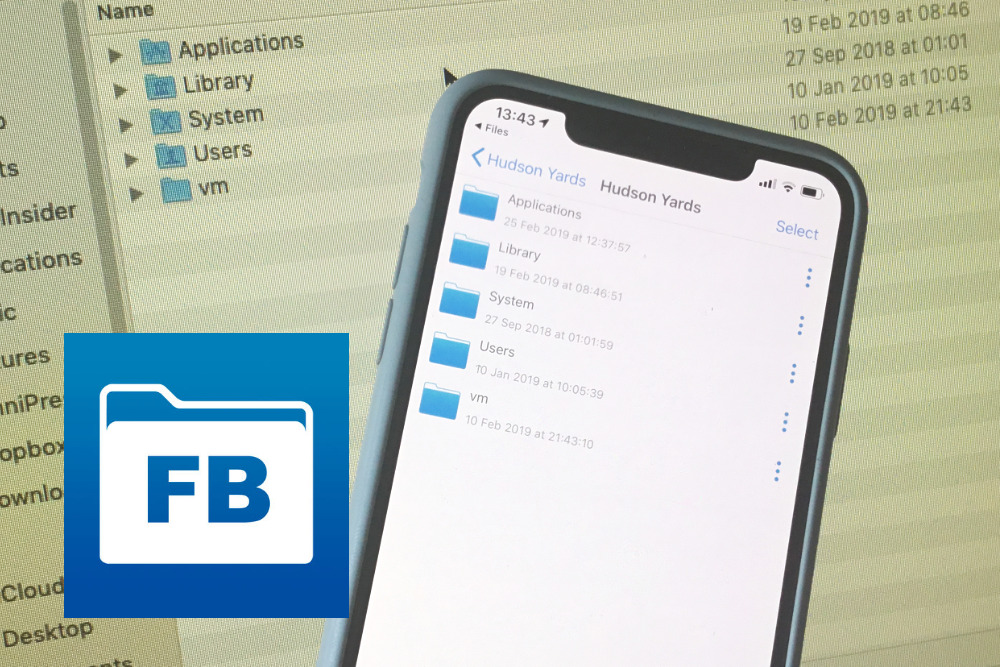
Right from within the Files app on your iPhone or iPad, you can look up any folder or document on your Mac and read it. With one tap you can dig through your Mac as if it were on your iOS device, and we'll show you how to do it.
Maybe you have a headless Mac, or maybe it's just that your iMac is in the den and want to get a file from it in your kitchen. Using the Files app on iPhone or iPad, you can browse the complete contents of your Mac wherever you are on your Wi-Fi network — and there are three different ways to do it.
You could use iCloud Drive or Dropbox, but those will cost you money on a regular basis unless you happen to have very few files on your Mac that you want access to. You could use a WebDAV server but that takes some setting up, and can be a little finicky.
The simplest and most seamless way to do it, is to get the $5.99 FileBrowser app. It isn't limited and it isn't complicated, it's just right.
But first
If you do already have iCloud or Dropbox, you might as well use them more — except that they cost money for this. This isn't a case of just using the free versions as you are somewhat likely to have more than iCloud's 5GB and Dropbox's 2GB of documents on your Mac.
In either case, you would have to pay for more space and that can be costly, but it can also be convenient. Apple's iCloud Drive is a monthly subscription which costs from $0.99 for 50GB of space to $9.99 for 2TB. You sign up for one of these non-free tiers via System Preferences, iCloud on your Mac or iPhone. Dropbox offers 1TB from $9.99.
If you choose to pay this money to Apple, then you can tell your Mac to save everything to iCloud that's in either your Documents folder or on the Desktop. In that case, you're done - the Files app on your iOS device will just automatically see all the files in your Documents and Desktop.
With Dropbox, you have to have a specific folder that Dropbox will sync. Usually that's just called Dropbox but if you have enough storage, you can tell it to make it your Documents folder.
When you use Dropbox for this, you have to positively tell the Files app that you are. That means opening Files and setting it up. When you open Files, it shows you whatever you were last looking at so you typically have to tap the Browse button. That brings you to the Browse screen which has a Locations heading and also an Edit button.
Tap Edit and Files will show you a list of every possible location you can store documents in. It will include iCloud, local copies on your phone or apps such as DEVONthink. Each possibility will have an on/off toggle next to it. If you have Dropbox installed on your phone, tap the entry here to On and you'll step through authenticating your account.
After that, Files will always have Dropbox on its list and you can go to it as easily as you do iCloud.
Not enough
Only, Dropbox can only show you the contents of one folder. You have to organize your Mac to have everything you want in there. Similarly, iCloud will only show you the contents of, effectively, two folders. If it isn't in Documents or on your Desktop, iCloud won't show it to you in Files.
Whereas, FileBrowser will.
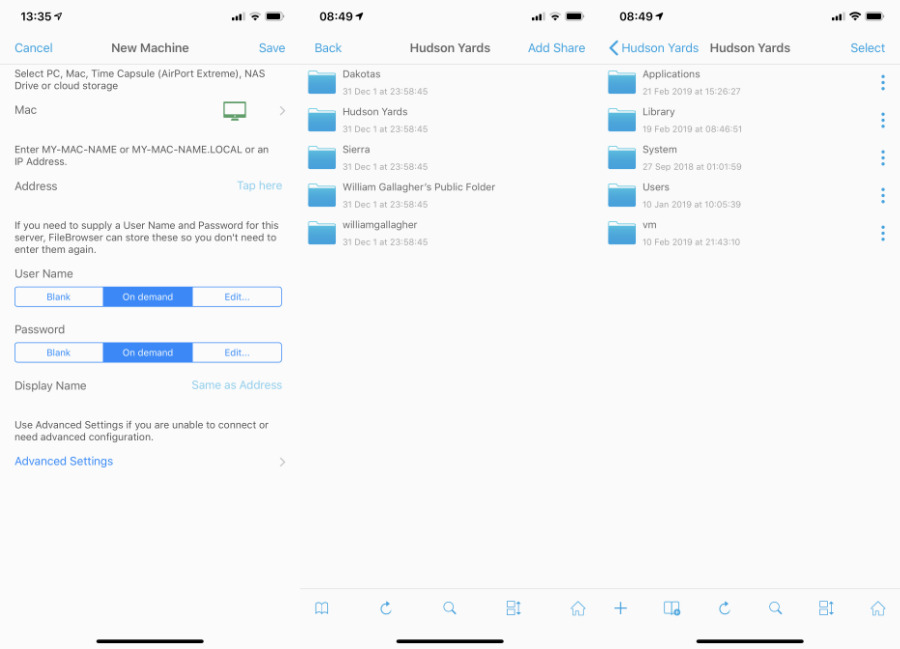
Install the FileBrowser app on your iPhone or iPad, and while it's downloading, prepare your Mac. Macs can share your files anywhere but they default to not doing anything of the sort. Go to System Preferences, Sharing and click to switch on File Sharing. It'll default to one folder to share, but you can select others, using the plus button underneath the Shared Folders section.
Then in FileBrowser on your iOS device, tap the Locations button and then the plus sign. It'll walk you through connecting to your Mac. So long as your iOS device and the Mac are on the same Wi-Fi network, you'll just need your Mac's username and password.
Thereafter, every time you open the FileBrowser app, you'll see your Mac's name listed under the Locations tab. Tap on it and you will have full access to every folder and file on your Mac.
Not quite good enough
That's fine if you remember to always use the FileBrowser app when you want to get something from your Mac. However, it's much handier that FileBrowser integrates with the Files app on your iOS device.
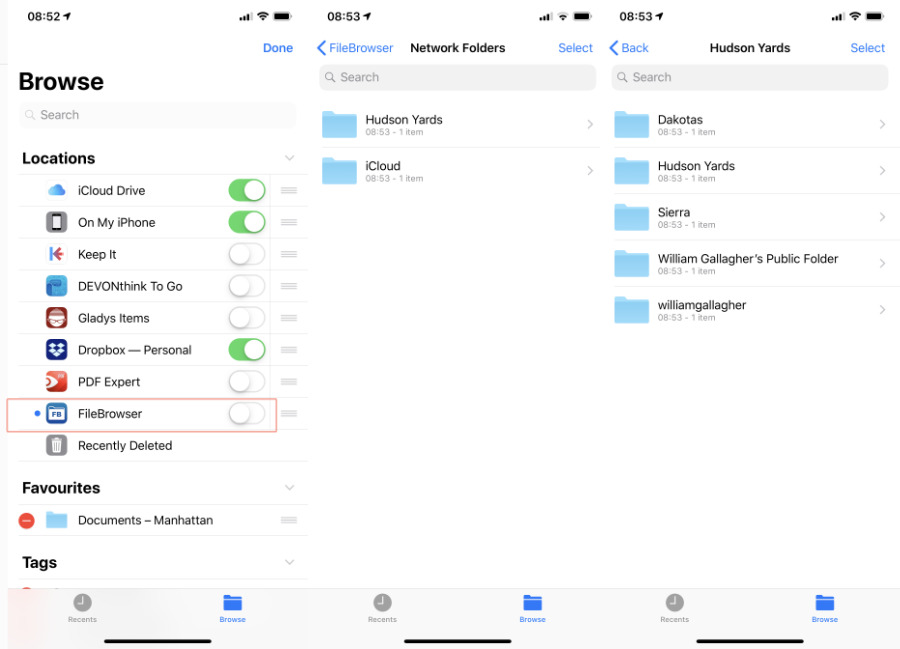
Just open Files, tap on Browse to get to its own Locations section. Tap Edit and now you'll find that FileBrowser is in the list of possible locations. Swipe to switch it on and then tap Edit.
That's it. From now on, you can open Files and go straight to the complete contents of your Mac.
Leaving the house
Once you've set up FileBrowser to be part of Files like this, you forget about it. You just know that everything you could ever need is right there in the Files app on your iPhone. That is, until you leave home or wherever your Mac is and you go to use Files again.
If you want to see these files across the Internet, the makers recommend that you create a free account on a service called ZeroTier. It's claimed to be a high-security VPN kind of network that securely lets you connect devices together.
When you create a network on ZeroTier, you install apps on your Mac and iPhone, then you add those devices to that network. You let them each connect to this same ZeroTier network, and the result is that you can open FileBrowser or Files and access all your Mac's folders and documents from anywhere in the world.
It just gets fiddly. FileBrowser's online instructions are very good, though the illustrative screenshots are seemingly a little out of date. Then ZeroTier's process is clear enough too. If that all works, this is a great solution.
If it doesn't, though, you end up getting really into the weeds. We consistently hit a Port Error problem which many other users have found, especially after recently upgrading macOS. Unfortunately, none of the many solutions those users have worked for us.
That said
We're only out a whole six bucks on this. And if we haven't yet got Files access to our Mac from anywhere, we have it on our office Wi-Fi network allowing us to pull files to the iPad on demand, rather than pushing them to the iPad from the Mac, and that is proving to be plenty useful.
Right now if we just want to get a file or read something on the Mac and we're not in front of it, we'll use FileBrowser. If we want to do something more, we'll use Screens to remote control the Mac.
Keep up with AppleInsider by downloading the AppleInsider app for iOS, and follow us on YouTube, Twitter @appleinsider and Facebook for live, late-breaking coverage. You can also check out our official Instagram account for exclusive photos.


 Christine McKee

 Charles Martin

 Andrew Orr
 Malcolm Owen

 Chip Loder


23 Comments
I am impressed you found some work around for this, even though it has hairs on it and is limited.
it does point out my absolute biggest frustration with iOS on my iPad Pro: inability to access file systems at work. Inability to access the MS Server network is its biggest limitation. My current work around is Citrix and then launch an MS office application or the program manager. It is horrible to use with a touch interface of course. Terribly laggy and to be avoided. It’s just easier to carry a laptop as well.
Does your Mac need to be awake for this to work and can it access files over cellular networks rather than just wifi?
Kind Regards
...indeed the seemingly simplest thing - moving files back and forth from mac to iDevice (such as pdf) - has seemingly been crippled after iTunes 12.6.x... And so why does Apple make things more difficult for customers...? If Apple purports to be an advocate of user privacy why do all roads seem to lead to iCloud on their servers, or others...? Even the USB lightening adapter seems 'broken' suggesting 'too much power' for almost all my USB 2/3/3.1 thumb drives: https://www.apple.com/shop/reviews/MD821AM/A/lightning-to-usb-camera-adapter?page=0&rf=1
It is certainly getting to the point that apples moves in file management are anti user. Work will not allow access to iCloud. Full stop.
Apple is just lucky surface pros aren’t a full competitor in the tablet space.