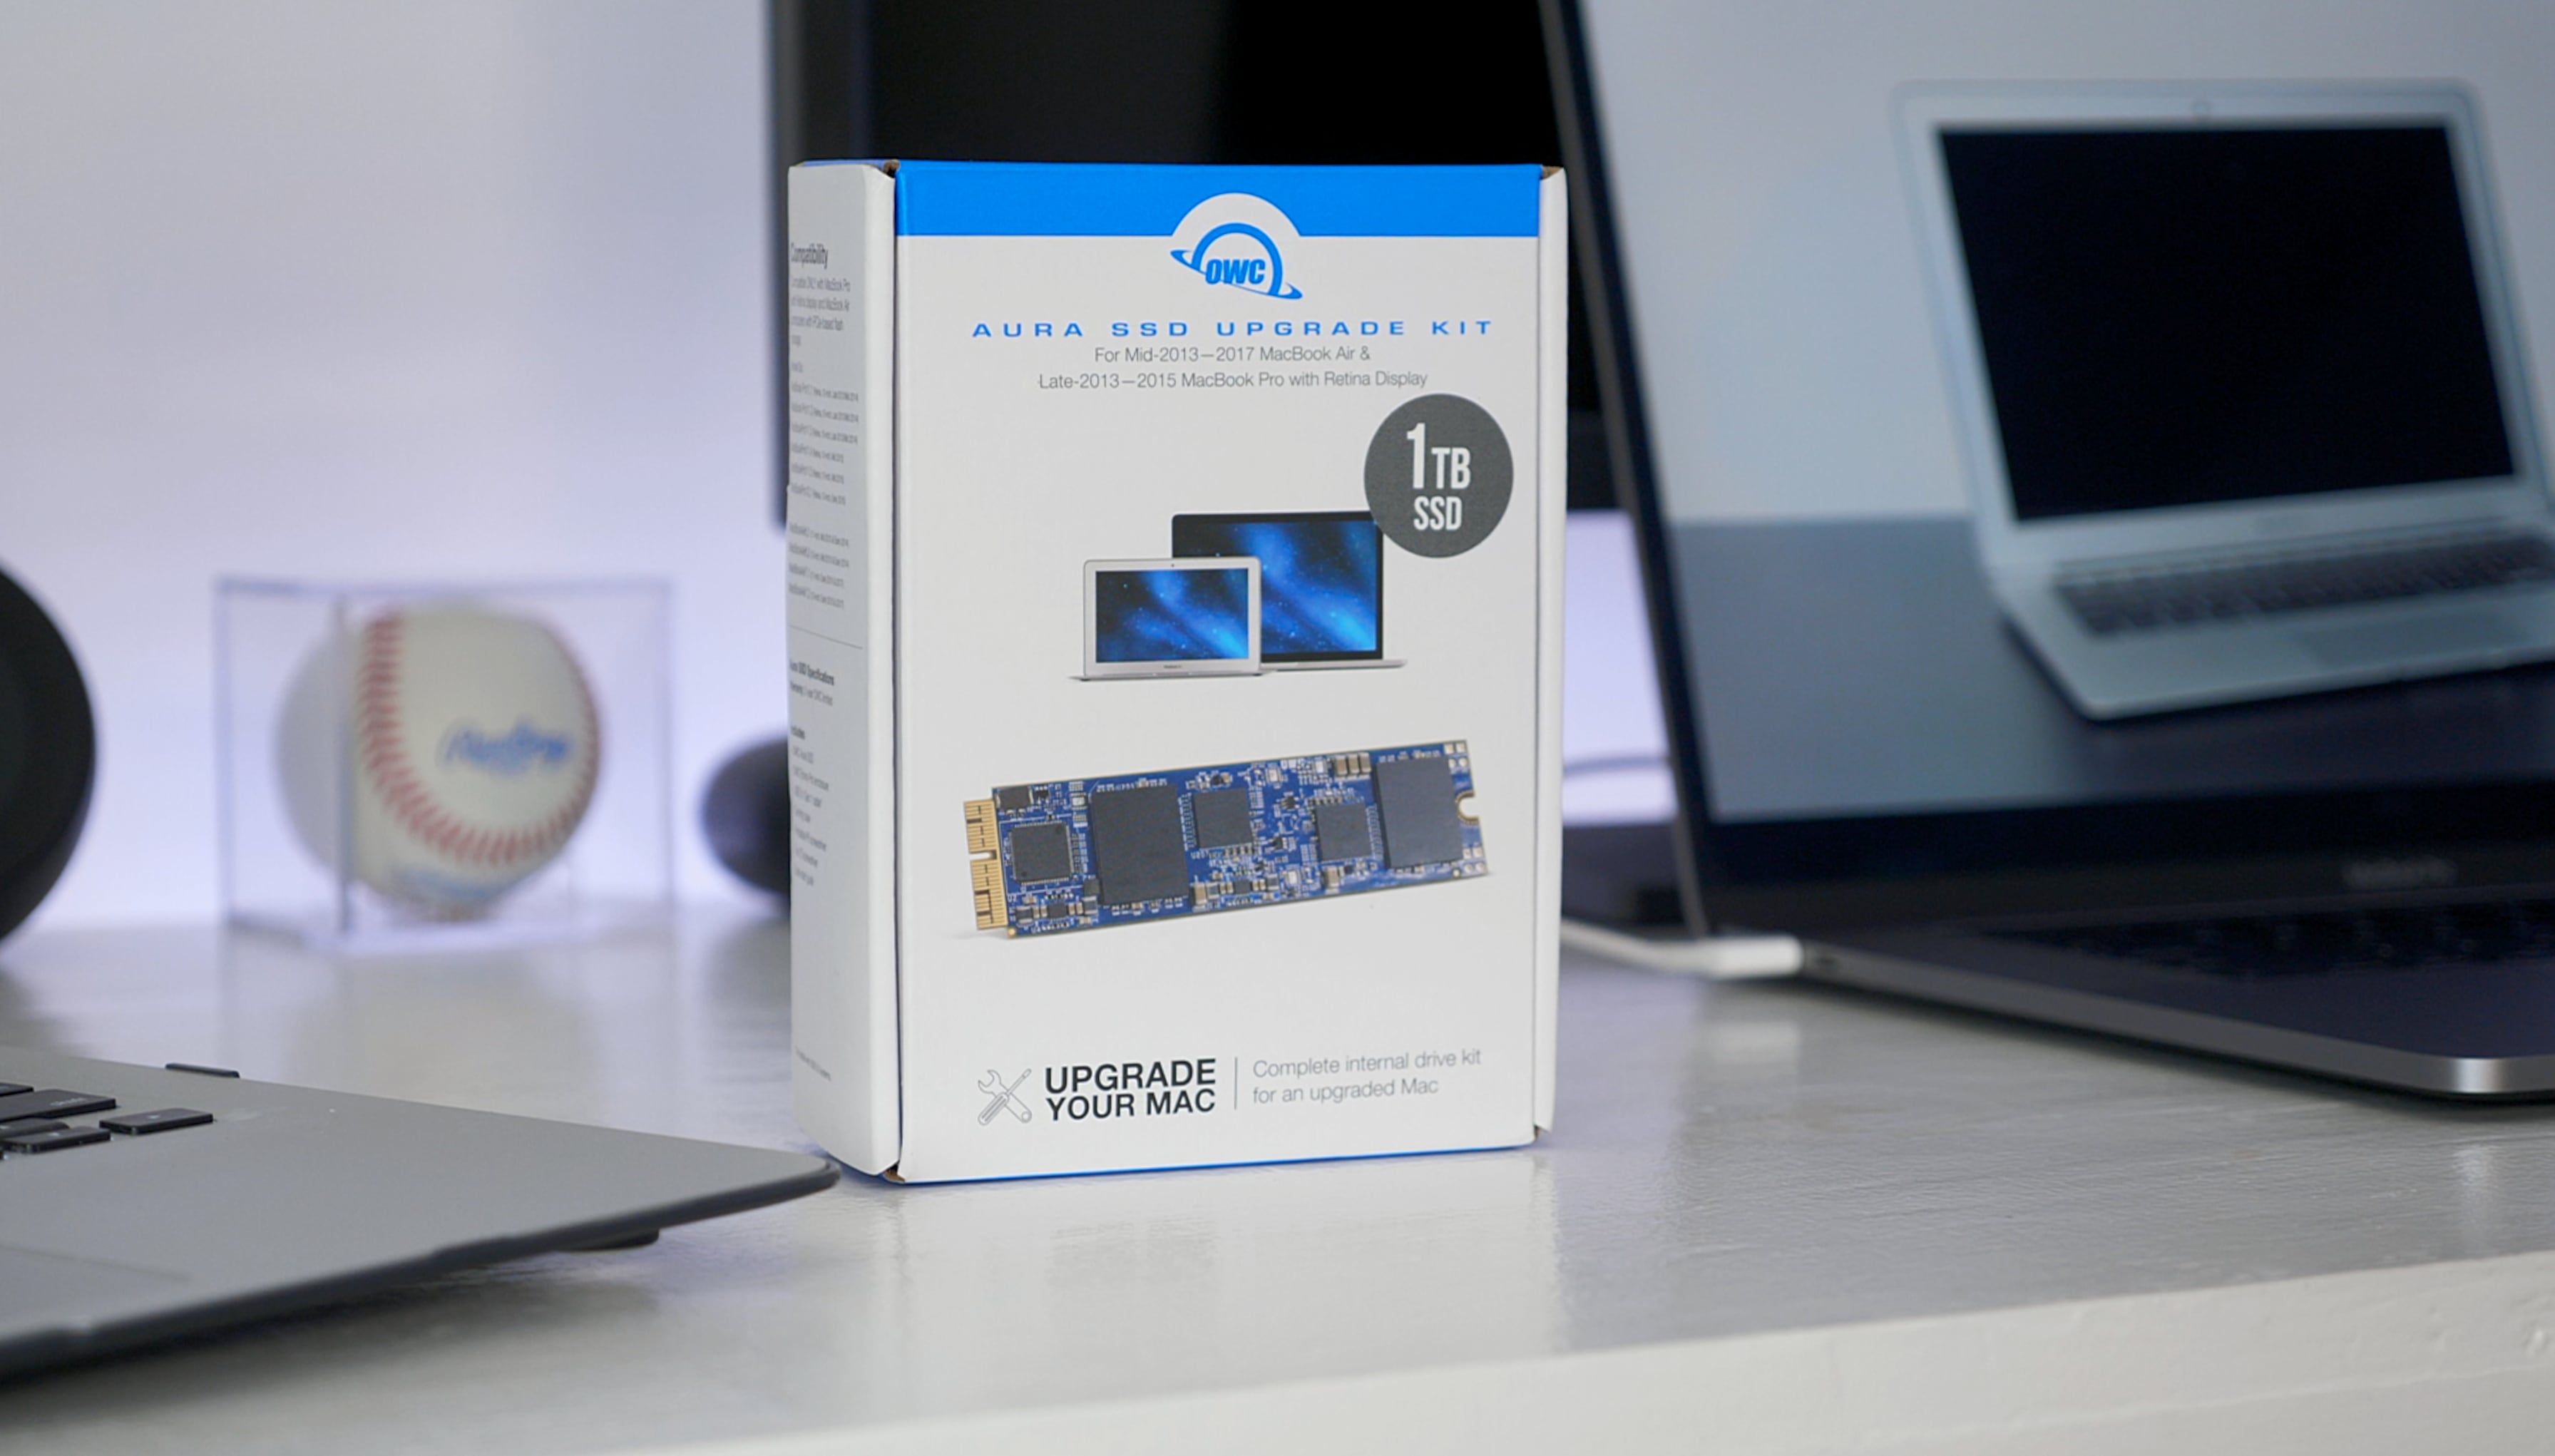
The affordable Aura Pro X2 flash memory upgrade kits from Other World Computing (OWC) help make your old Mac feel and run like a brand-new model. These performant SSDs consume less power and run cooler than any flash drive drive before. And thanks to our video instructions, you’ll be able to swap factory SSD for an Aura in under ten minutes.
Bringing older Macs to modern specs
Unveiled two months ago in mid-April, these PCI-e drop-in upgrade kits are available for Macs dating back to the models manufactured in 2013. Replacing Apple’s OEM SSD in your machine, these modules have a similar form factor but are a lot cheaper than buying the upgraded storage directly through Apple.
Maxing out at two terabytes, they offer up to 16x more storage of the original drive. Now older Macs can have plenty of storage space to keep your high-resolution photographs, videos, etc.
Get the new OWC Aura Pro X2 SSDs for your Mac now
Even better, you get read speeds up to 3.1 gigabytes per second and write speeds up to 2.3 gigabytes per second—about double the speed of your Mac’s original SSD and on par with Apple’s latest models. With these kinds of speeds, you can edit 4K video comfortably, record podcasts, develop apps and run other resource-intensive tasks on older Macs more comfortably than ever before.
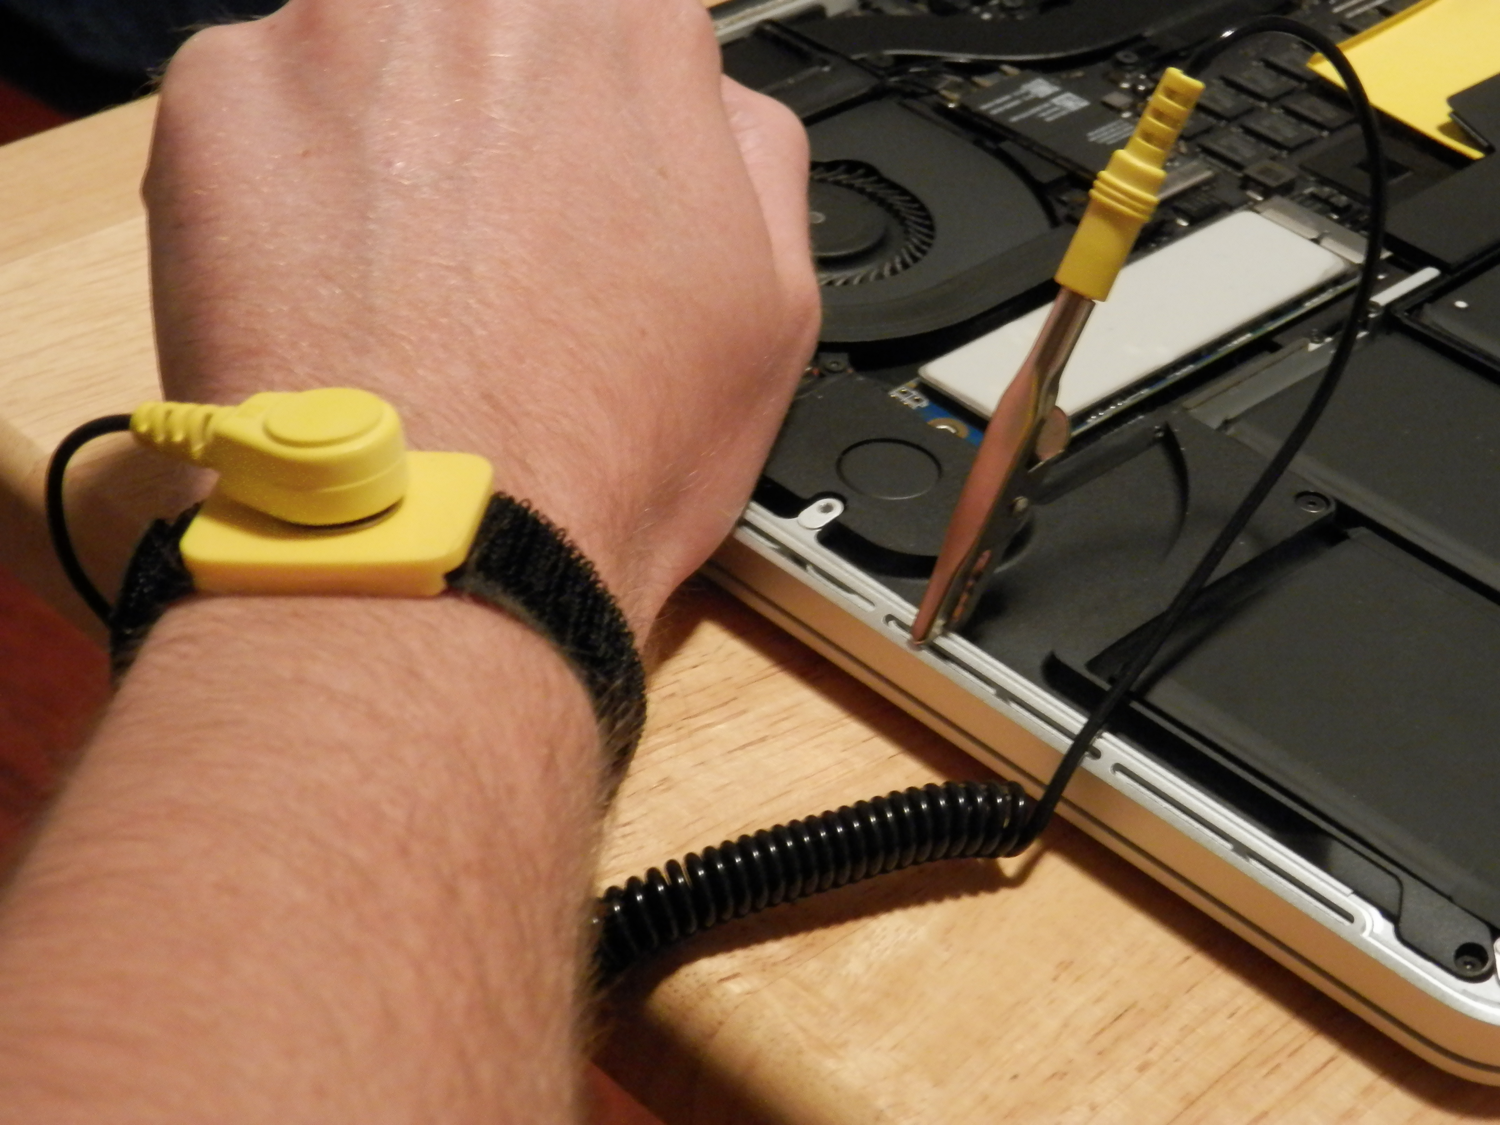
The install process takes just under ten minutes and can be performed by pretty much anyone. Our own Harris Craycraft has swapped the SSD in his mom’s aging four-year-old MacBook Air for a 1TB Aura Pro X2. He shot the whole process so give his video a quick watch to see for yourself just how easy it is to speed up your Mac without breaking the bank.
You get twice the performance versus comparable factory SSDs. These premium NVMe (PCIe 3.1 x4) modules are coupled with advanced SLC caching and instant full-speed write acceleration to yield read speeds up to 3200MB/s and write speeds up to 2400MB/s.
Not only that, but these SSDs manage to consume less power and run cooler than the original drive in your Mac, helping prolong your notebook’s battery life. Starting at $110 and with 1TB/2TB capacities costing $299/$699, you can keep your Mac running optimally for years at a fraction of the cost of buying a new model.
How to replace Mac SSD with OWC Aura Pro X2
The Aura Pro X2 upgrade kit includes all the installation tools you’ll need. For a few additional bucks, you can get the kit itself along with an aluminum Envoy Pro PCI-e to USB 3.0 enclosure. What the enclosure enables you to do is repurpose that factory SSD as a fast USB 3 portable drive to do things like transfer files between computers on the go, boot into Windows 10 via Bootcamp with free driver software (or into another operating system), back up your backups, boost your storage even further and what not.
Get the enclosure so you could transfer data from the factory SSD in OWC’s enclosure to your new Aura once the install process is complete. Follow along with iDB as we walk you through removing the original SSD in your Mac and replacing it with a new Aura Pro X2.
1) Shut down your MacBook Air, unplug it from its charger and flip it over.
2) Using the included T5 screwdriver, remove the screws from the back of the computer.
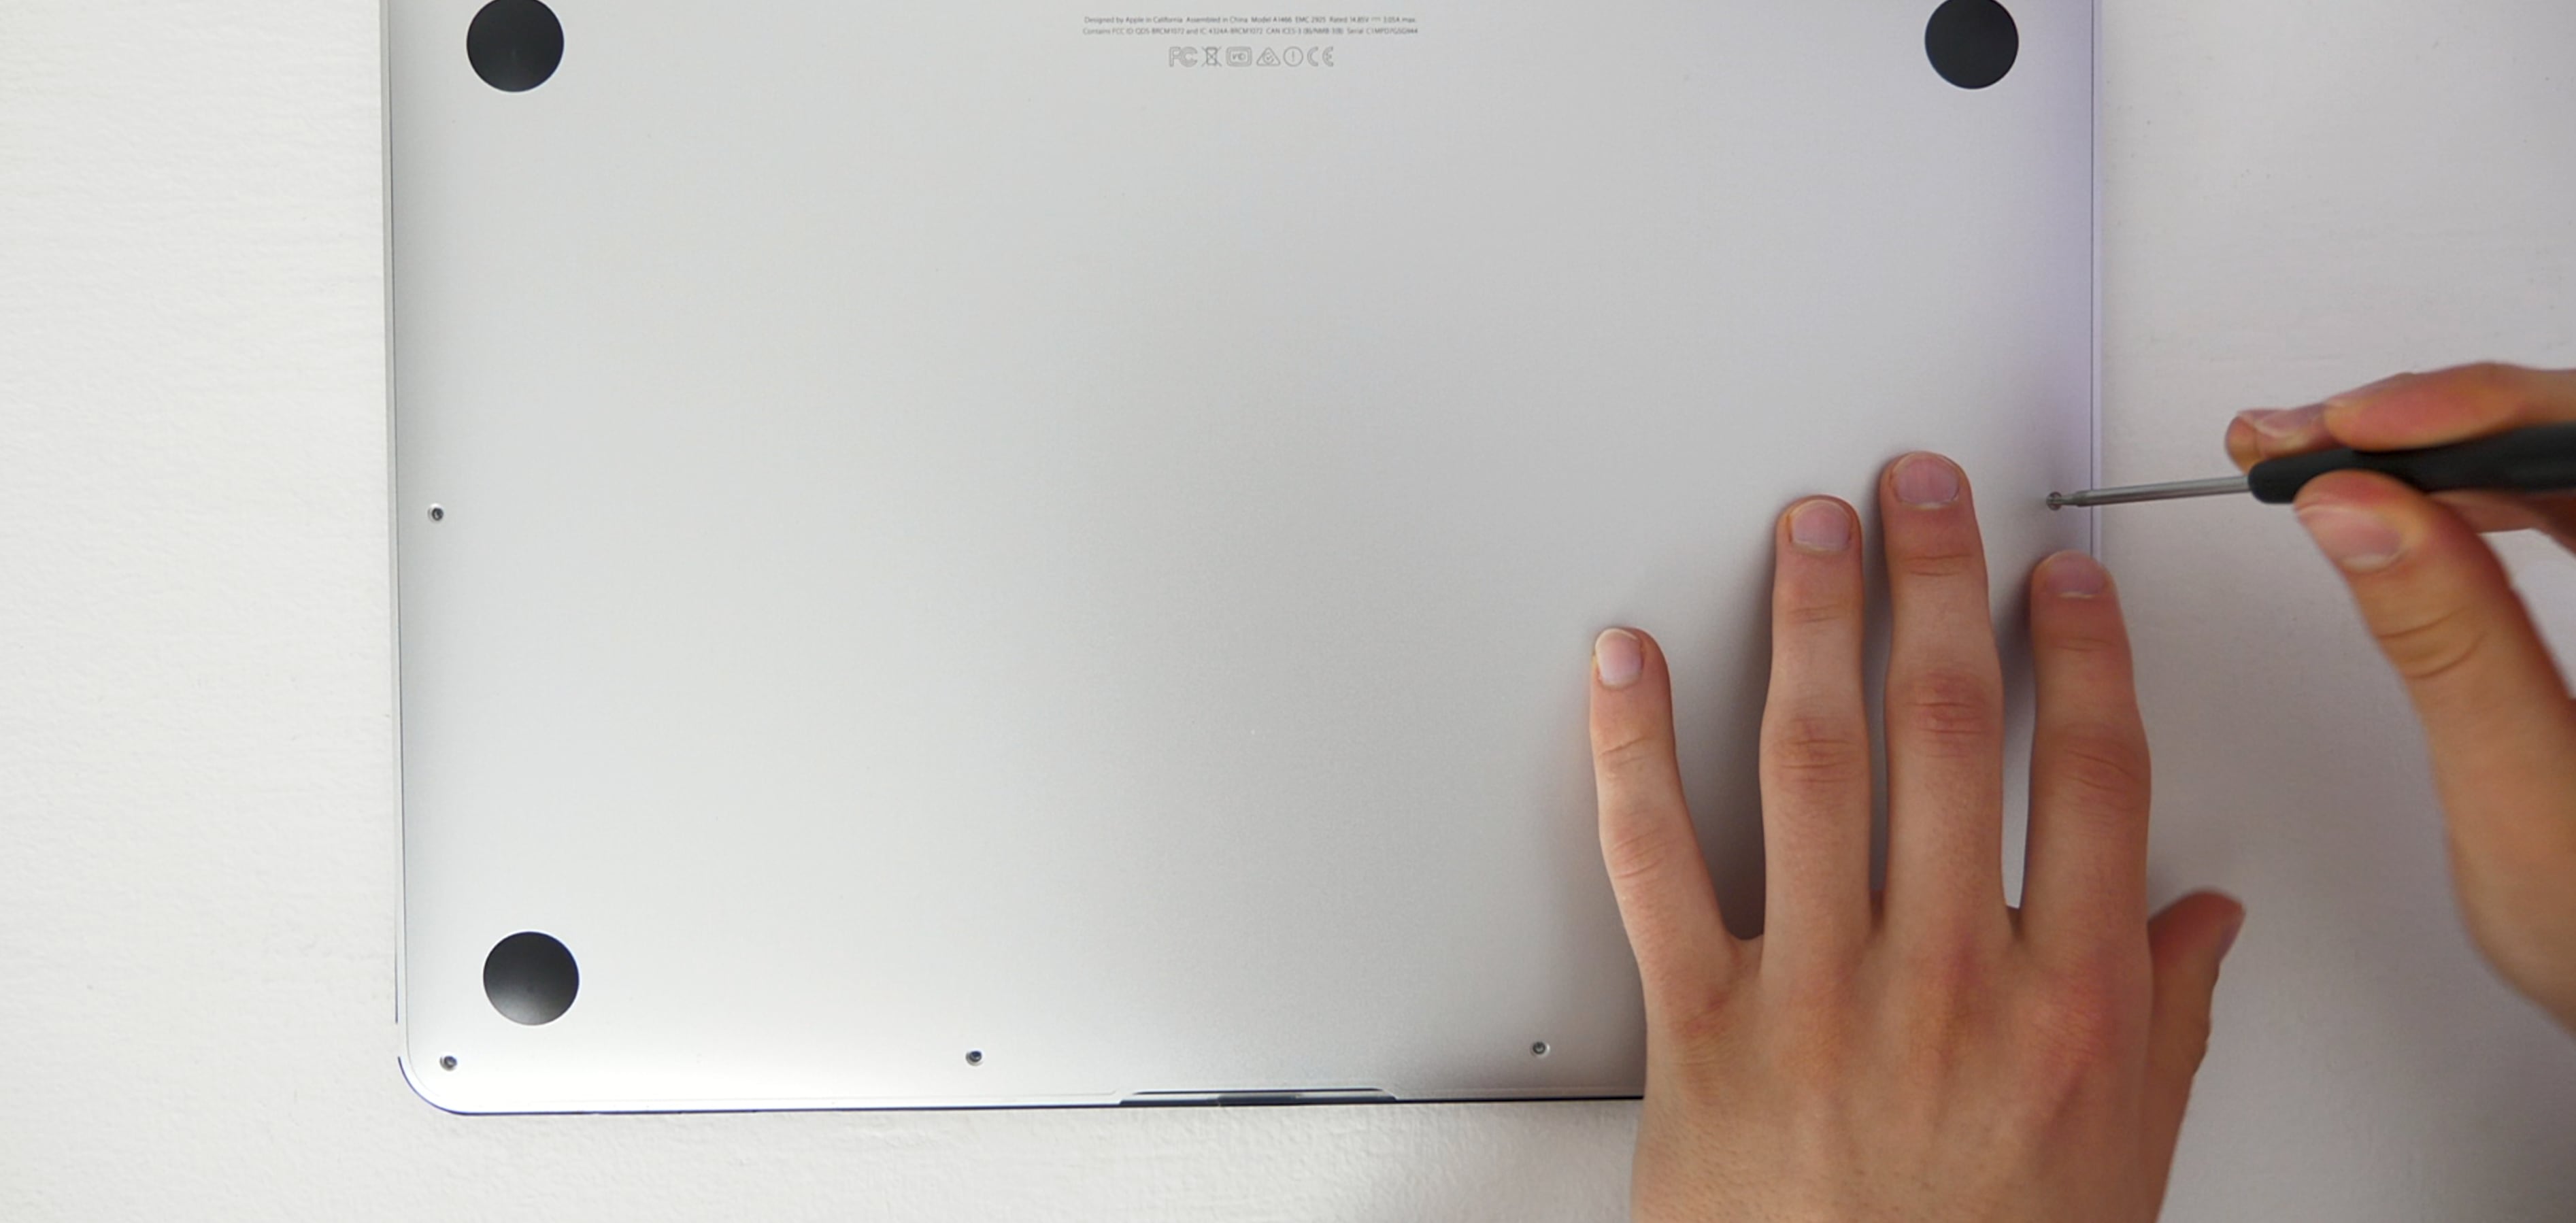
TIP: Be very careful not to lose any of them. Best thing you keep them safe and take notice of the two screws near the hinge that are slightly longer than the others.
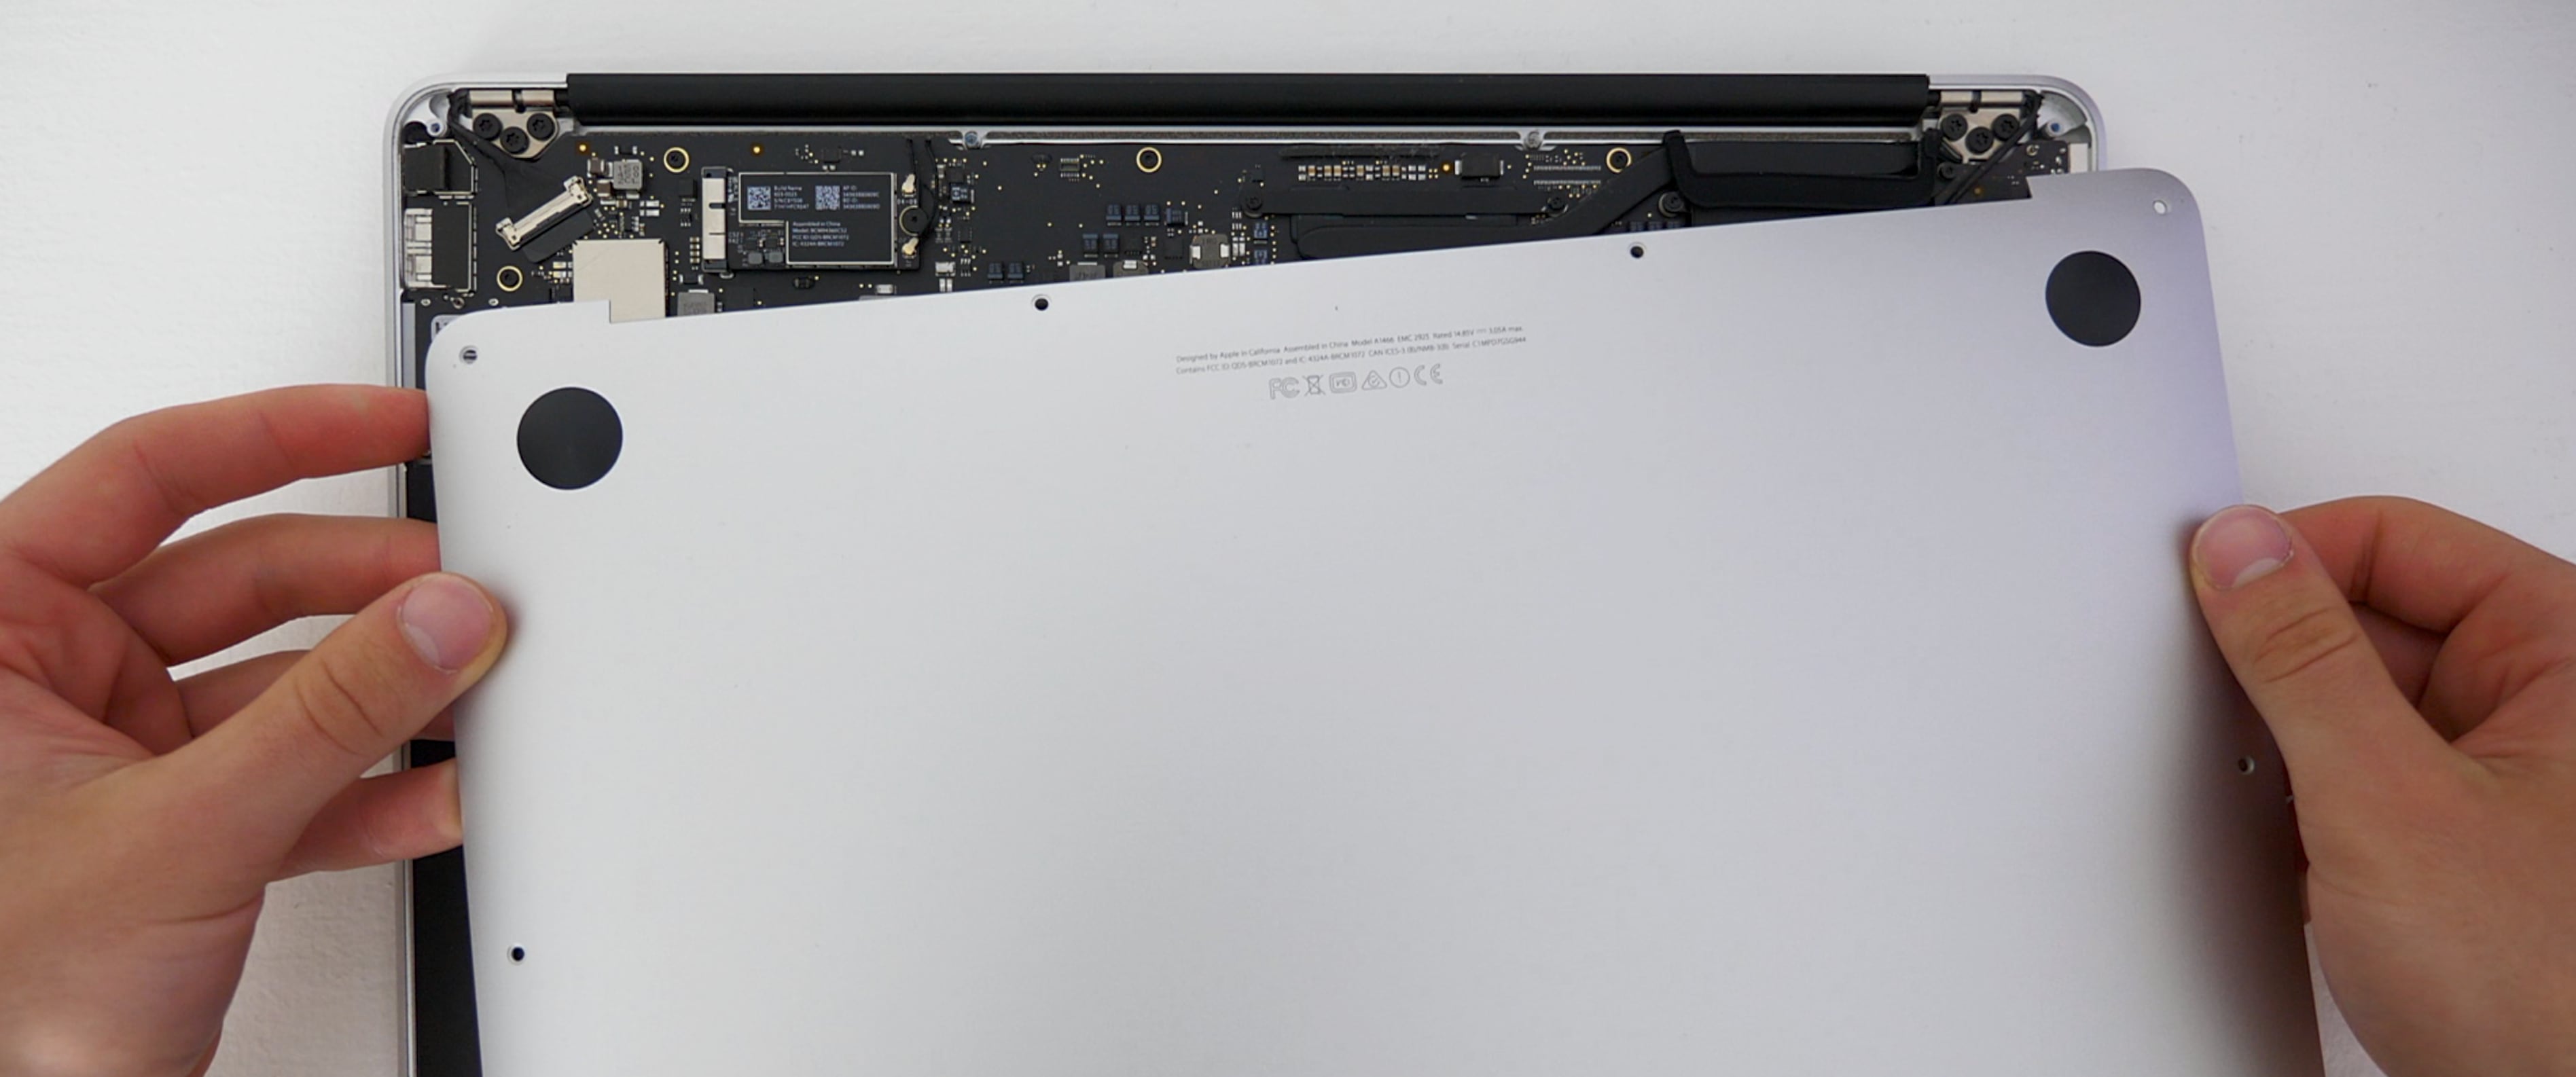
3) With the screws off, remove the back cover.
4) Unplug the battery connector from the motherboard.
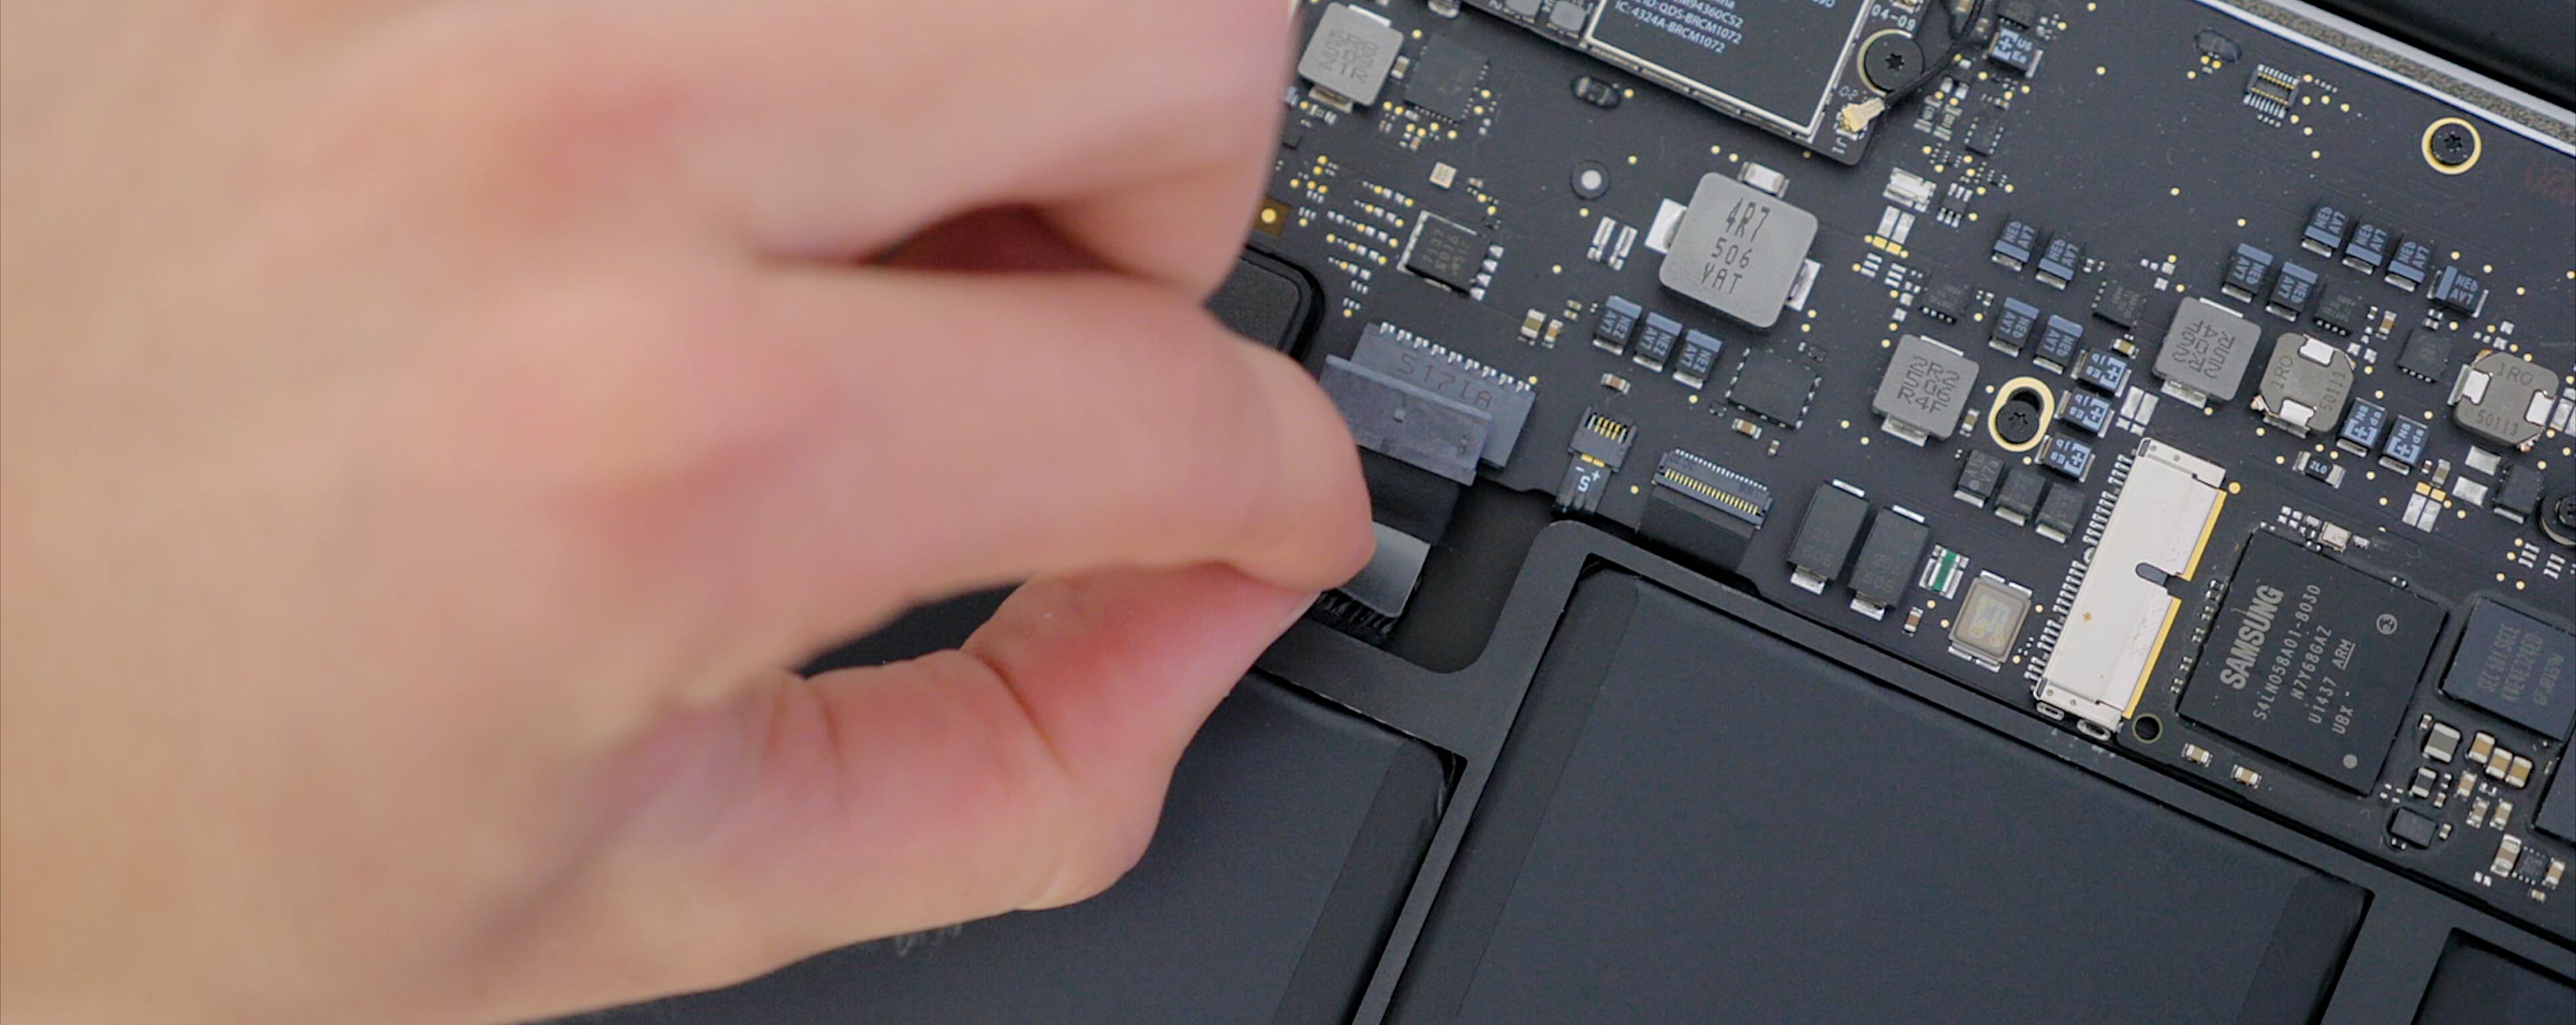
Your battery connector may look different from Harris’s so be sure to look up your computer model or check OWC’s website for more information.
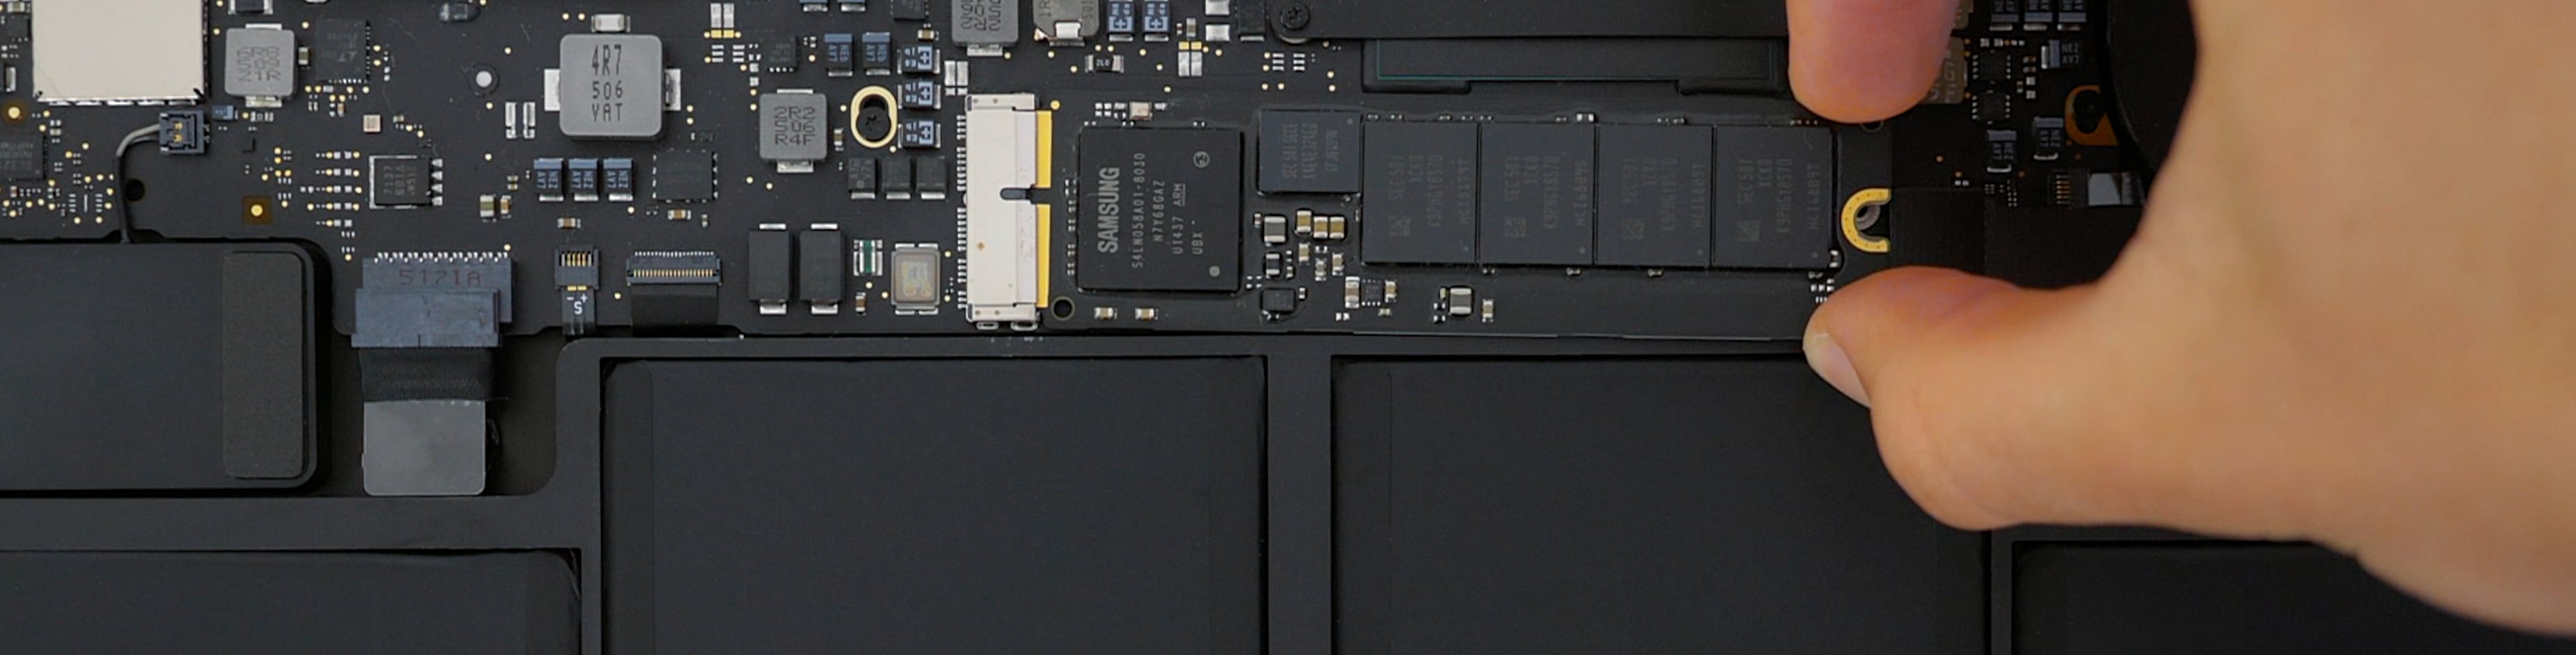
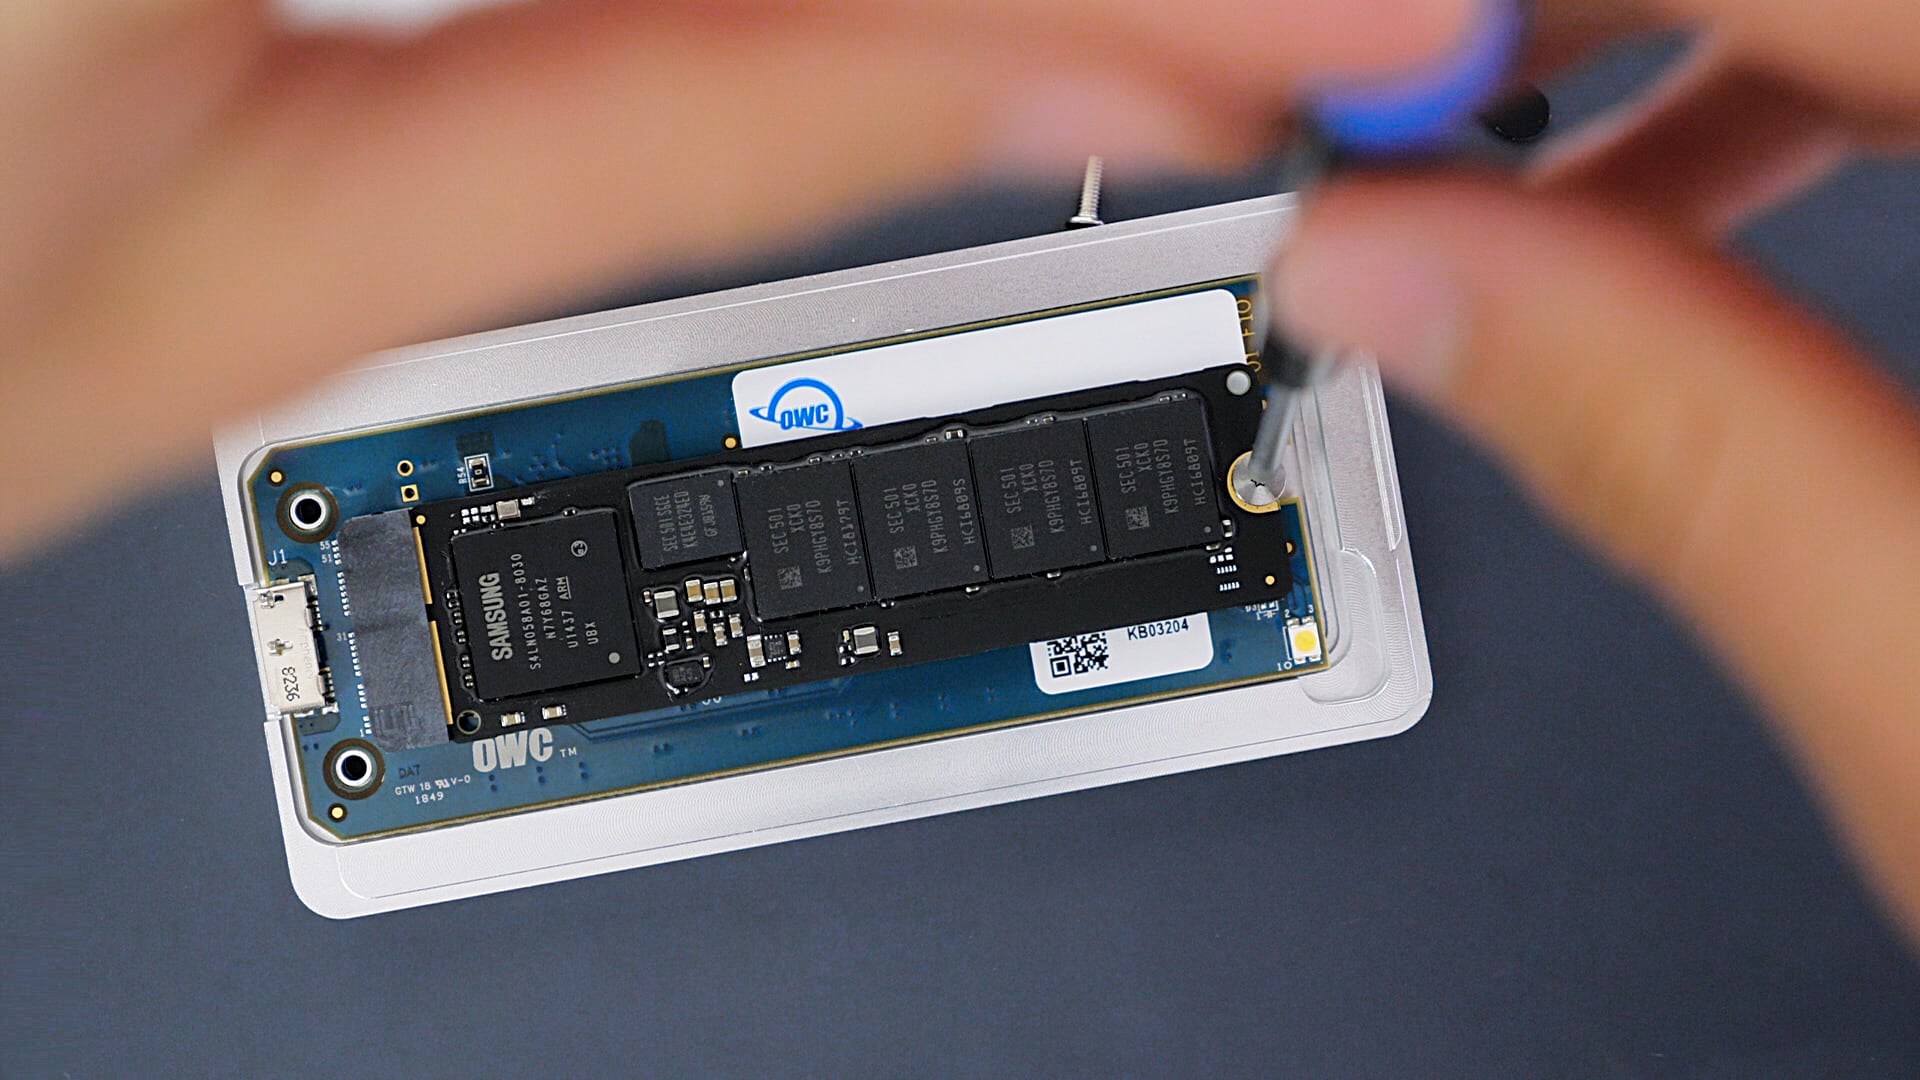
5) Using the included P5 Pentalobe screwdriver, unscrew the factory SSD.
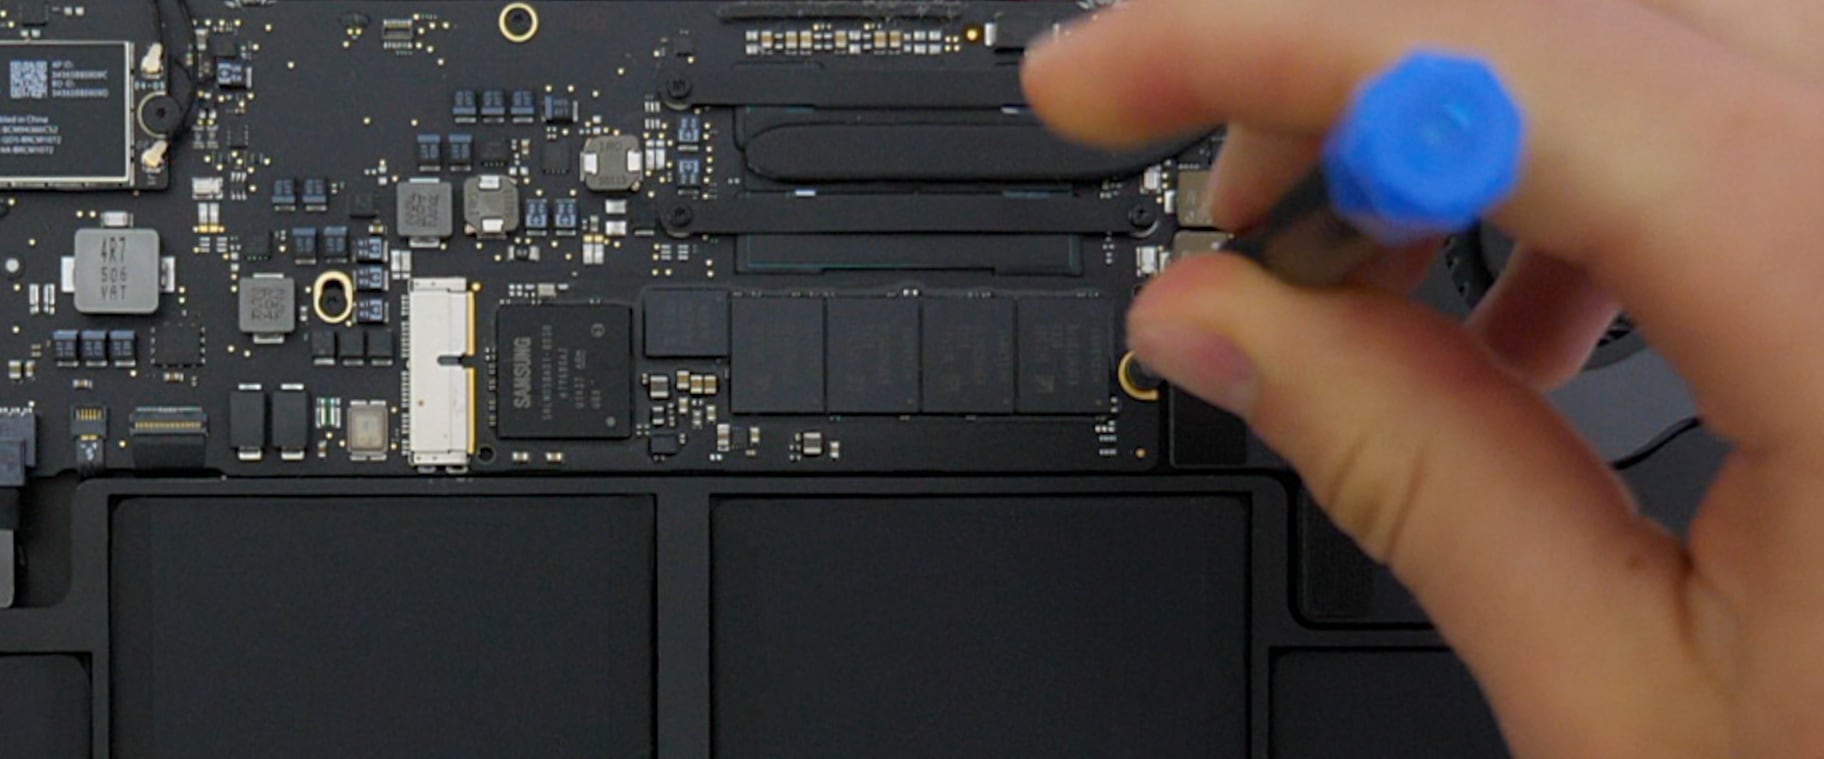
6) Remove the factory SSD and put it somewhere safely.
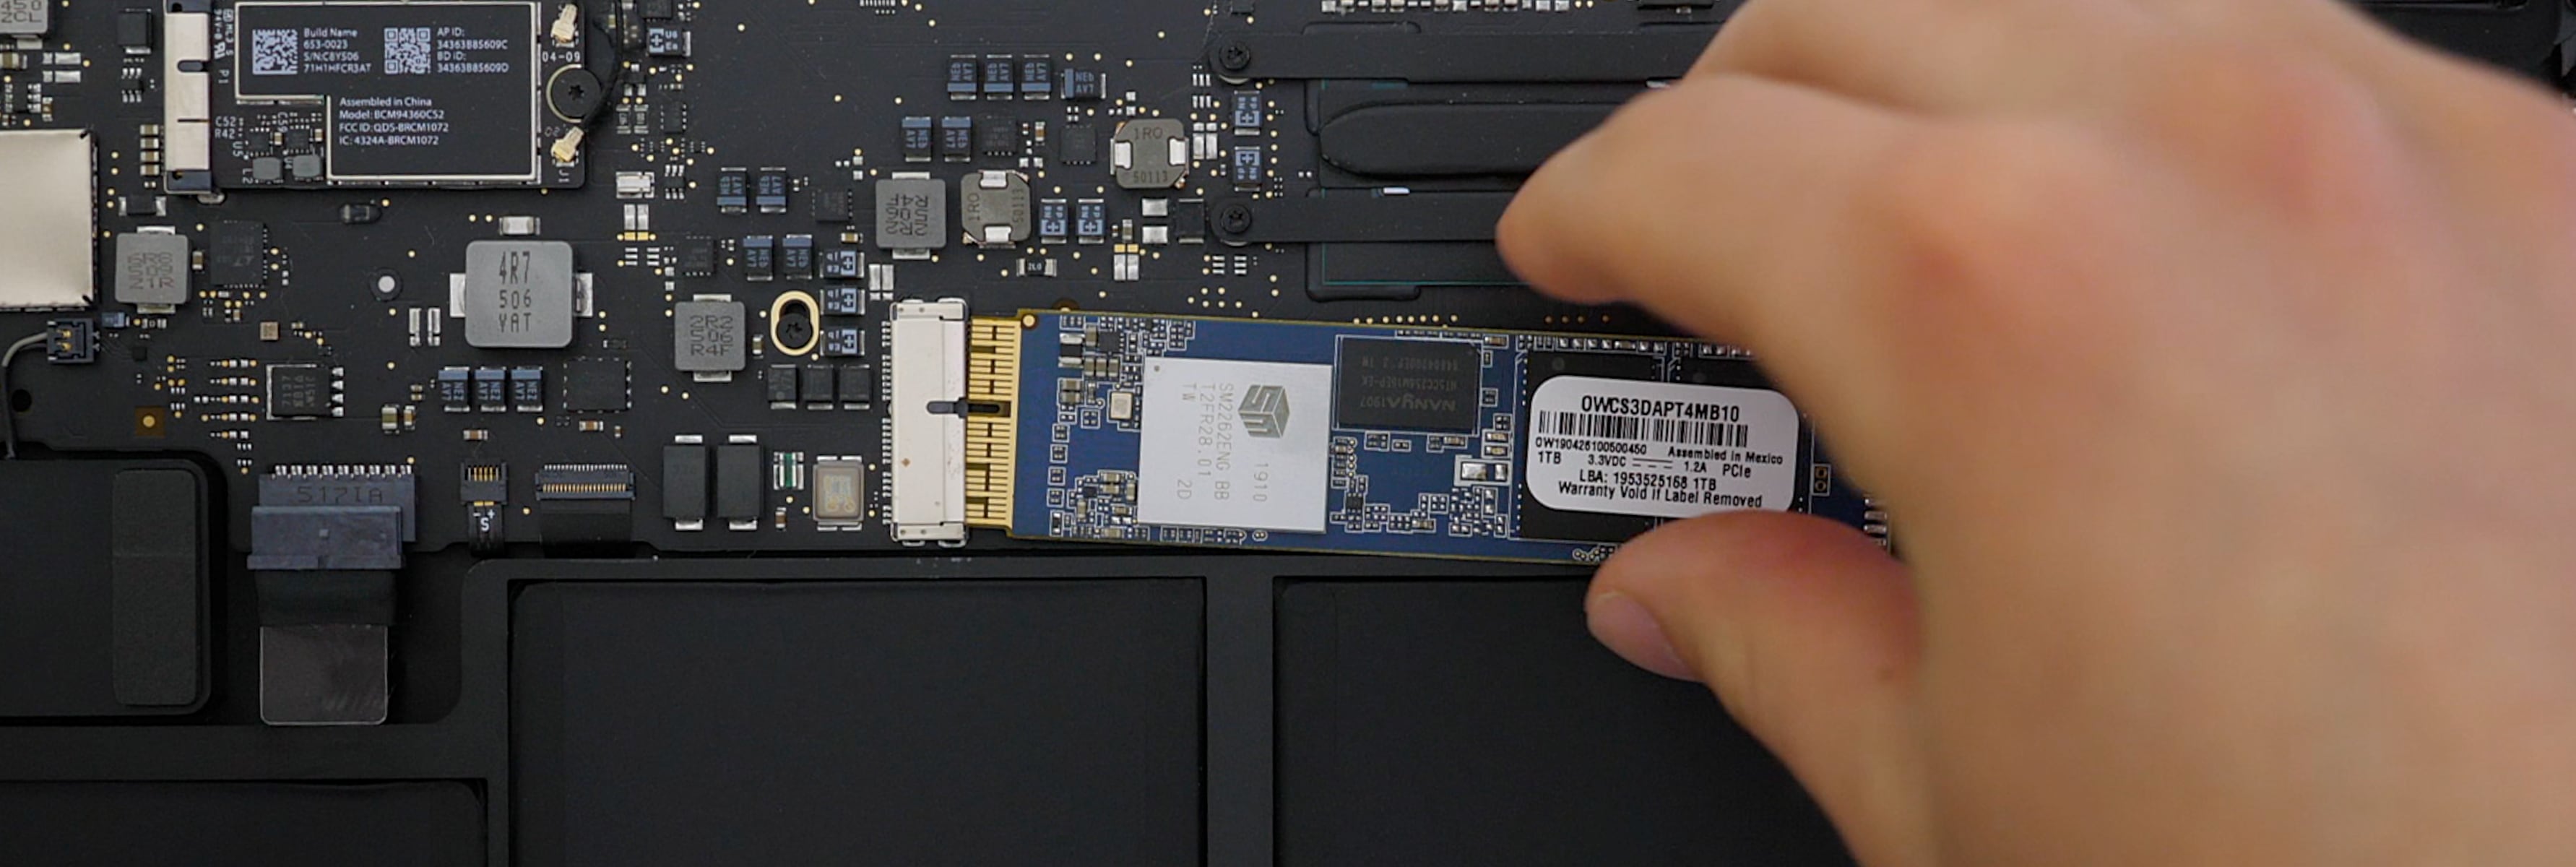
7) Connect your Aura Pro X2 and put the screws back in. Be sure to seat the module fully or it won’t be recognized. And don’t forget to remove the plastic strip from the thermal film (if present) at the top of the OWC Aura SSD’s metal heat sink.
8) Plug in the battery connector and reverse your steps to get the back cover back on.
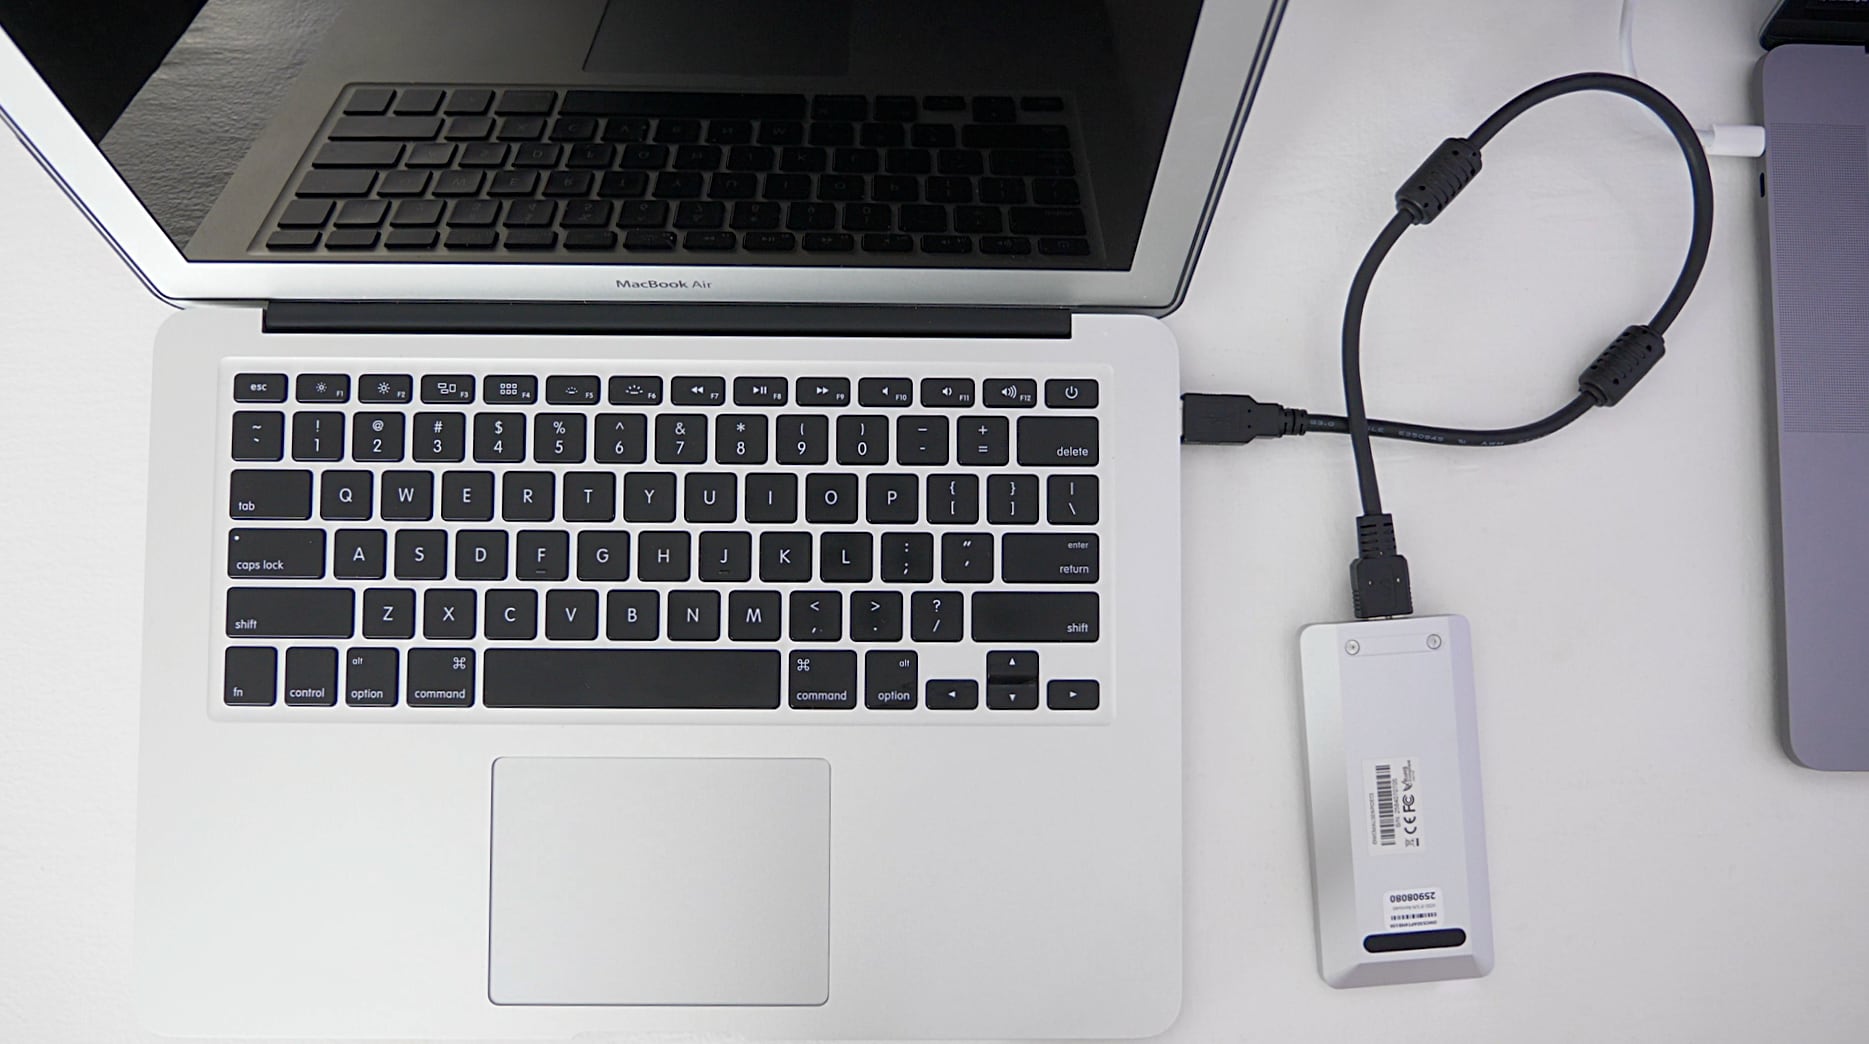
9) Put your old SSD into the aluminum Envoy Pro enclosure that arrived with your kit.
10) With your old SSD installed, plug the external drive into your computer.
11) Turn on your computer while holding Command – Option – R or Shift-Option-Command-R in order to invoke Internet Recovery. Doing so will start up your computer over the Internet because the new drive doesn’t have macOS installed or a Recovery partition to boot from.You should see a spinning globe instead of an Apple logo during Internet Recovery startup.

Depending on your Internet connection, this may take anywhere from a couple of minutes to up to an hour, or longer. Connect your Mac to the power adapter so that it doesn’t run out of juice whilst it’s loading Internet Recovery from Apple’s servers. If the computer won’t start up from Internet Recovery, you will need to reinstall macOS after starting up from another disk or volume, or by using a bootable installer.
12) Choose Restore From Time Machine Backup if you’d like to restore your Mac from a Time Machine backup or Reinstall macOS to have Internet Recovery download and reinstall the Mac operating system from scratch on your newly installed internal OWC drive.
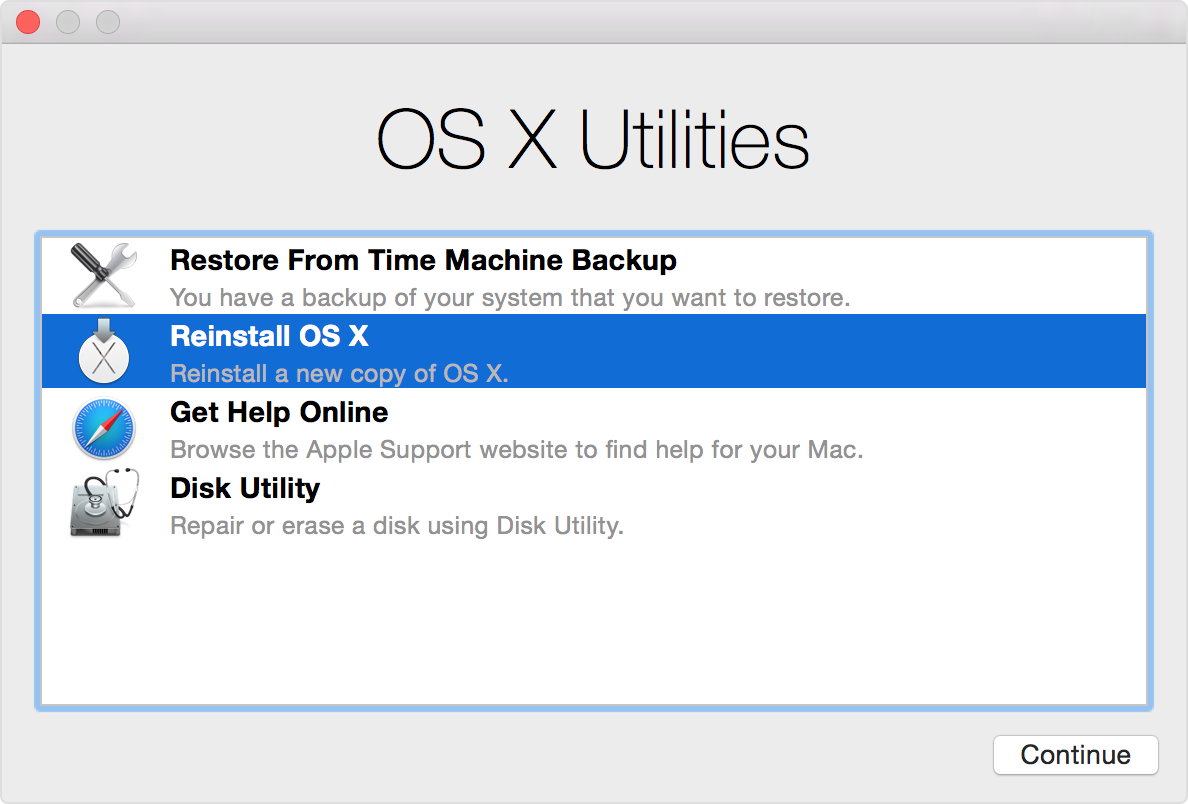
Finally follow onscreen instructions to complete the macOS instal process. For those asking, we also have the instructions for installing OWC’s SSDs into the MacBook Pro models.
The speed boost
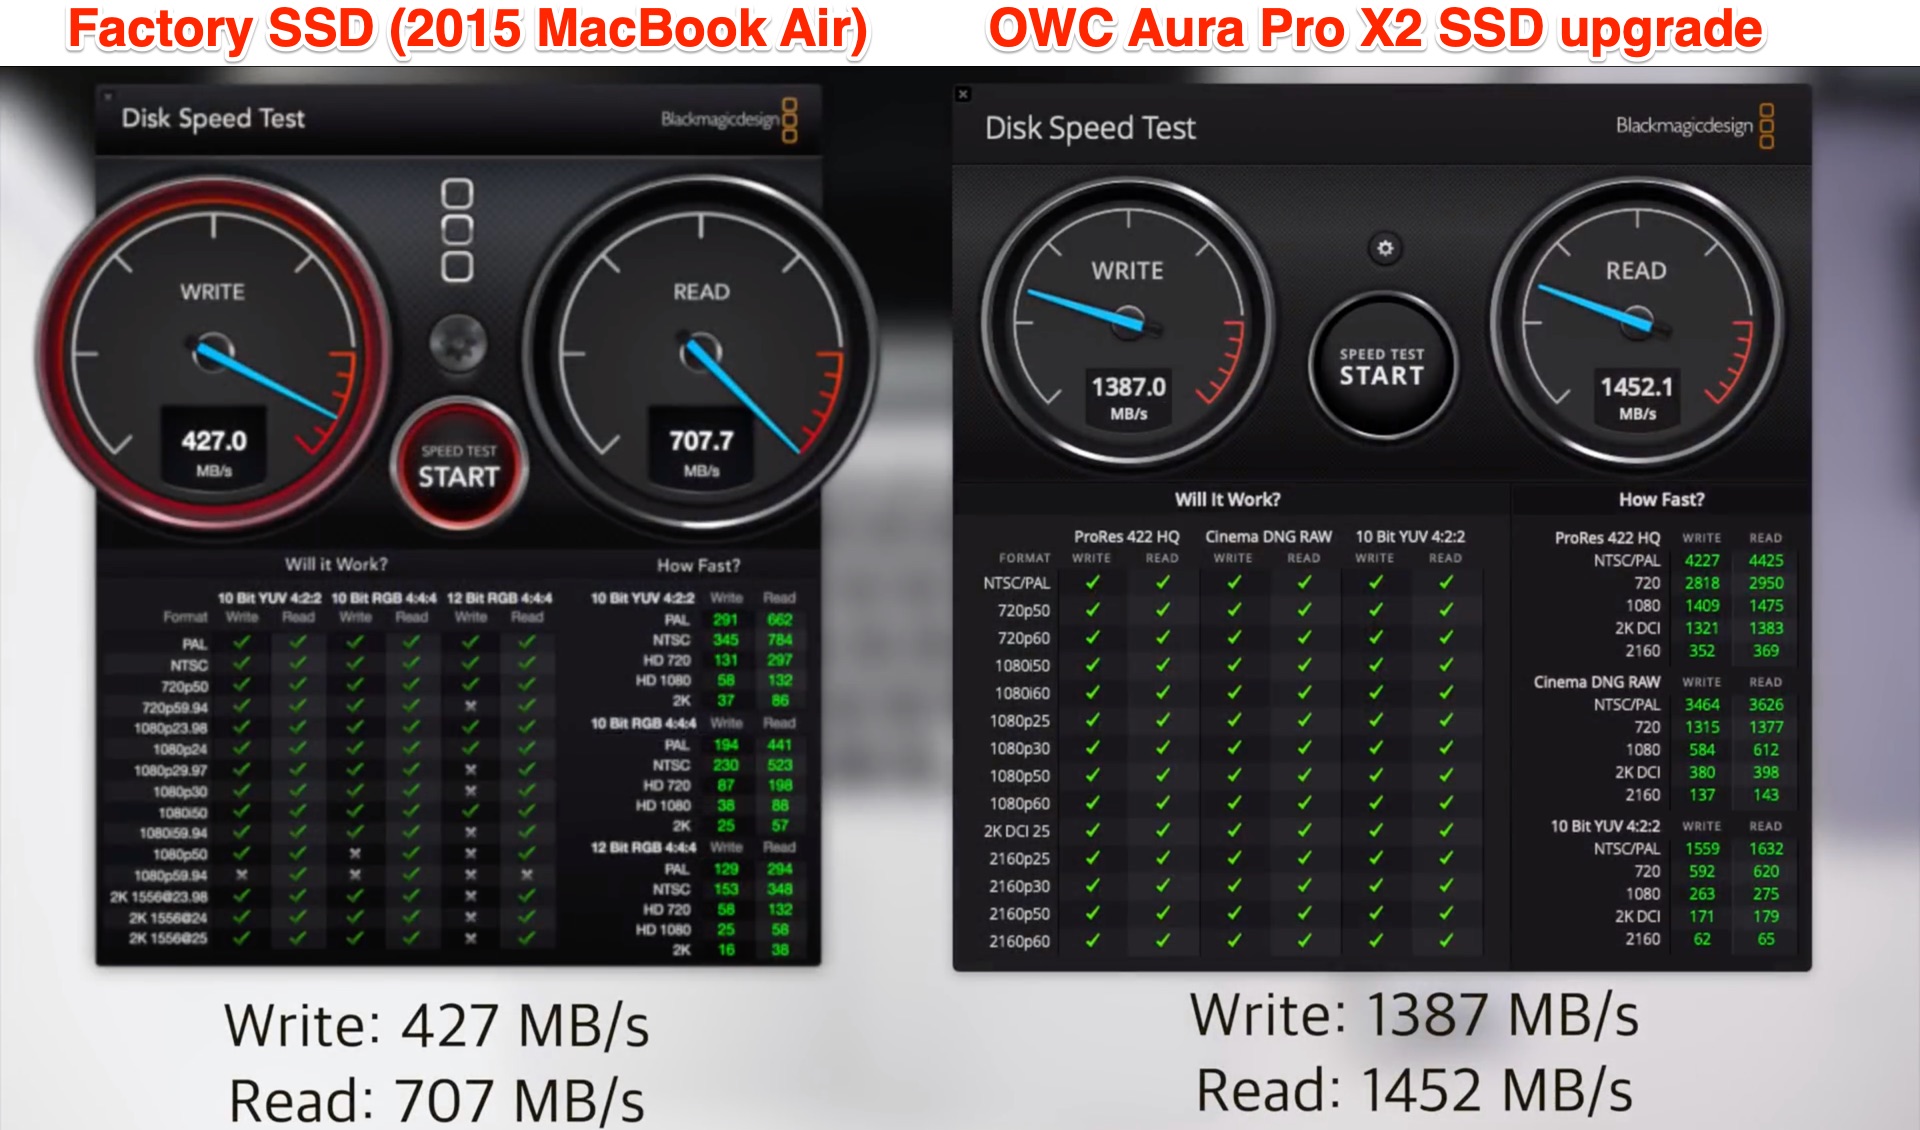
I mentioned earlier that the 3200MB/s read speeds and 2400MB/s write speeds give you enough throughput for storage-intensive tasks like editing 4K video. That’s just scratching the surface of what one can expect after giving their computer an Aura Pro X2 boost.
For starters, you’ll notice that the system boots up faster than before. Your Pages document, heavy Photoshop and complex GarageBand projects load faster, too. Video streams are more fluid, games load faster and your computer feels snappier overall. For benchmarking SSD performance, we used the Blackmagic Disk Speed Test which is a pretty standard disk speed tester for macOS available for free from Mac App Store.
Pretty much everything you do on a Mac benefits from a speedy SSD—and that’s especially true for configurations with less than eight gigabytes of RAM. In low-memory situations, the operating system frees up memory by writing out idle sections of the RAM to the SSD. As you multitask and apps go from actively running to being in a suspended state, different RAM sections get written to the SSD and replaced with new code.
Hence—the faster the SSD, the nimbler the system.
My thoughts on Aura Pro X2
The math couldn’t be simpler.
Replacing the factory SSD with a state-of-the-art one is the most affordable way to breathe a new lease of life into your old Mac. OWC’s served Mac users for decades now and they offer some of the fastest, most reliable internal replacement SSDs the money can buy.
To illustrative the point, Apple charges nearly twice as much to get a $2,400 15-inch MacBook Pro from stock 256GB SSD to two terabytes. As a matter of fact, here’s a quick comparison between OWC’s SSD-only upgrades (without enclosures) and Apple’s exorbitant prices.
- OWC Aura Pro X2 240GB SSD — $120
- OWC Aura Pro X2 480GB SSD — $180 vs. $400 for Apple’s 128GB → 512GB upgrade.
- OWC Aura Pro X2 1TB SSD — $300 vs. $800 for Apple’s 128GB → 1TB upgrade.
- OWC Aura Pro X2 2TB SSD — $700 vs. $1,200 for Apple’s 256GB → 2TB upgrade.
Don’t be talked into spending $1,300-$4,000+ for a new Mac notebook when a simple DIY upgrade for a fraction of the cost of a new model will keep your old computer running at peak performance for years to come.
OWC Aura Pro X2 SSD highlights
Here are the key benefits of the upgrade kit:
- High performance for high demands
- Read speeds up to 3192 megabytes per second (3.1 GB/s)
- Write speeds up to 2488 megabytes per second (2.3 GB/s)
- Consumes less power and runs cooler that the original drive
- Premium NVMe, PCIe 3.1 x4
- Designed for macOS 10.13 and beyond
- Supports macOS Catalina and APFS
- Backed by a 5 Year OWC Limited Warranty
The full technical specifications are listed on OWC’s website.
Pricing and availability
As mentioned, Aura Pro X2 is available with the drive alone or as part of an upgrade kit that comes with an included drive enclosure.
All kits include OWC’c installation tools, a five-year warranty, 24/7 access to their US support team via phone or chat and other perks. Aura Pro X2 is designed for macOS High Sierra 10.13 and beyond. Yes, Aura Pro X2 supports the Apple File System (APFS). And if you optionally trade-in your original, unaltered SSD, OWC will treat you to a rebate.
The Auras are available for these models: MacBook Pro (Retina, late-2013 to mid-2015), MacBook Air (mid-2013 to 2017), Mac Pro (2013) and Mac mini (late-2014). And unlike Apple, OWC lets you upgrade your Mac’s SSD after the fact.
Visit OWC’s website to see all the options.
Your thoughts
Have you used OWC’s SSD upgrade kits before?
If so, do not hesitate to share your experience with readers in the comments down below.