How to take better photos with the iPhone
 William Gallagher
You don't need a tripod, but taking certain other steps will improve even your casual photographs

You've got one of the best cameras in the world right there in your iPhone XR, iPhone XS, iPhone XS Max — and really just about any recent iPhone. Knowing just a few tips will hugely improve the photos you take with them.
The best camera in the world is the one you've got with you. Usually when photographers say that, they mean that any camera is the best one when it's all you've got and when it's with you just as something happens that you want to shoot. However, when you've got an iPhone, it's also true that you literally have one of the best digital cameras there is.
Even before the next iPhones with their expected triple-lens cameras come out, here's what you can do to take even better photos with your phone.
Prepare
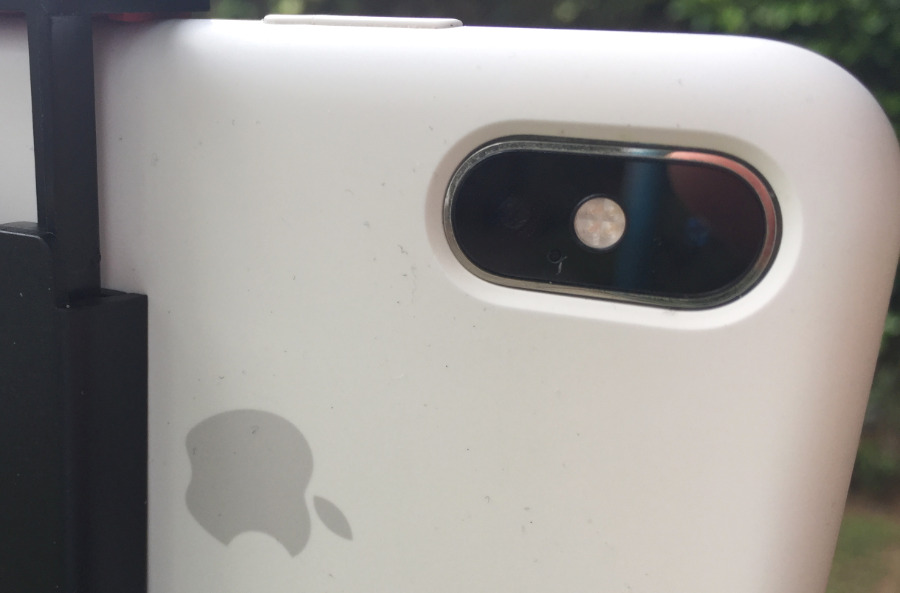
Clean the lens. Seriously. You've been throwing this phone in and out of your pocket or bag, and you've been holding it with your thumb over the camera. Don't use water, but also don't use your finger. Get a cloth and wipe it clean.
Remember that you're almost always going to need to take a photo quickly. Maybe you'll be in a huge rush because you have moments in which to take that perfect shot of your baby precisely as a soap bubble bursts in front of them.
Even if you're posing friends, though, and covering up that incredible landscape view with these people you'll have forgotten in five years' time, you can't dawdle.
So cleaning the lens ahead of time is a help. So is taking a moment to change certain standard settings on your iPhone.
Settings
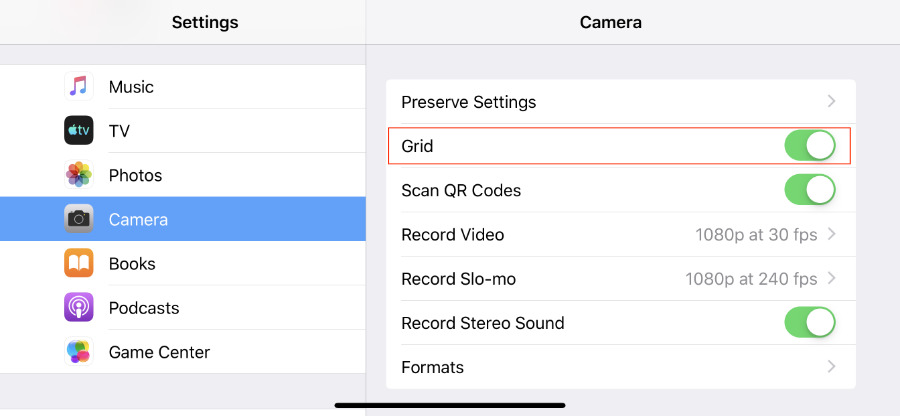
Go to Settings, scroll down to Camera, and in that section tap to switch on Grid.
This overlays a grid on your iPhone's display when you're using the camera and you can use it to help compose your photos. Just having that grid seems to help us compose a shot better, it lets us see that we've got the person too far to one side, or that we're for some reason photographing a mile and a half of sky above their heads.
Specifically, the grid helps you use the Rule of Thirds, a term referring to how objects placed in certain parts of the image are inherently more interesting. Place your subject along one of these grid lines instead of dead centre of the frame, and your photo is better.
Next, go into the Camera app itself and tap on the flash icon. From the options that appear, tap on Off.
Flash is very rarely useful, and even on the times when you try to use it, it even more rarely makes for a good image. The default is Auto, which means the phone decides whether it's needed, but switch it to off. You can always change your mind.
Live and let HDR
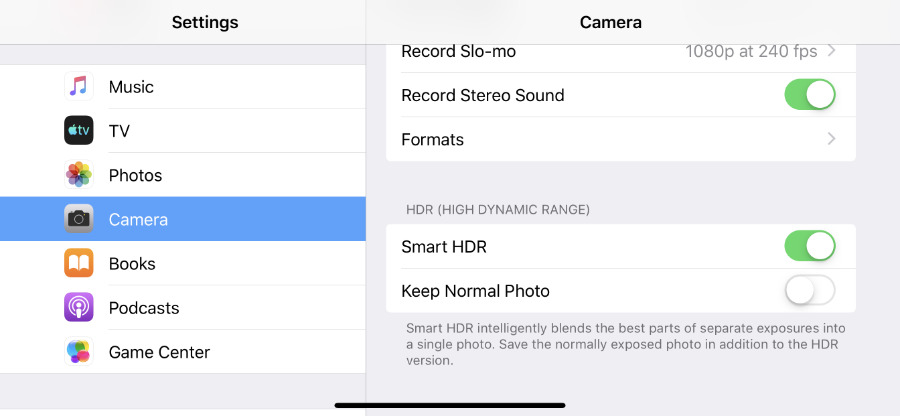
The latest iPhones default to automatically using HDR, or High Dynamic Range, photos. With older iPhones, you had to tap an HDR button on the Camera screen. If you've got a HDR button, tap it.
What this does is make the iPhone take several photos at different exposures and blend them together into one image. It will almost always look better than an individual shot you too, but you can tell the phone to save both its HDR image and your attempt.
Go to Settings, Camera, and tap on Keep Normal Photo. There is a setting here for switching off the automatic HDR, but leave it on.
Live Photos also record more than a single image, they take a few moments of video and audio either side of your shot. Some people loathe this, others love it, it's completely up to you — but note that Live Photos take up more storage space. Burst mode also takes up a lot of space.
To switch Live Photos on or off, tap the Live button in the Camera. There isn't a setting to switch Burst on or off, it just happens when you hold your finger down on the shutter button.
There is a setting for one more significant issue, which is what format your photo will be saved in. Apple is pushing the HEIC format which is meant to produce images that have more detail yet take up less space than a JPG.
That's the default, and previously we might've said you should switch it off for compatibility sake. HEIC images used to cause odd problems with different image editors, though it appears to have been greatly improved.
It's still the case that not everyone can use or see HEIC images, but if you email such an image direct from the Photos app, iOS will convert it to JPEG first.
Taking the shot
Your iPhone provides tools to help you get the best shot, and perhaps the most useful is how it lets you set focus. Line up the shot on whatever it is you want to photograph, and then tap on your iPhone screen at the point where you want the image to be focused.
A yellow box will briefly appear around your finger. To lock that focus, press and hold until the yellow box changes shape and the Camera app shows "AE/AF lock" on screen. That's now fixed the focus and also the exposure.
However, you can change the exposure, although it's not obvious how you do it. Tap on the screen to get that yellow box up, and then swipe your finger downwards to one side or other.
You'll see the image change as you alter the exposure and when you let go, it's set.
Take steps to improve the shot
We mean this literally. Forget the settings on your iPhone, actually take steps, physical steps. As good as the zoom on an iPhone is, whenever it is at all possible, you should zoom with your feet instead.
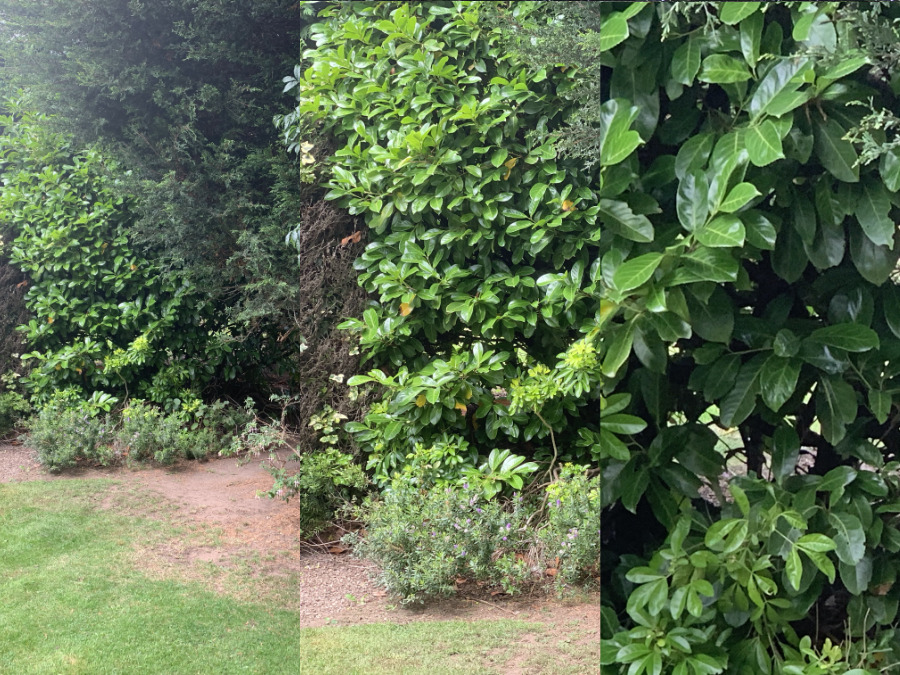
Get closer to your subject and you'll take a better shot. If you have an iPhone XR, pretend the zoom feature doesn't even exist. If you have an iPhone XS or an iPhone XS Max, you can zoom a little.
That's because the dual lenses in the iPhone XS and iPhone XS Max allow those phones to have an optical zoom, and the iPhone XR only has a digital one. An optical zoom moves the lenses so that, like using a magnifying glass, it can make the object appear nearer.
A digital zoom just crops the image to a smaller frame and then pulls that back up to a full-size photo by calculating what the pixels should look like. That it can be done is remarkable, that anyone should use this feature is a mystery.
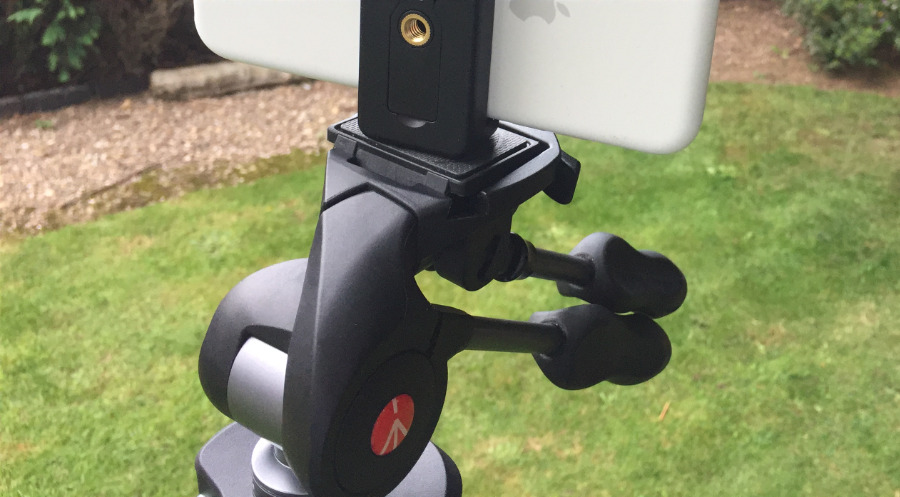
If you must use any zoom, think about getting a tripod, because even the slightest zoom magnifies any camera shake — and you inevitably get that because you're holding the phone in your hand.
Speaking of lenses
You're not stuck with the lenses that come on your iPhone, though. You can add a zoom or telephoto lens to even an iPhone XR if you buy an external one, such as those made by Moment.
Moment also makes an ultra-wide angle lens for iPhone.
You do have the issue of taking the lens on and off, meaning that this isn't going to be for you if you need a fast shot. Not unless you leave the lens on, and then it isn't for you if you tend to handle your iPhone roughly.
Nonetheless, you can get remarkable results with a third-party lens — and you can with third-party software, too.
Camera apps
Given that any app you buy can only use whatever lens your iPhone has or that you've added to it, you would expect them to be limited. You would assume a third-party app could not possibly do anything Apple's own Camera app couldn't. And yet you'd be wrong.
Apple may in theory have better access to its own hardware than anyone else, but Apple also chooses to balance power with usability.
The Camera app is a very good compromise between the two. However, there are third-party alternatives such as Halide that for the price of being a little harder to learn, exploit the hardware more for you.
The makers of Halide say that the data their app provides even includes details that Apple may not publish.
After you take the shot
You'll notice that we haven't mentioned filters. Love them or detest them, they are quick ways to make startling changes to your images. We'd just recommend that you take the very best shot you can at the time, and apply filters later — to a copy.
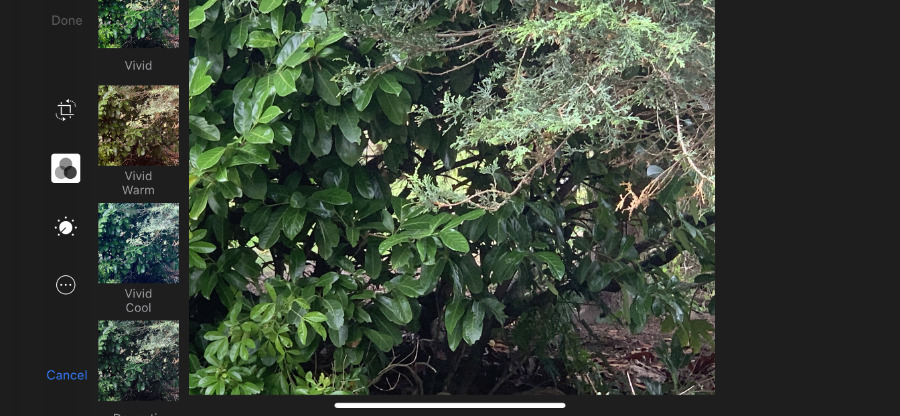
For the very best filters and alterations, use a separate app like Pixelmator Photo or Affinity Photo on iPad, or their equivalents on the Mac.
However, you can make at least some filter-style changes in the regular Photos app. What you can't ever do is re-take the original photo if you've somehow destroyed it.
Being a better photographer
None of these tips will make you an expert. What will is practice, and learning as you go. What they will do is help you avoid some simple mistakes.
Don't forget, though, that the camera in your iPhone is a marvel. Everything about photography on iPhones is astonishingly good, really, when you compare it to the Polaroids that we used to take.
There is one thing that isn't great, though. And that's how camera phones and social media have trained us to take photos in portrait instead of landscape. Very little looks great in portrait mode. It's not even automatically the better option when you are taking an actual portrait photo of someone. Think about what the final image will look like, and where you're going to use it, before you take the shot.
Keep up with AppleInsider by downloading the AppleInsider app for iOS, and follow us on YouTube, Twitter @appleinsider and Facebook for live, late-breaking coverage. You can also check out our official Instagram account for exclusive photos.


 Christine McKee

 Malcolm Owen
 Marko Zivkovic
 William Gallagher and Mike Wuerthele

 Wesley Hilliard
 Andrew Orr