Just like iOS, the Mac has some great features hidden inside the accessibility section of the System Preferences (aka. Settings) app. Today we’re going to see how to tweak the Mac’s display to make it easier to use, for anyone. You can adjust the colours, make page elements easier to see, and even turn everything B&W. Let’s see what’s what.
Display
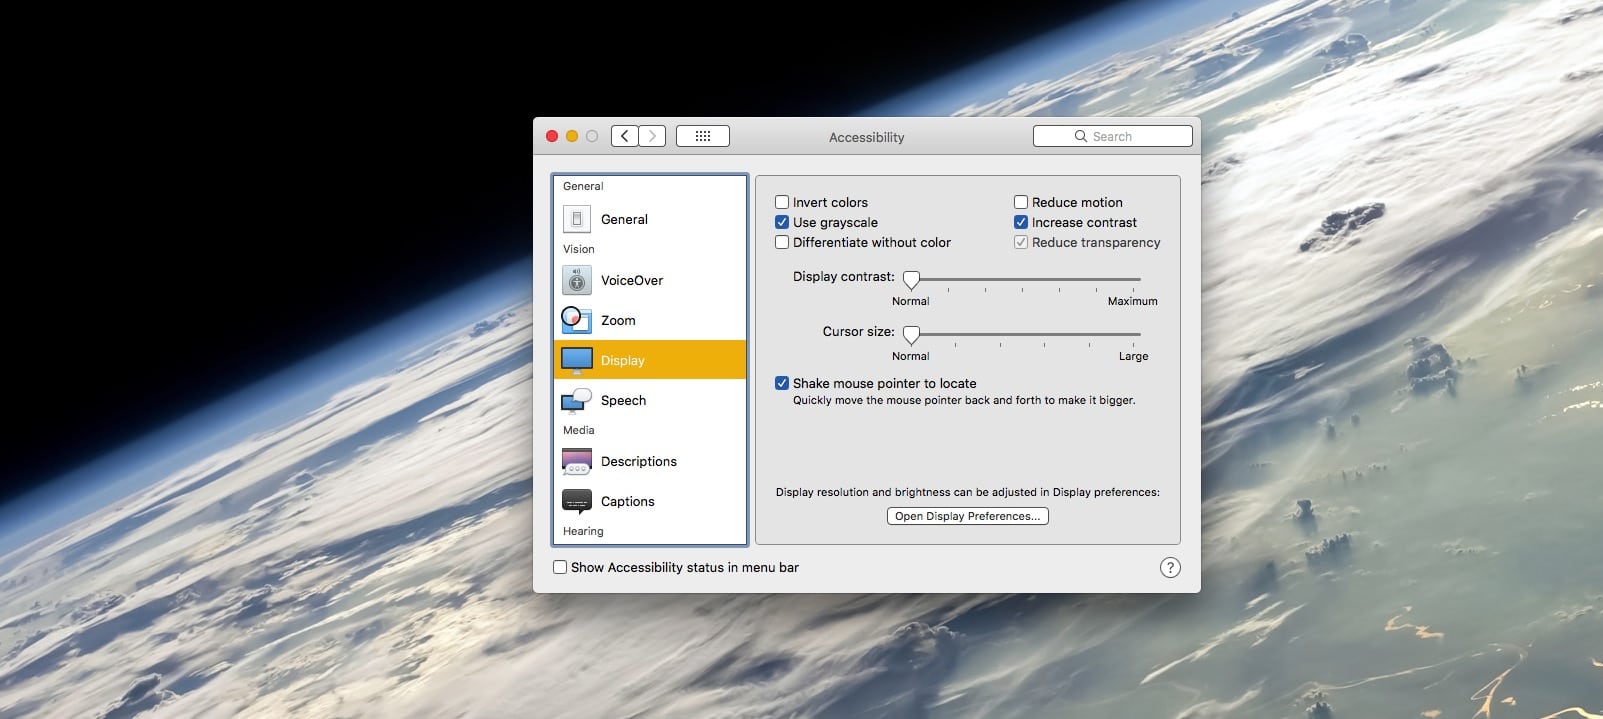
Photo: Cult of Mac
First stop is the Display section. Find this by opening the System Preferences app, and clicking on the Accessibility icon. Then choose the Display tab. As you can see in the screenshot above, there are plenty of options, some more useful than others. My favourites are:
- Use grayscale.
- Increase contrast.
- Cursor options.
Turn your Mac’s display gray
Use grayscale removes all colour from the display. It’s quite restful, but I find it can slow me down, especially when flipping between apps. The color of an app’s icon makes it a lot quicker to find in the dock, for example. One thing to note about the grayscale option: It only affects the actual display. That is, if you take a screenshot, that screenshot will still be in color next time you switch back to regular view.
Increase screen contrast
Maybe my favourite of all these features is Increase contrast. This lightens backgrounds, darkens text, adds an outline to may interface elements, and — best of all — makes the symbols in a window’s “traffic-light buttons” white instead of black.
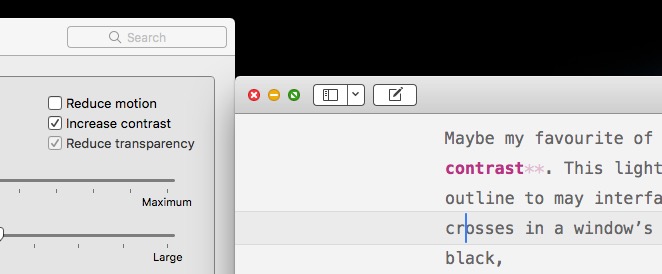
Photo: Cult of Mac
Overall, the Increase contrast setting makes the entire UI sharper, and easier to use. The black outlines make it a bit cartoony, too, which you might like. Most of the screenshots here have it turned on.
Never lose your mouse pointer
There are two great options in here fore the mouse pointer. One is Shake mouse pointer to locate. This helps you find a lost pointer on a big screen. Just use the mouse or trackpad to shake the pointer, and it will grow huge, making it dead easy to spot. When you stop shaking, it returns to regular size.
You can also choose to permanently increase the size of the cursor. In this case, you get a nice big mouse pointer, but you also see bigger versions of the text-insertion caret, and more. The problem here is that the text insertion caret, for example, looks terrible when zoomed.
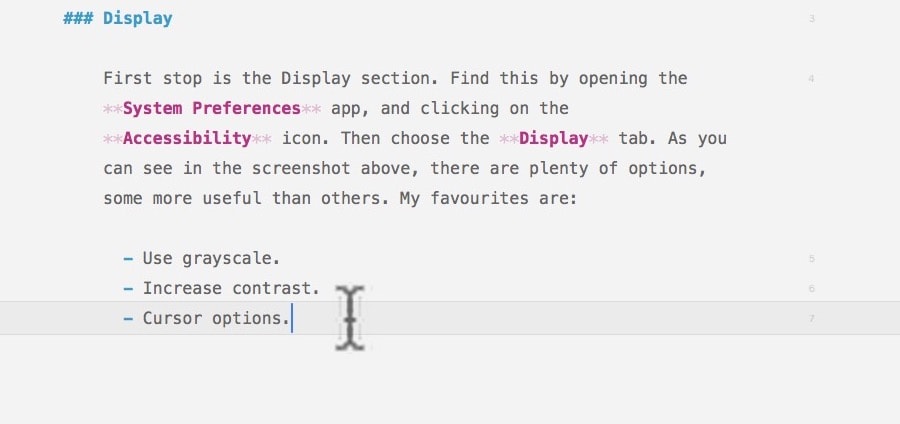
Photo: Cult of Mac
Zoom
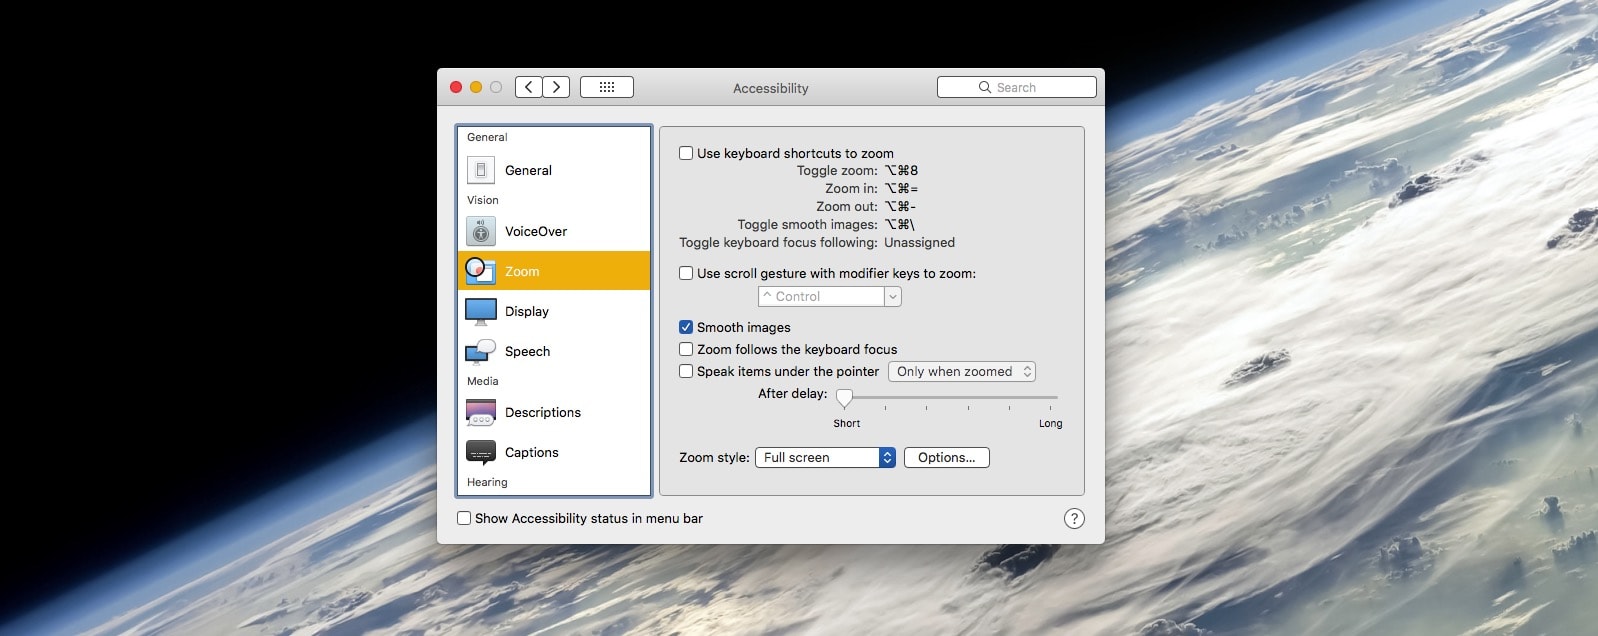
Photo: Cult of Mac
Another handy feature is Zoom, which is found under its own tab in the Accessibility Preferences section. This lets you zoom in on a particular section of the screen. This can happen in one of two ways. The entire screen zooms, as if the screen had grown too big for your Mac’s display. Or you can have a floating “picture-in-picture” window, which works like holding a magnifying glass over the screen.
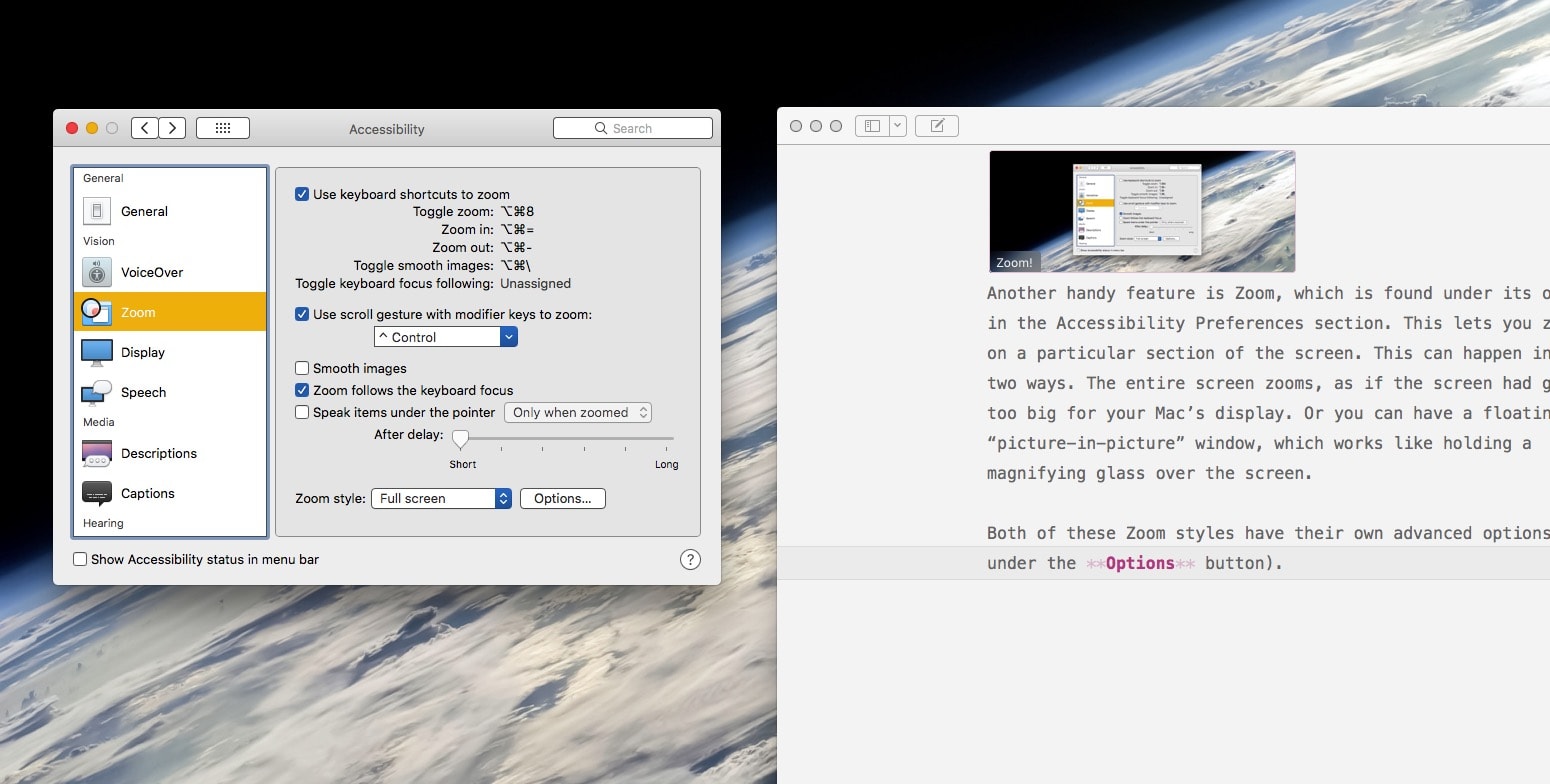
Photo: Cult of Mac
Both of these Zoom styles have their own advanced options (found under the Options button). I find the picture-in-picture zoom too confusing. The mouse cursor appears only in the zoomed window, for instance, making it easy to lose. The all-screen zoom, on the other hand is more intuitive, and can be set to follow the mouse cursor.
Once you have it enabled, you can toggle zoom on and off by hitting ⌥⌘8 on the keyboard. You can also change the zoom level by holding down the ⌃ Control key, and using two fingers on the trackpad to zoom in and out. These shortcuts can all be customized.
Did around inside the Mac’s accessibility settings. They are deep, and can be extremely useful. Customise subtitles, for example, have your Mac speak to you, tell it to flash the screen when you receive an alert. There’s a lot to try.
<a href=“https://unsplash.com/photos/y0_vFxOHayg“>Wesson Wang/Unsplash</a>


