When you add an audio effect or background music to your movie in iMovie, you may want to make some adjustments. Luckily, iMovie provides features for editing your audio clips so that you can trim them, change the speed, and adjust the volume.
For iMovie on both Mac and iOS, this tutorial shows you the basics of how to edit, trim, and adjust your audio clips.
Editing audio clips in iMovie on Mac
You can use actions in the menu bar as well as quick shortcuts to make adjustments to your audio clips in iMovie on Mac. This is convenient so that you can use whichever is most comfortable for you.
Trimming audio clips
If you want to trim an audio clip, you have a couple of options for how you’d like to trim it.
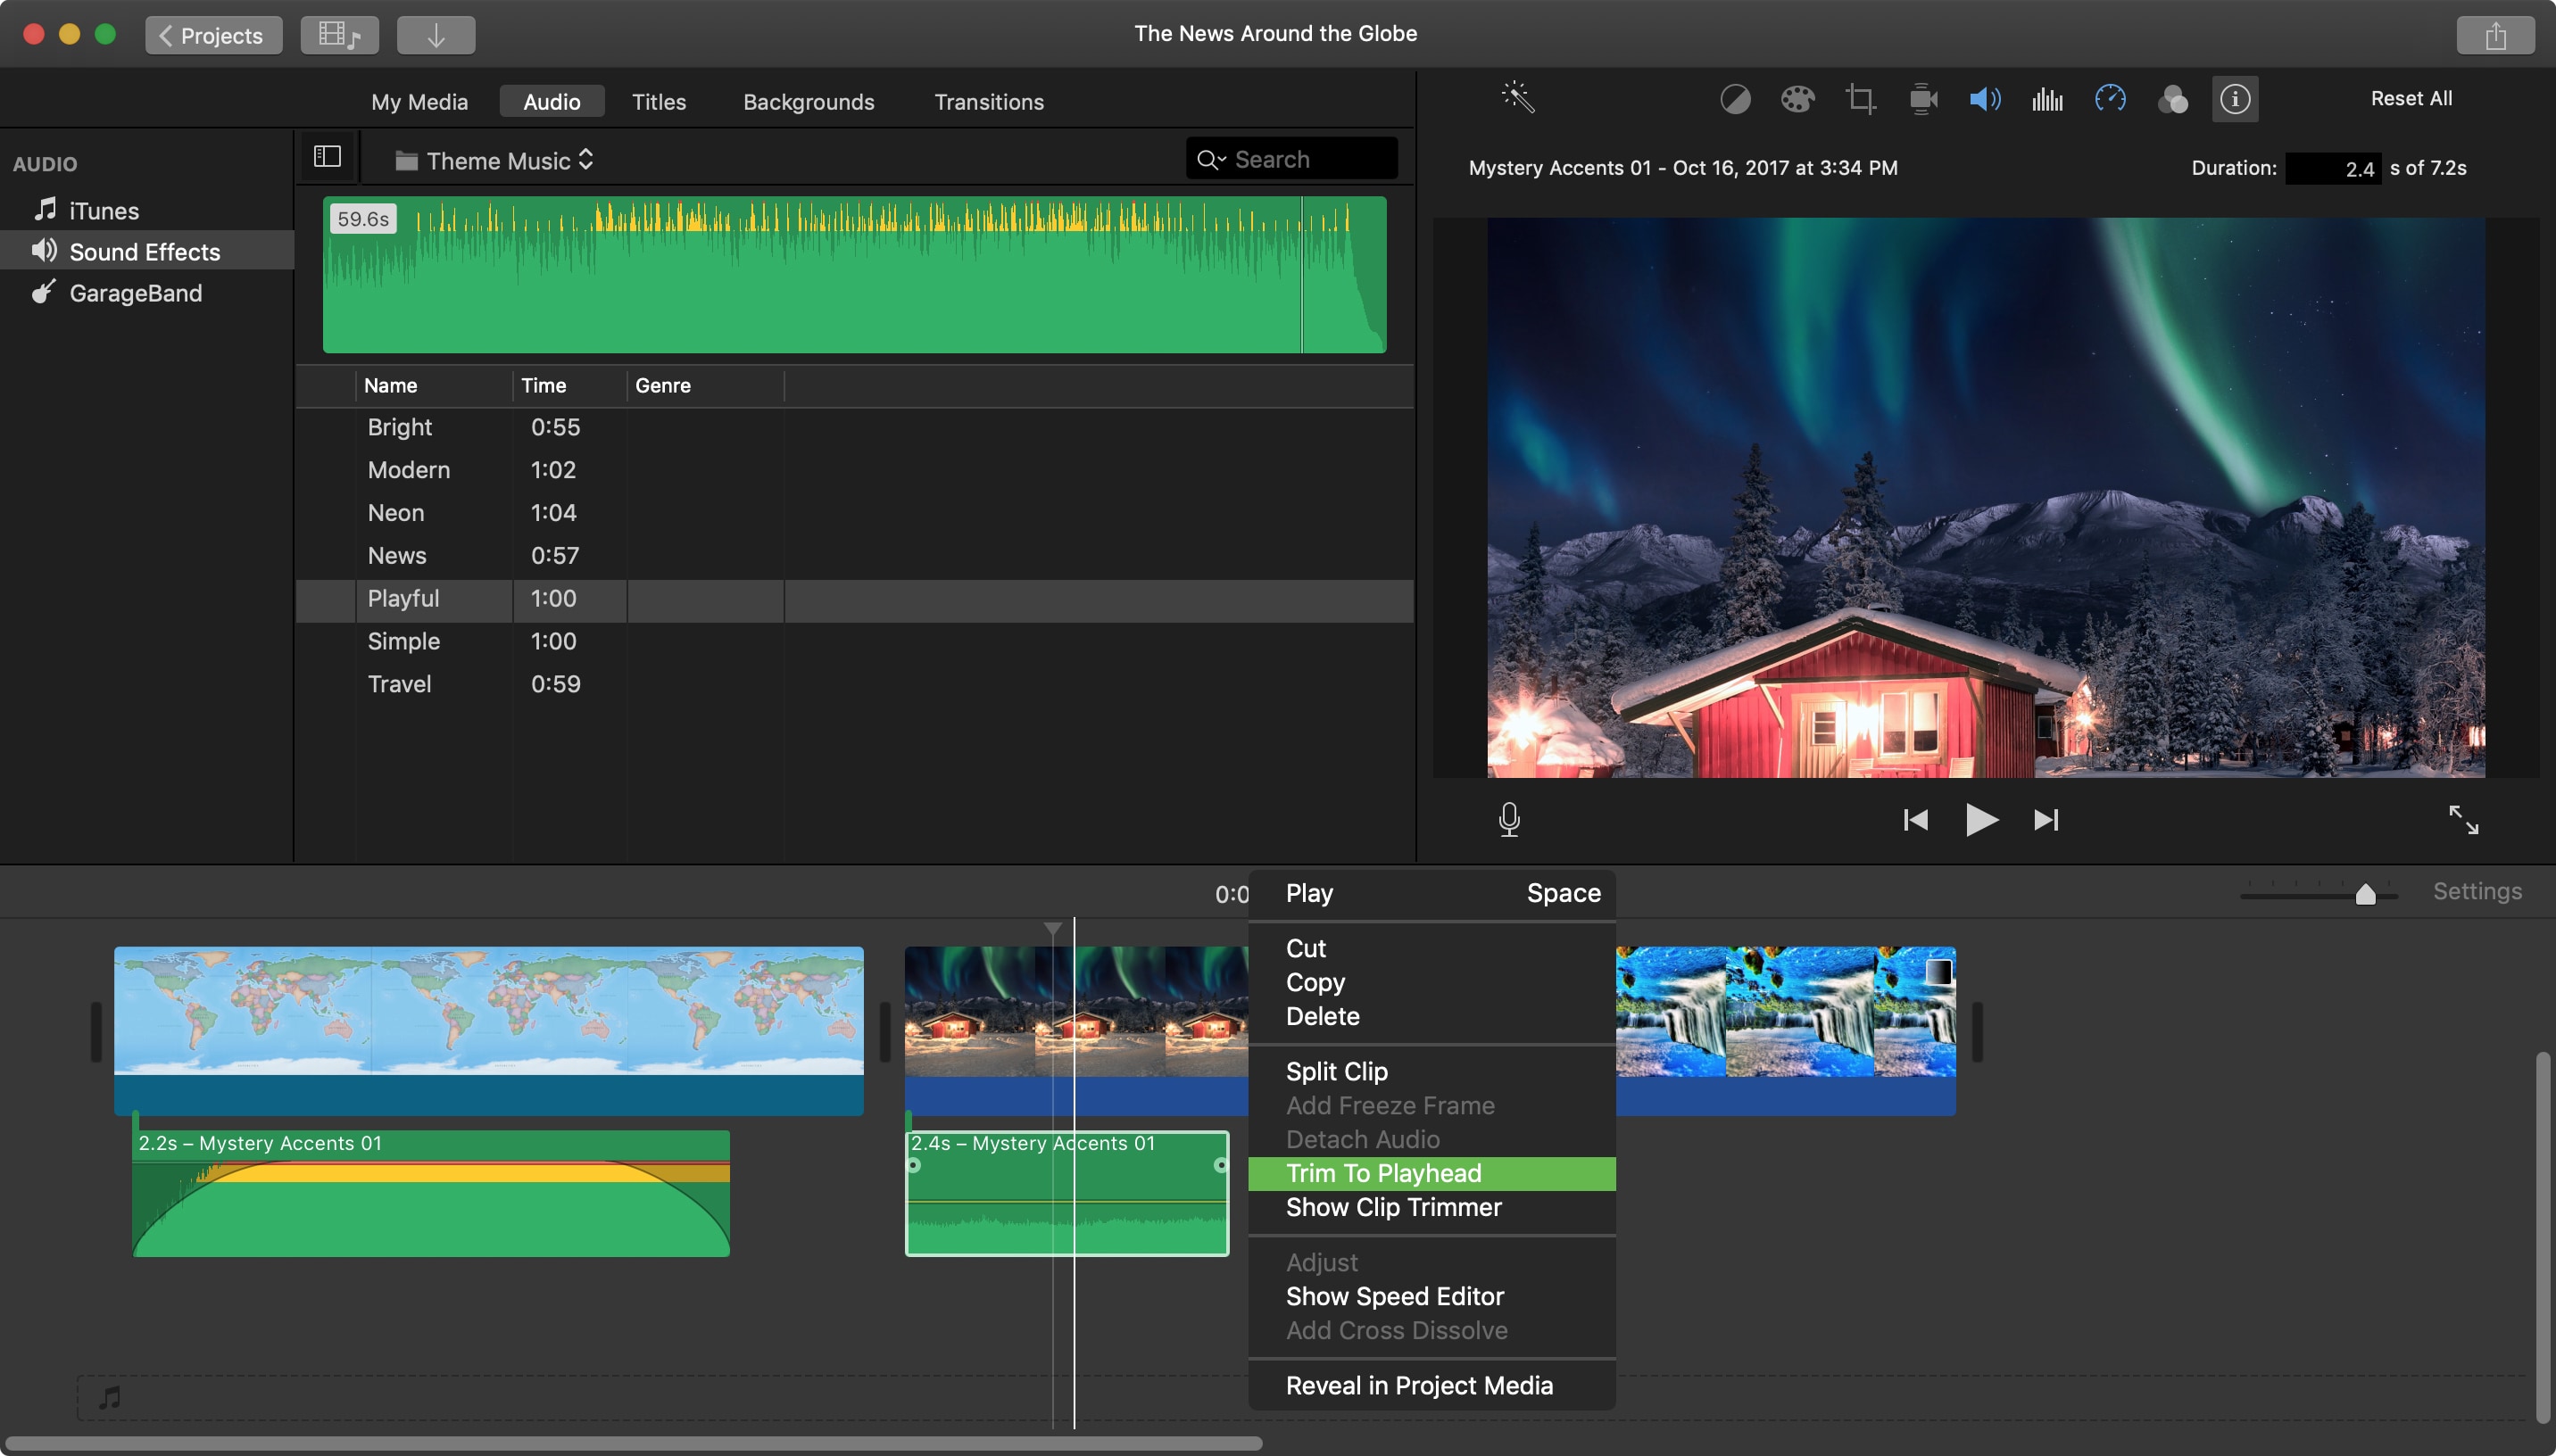
Trim to playhead
You can move the playhead in your movie Timeline and then trim an audio clip to that exact spot. Once you move the playhead, do one of the following.
- Click Modify > Trim to Playhead from the menu bar.
- Press Option + /
- Right-click the audio clip and select Trim to Playhead in the shortcut menu.
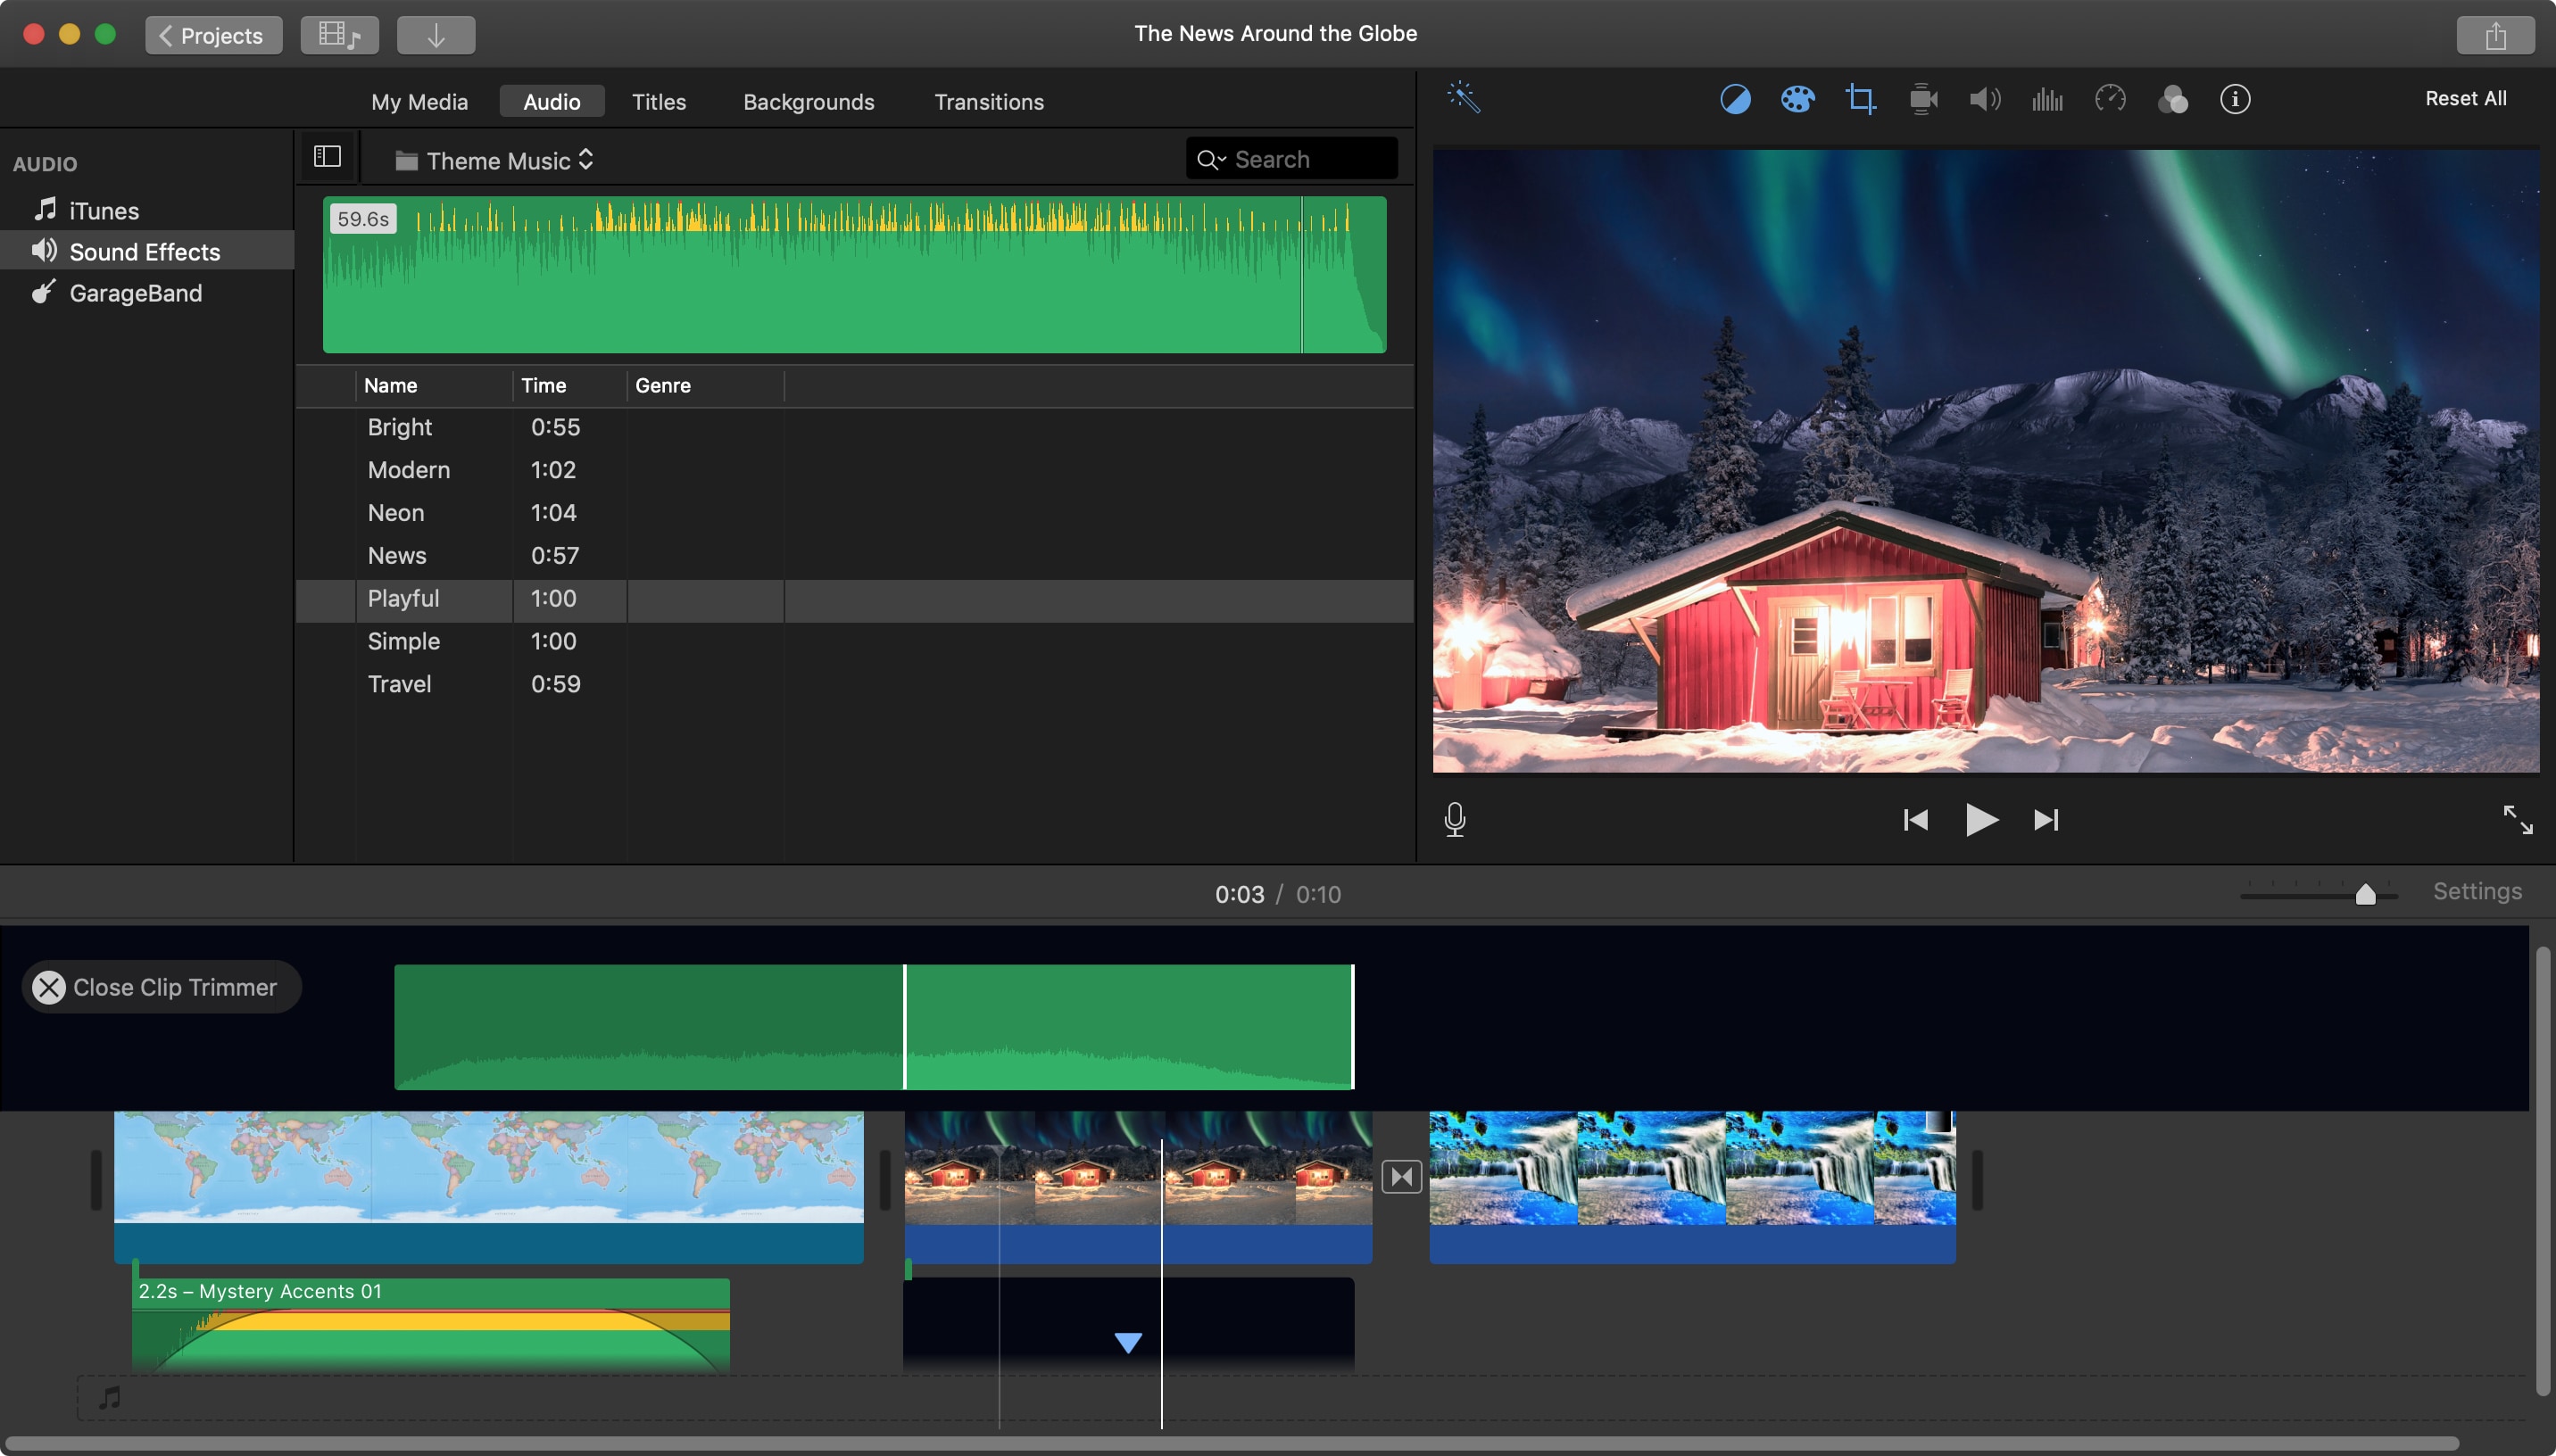
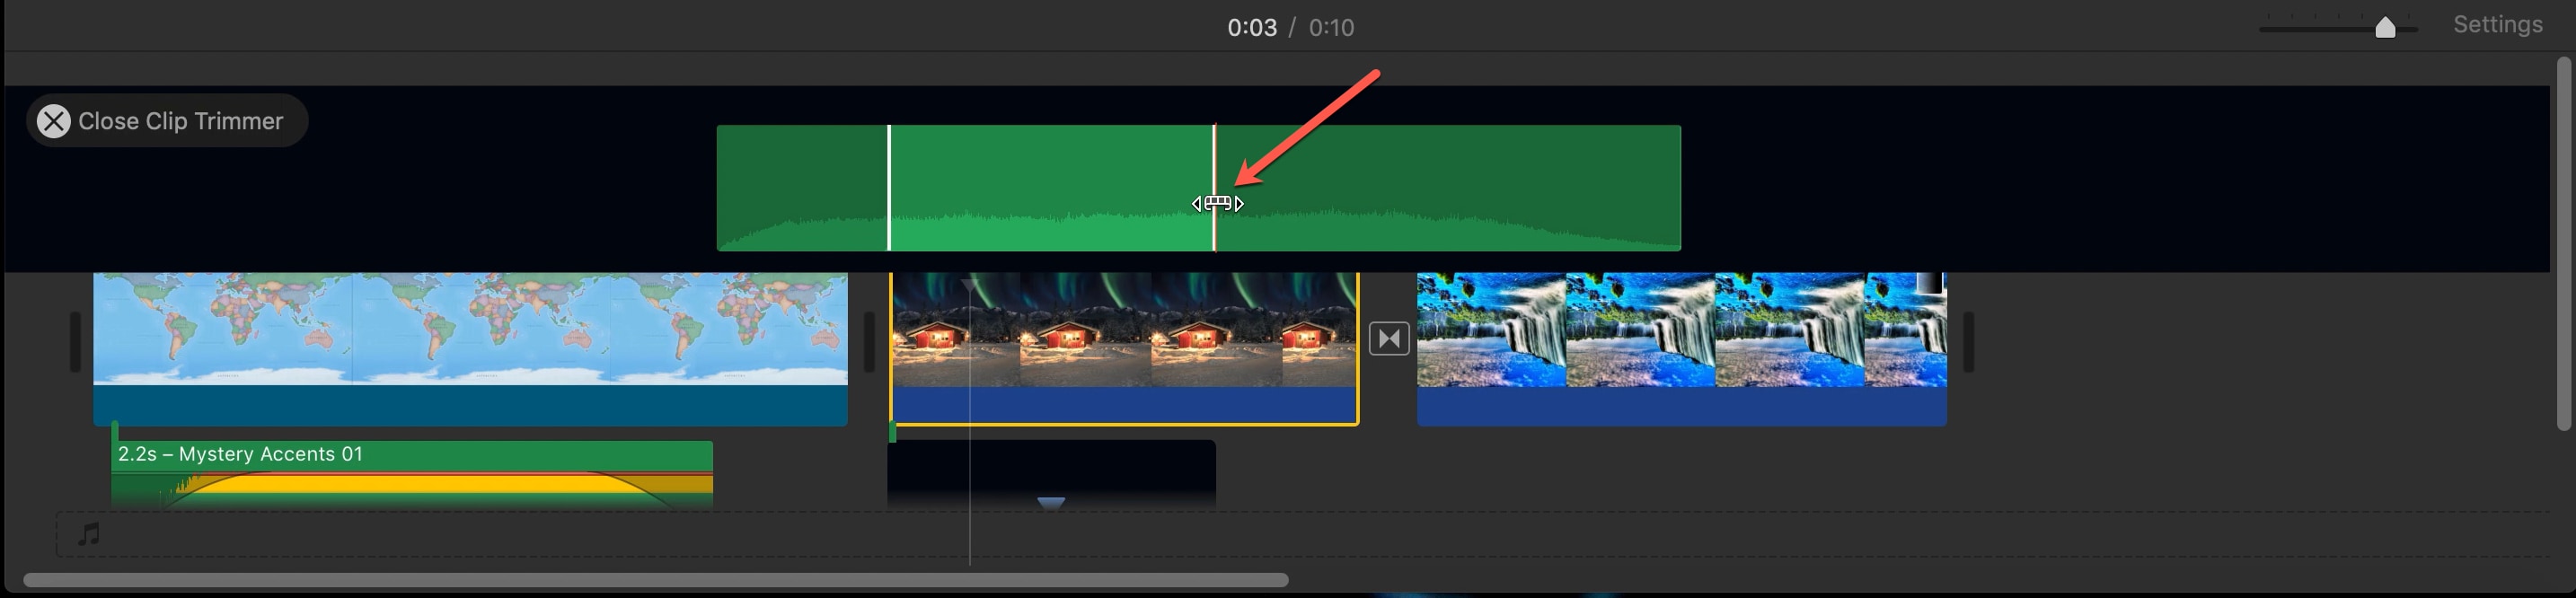
Use the Clip Trimmer
To trim a more precise part of the clip, you can use the Clip Trimmer.
1) Right-click the audio clip and choose Show Clip Trimmer in the shortcut menu.
2) When the Clip Trimmer displays, select the area that you want to trim by dragging the arrows left and right as you hold the white lines. The section within those lines is what will be removed.
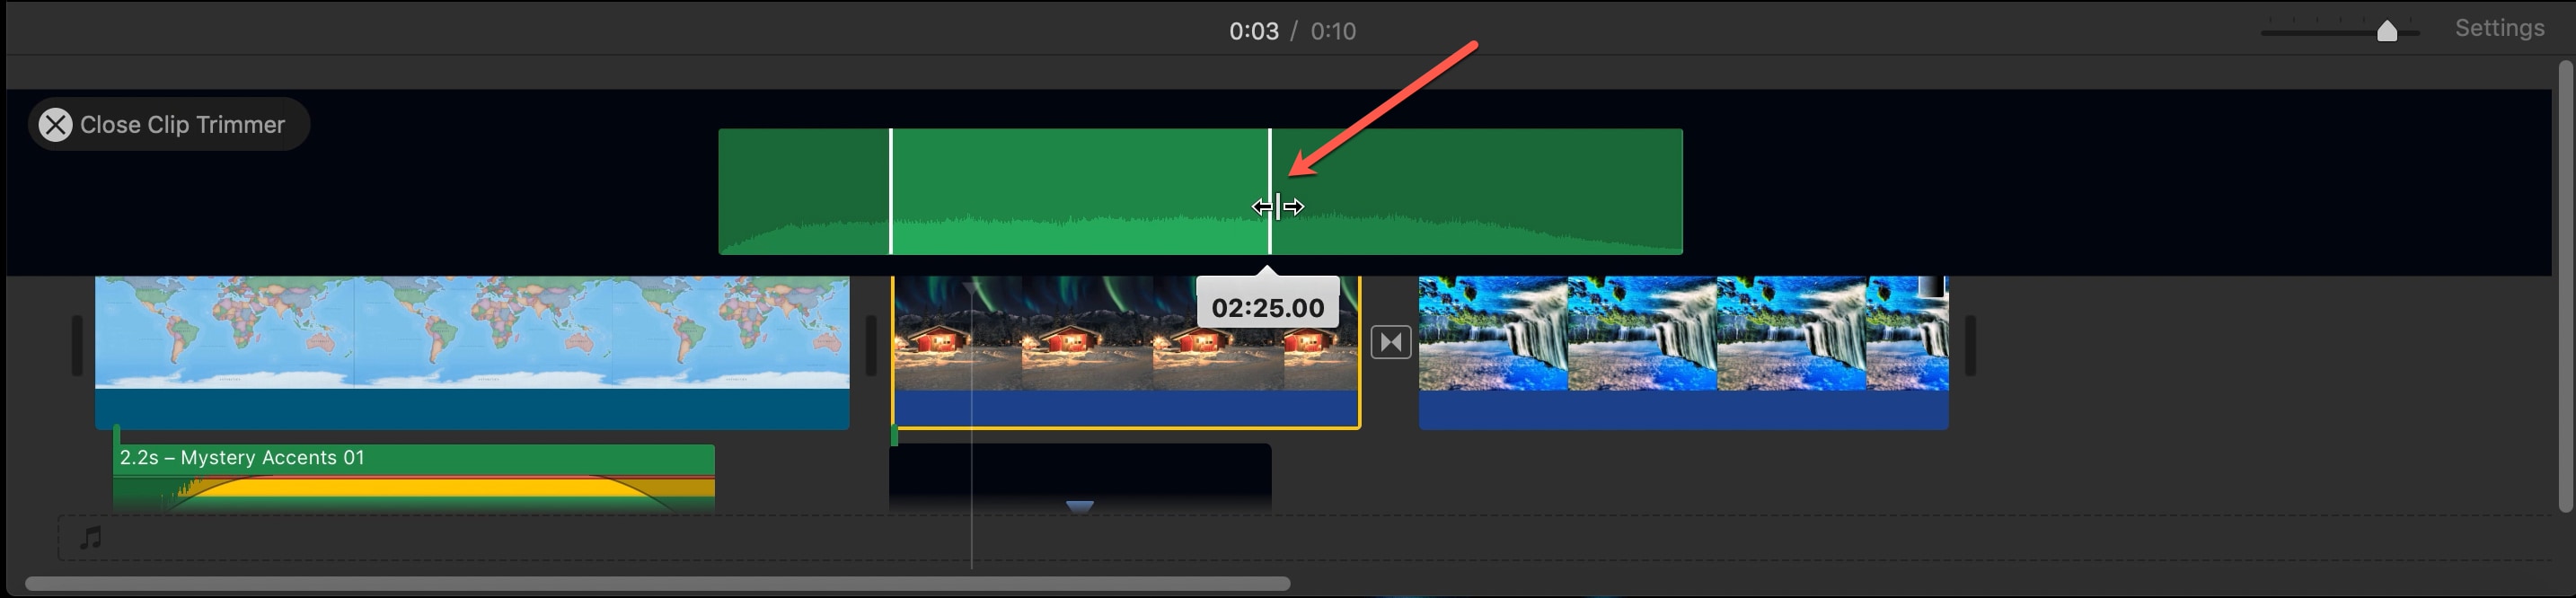
If you see the arrows turn to a film strip icon, this allows you to move the entire clip but keep the trim area in place.
3) Click Close Clip Trimmer when you finish.
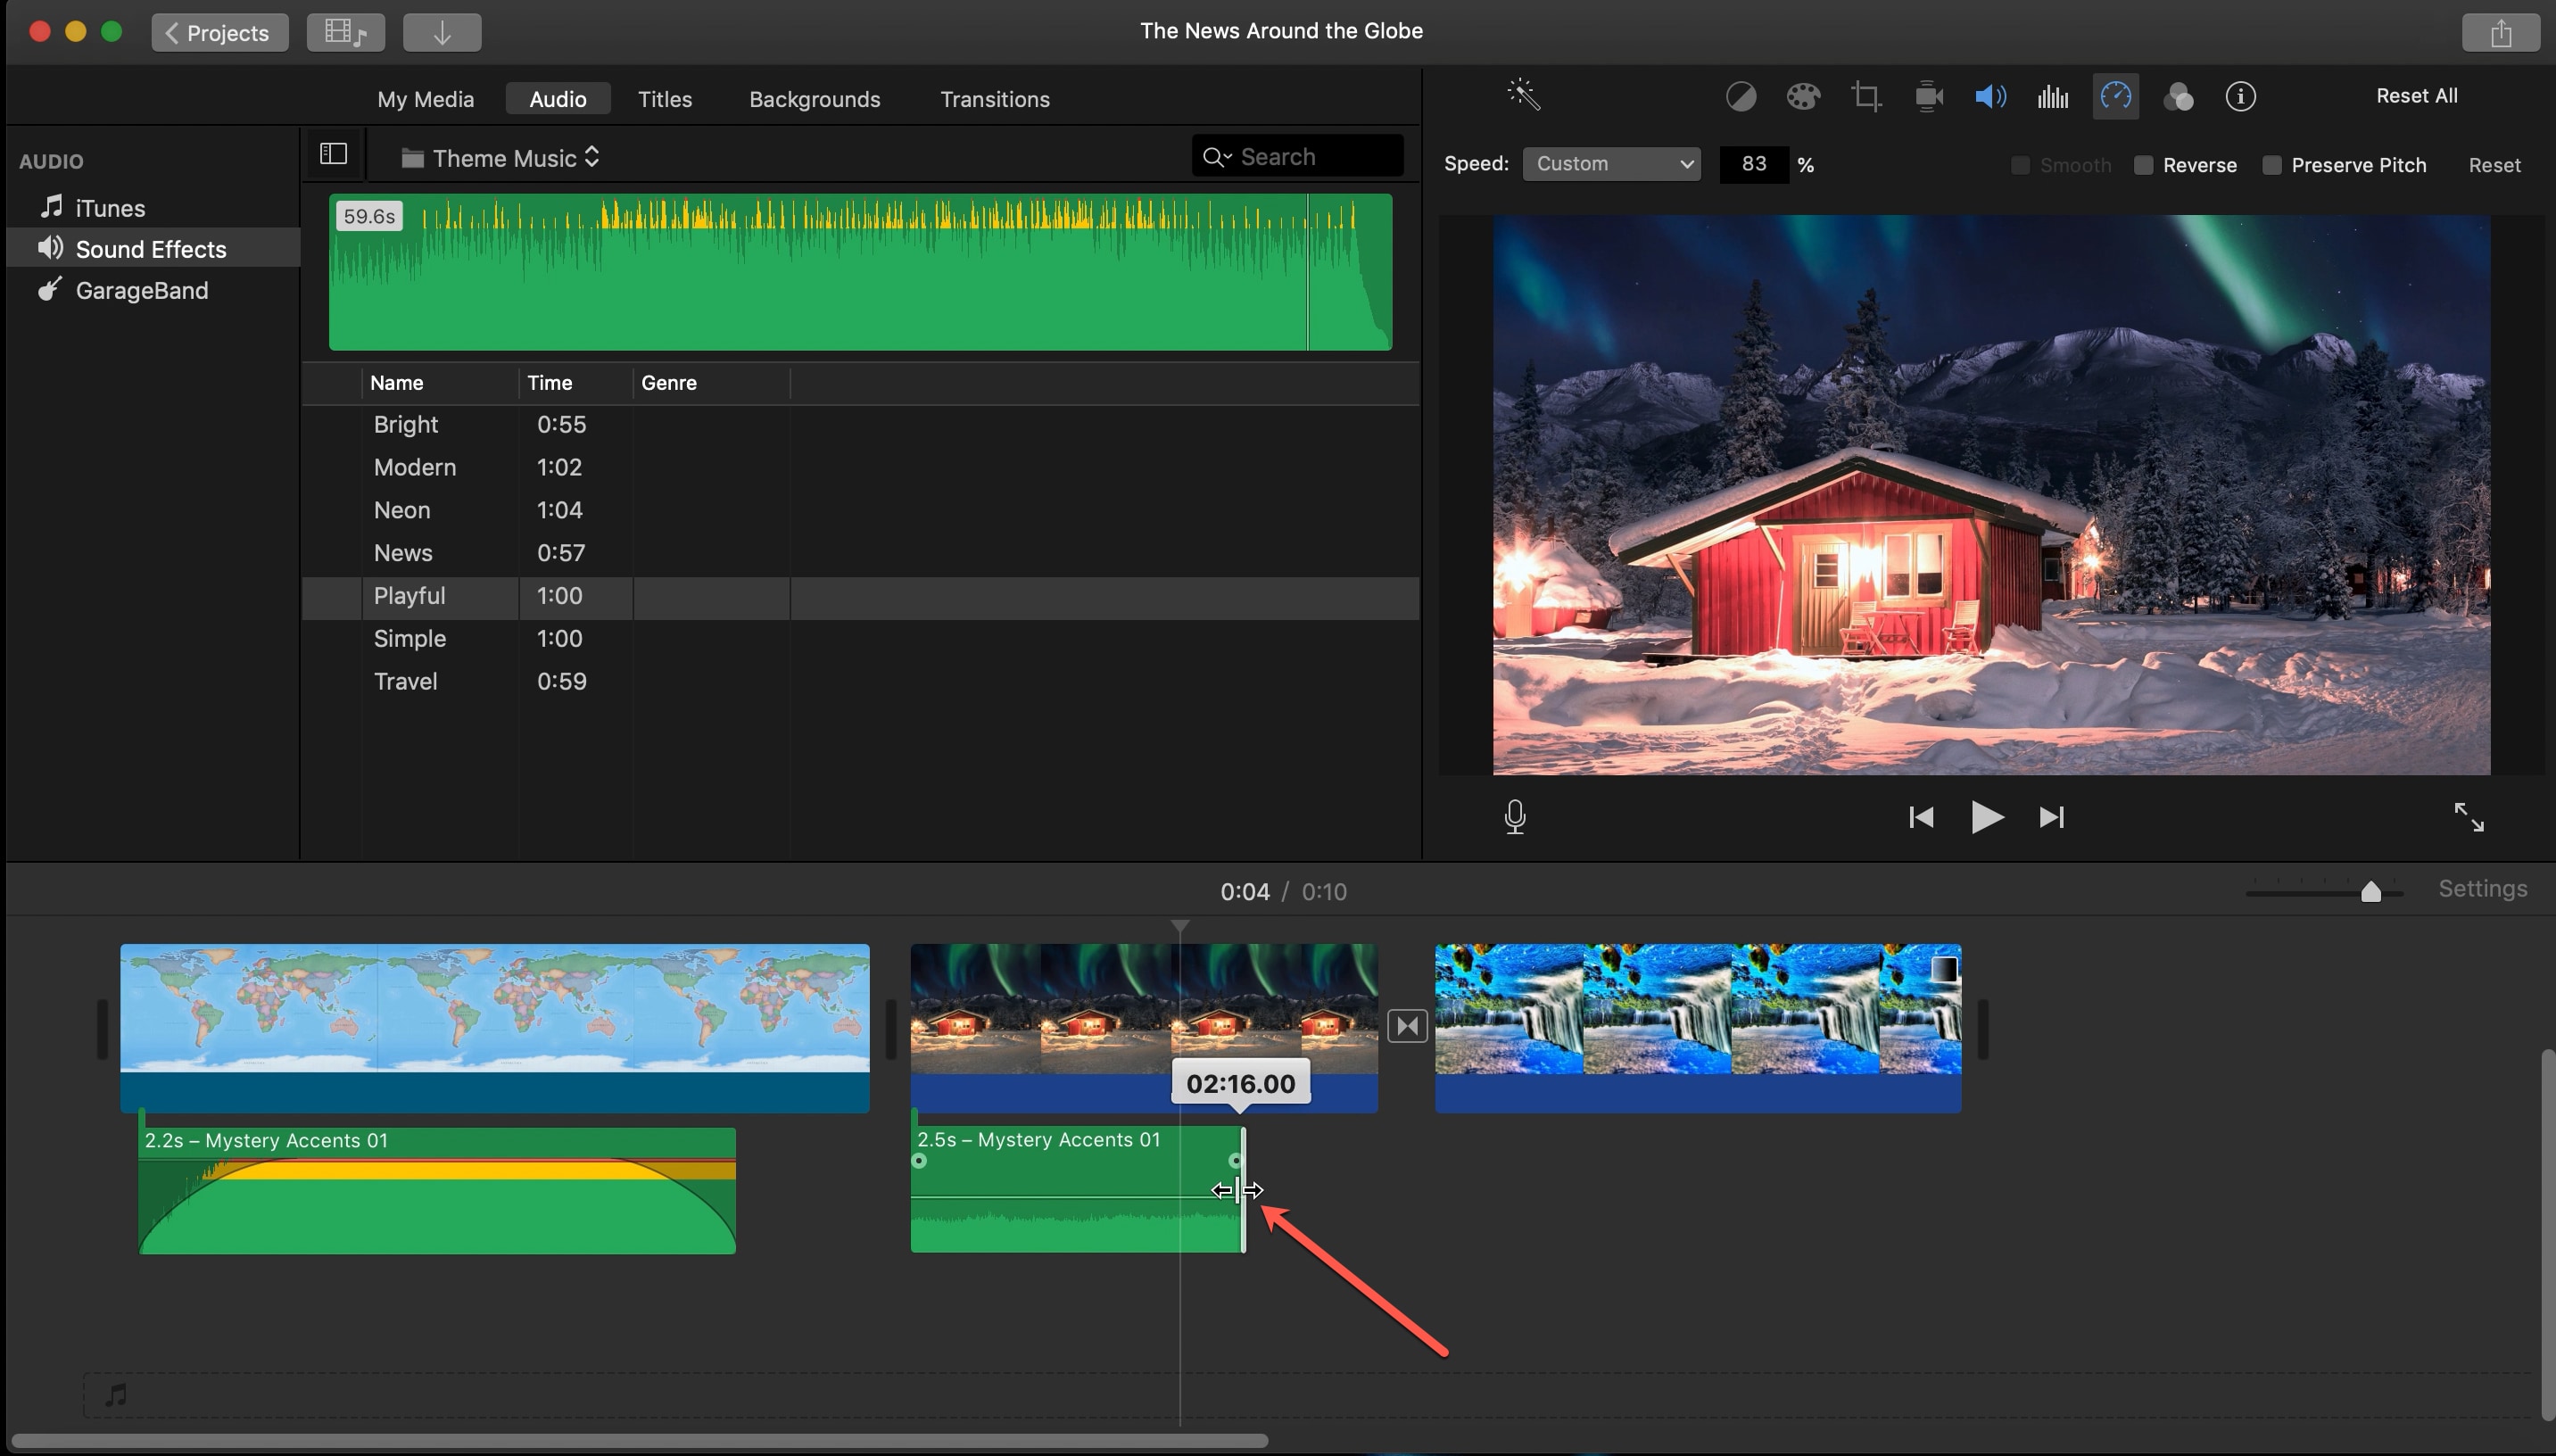
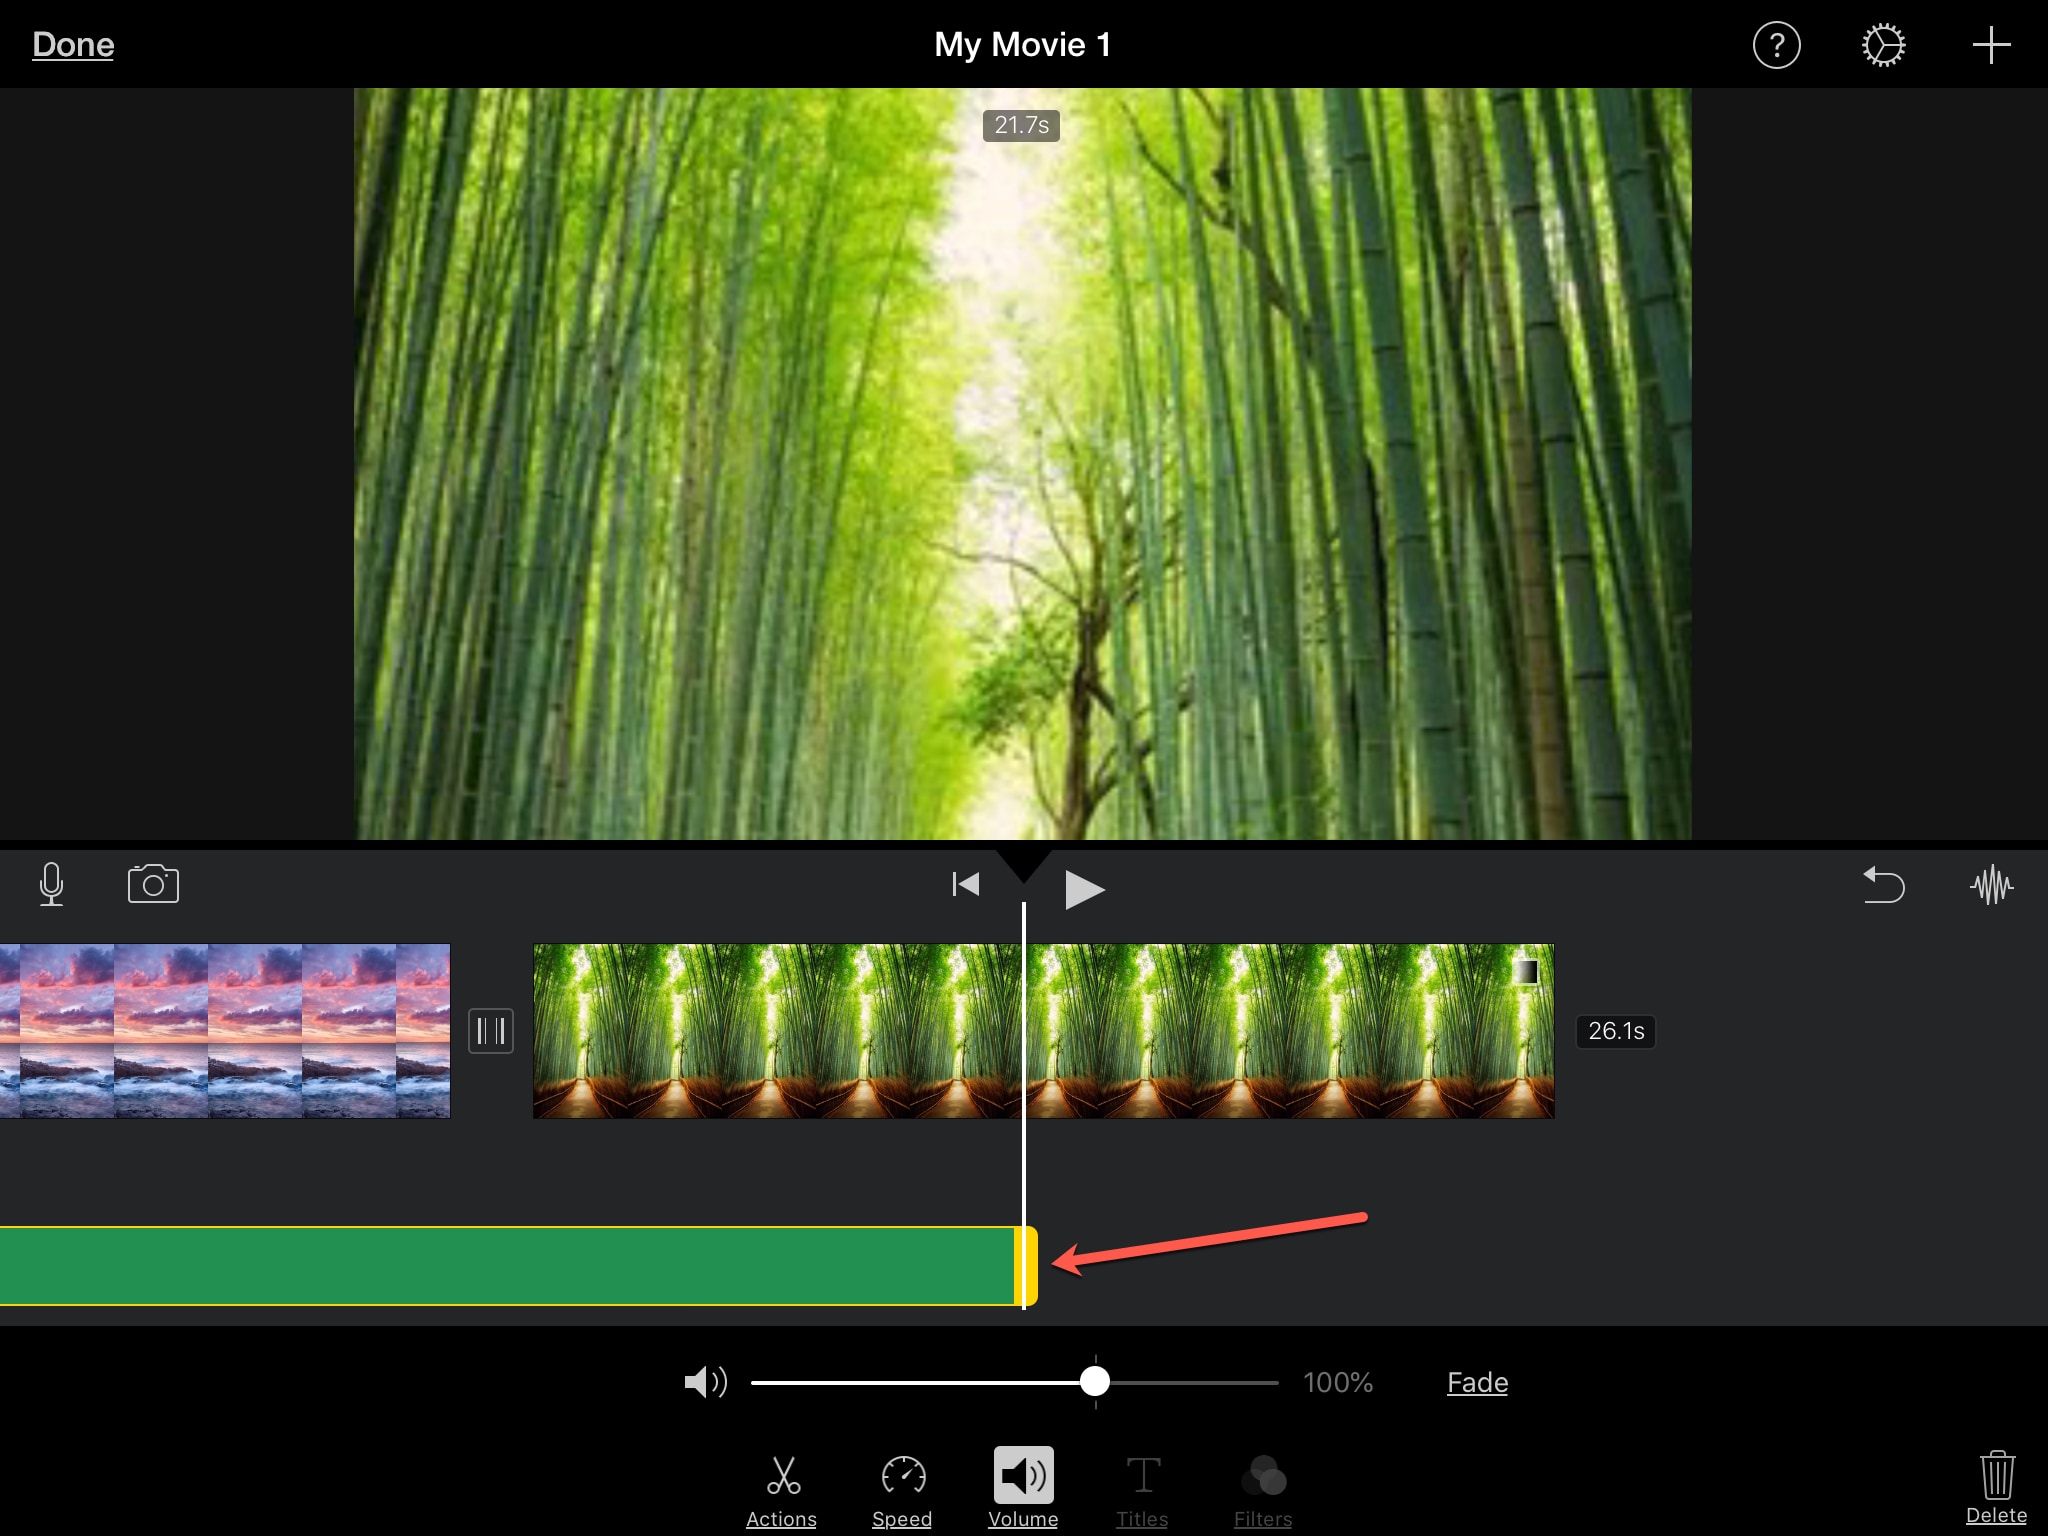
Lengthening or shortening audio clips
You can easily lengthen or shorten an audio clip in iMovie. Just select the clip in the Timeline and drag one of the edges. You’ll see the duration of the clip change as you drag, and when you finish, you’ll see the new duration display in the upper left corner of the clip.
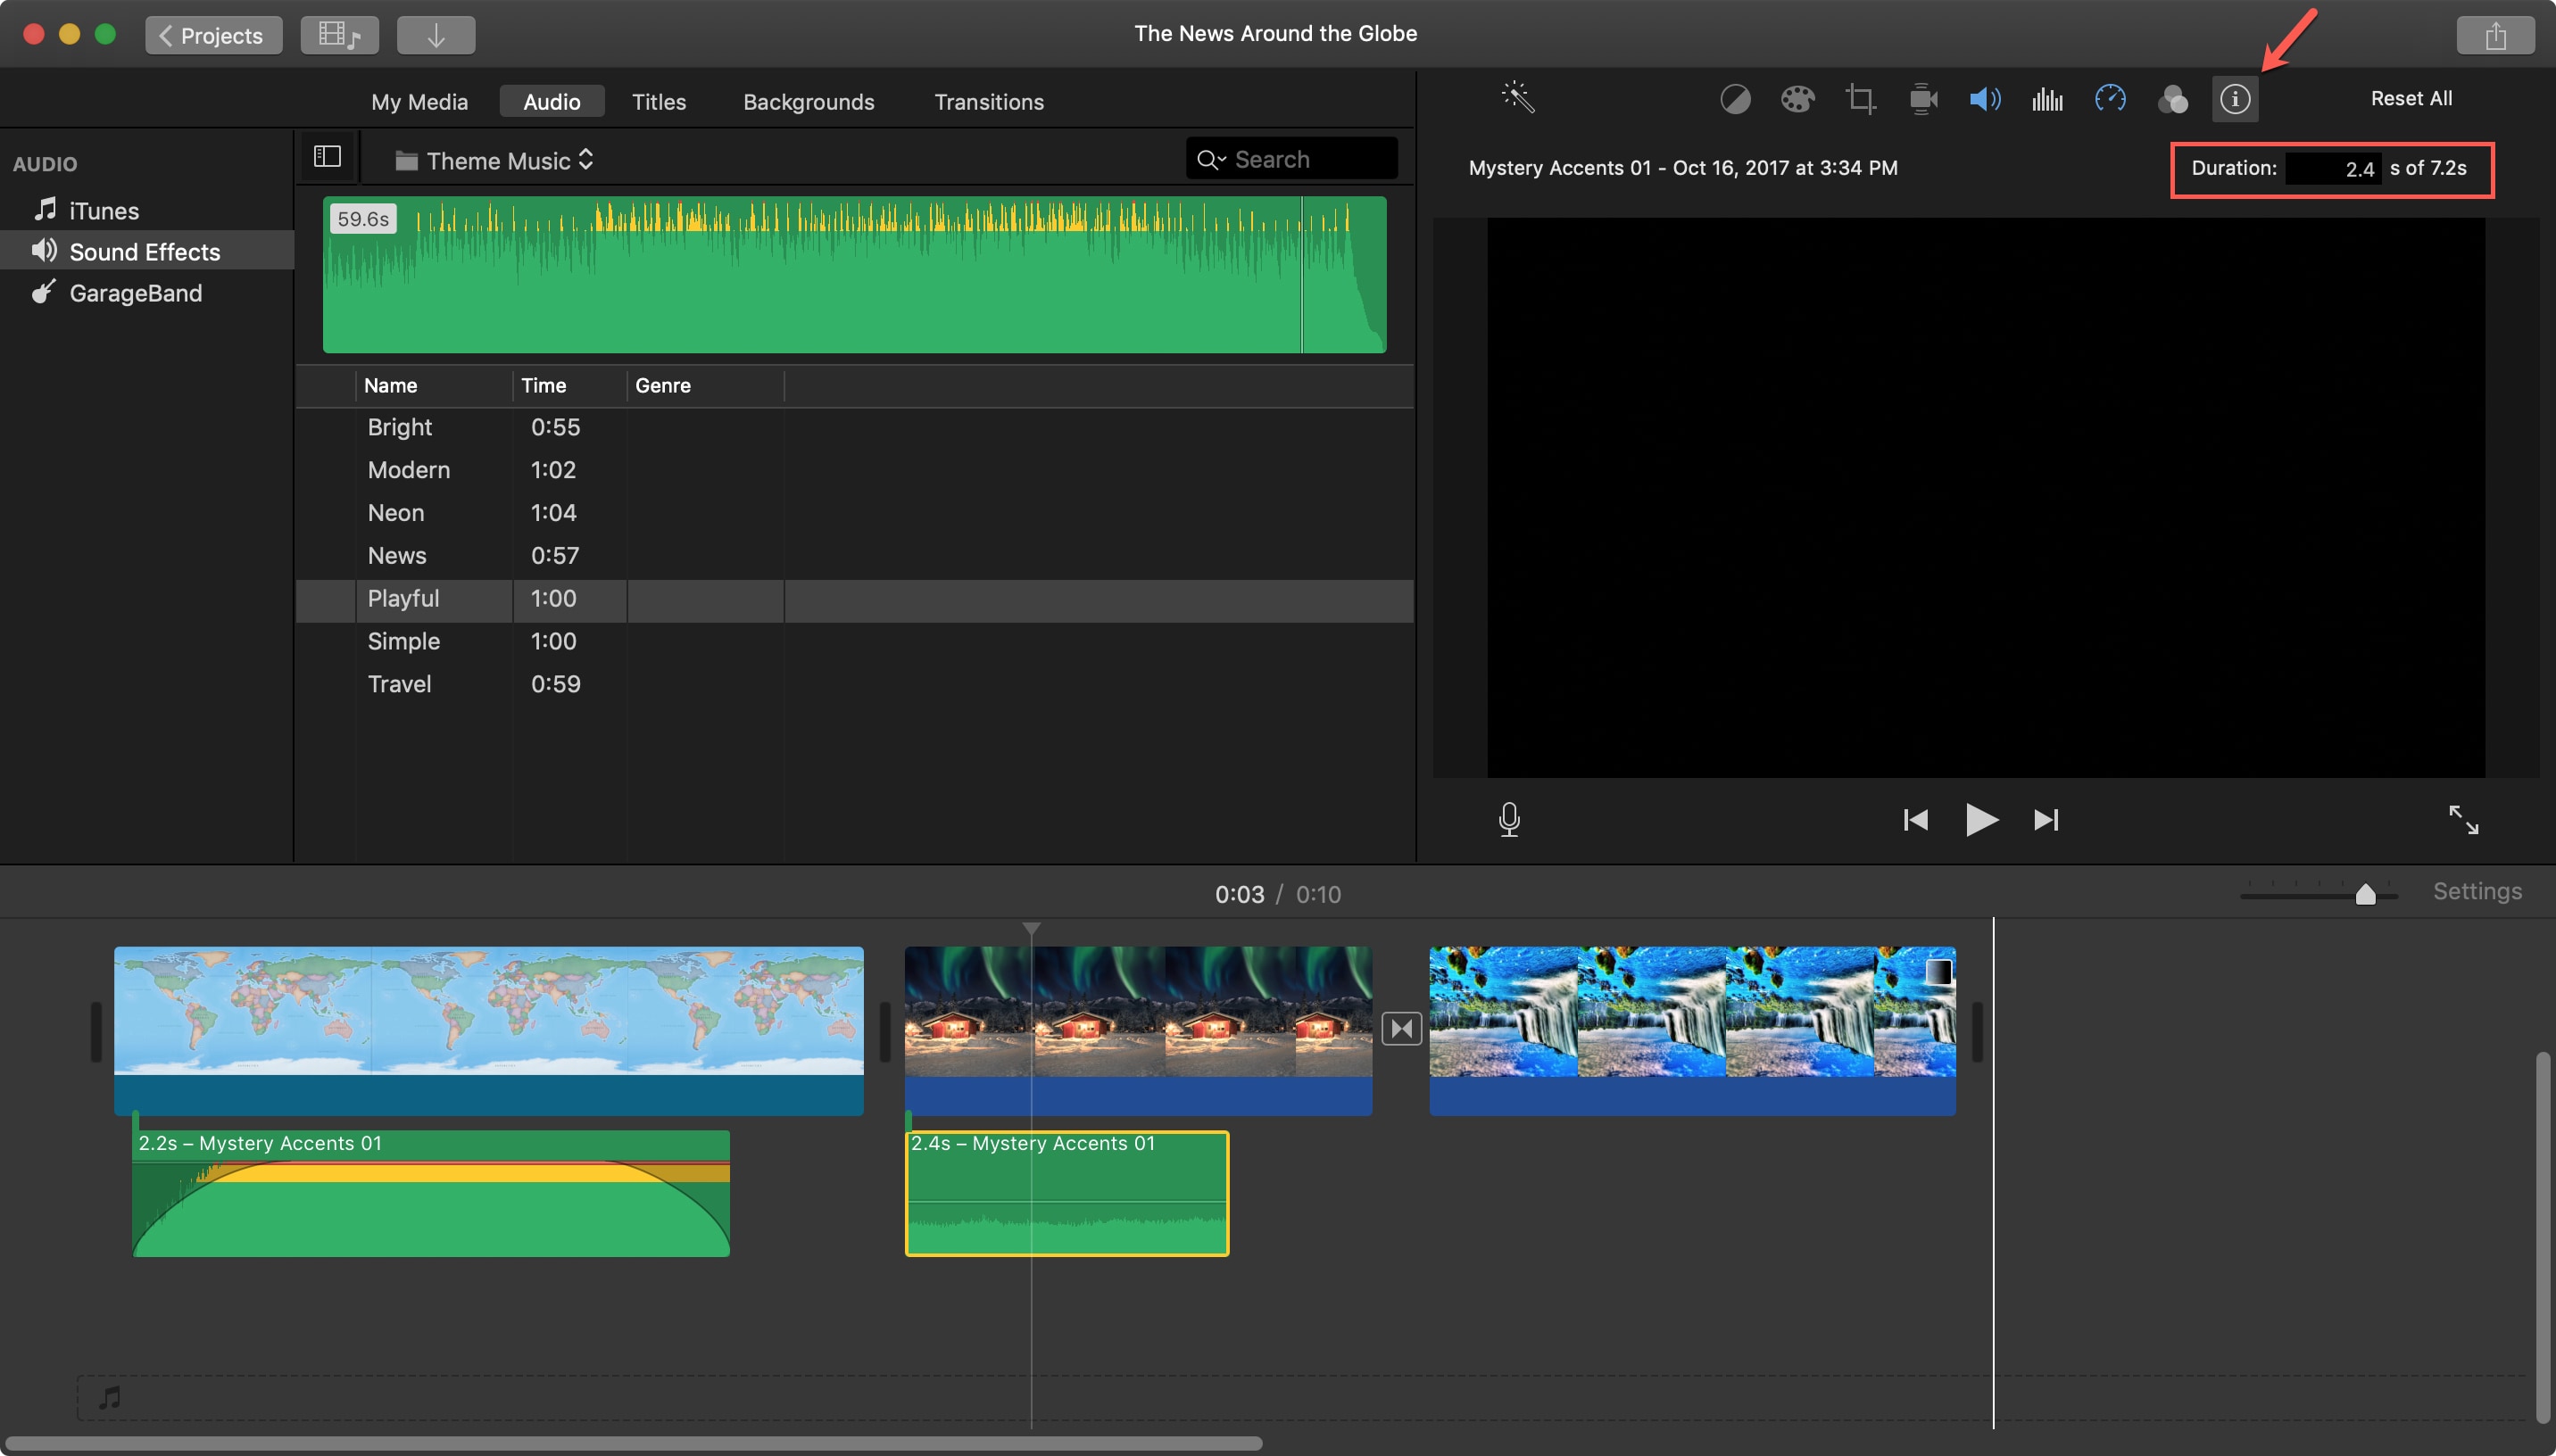
You can also set the duration for the clip to an exact time. Select the clip in the Timeline and click the Clip Information (small letter “i”) button above the Viewer. Enter the time you want in seconds in the Duration box on the right.
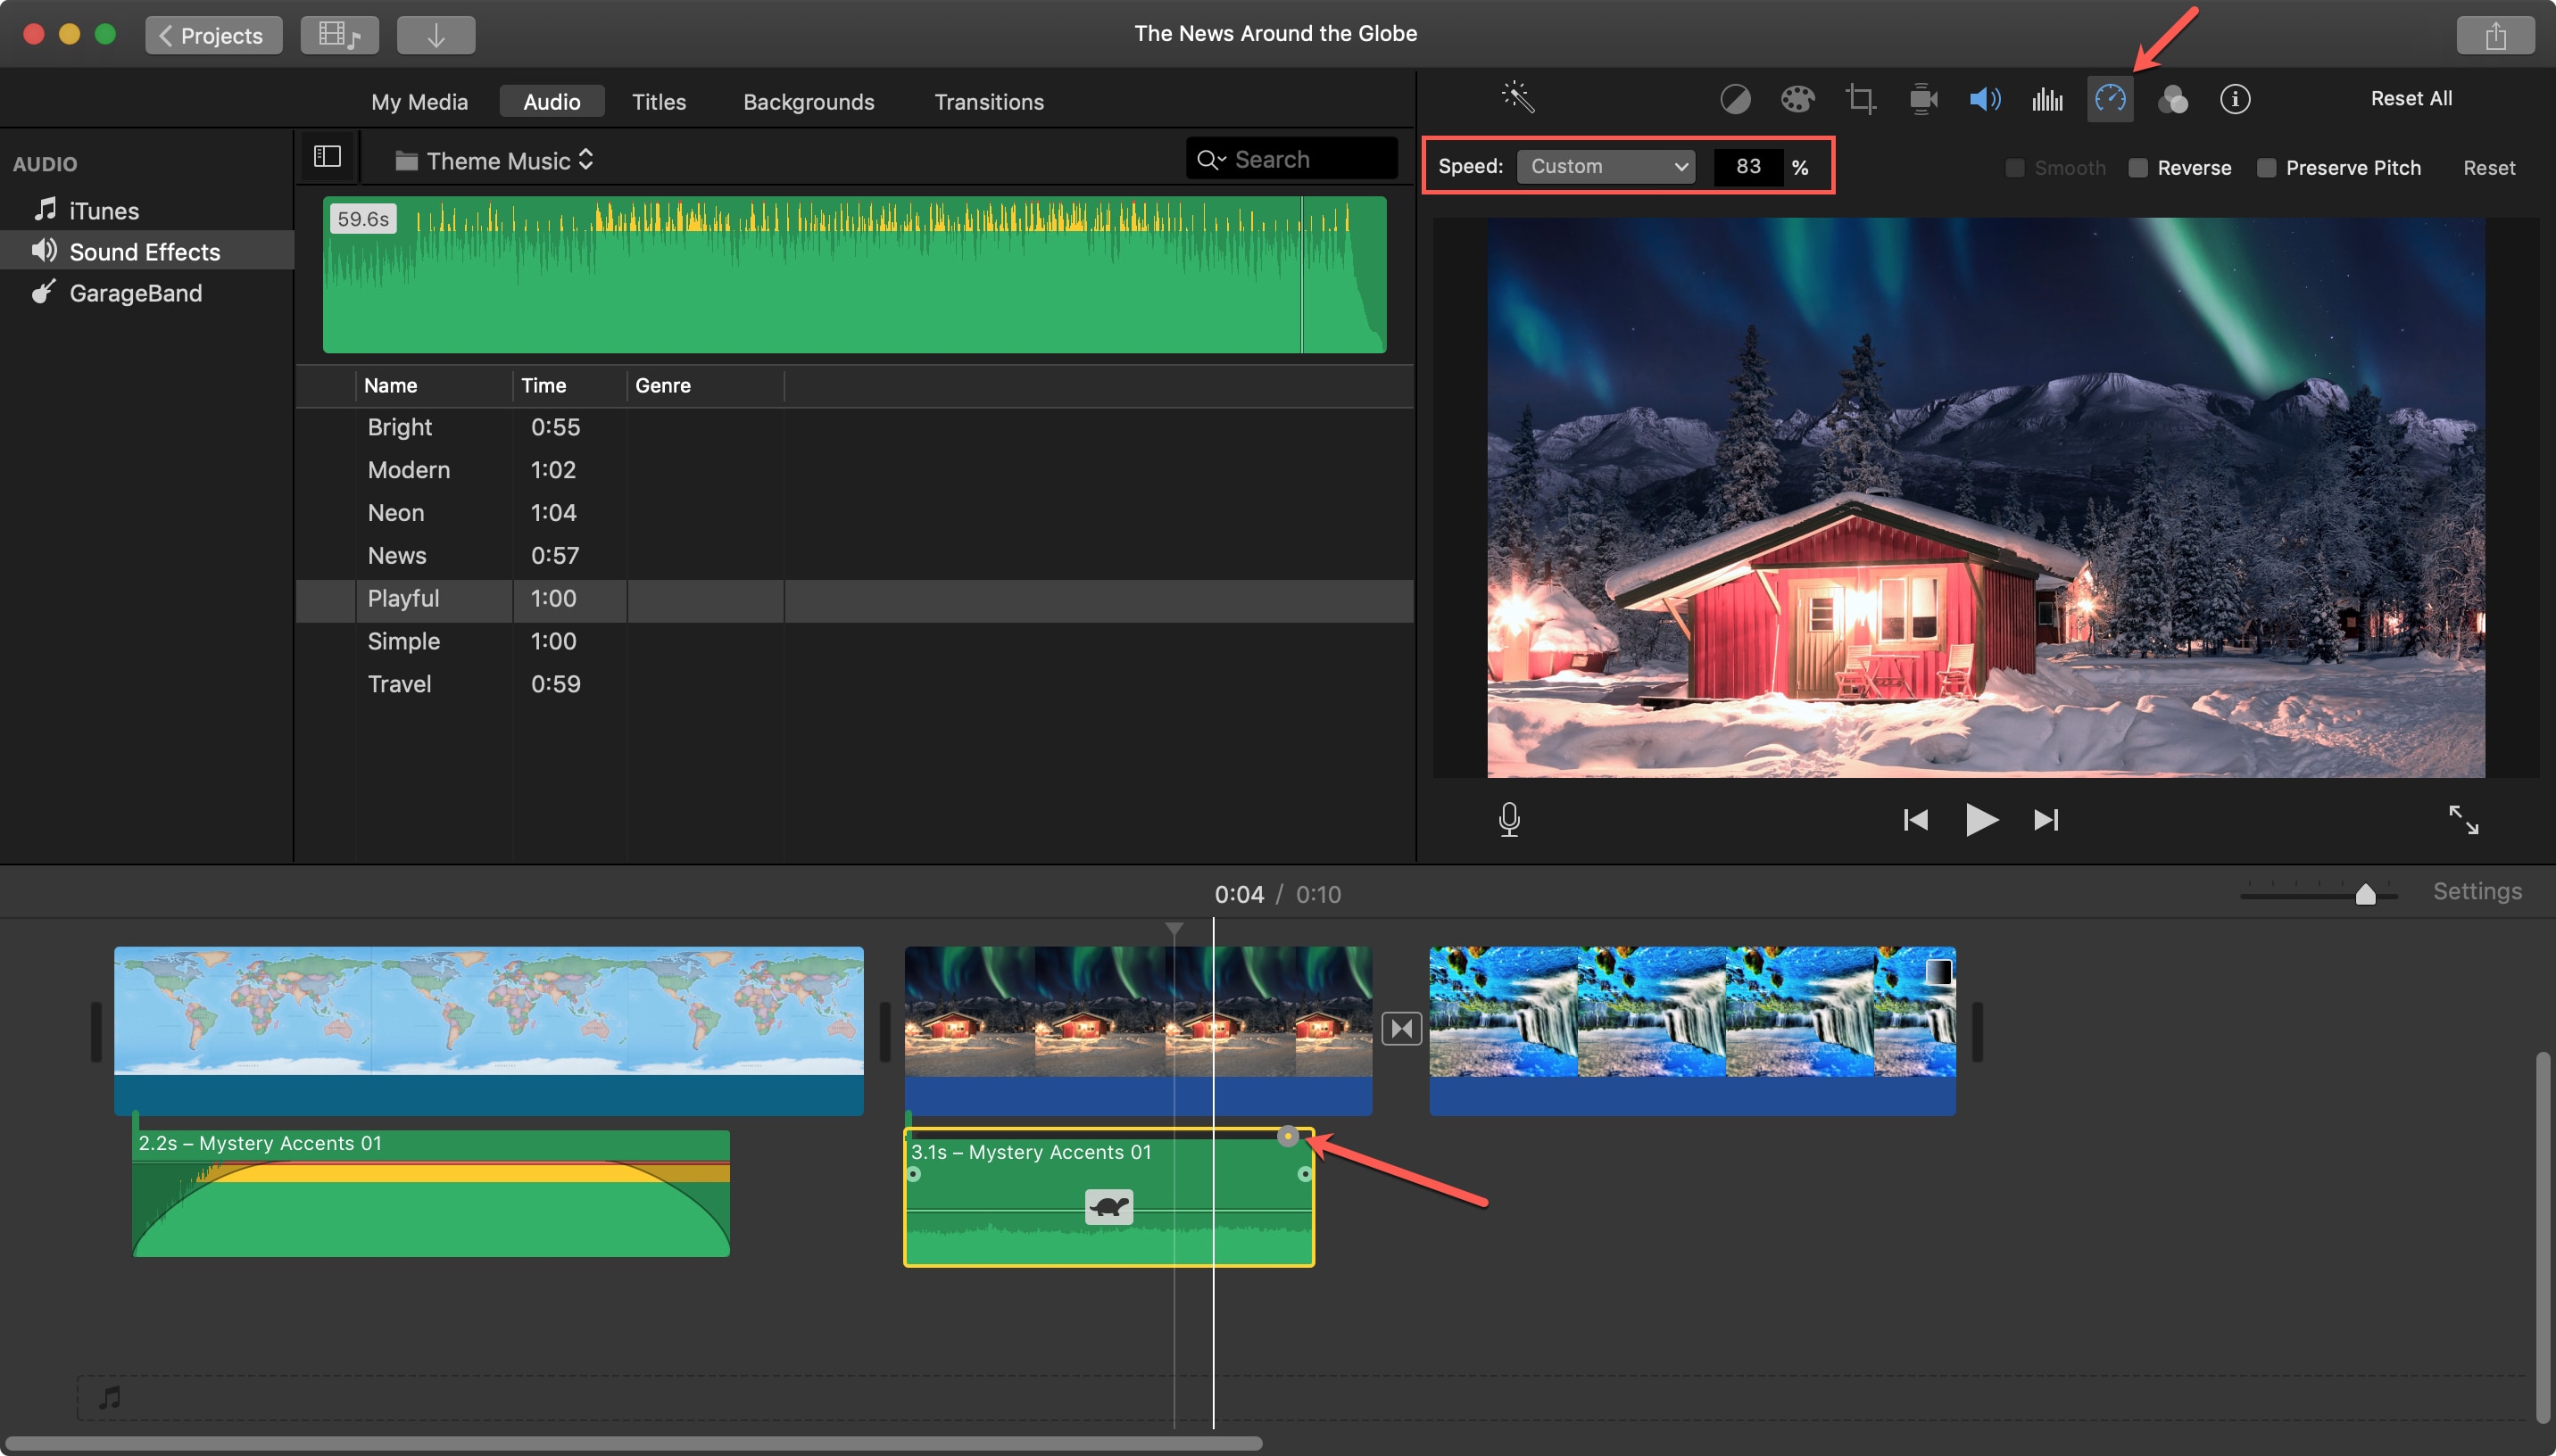
Changing the speed of an audio clip
You may want to slow down or speed up an audio clip. This is also simple to do, and you have a couple of methods; start by selecting the clip in the movie Timeline.
- Click the Speed button above the Viewer. Select Custom in the Speed drop-down box and enter a percentage next to it. You can also select a different speed in that box if you prefer.
- Right-click the clip and choose Show Speed Editor from the shortcut menu. You’ll then see a slider display at the top of the clip that you can move to adjust the speed.
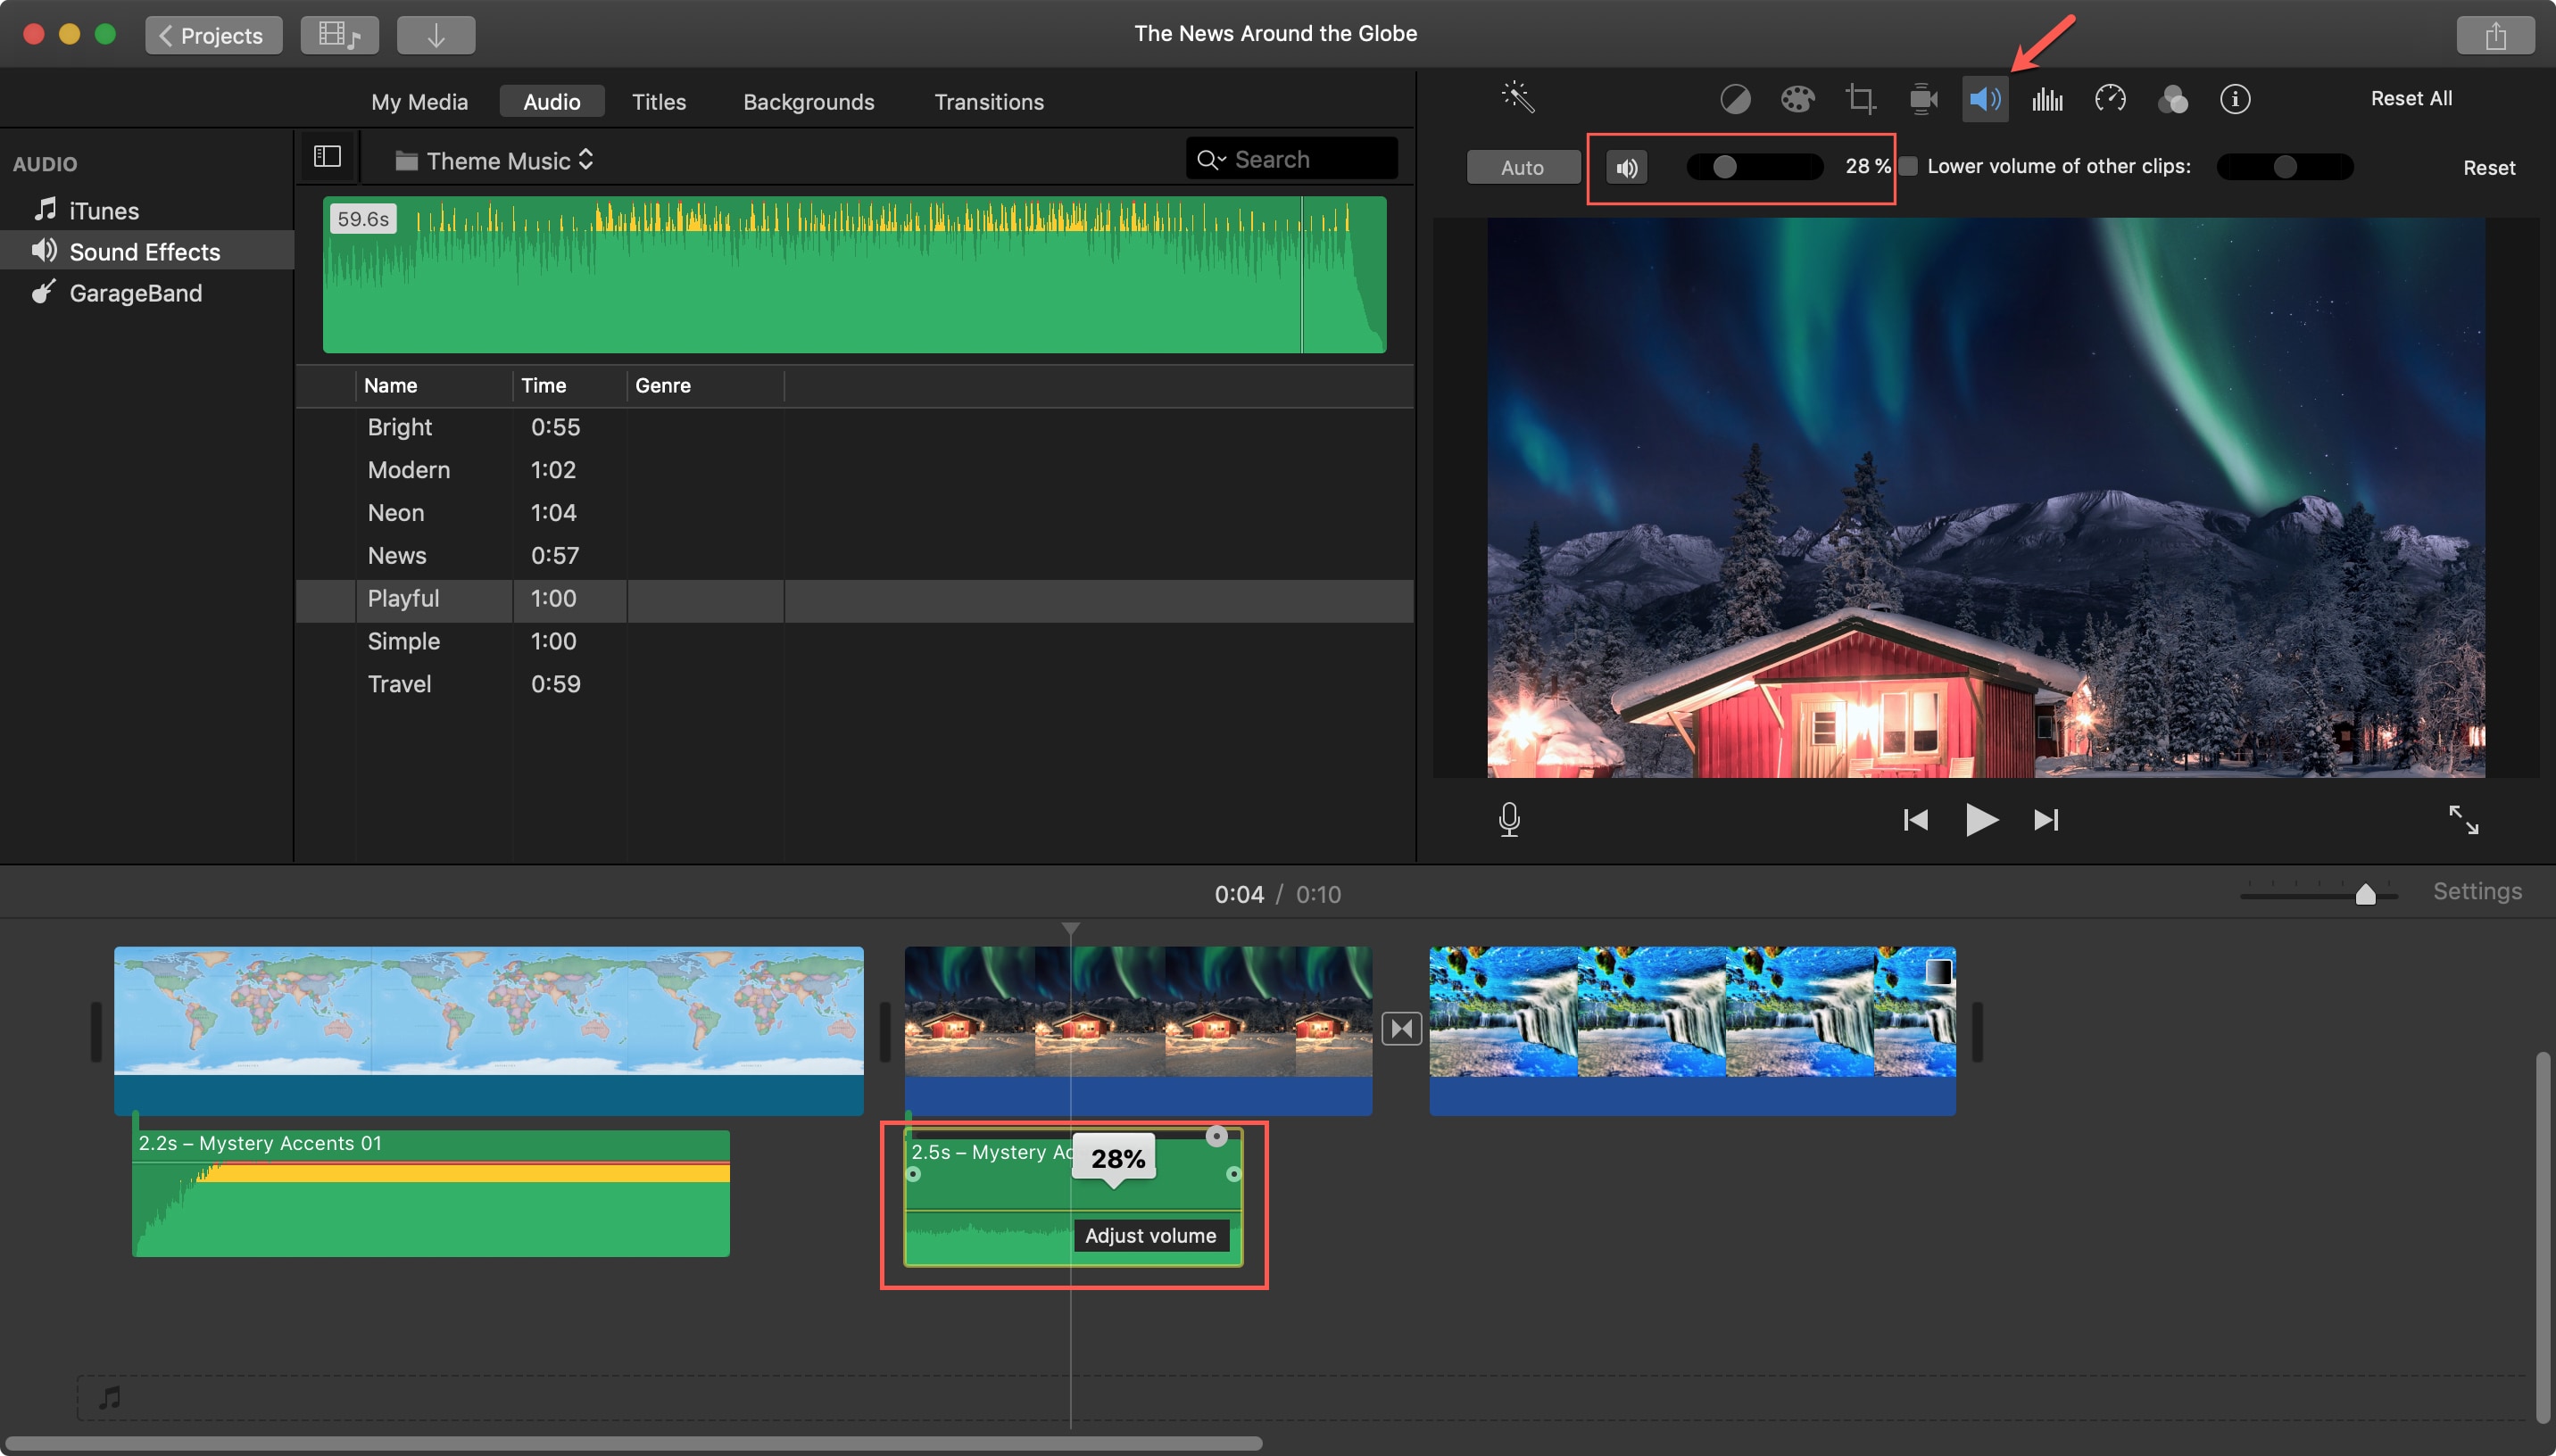
Adjusting the volume of an audio clip
If you want an audio clip’s volume to be higher or lower, you can do this in two different ways as well. Select the clip and then do one of the following.
- Click the Volume button above the Viewer and move the slider to the percentage of volume you want. To mute the audio clip, click the Mute button. You can also press Shift + Command + M to mute and unmute.
- Click inside the clip and when the two-sided arrow appears, drag up or down to adjust the volume.
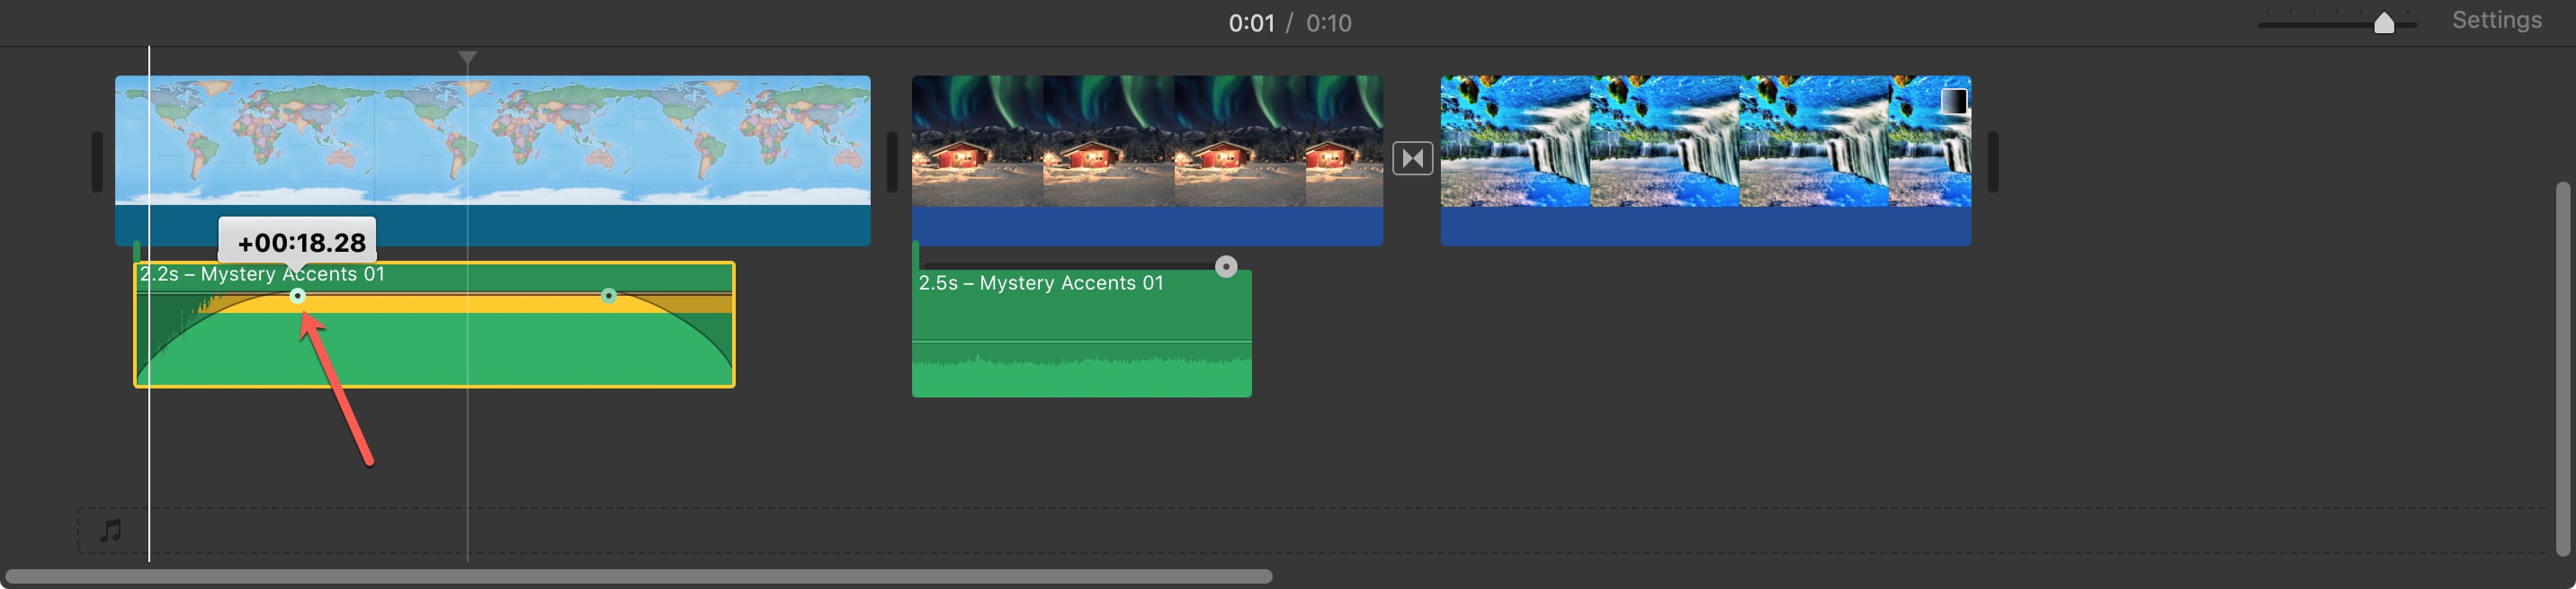
Fading an audio clip
Just like when creating music in GarageBand, you can edit audio clips in iMovie to fade in or out. Select a clip in the Timeline and then drag the fade handle (small circle) at either the beginning or end of the clip to create a fade-in or fade-out effect. You see the arcs as you drag, showing the amount of fade for the clip that will be shadowed.
Editing audio clips in iMovie on iOS
You may not have the flexibility for editing audio clips in iMovie on iPhone or iPad as you do on Mac, but you can still do the basics.
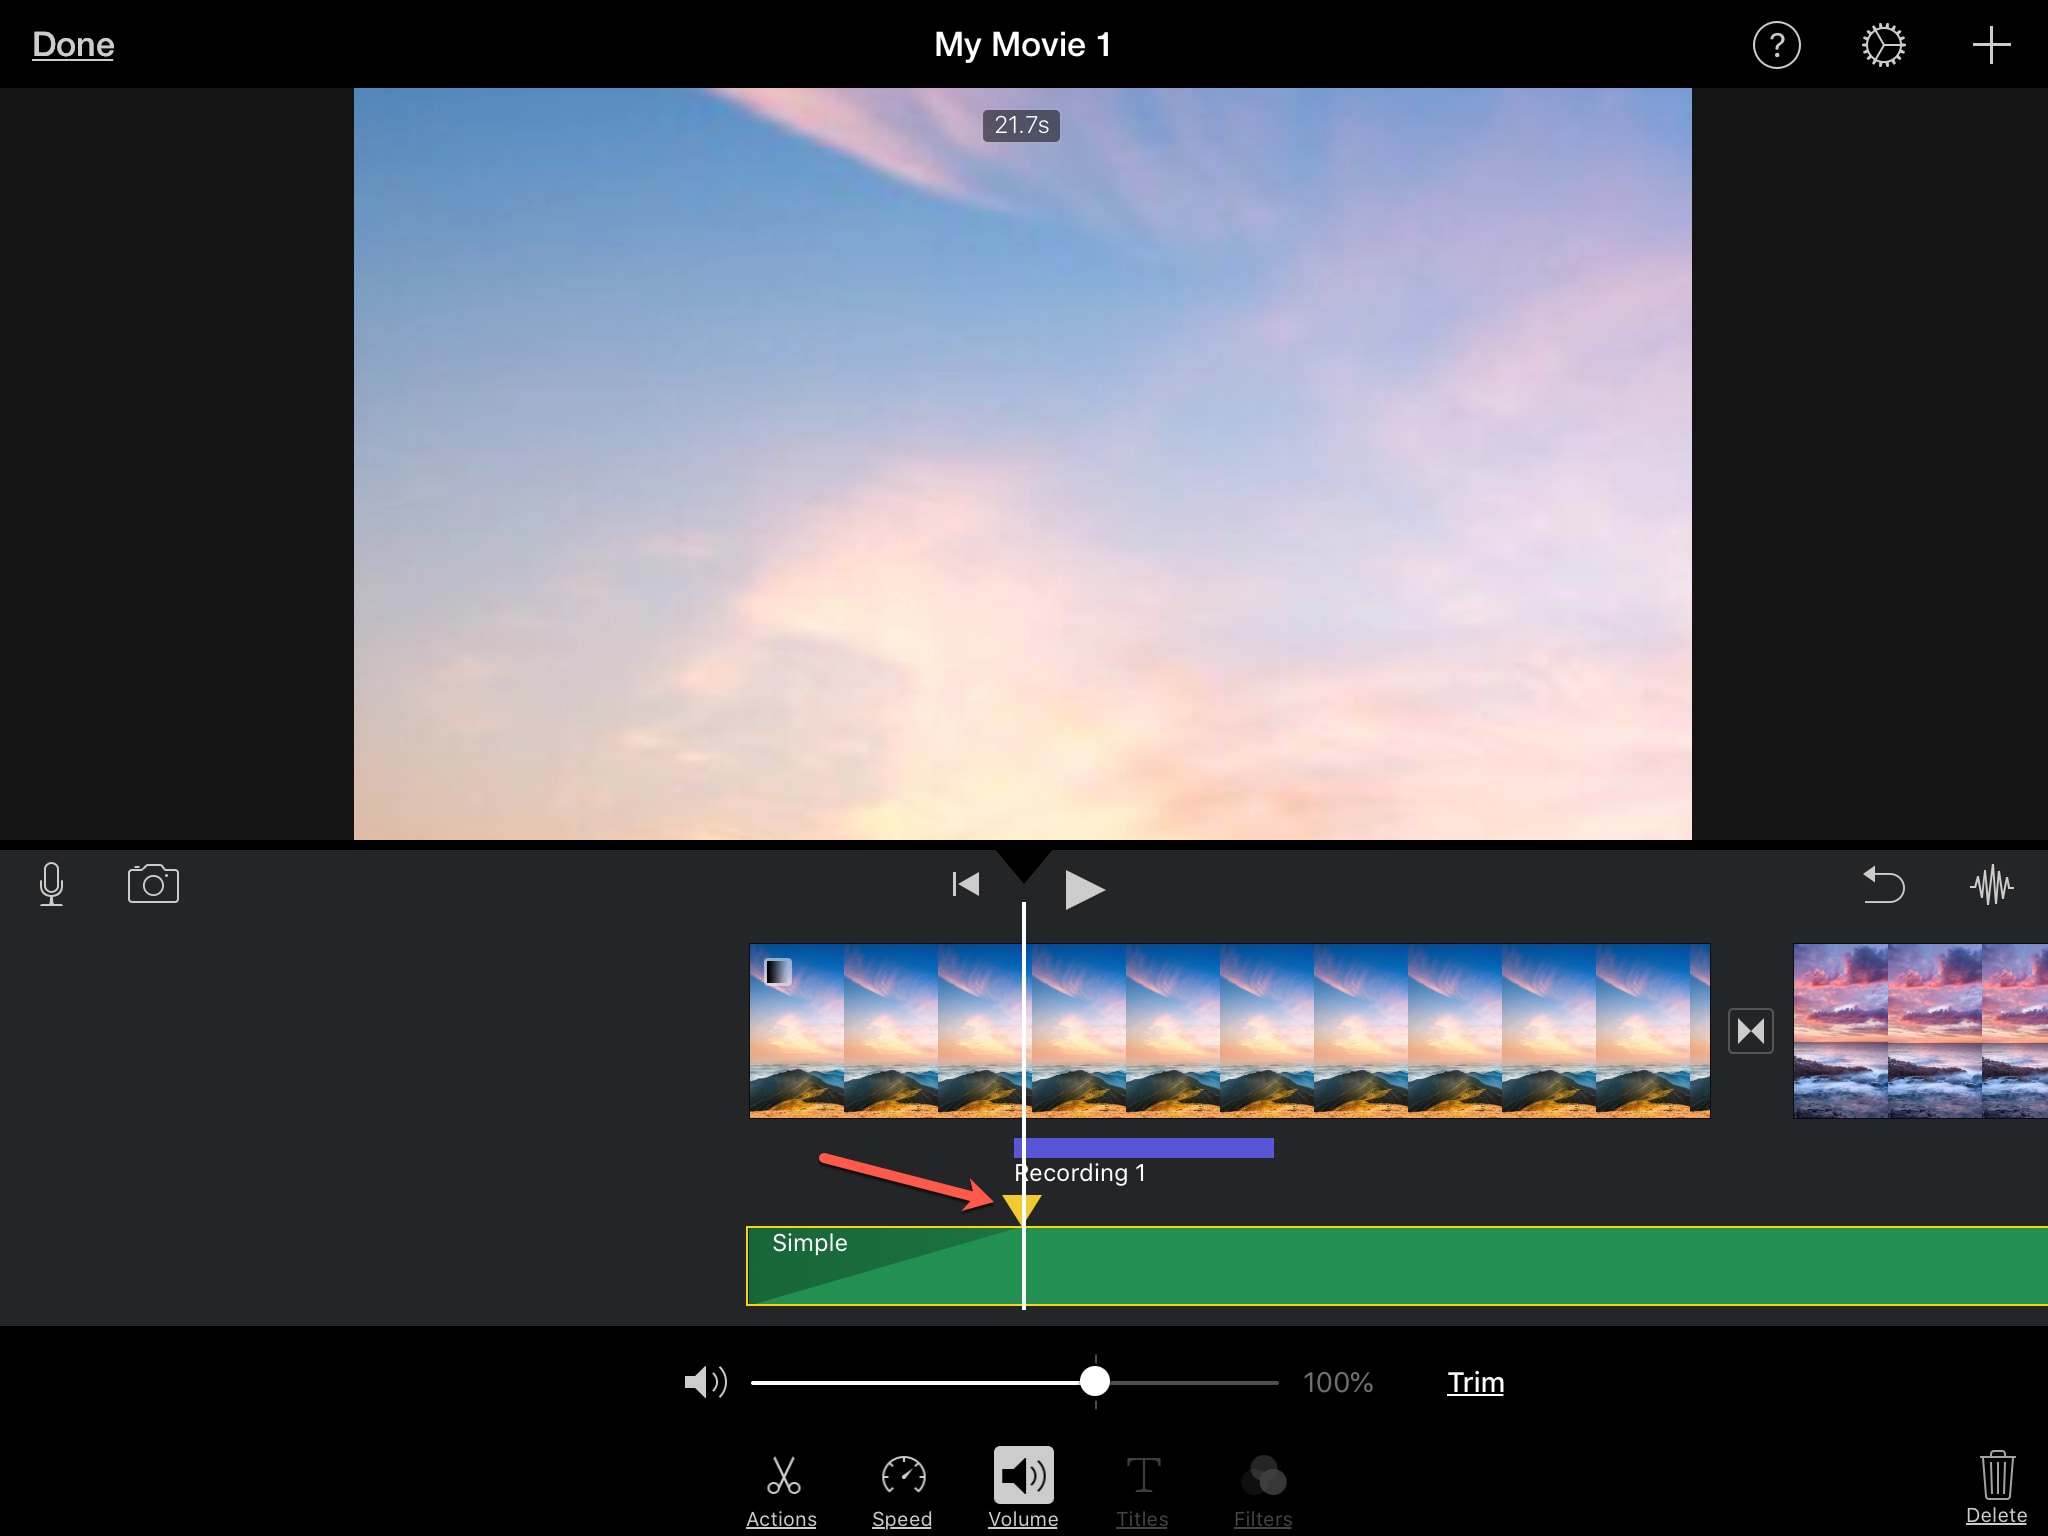
Trimming audio clips
On iOS, trimming audio clips is basically lengthening or shortening them. (You can also use the Split feature described at the end of the tutorial.) Select the audio clip in your movie Timeline and drag one of the ends to the left or right to increase or decrease its length.
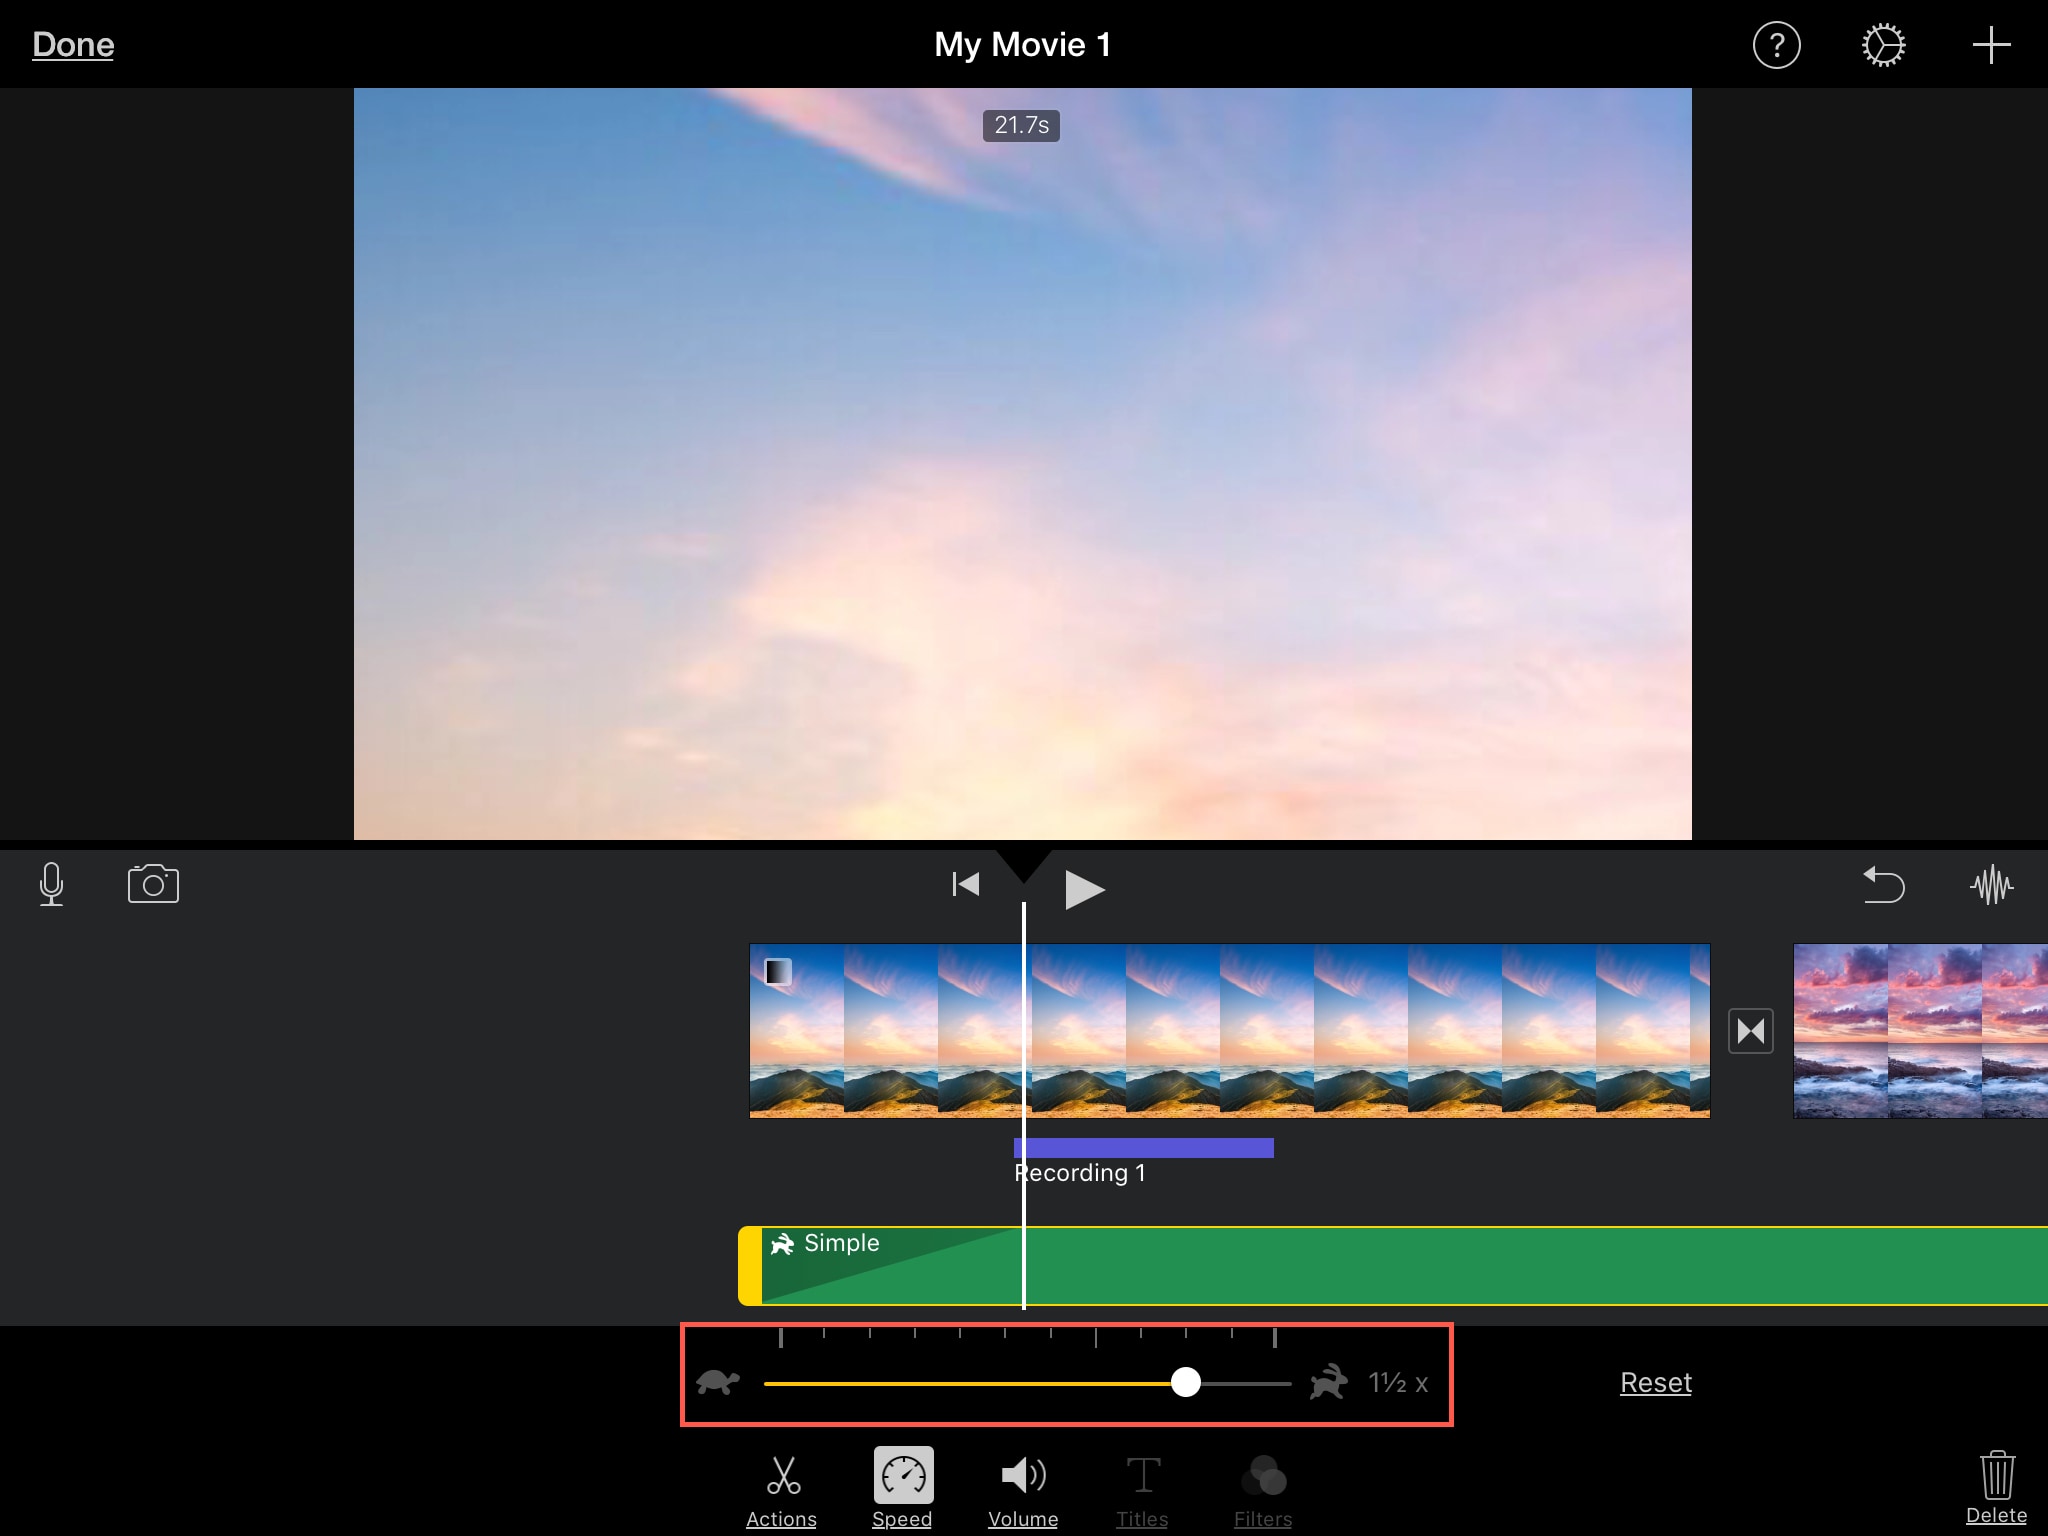
Changing the speed of an audio clip
If you want to slow down or speed up an audio clip, select it in the Timeline and then follow these steps.
1) Tap the Speed button at the bottom.
2) Move the slider left or right.
You’ll see tortoise and hare symbols display along with the speed timing.
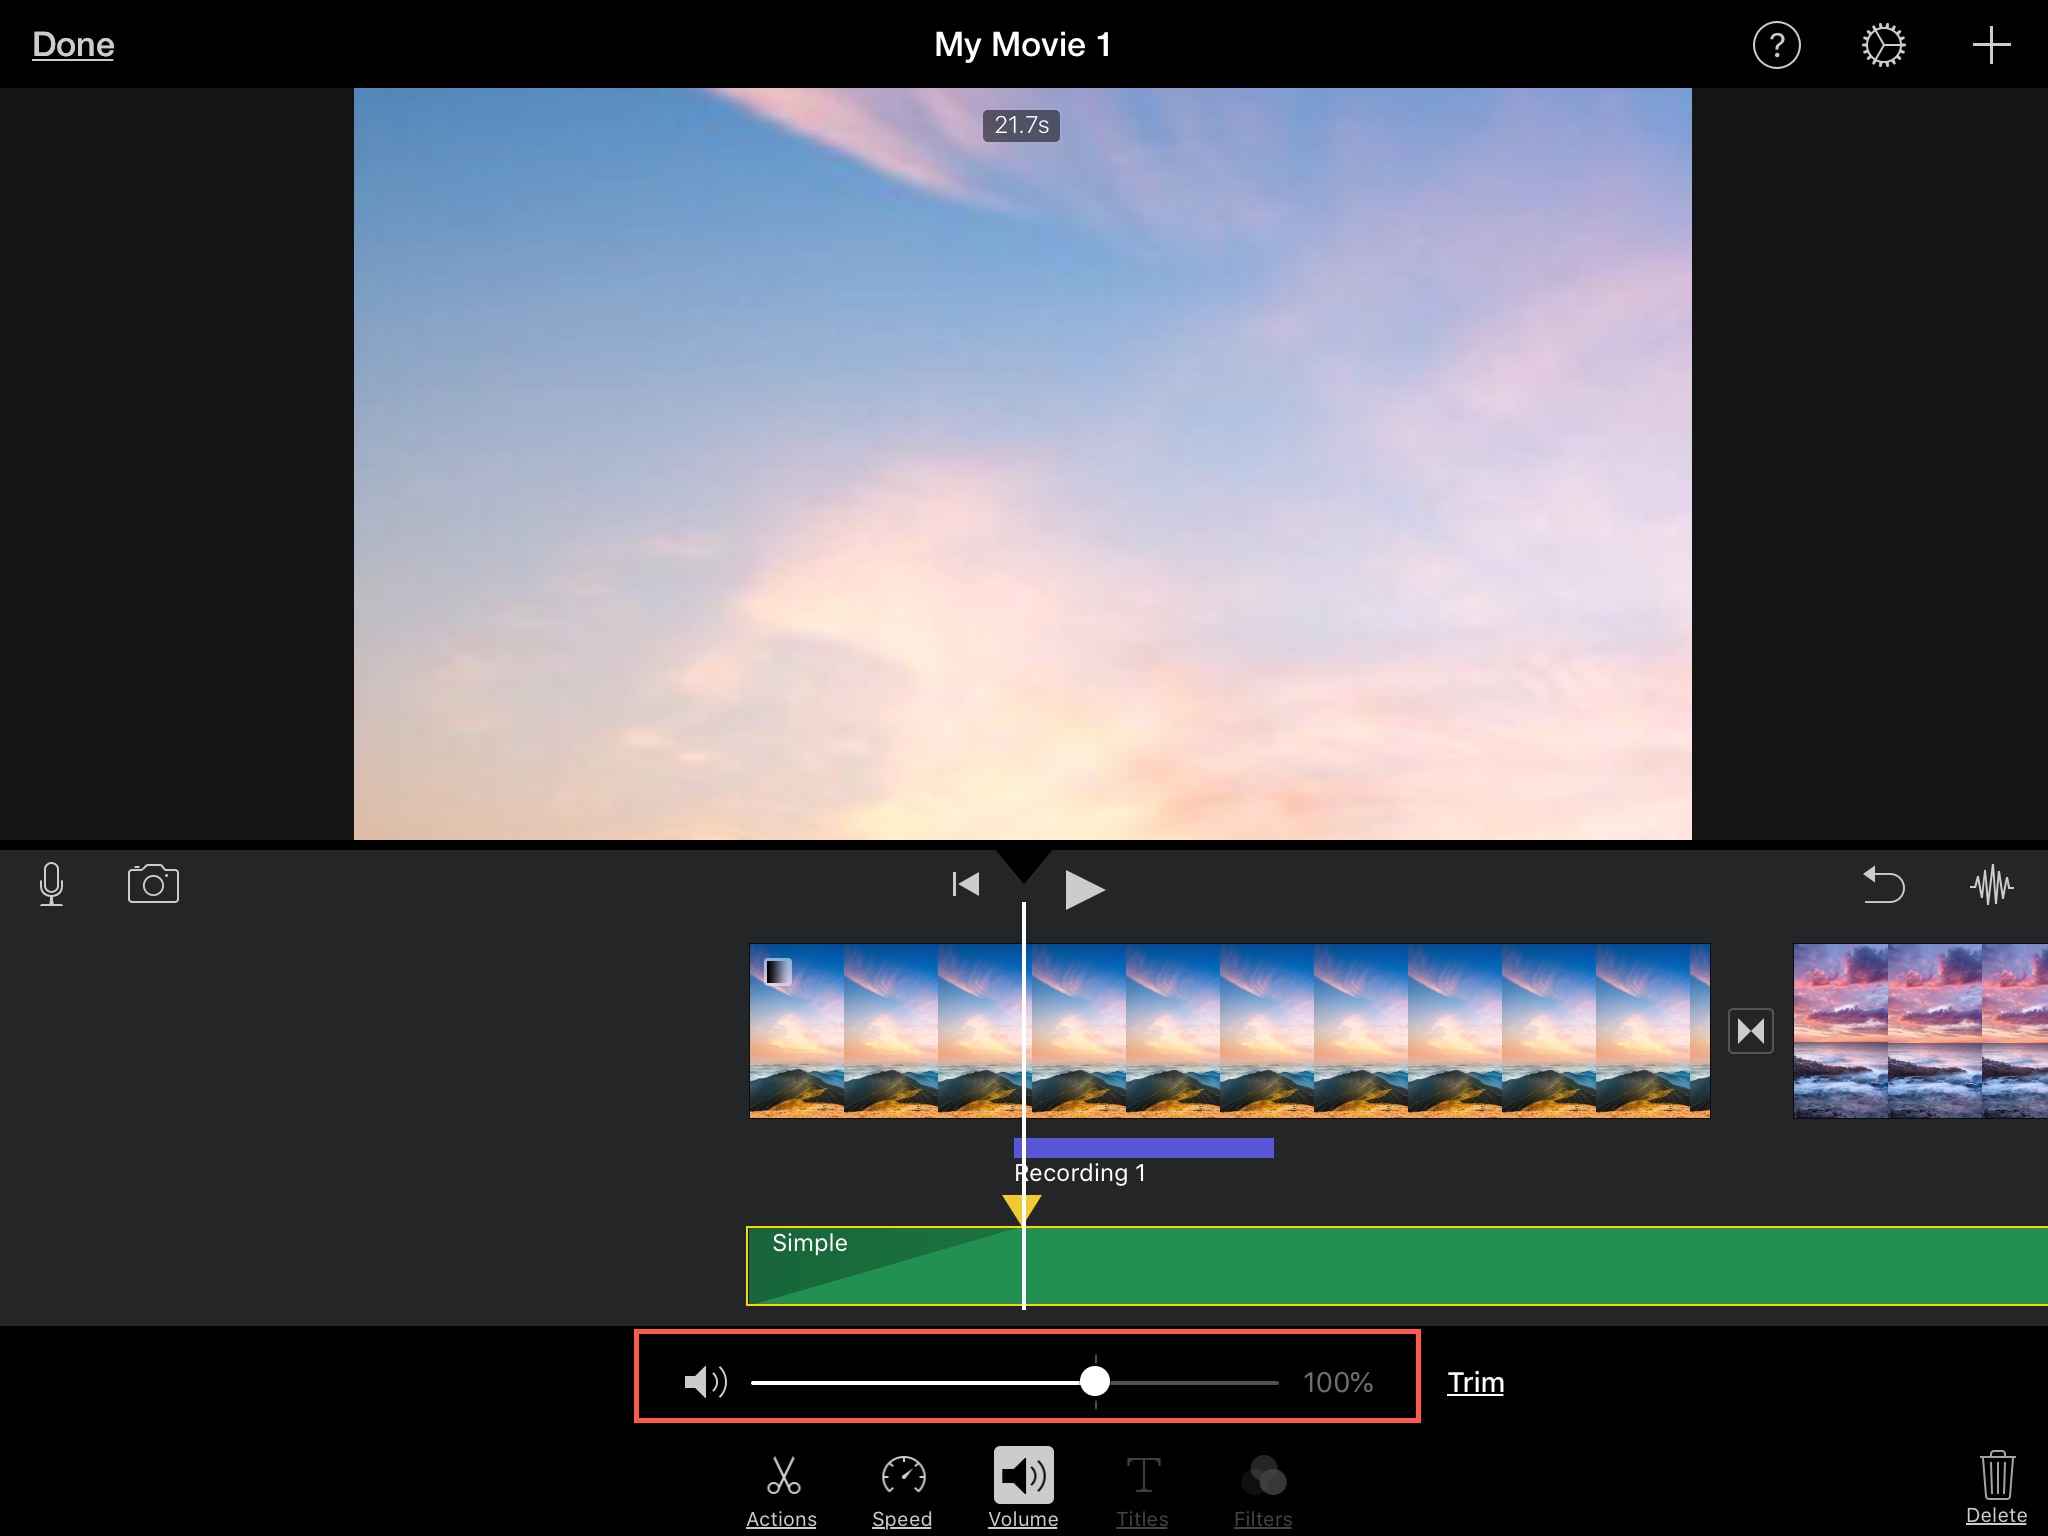
Adjusting the volume of an audio clip
To turn the volume up or down, select the clip, tap the Volume button, and move the slider. You’ll see the percentage of volume change as you move the slider.
Fading an audio clip
You can fade in at the start or fade out at the end of your audio clip. Select it and then do the following.
1) Tap the Volume button at the bottom.
2) Tap Fade.
3) Drag the triangle to create the fade effect, which will display as shadowed.
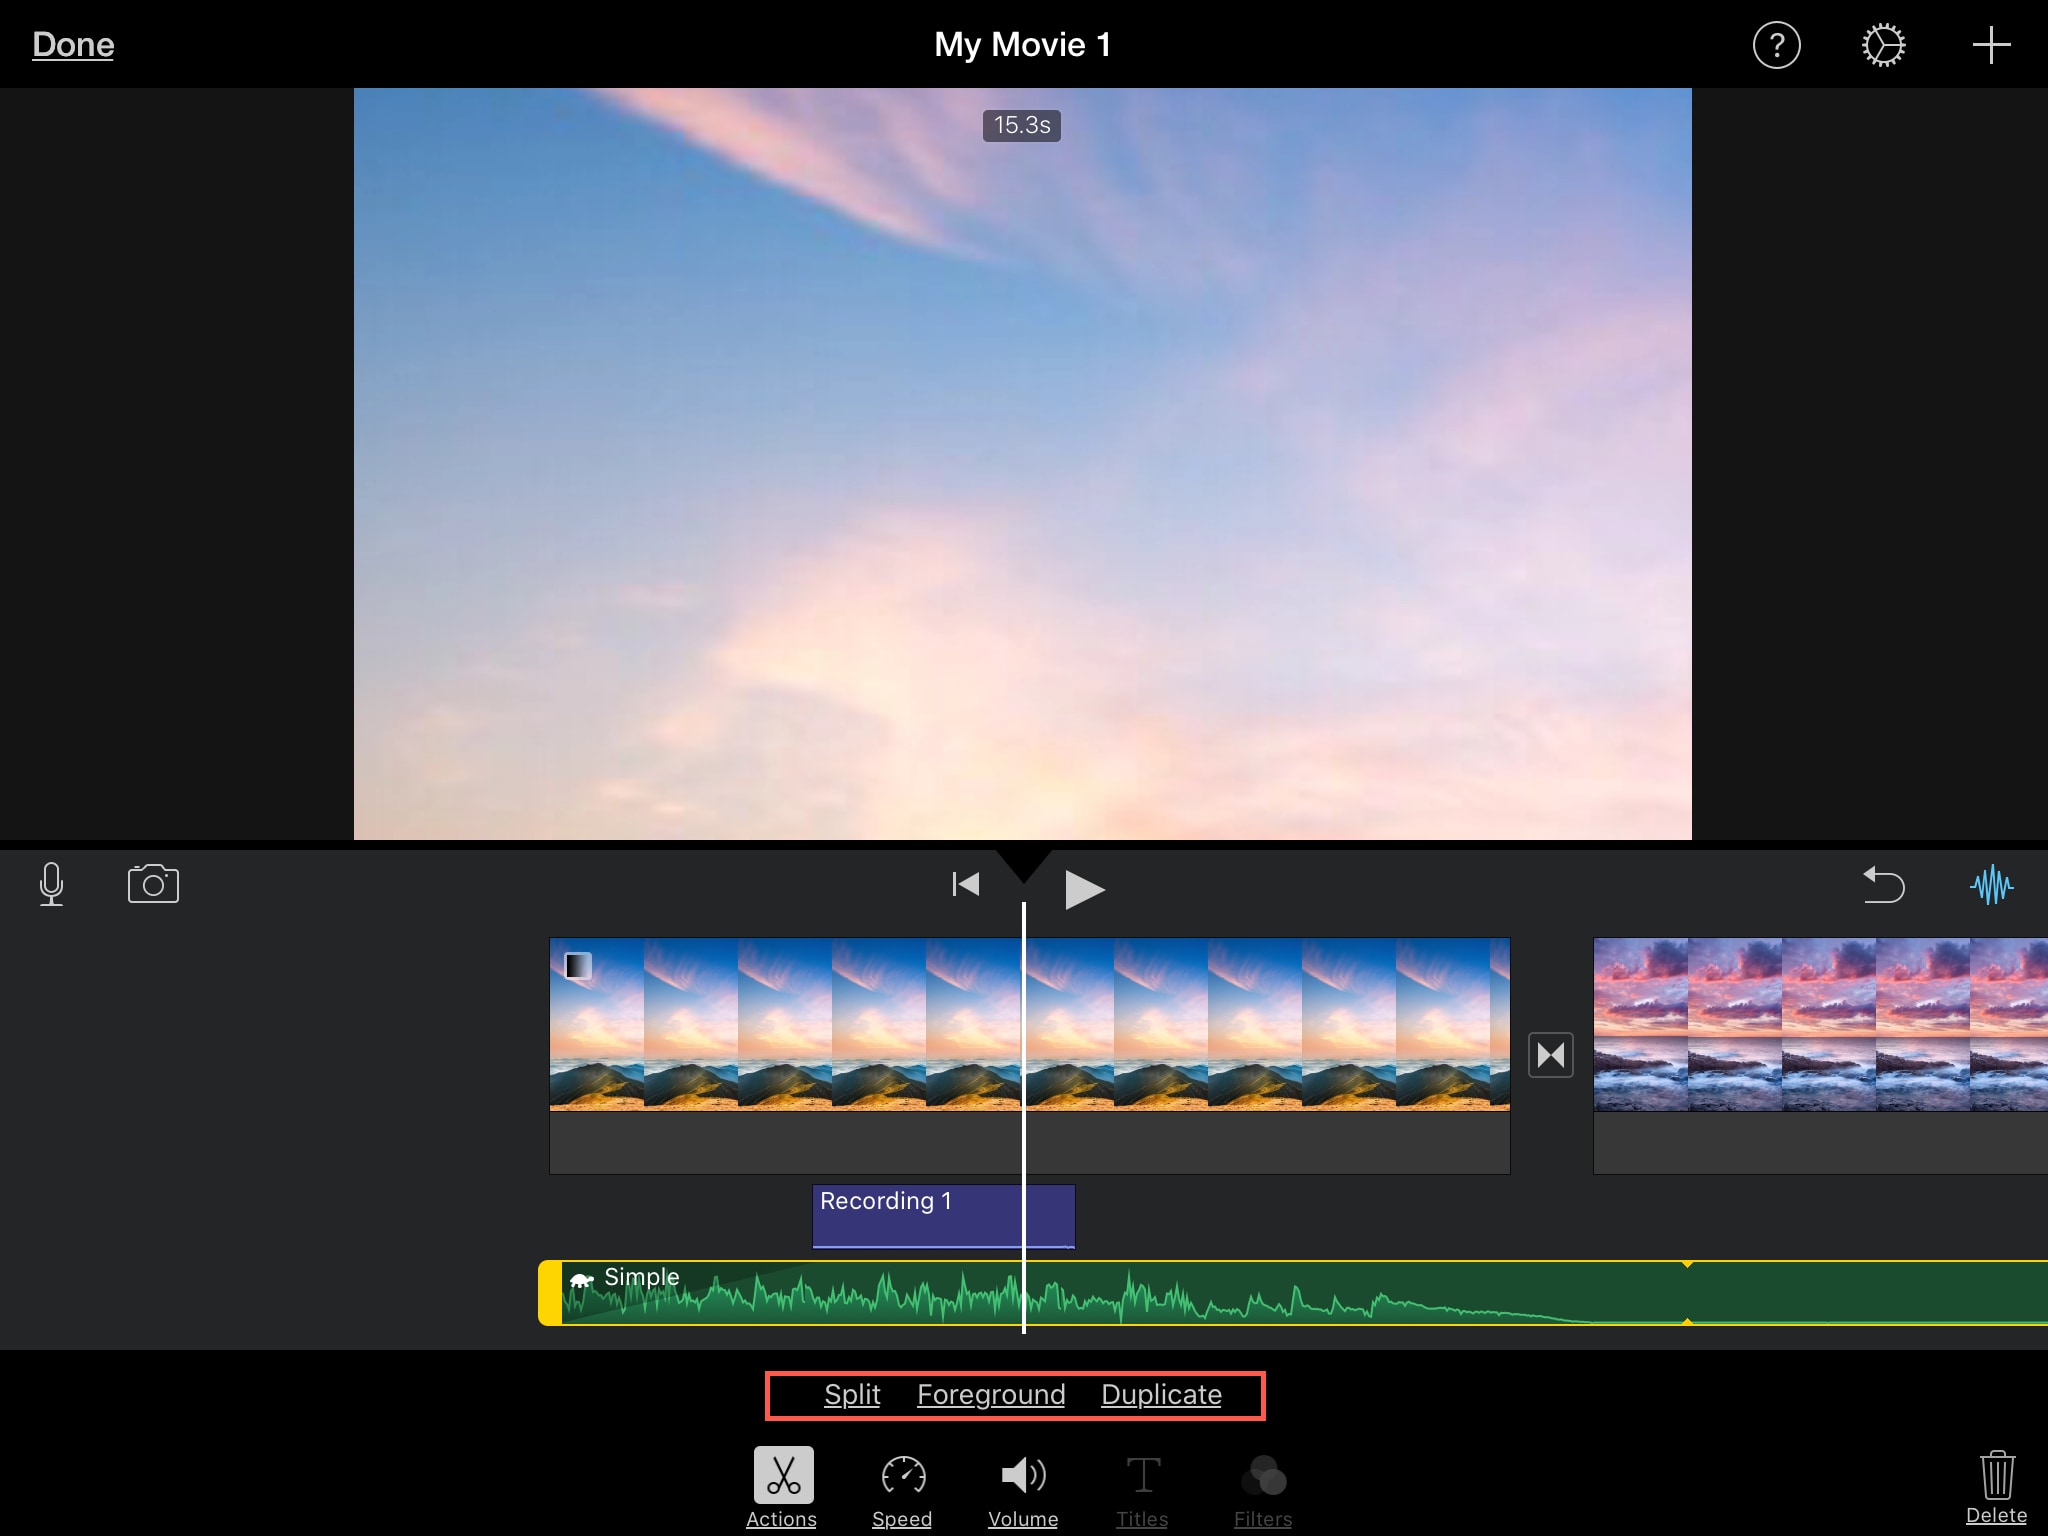
Split, foreground, and duplicate settings
You have a few additional actions for audio clips on iOS. Select your audio clip and then tap the Actions button at the bottom.
You can then choose to Split the clip, which splits it at the playhead, pull its sound to the Foreground in front of the other sounds, or Duplicate it, which adds the copied clip to the right. Finally, you can also Delete the clip if you no longer need it in your iMovie project.
Working with audio clips in iMovie is easy once you get the hang of the features and options on Mac and iOS. Have you run into any problems editing audio clips in iMovie? Let us know!
Helpful related posts: