The Apple Maps app is a super handy tool that you likely use on your iPhone more than anywhere else. For getting directions, it makes perfect sense. But, the Maps app on Mac offers some great features as well, like one to send directions straight to your iPhone.
If you’re new to Mac, we’ll show you how to use that feature along with a host of the others you might not know about. Here’s how to make the most of the Apple Maps app on your Mac.
The Maps app on Mac
Mac Maps app basics
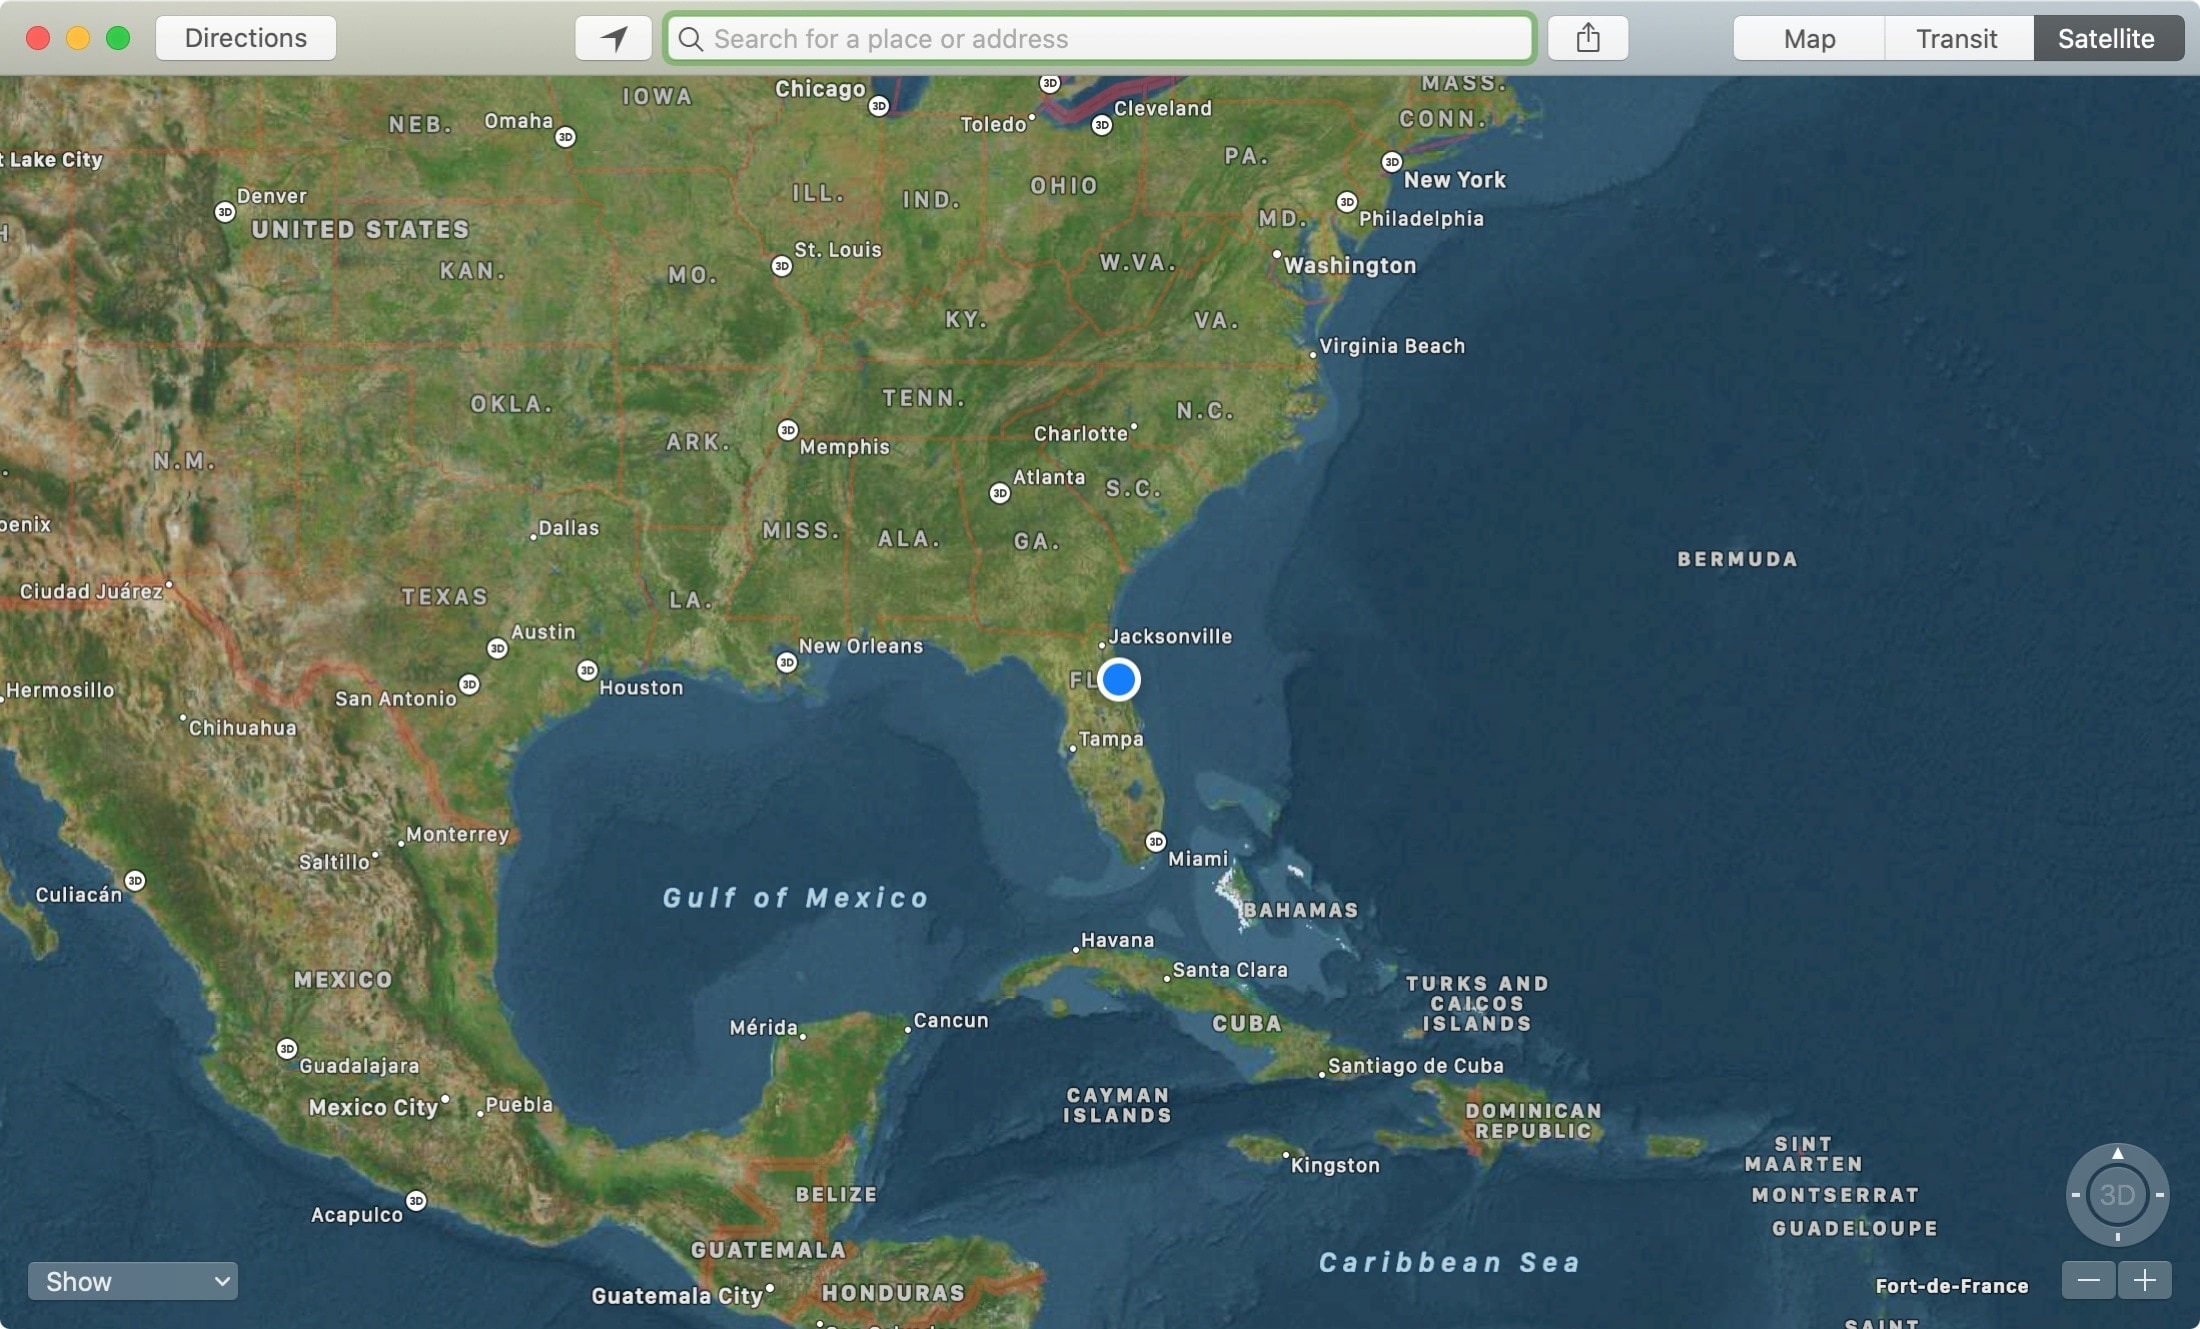
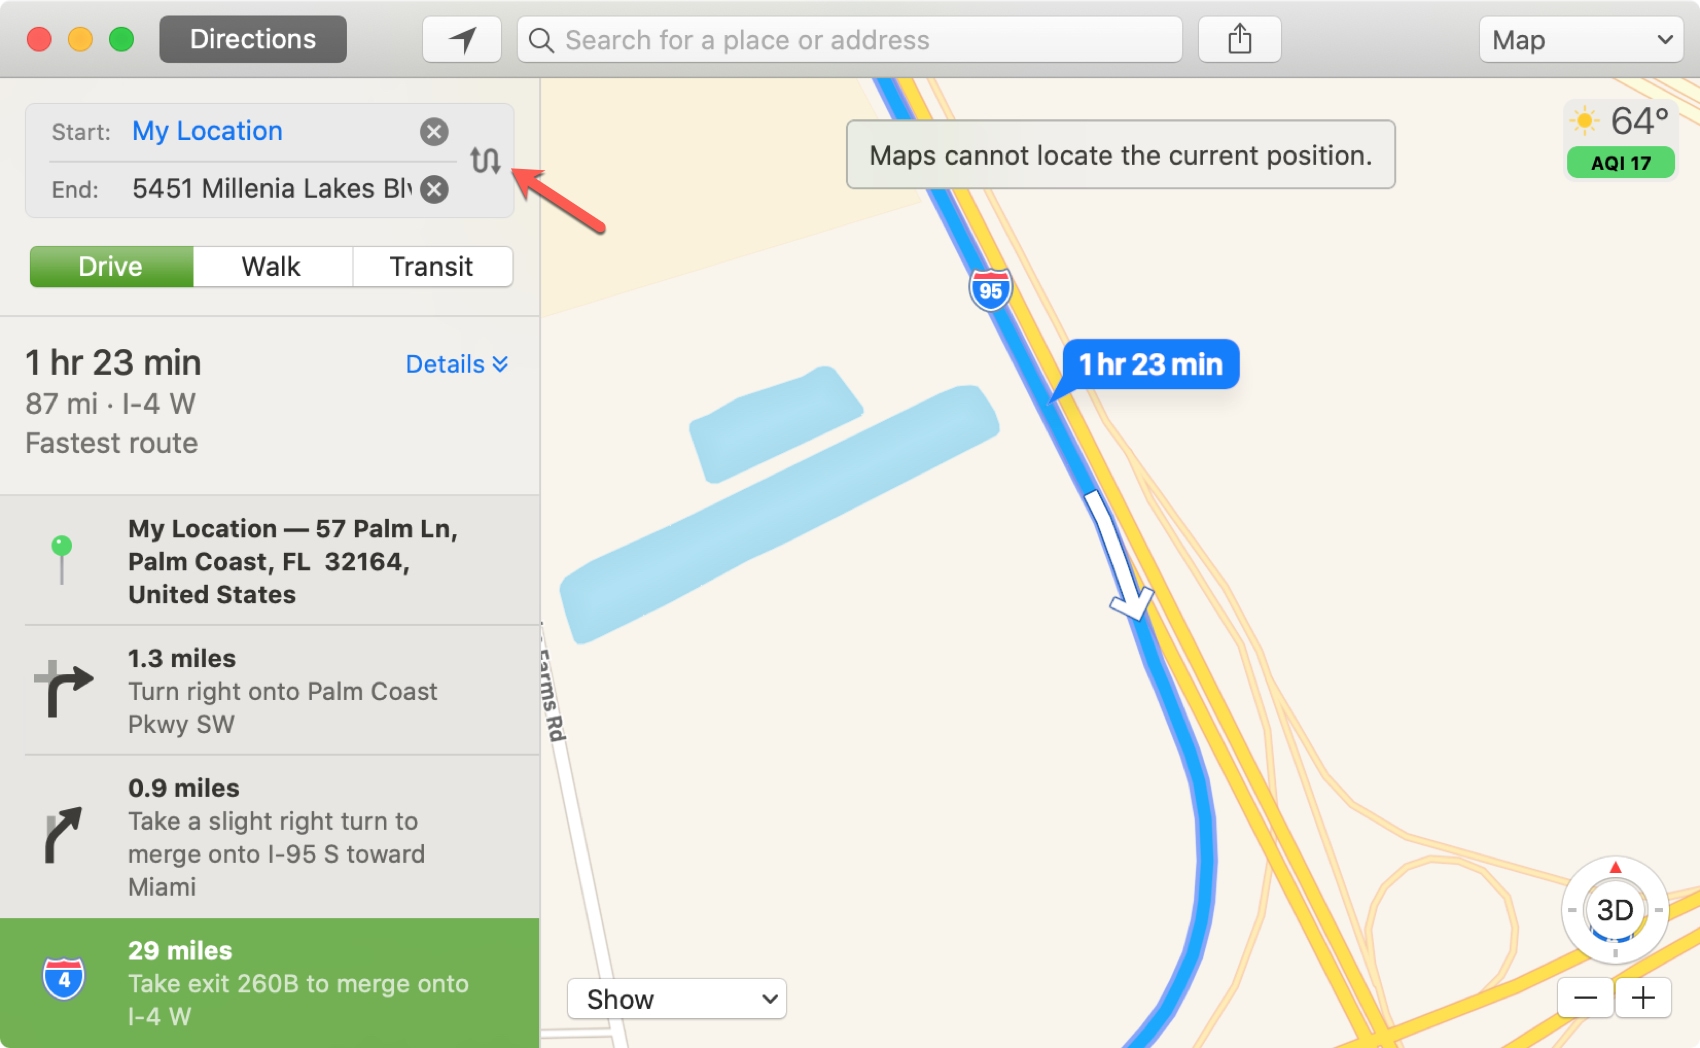
When you first open the Maps app, you probably see your location right on the main screen with a blue blinking dot. But if not, just hit that Show your current location button in the toolbar.
If you want to scope out the area, you have a few good options.
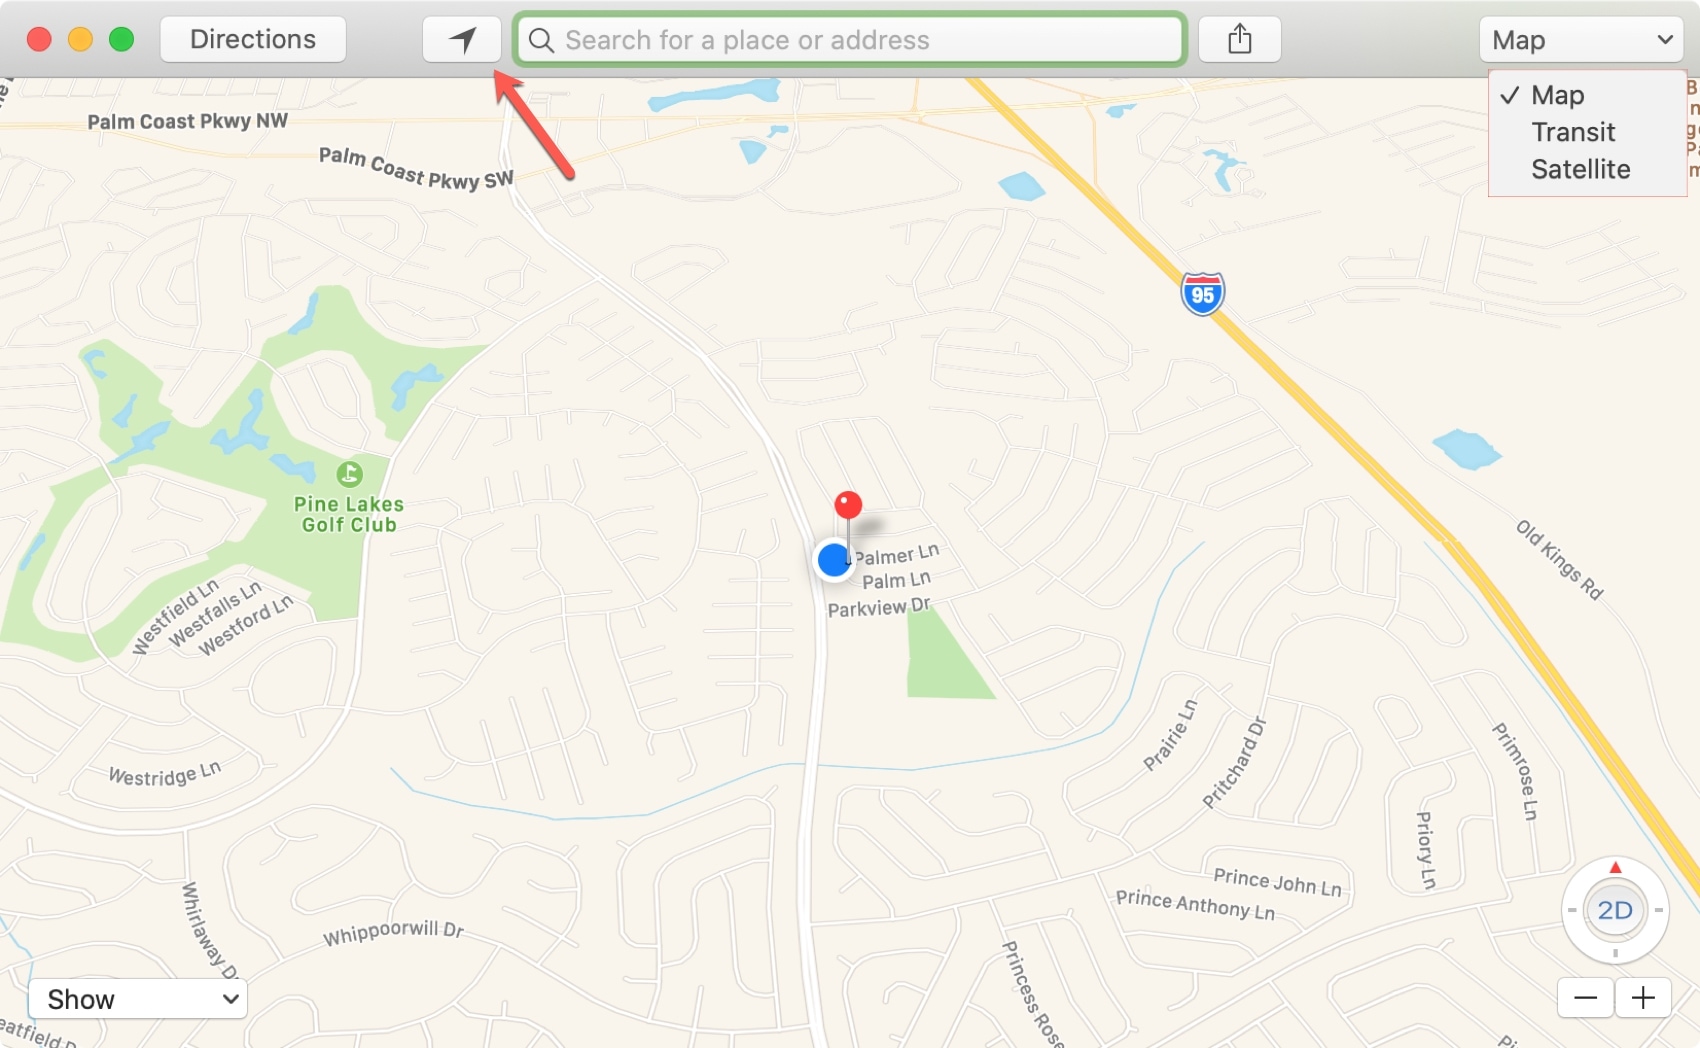
- On the top right, you can click the Map drop-down box see a Transit or Satellite view.
- On the bottom right, you can click the compass to switch between 3D and 2D views of the map. And below that are your buttons to zoom in or out.
- To move the map around, just click on it and drag it in any direction.
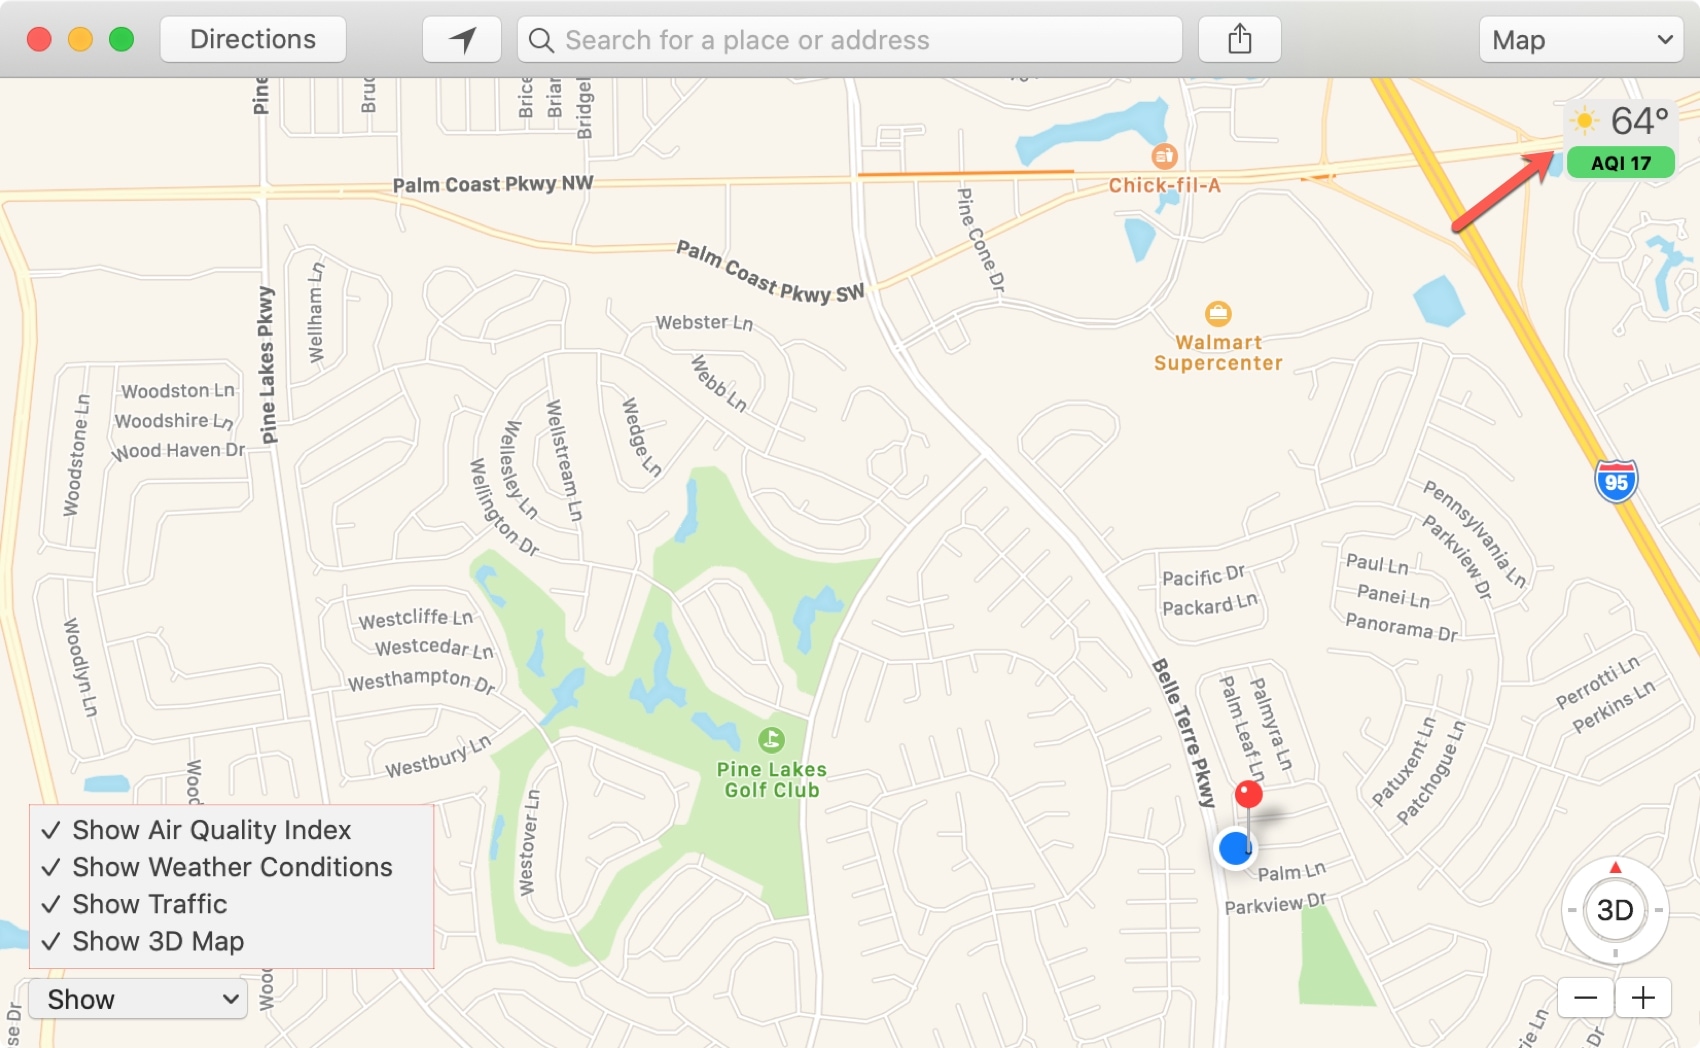
On the bottom left, you have another couple of nice features. Click the Show drop-down box and from there you can choose to display the labels, air quality index, weather conditions, traffic, and the 3D map.
Searching for locations
You can enter a place or address in the search box at the top and you’ll see convenient suggestions as you type. Additionally, any locations you’ve added to your Favorites will display for a quick click along with spots you’ve searched for recently.

When you find the place you want, click it and a cool pin will plop right onto the map.
Next to the location’s name on the map, you can click the Info button (small letter “i”) for further details. Depending on the type of location it is, you might see the address, photos, a description, and similar information.
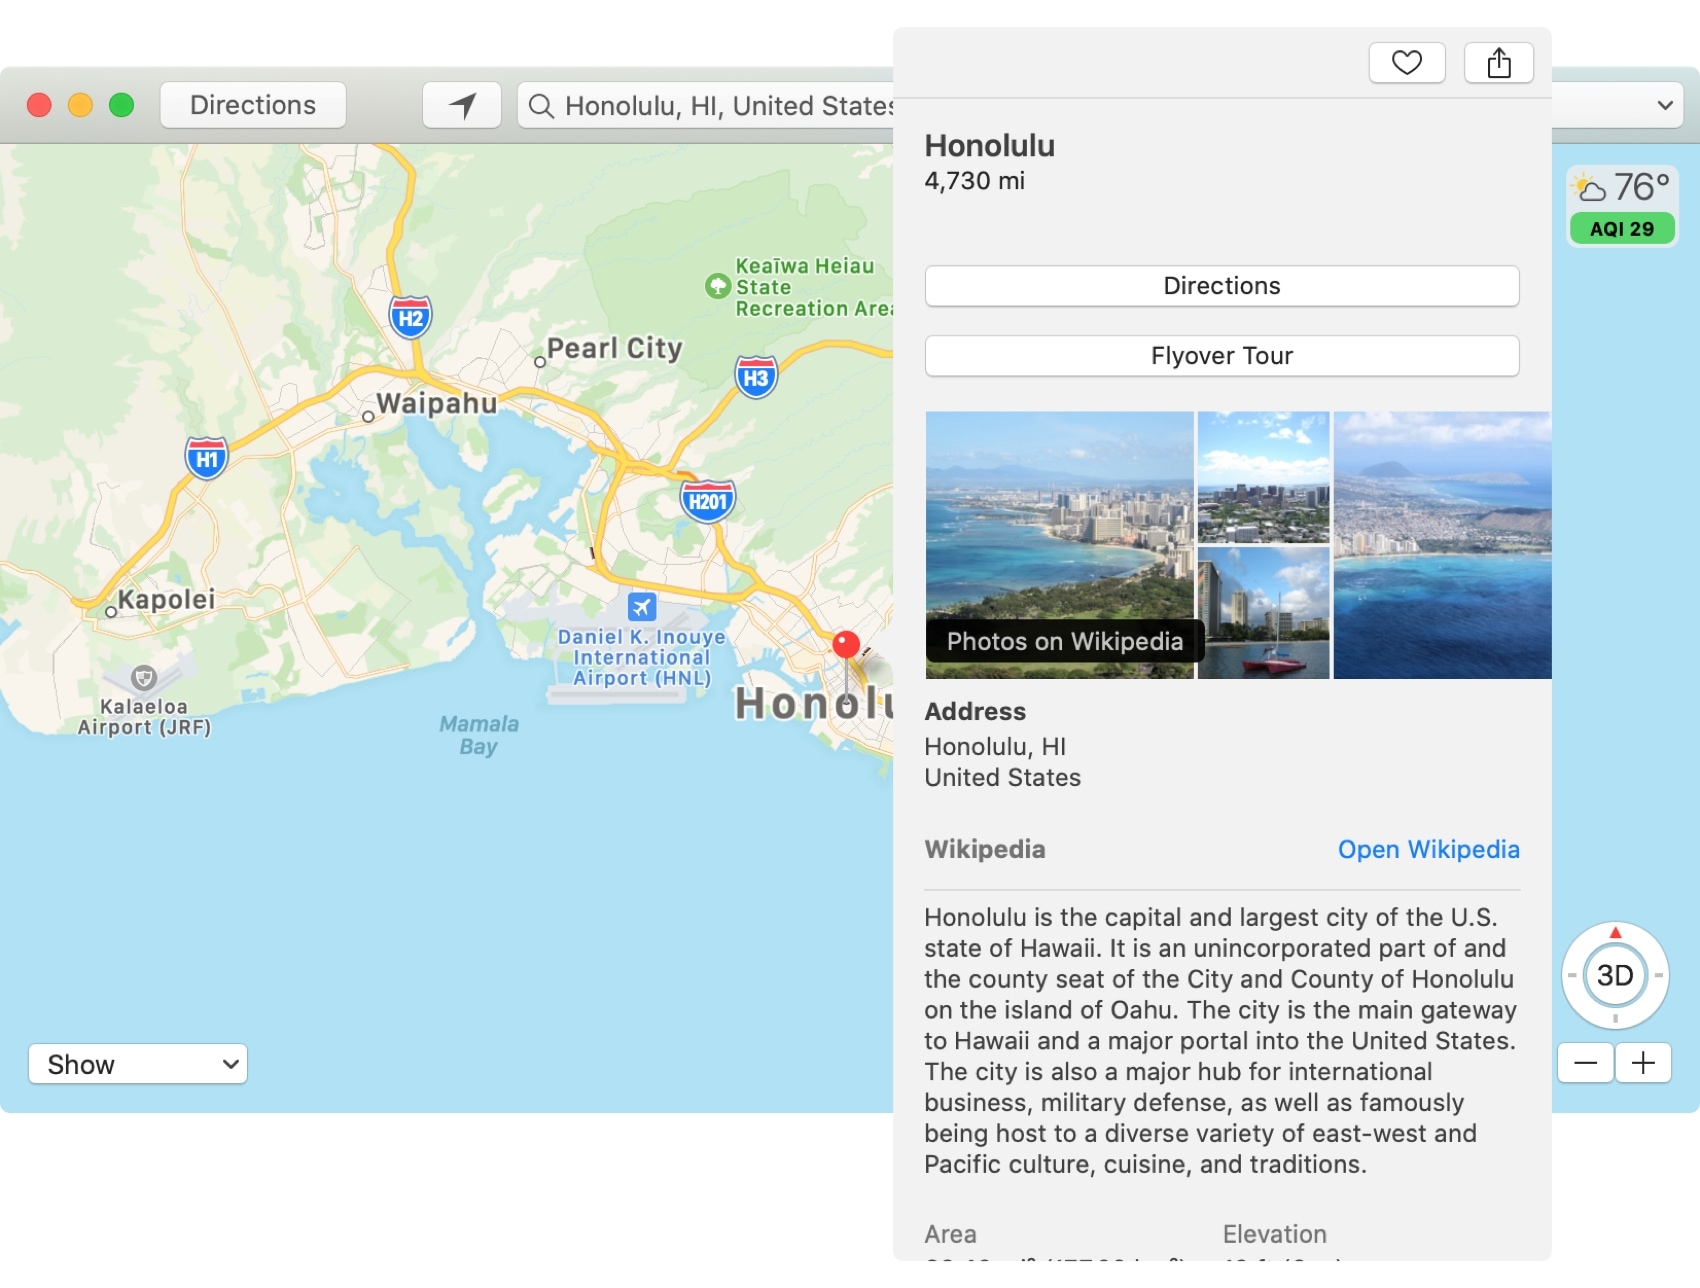
Some spots on the map, like major cities, will offer a Flyover Tour button at the top. This gives you a great view from above of that location. We have a full tutorial if you would like to know more about how to use Flyover.
And of course, you have a button to get Directions.
Getting directions
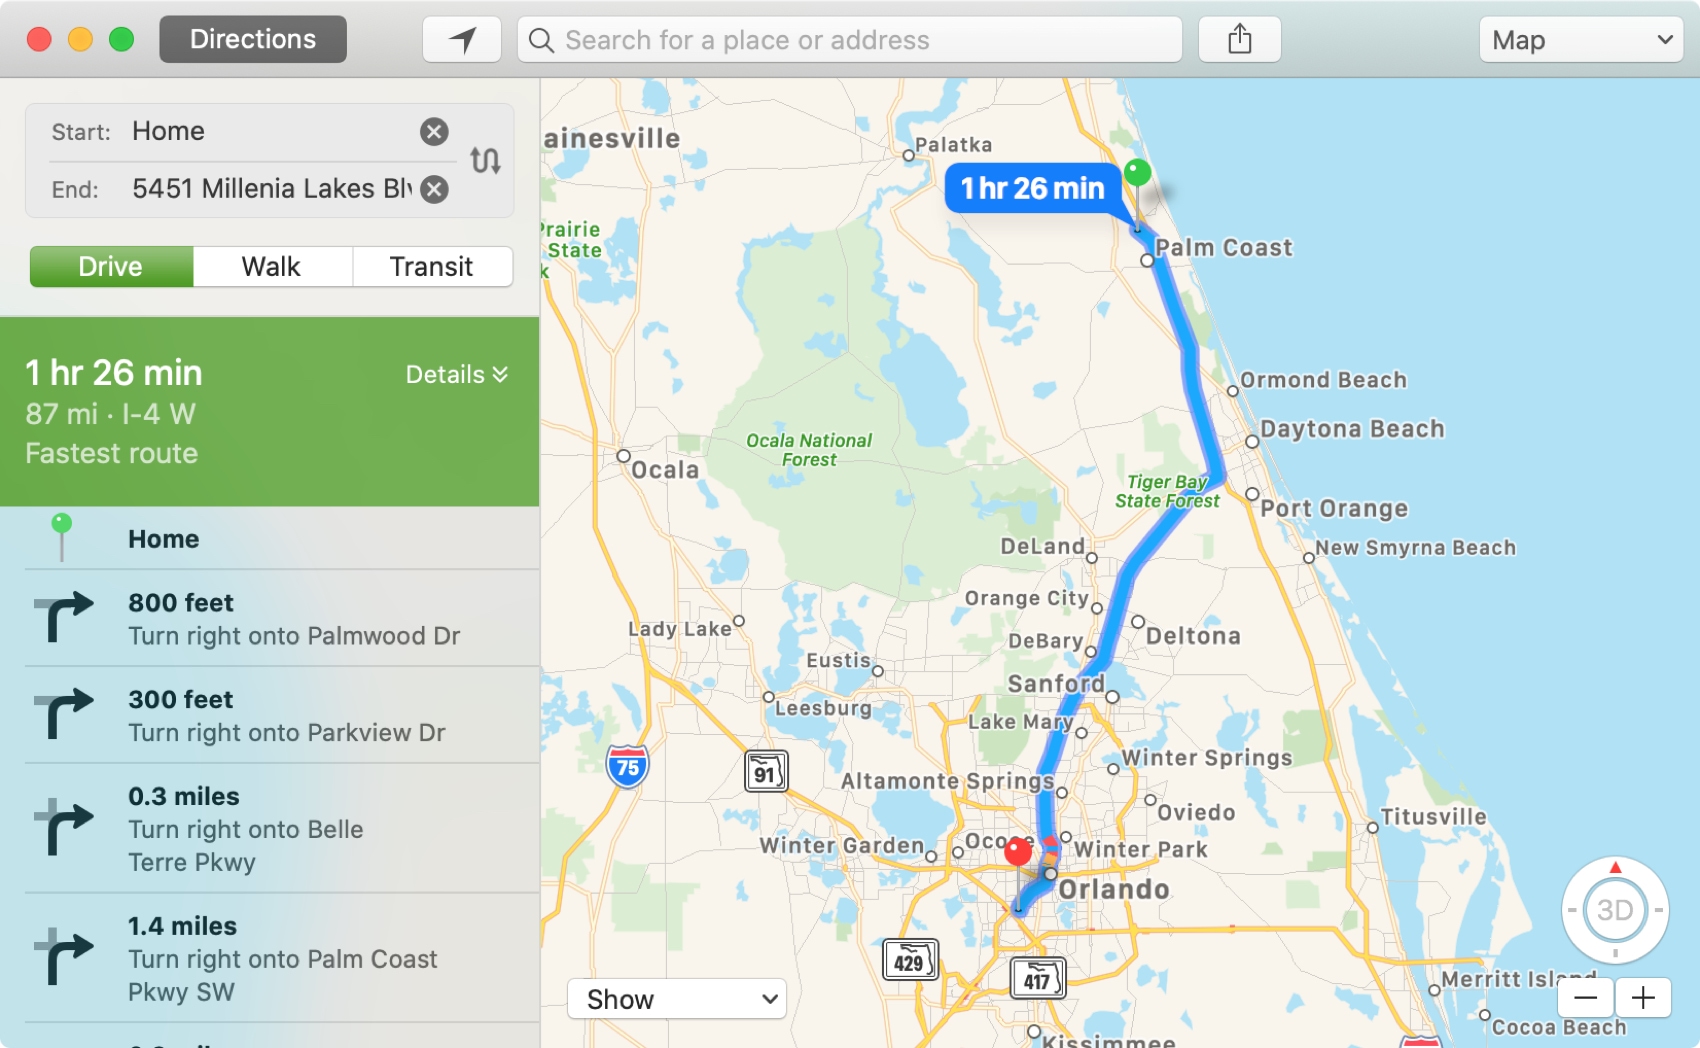
Whether you click the Directions button in a location’s information window (above) or the one in the toolbar, you’ll see your directions sidebar open on the left.
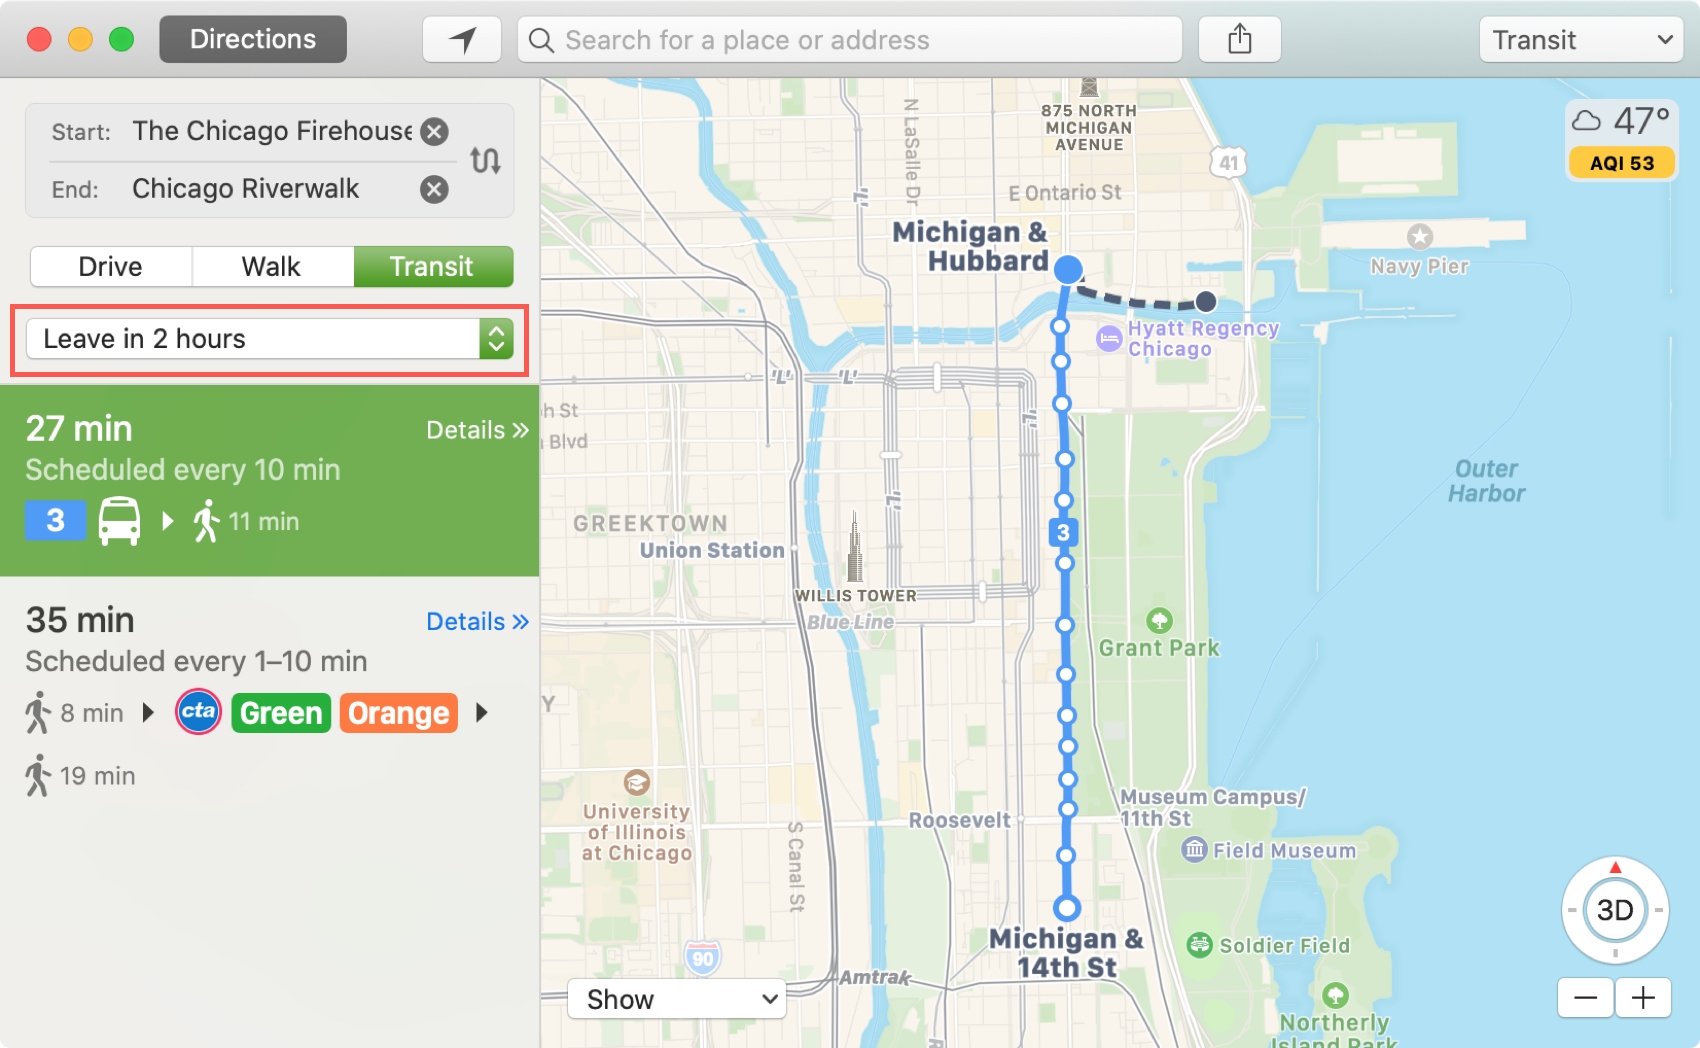
Enter your starting location to get the directions and select Drive, Walk, or Transit for the type of transportation.
If you pick Transit, you have an option to pick when you’re leaving in the drop-down box. Select from Leaving Soon, Leaving in X Minutes or Hours, or click Custom to enter a specific time and date.
Once you get your directions including time and distance, you’ll also see the route plotted on the map. What’s cool is that if you click a specific step in the directions, you’ll see that step highlighted on the map. This is really helpful if there’s an instruction that appears confusing to you.
Another thing you can do when you get directions is switch the start and end locations. Click the Swap button next to Start and End and the route will reverse.
Sharing directions
If you want to send directions to a friend or family member, or directly to your mobile device, just click the Share button in the toolbar.
You should see your connected devices at the top of the list. When you click one, those directions will open up in the Maps app on your iPhone or iPad.
You can also send directions via Mail, Messages, or AirDrop and add them to Notes and Reminders.
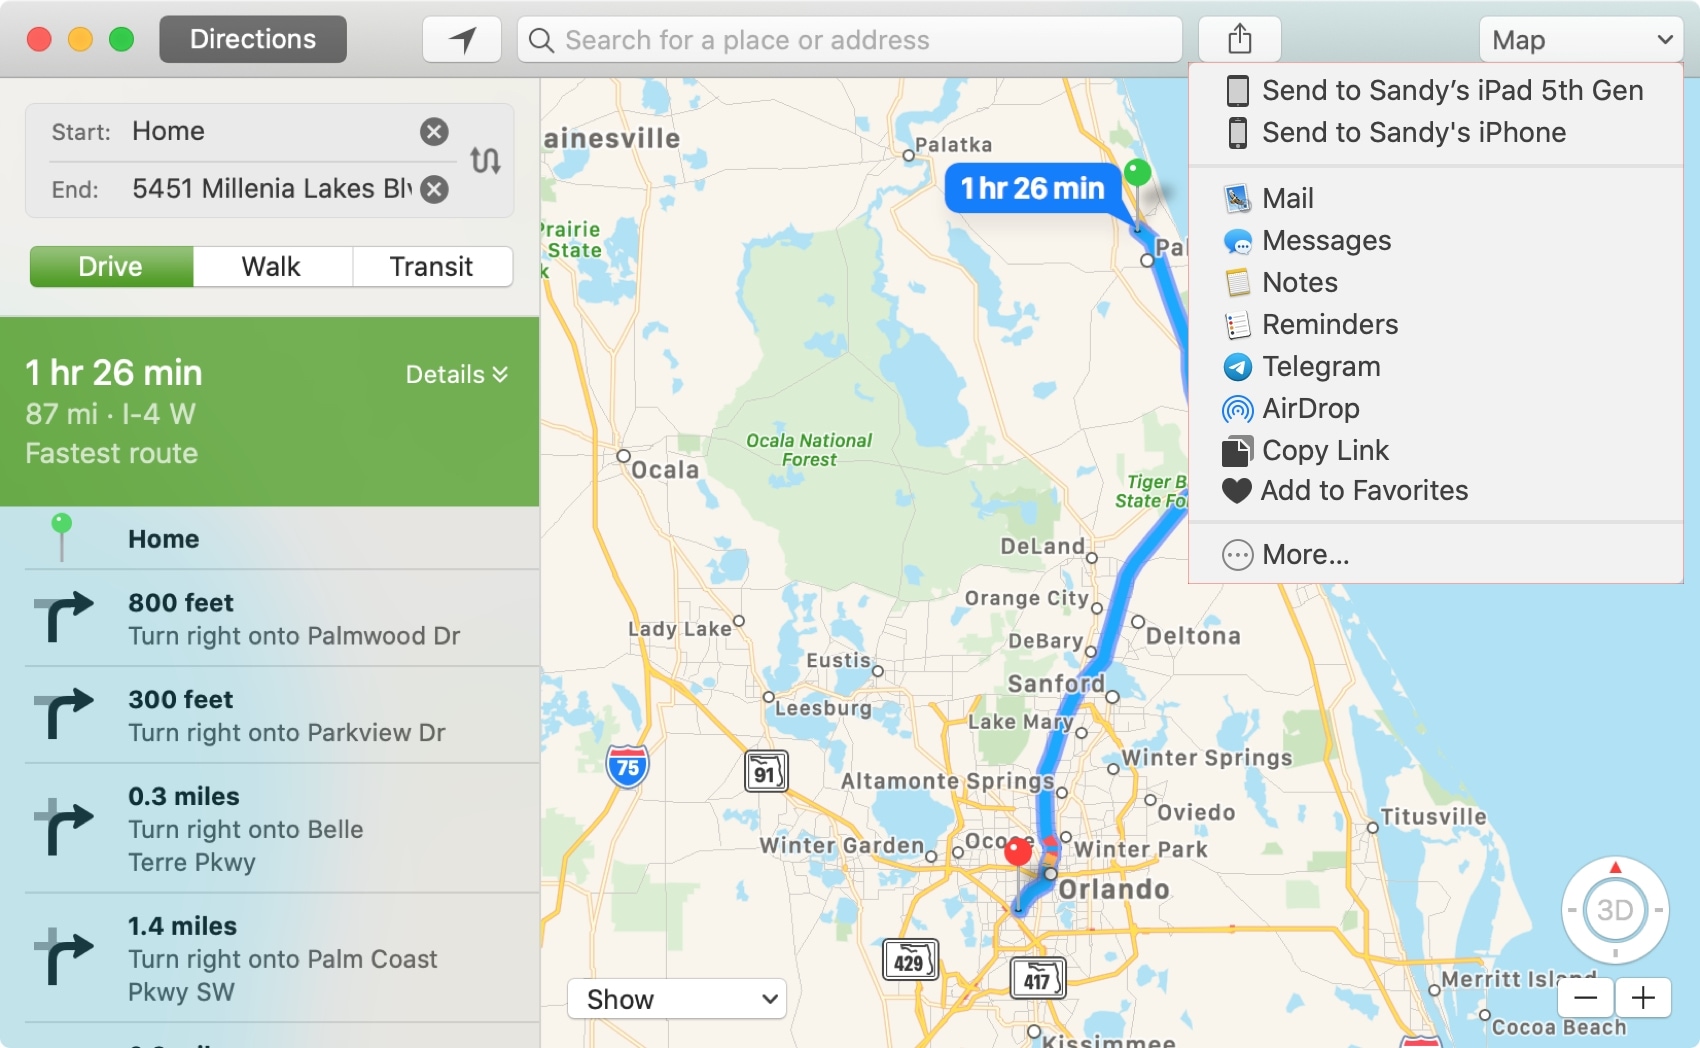
This is a terrific way to share directions if you’re planning a trip with friends or a vacation with family. You can have your directions all laid out ahead of time for everyone to see.
Wrapping it up
The Maps can do a lot more than just show you a map or provide directions. You can see the weather and traffic, send directions to your iPhone or to a pal, and take a Flyover Tour of a city for a great view.
If you’re new to Mac or simply haven’t taken advantage of these features in the Maps app, hopefully these tips will help! And if you have tips of your own to share for the Maps app, feel free to comment below or hit us up on Twitter.