Shaky footage or rolling shutter effects can ruin an otherwise great video. But don’t fret, because in this article, we’ll show you how to fix shaky video and correct rolling shutter issues using iMovie on your Mac so you can transform that jittery footage into a smooth and professional-looking video in no time.
Even though your devices make shooting video pretty easy, there are times when you can still end up with shaky clips. In addition to that, you might experience something called rolling shutter, which is image distortion due to movement.
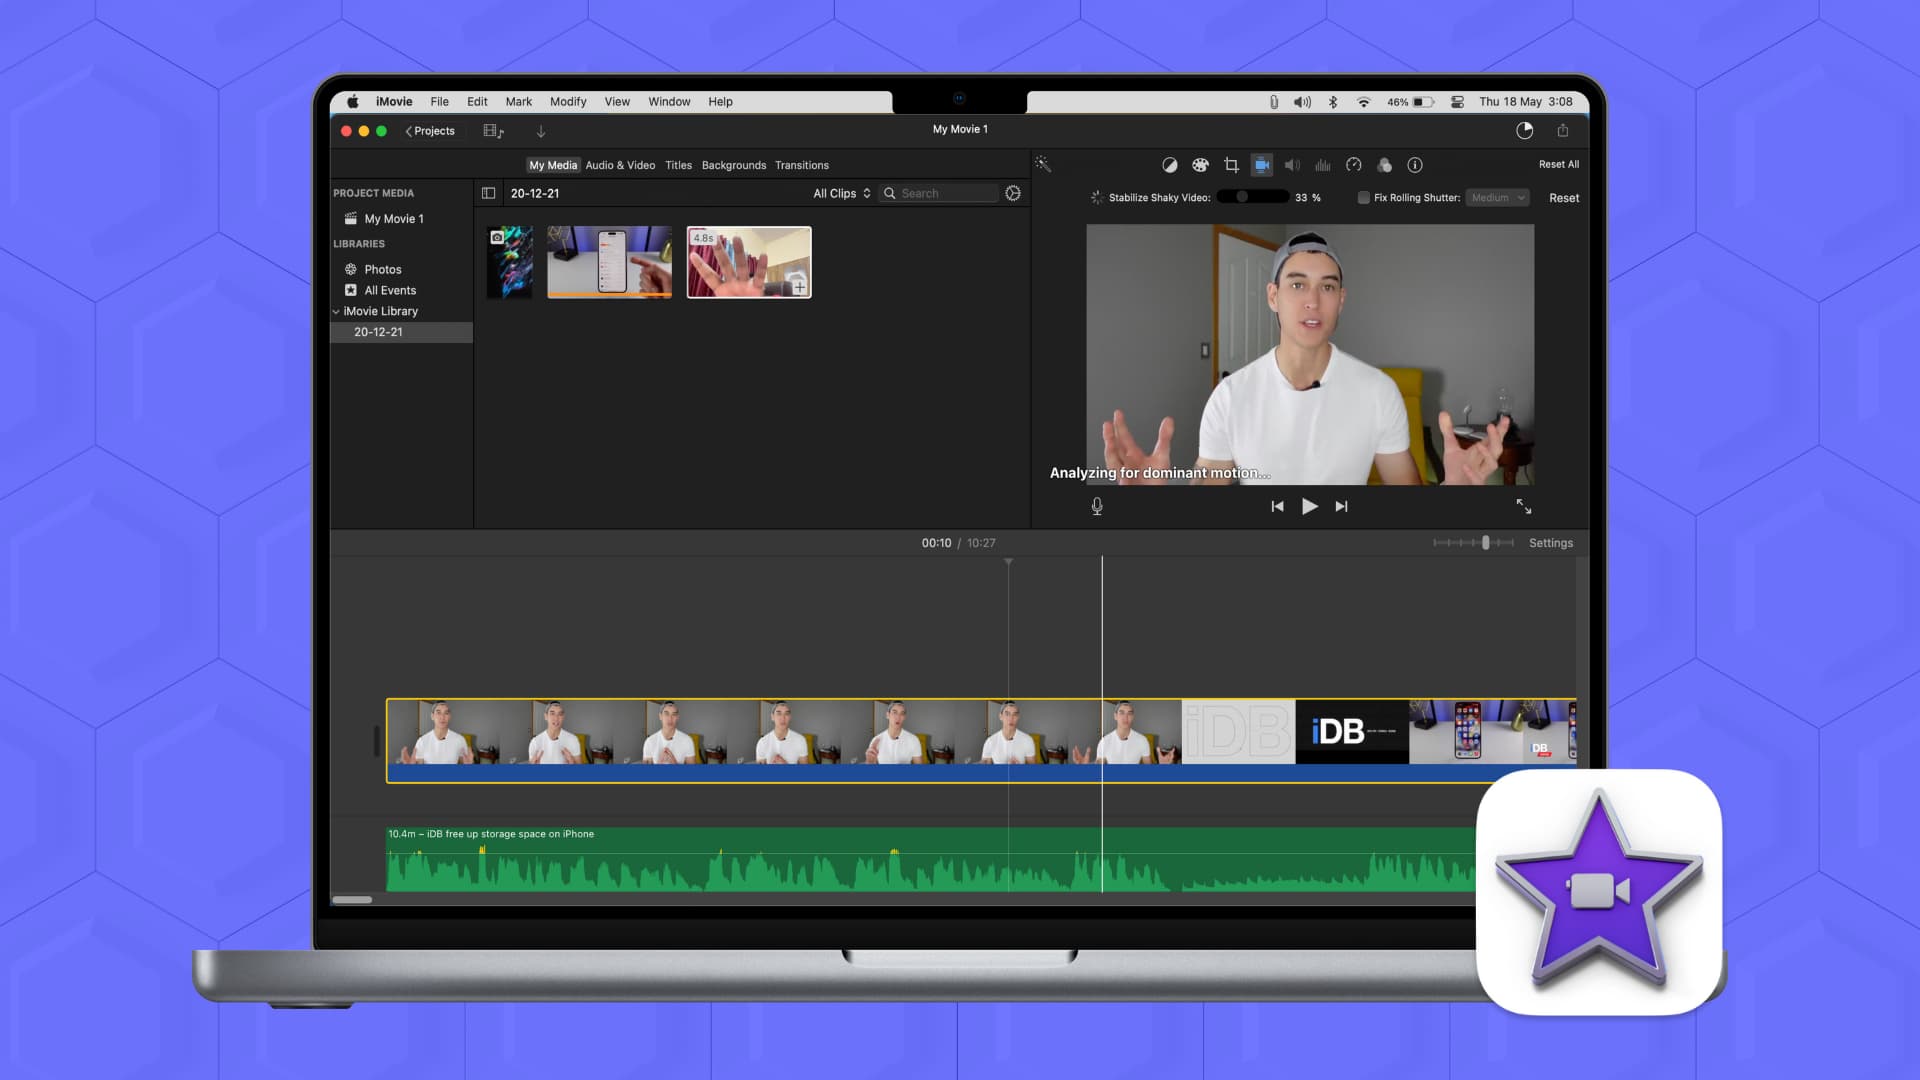
In iMovie on Mac, there is a way to take care of both of these problems. Here’s how to use iMovie to stabilize shaky video and fix rolling shutter.
Stabilize shaky video and fix rolling shutter
- Open iMovie and go to your project for editing.
- Select the video clip in your movie Timeline.
- Above the Viewer, click the Stabilization button.
- For a shaky video, check the box for Stabilize Shaky Video and then move the slider for the percentage of stabilization.
- For rolling shutter, check the box for Fix Rolling Shutter and then click the drop-down and pick from low, medium, high, or extra high for how much shutter correction should be applied.
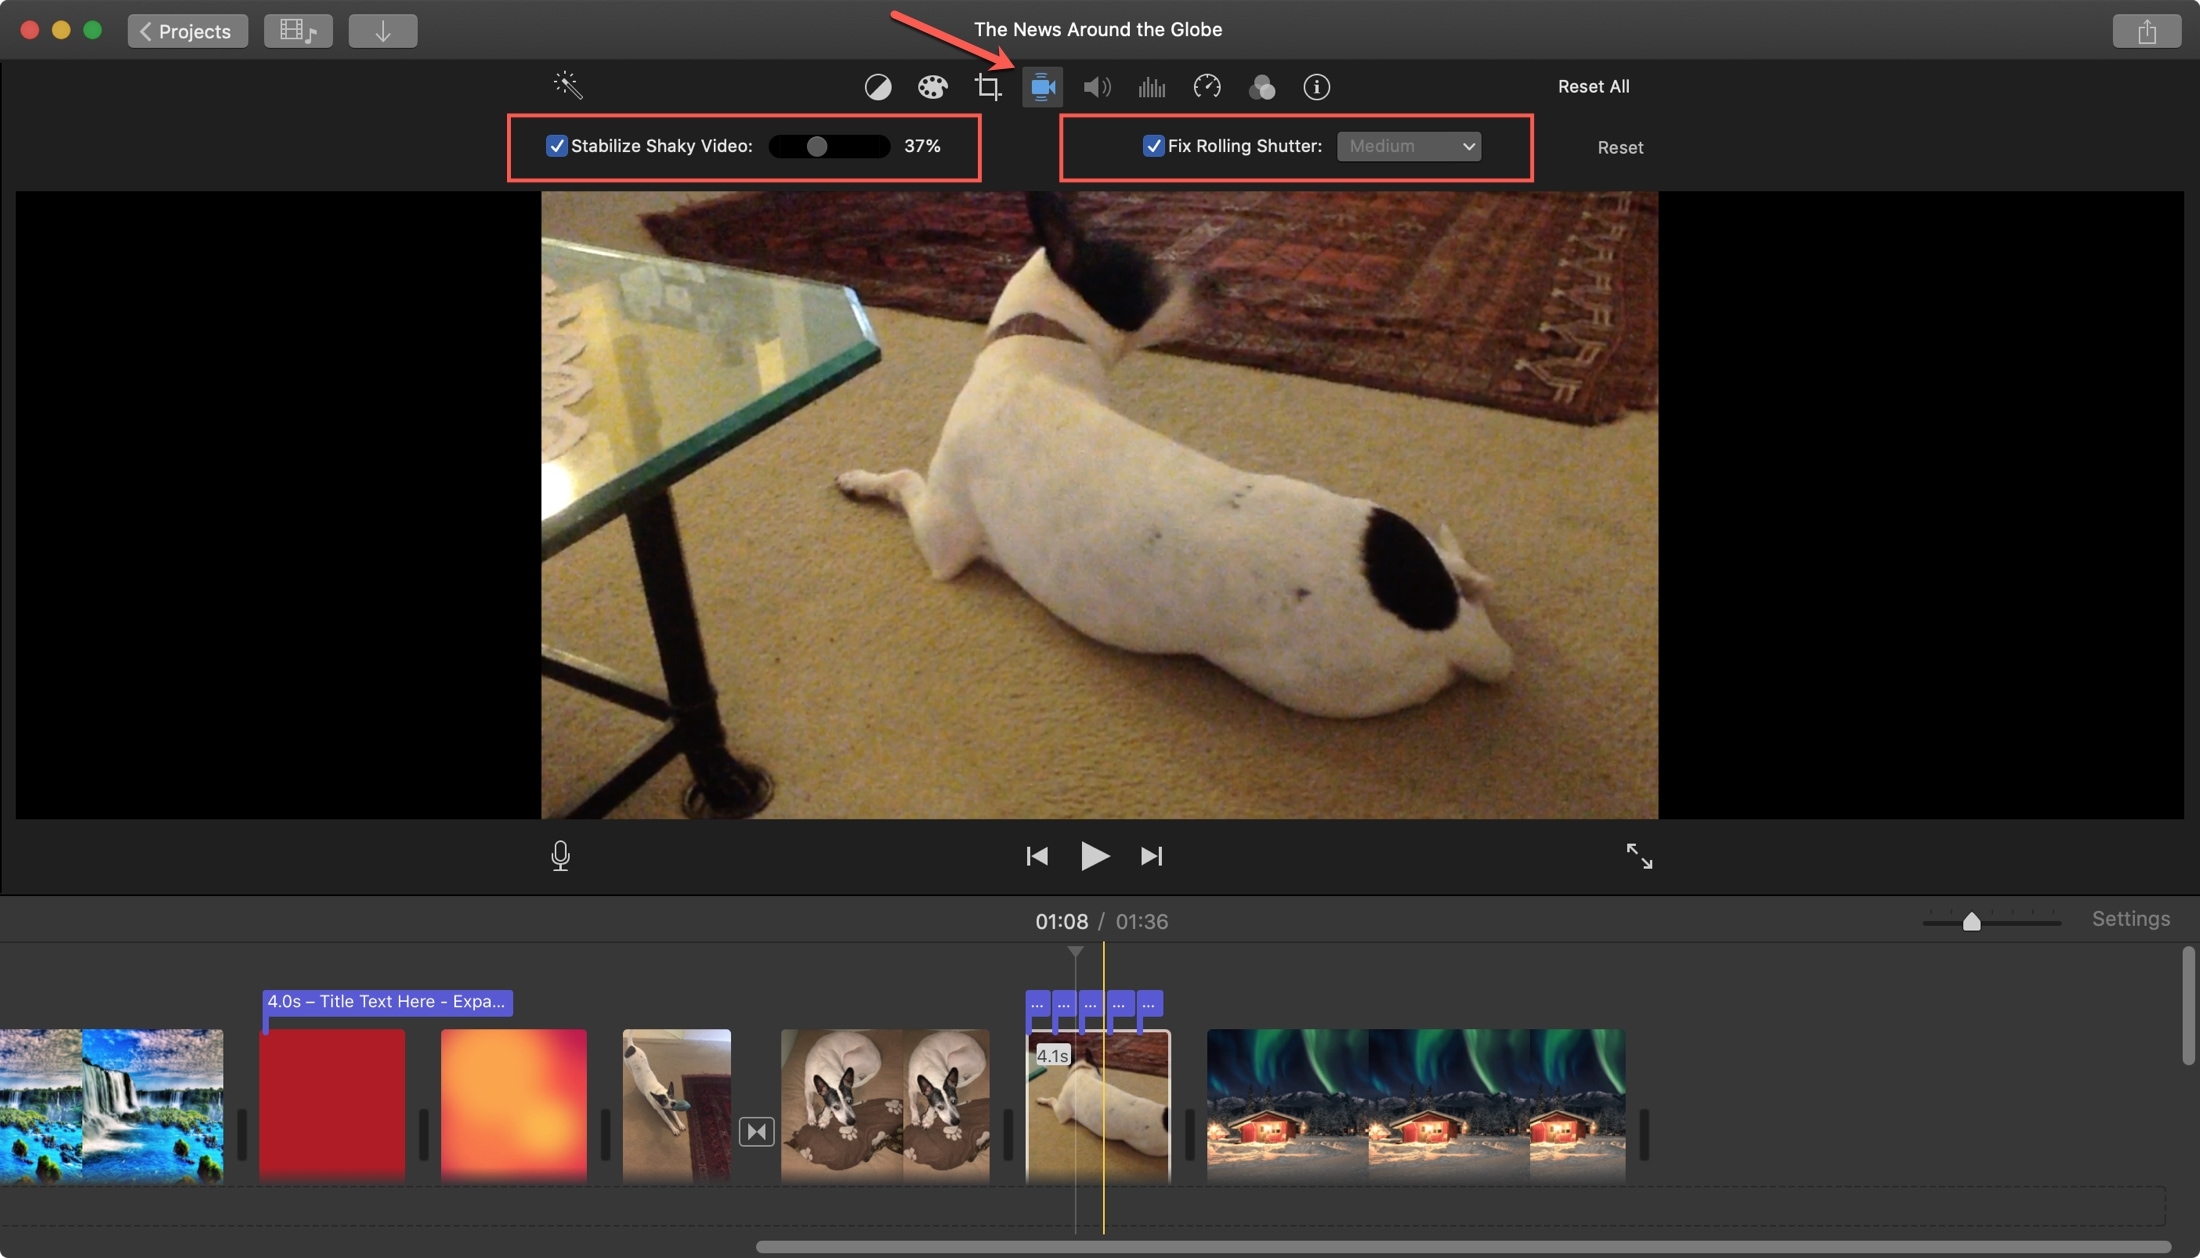
It’s as easy as that! Once you play the clip, you can adjust both of those settings more using the slider and drop-down as necessary.
You can use the Reset button to remove these fixes and have the original video.
Being able to use iMovie to stabilize shaky video and fix rolling shutter is a great feature on the Mac app. Unfortunately, these aren’t options on iOS at the current time. So if you can edit your videos in iMovie on Mac, then you’re set.
More help with iMovie:
For additional tips and how-tos, check out these additional iMovie articles: