
The Zebra package manager for jailbroken handsets is officially out of beta as of today, and if you have any intention of installing it on your device(s), then you might be pleased to learn that it’s a fairly straightforward process with no strings attached.
In this tutorial, we’ll show you the steps necessary to install the all-new Zebra package manager on any jailbroken device running iOS 9 through 13.
How to install Zebra
If you’re prepared to install Zebra on your pwned iPhone or iPad, simply follow the steps below:
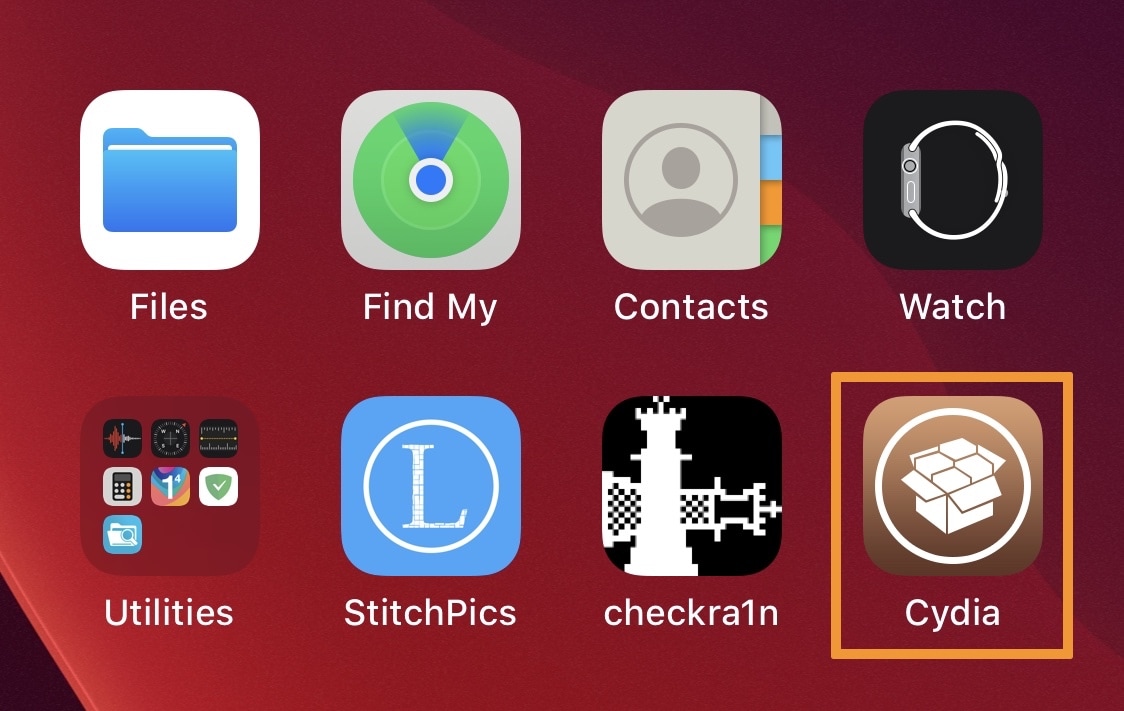
1) Launch the Cydia app from your Home Screen:
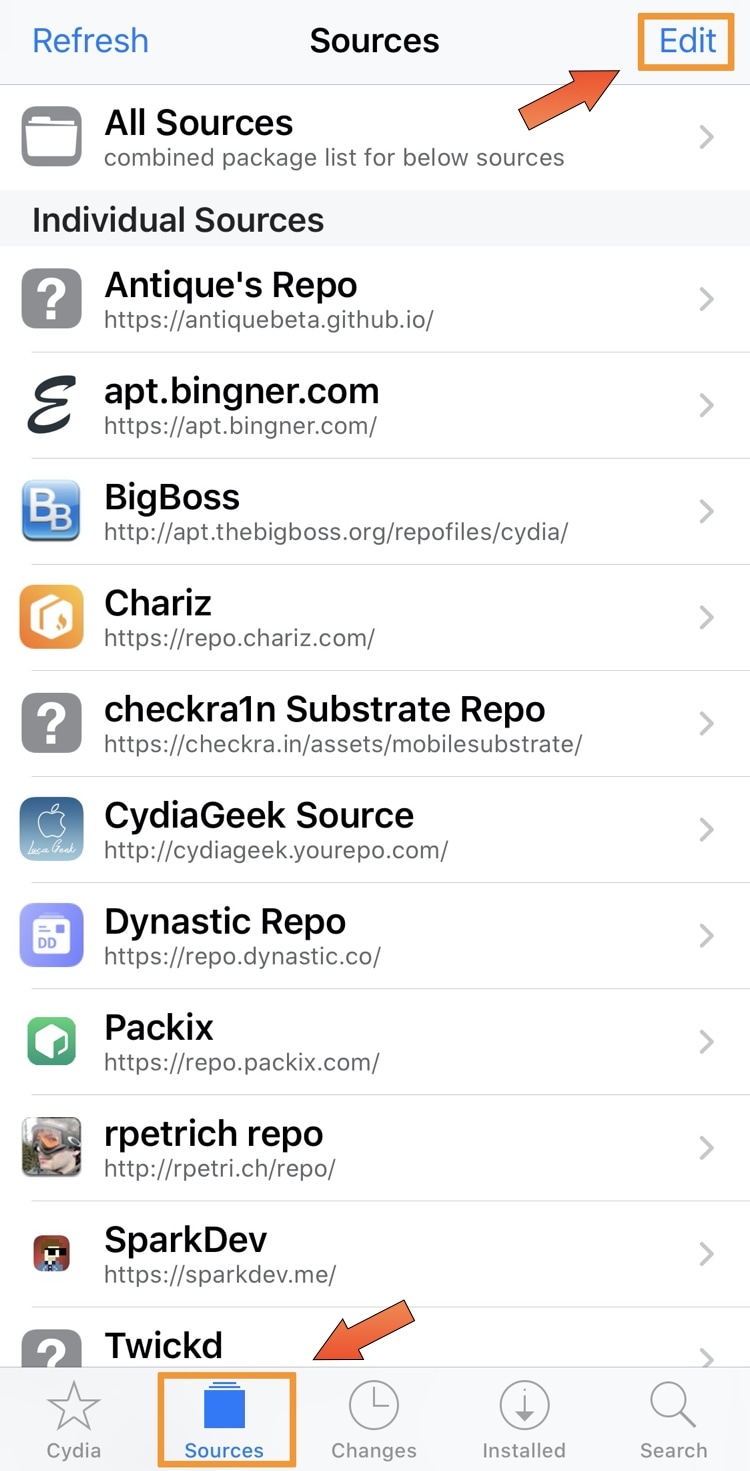
2) Tap on the Sources tab at the bottom and then tap on the Edit button at the top right of the interface:
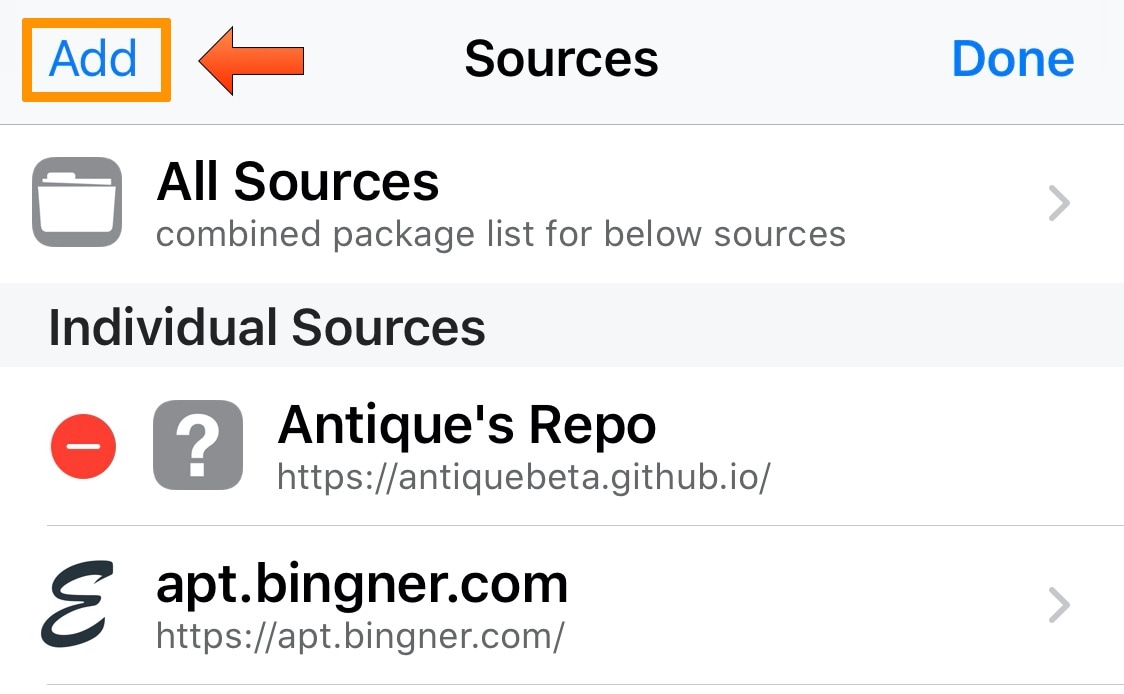
3) Next, tap on the Add button at the top left of the interface:
4) A prompt appears, asking you to input a repository. Enter the following URL and then tap on the Add Source button:
https://getzbra.com/repo
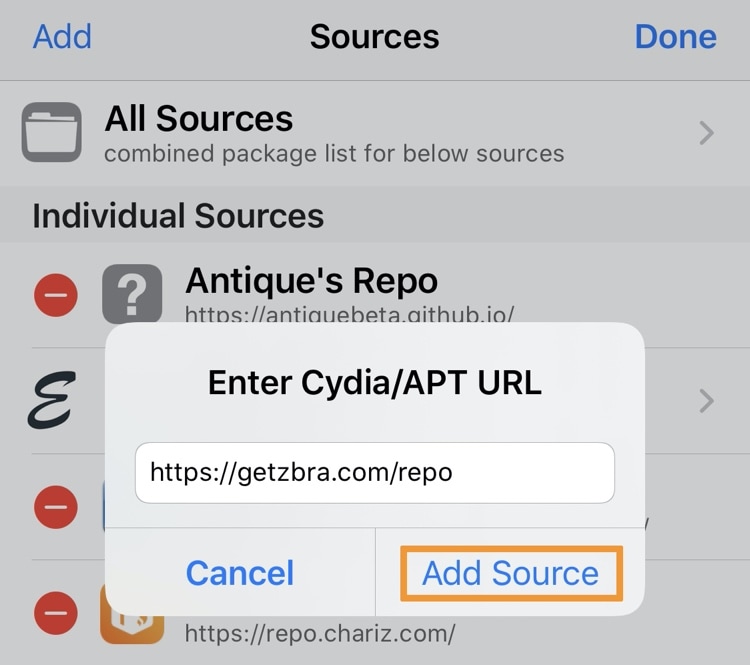
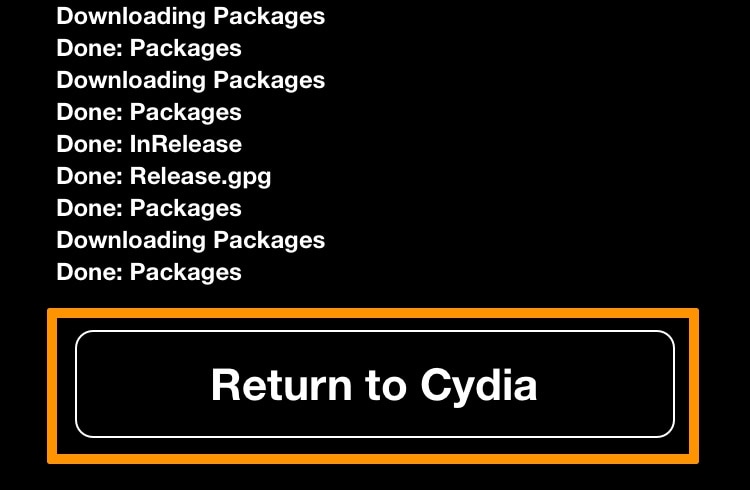
5) Cydia will now load the repository. When done, tap on Return to Cydia:
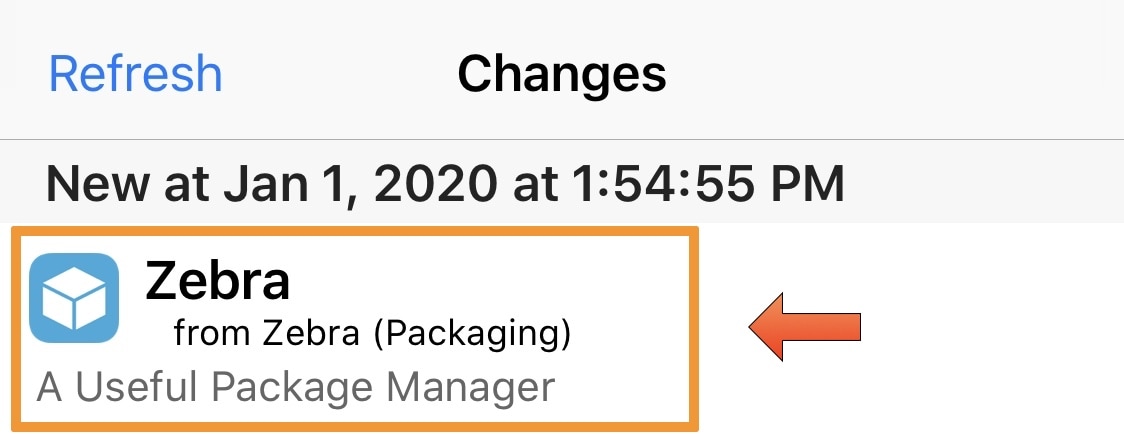
6) Head over to the Changes tab and tap on the Zebra package at the top of the list:
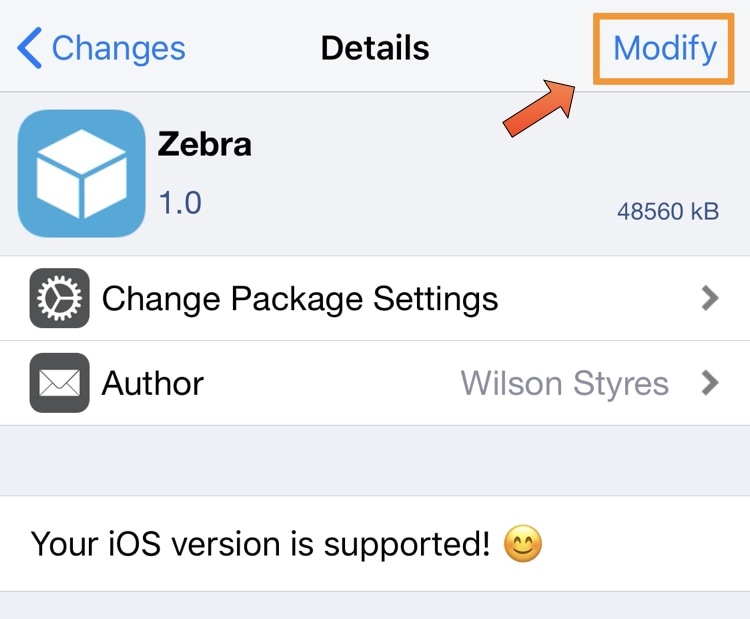
7) Next, tap on the Modify button at the top right of the interface:
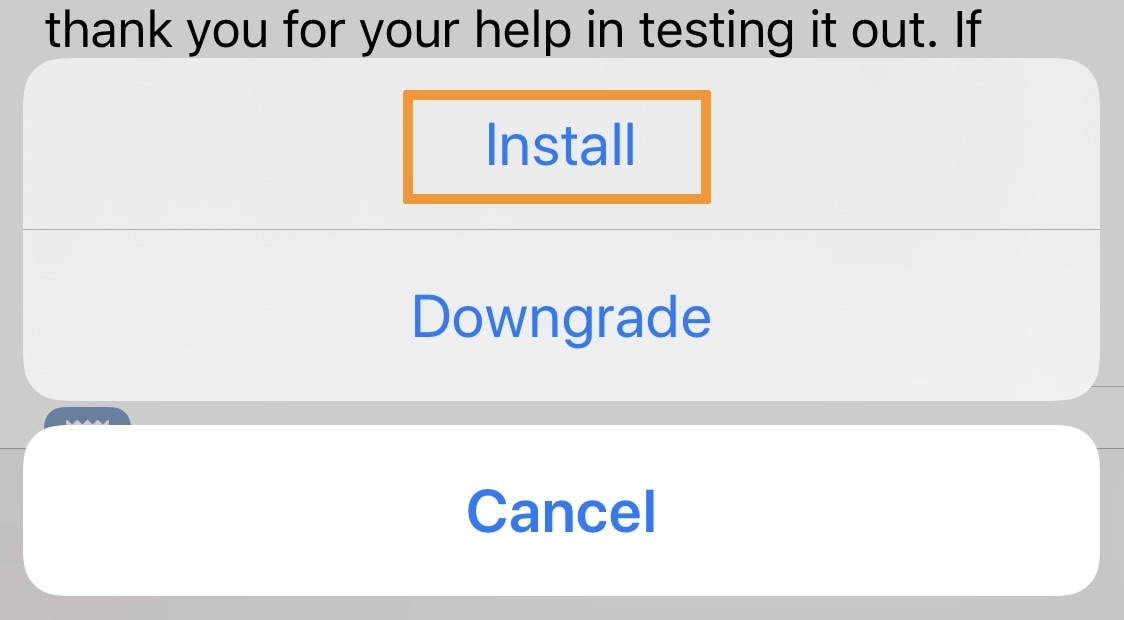
8) Then tap on the Install option in the pop-up prompt that appears:
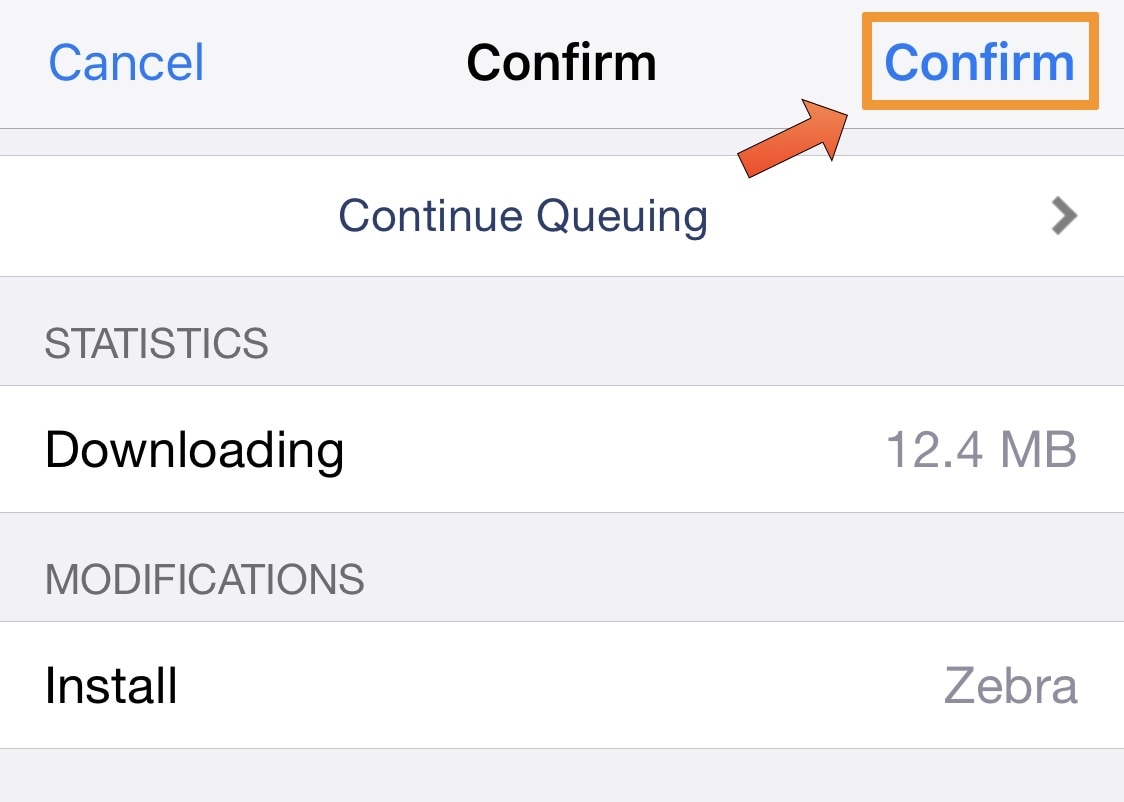
9) Now you will want to tap on the Confirm button at the top right of the interface:
10) When the installation completes, tap on the Return to Cydia button at the bottom:

11) Go to your Home Screen, and you should now see Zebra:
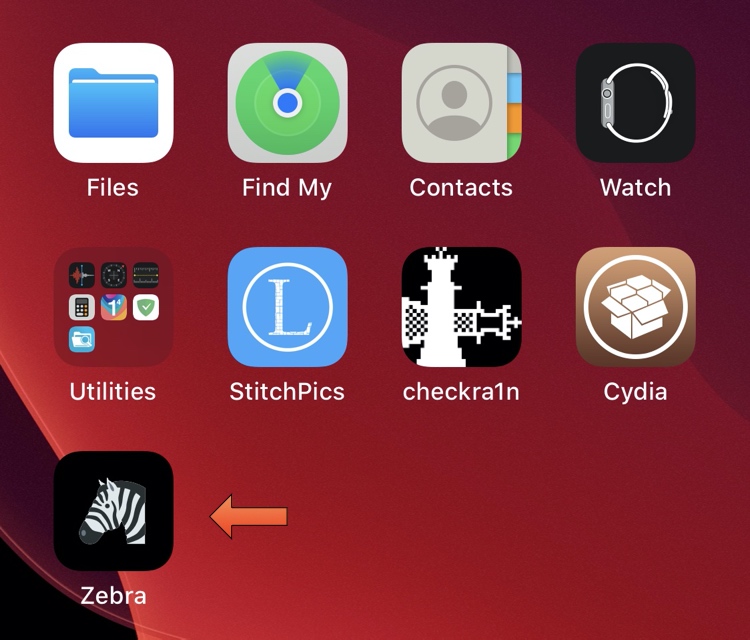
Congratulations, you now have Zebra as a package manager alongside Cydia!
Conclusion
Zebra is a lightweight package manager with useful features, including dark mode support and the ability to bulk-add repositories:
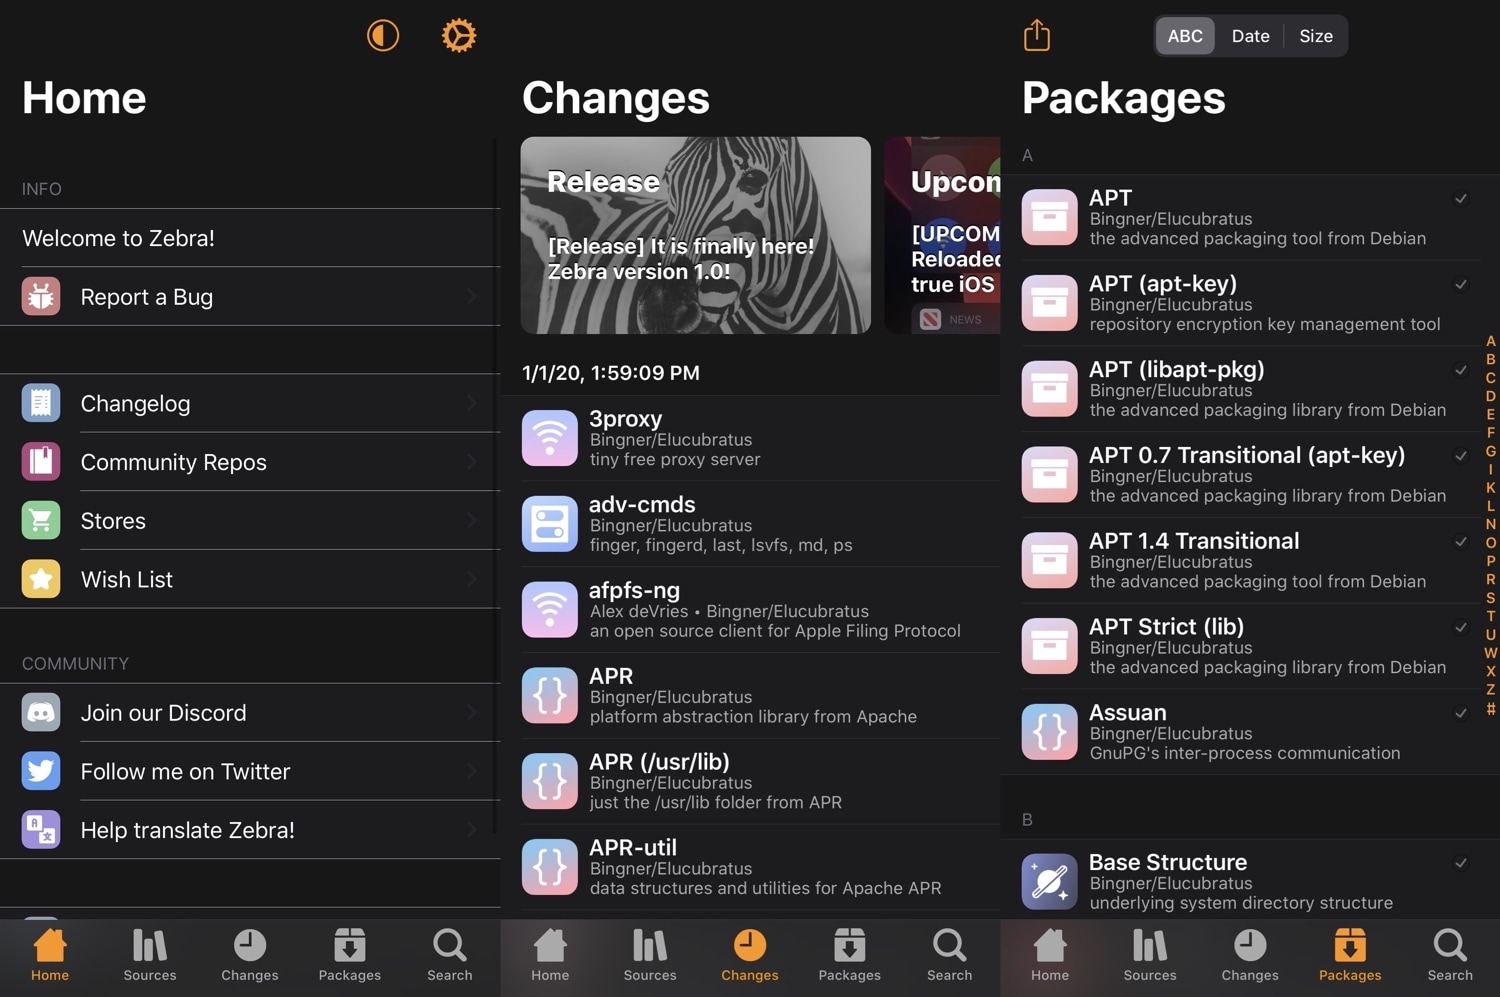
Is Zebra better than Cydia? We’ll leave that opinion up to you!