Looking for Checkra1n For Windows alternative? Here’s a step-by-step guide on how to jailbreak iOS 12.3 through iOS 13.3 using Ra1nUSB, the Checkra1n alternative for Windows.
Jailbreaking might not be the huge deal that it was a few years ago, but there remains a hardcore group of people who still want to be able to take control of their iPhones and iPads whenever possible. Right now, there are a couple of jailbreak tools you can use if you’re on Windows given checkra1n is still not officially out on Windows, with Ra1nUSB being one of those.
![]()
This tool should work perfectly well on both Intel and AMD-based systems, although there are so many variables to consider that it can be difficult to say for sure that everything will go according to plan ahead of time. With that said, we’re going to run through the steps you need to take in order to get your jailbreak on.
So, assuming you have an iPhone 5S through iPhone X running iOS 12.3 through iOS 13.3, here’s what you need to do.
Before you start, you’re going to need to download balenaEtcher to create the image. You also need the correct jailbreak file depending on whether you’re using an Intel or AMD processor in your computer. Once you have those, launch the balenaEtcher app. Make sure you have a USB drive inserted, too.
Step 1: The app should automatically detect your USB drive. Click Change and select the correct drive if not.
Step 2: Click Select Image and select the image you downloaded earlier.
Step 3: Restart your computer and press F12 (this may be different depending on your computer) and select the USB drive as your boot option.
Step 4: Once the PC is booted from the USB drive, click Boot macOS and wait for the process to complete.
Step 5: When macOS starts, click the screen to reveal the menu bar. Click Utilities and then Terminal.
Step 6: Type “ra1nusb” and press the Return key.
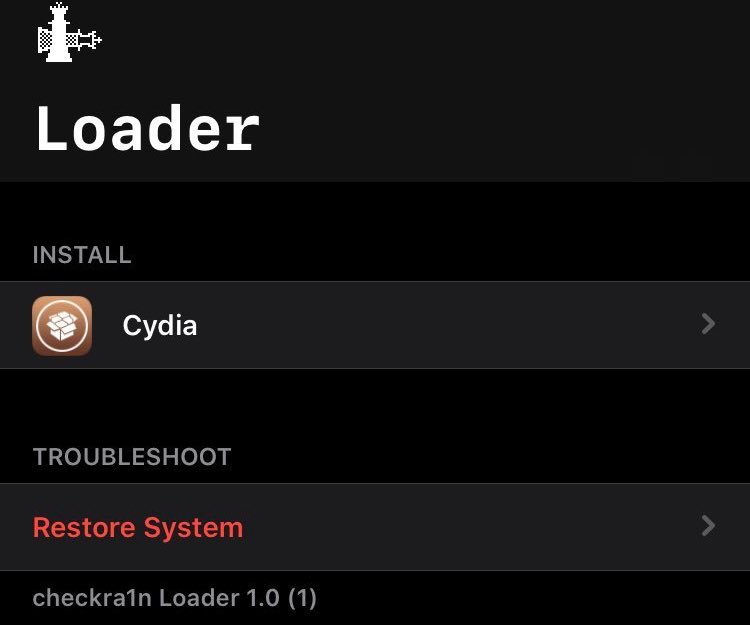
Step 7: This will start the Checkra1n installer. Connect your iPhone and follow the process to its conclusion using this guide here.
Step 8: Once you’re done, you can restart your computer as normal.
And that should be all you need to get up and running.
You may also like to check out:
- Download: iOS 13.3 Final IPSW Links, OTA Update And iPadOS 13.3 For Compatible Devices
- Download: iOS 13.3.1 Beta 1 OTA Profile, IPSW Links Released For iPhone And iPad
- Downgrade iOS 13.3 To iOS 13.2.3 For Checkra1n Jailbreak, Here’s How
- Jailbreak iOS 13.3 Using Checkra1n, Here’s How [Guide]
- Jailbreak iOS 13.3 / 13.3.1 On iPhone 11, 11 Pro Max, XS, More With New tfp0 Exploit Will Be Possible Soon
- iOS 13 / 13.2.2 Jailbreak Tweaks Compatibility List For Checkra1n
- Gold iPhone 11 Pro Max: Case, Lightning Cable, Wireless Charger, Band, Speaker, More
- Red iPhone 11 Accessories: Case, Lightning Cable, Wireless Charger, Band, Speaker, Much More
- Yellow iPhone 11 Accessories: Case, Lightning Cable, Qi Wireless Charger, Band, Speaker, Much More
- Purple iPhone 11 Accessories: Case, Lightning Cable, Qi USB Charger, Band, Speaker, Much More
- Green iPhone 11 Accessories: Case, Lightning Cable, Qi USB Charger, Band, Speaker, Much More
- Midnight Green iPhone 11 Pro Max: Case, Lightning Cable, Wireless Charger, Band, Speaker, More
- Apple Watch ECG App Hack: Enable Outside US In Unsupported Country On Series 5 & 4 Without Jailbreak
You can follow us on Twitter, or Instagram, and even like our Facebook page to keep yourself updated on all the latest from Microsoft, Google, Apple, and the Web.
