You don’t have to squint or search for your reading glasses just to see items on your screen better. Try one of these built-in ways to increase the font size on your Mac and make your computer time more pleasant.
If you find yourself increasing the font sizes when you’re working in apps like Pages or Notes or have difficulty seeing the default small menus, you might benefit from permanently enlarging the text size of your Mac. After all, why struggle and give your eyes pain if you don’t have to?
Here, we’ll show you five easy and free ways to increase the text size on your Mac. These tips work for laptops like MacBook Air and MacBook Pro, as well as Mac desktops like Mac mini, Mac Studio, iMac, and Mac Pro.
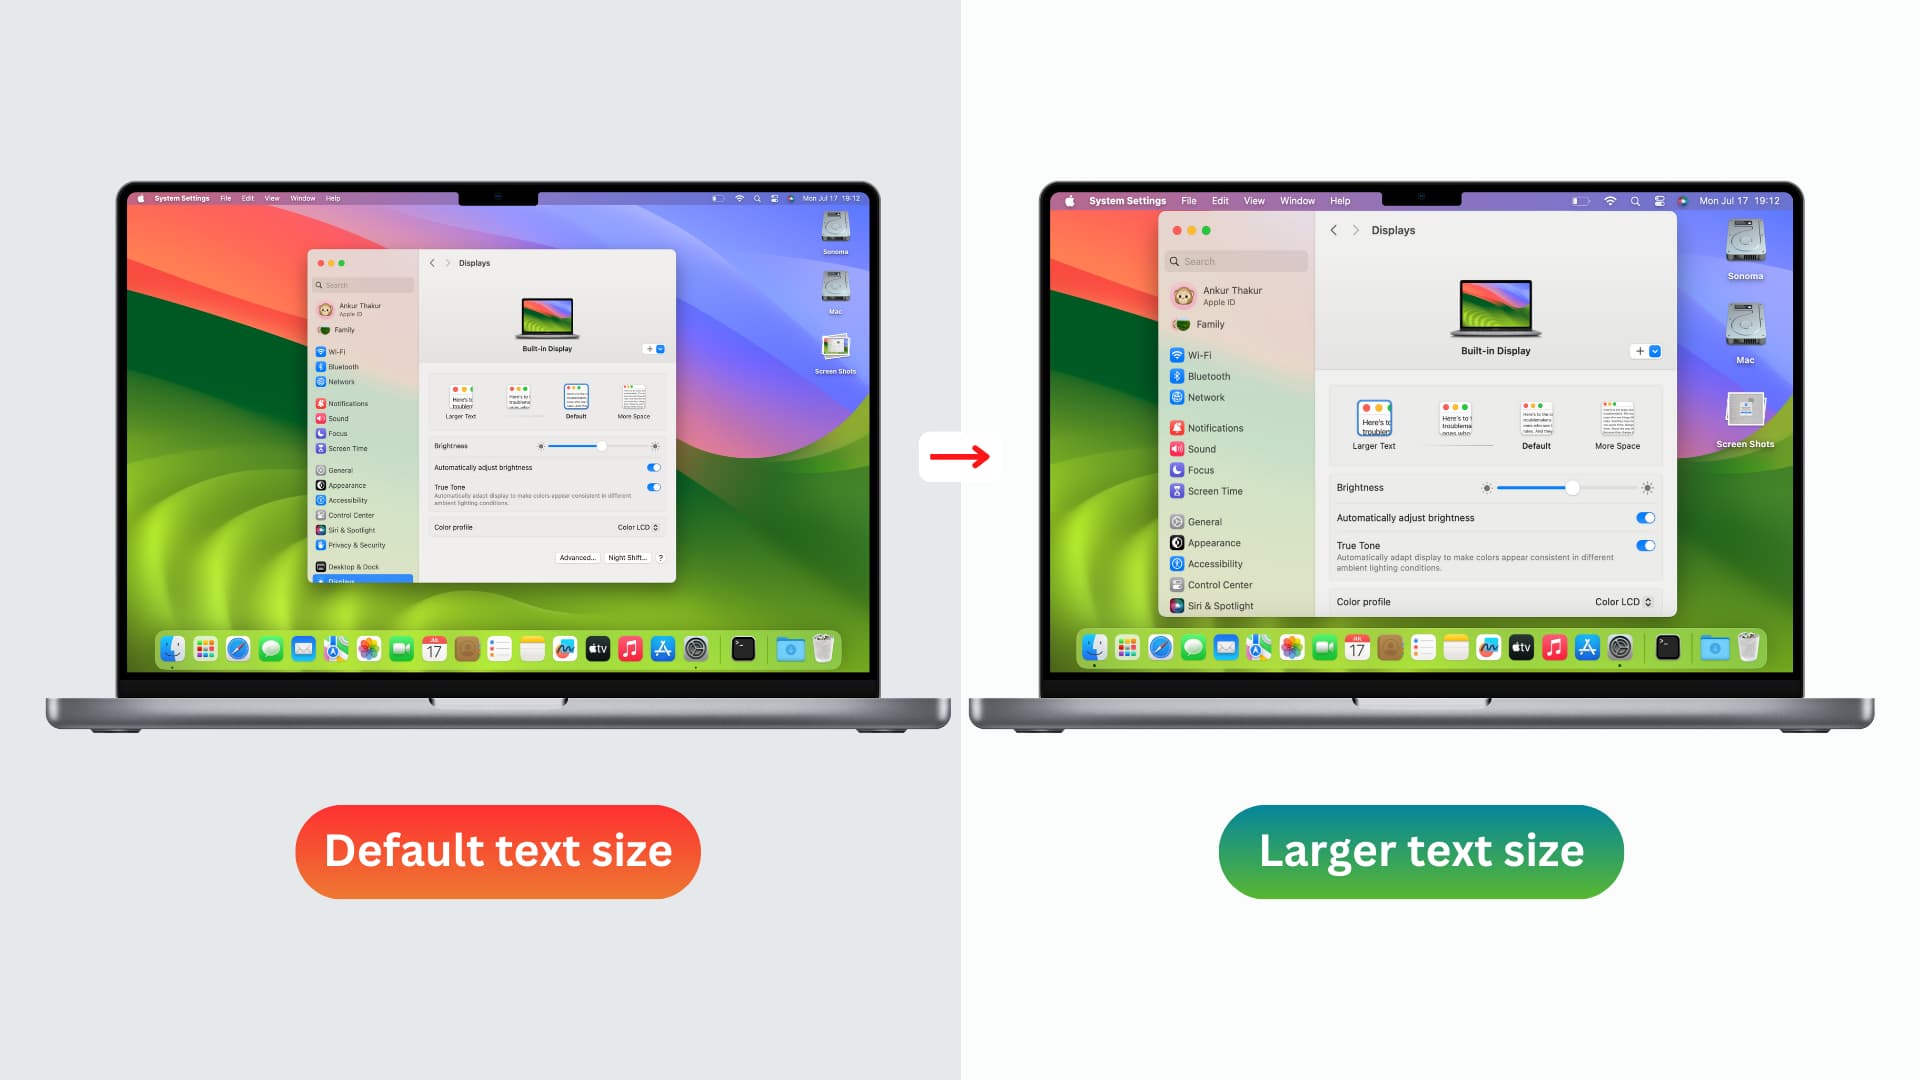
1. Increase the overall system text size on Mac
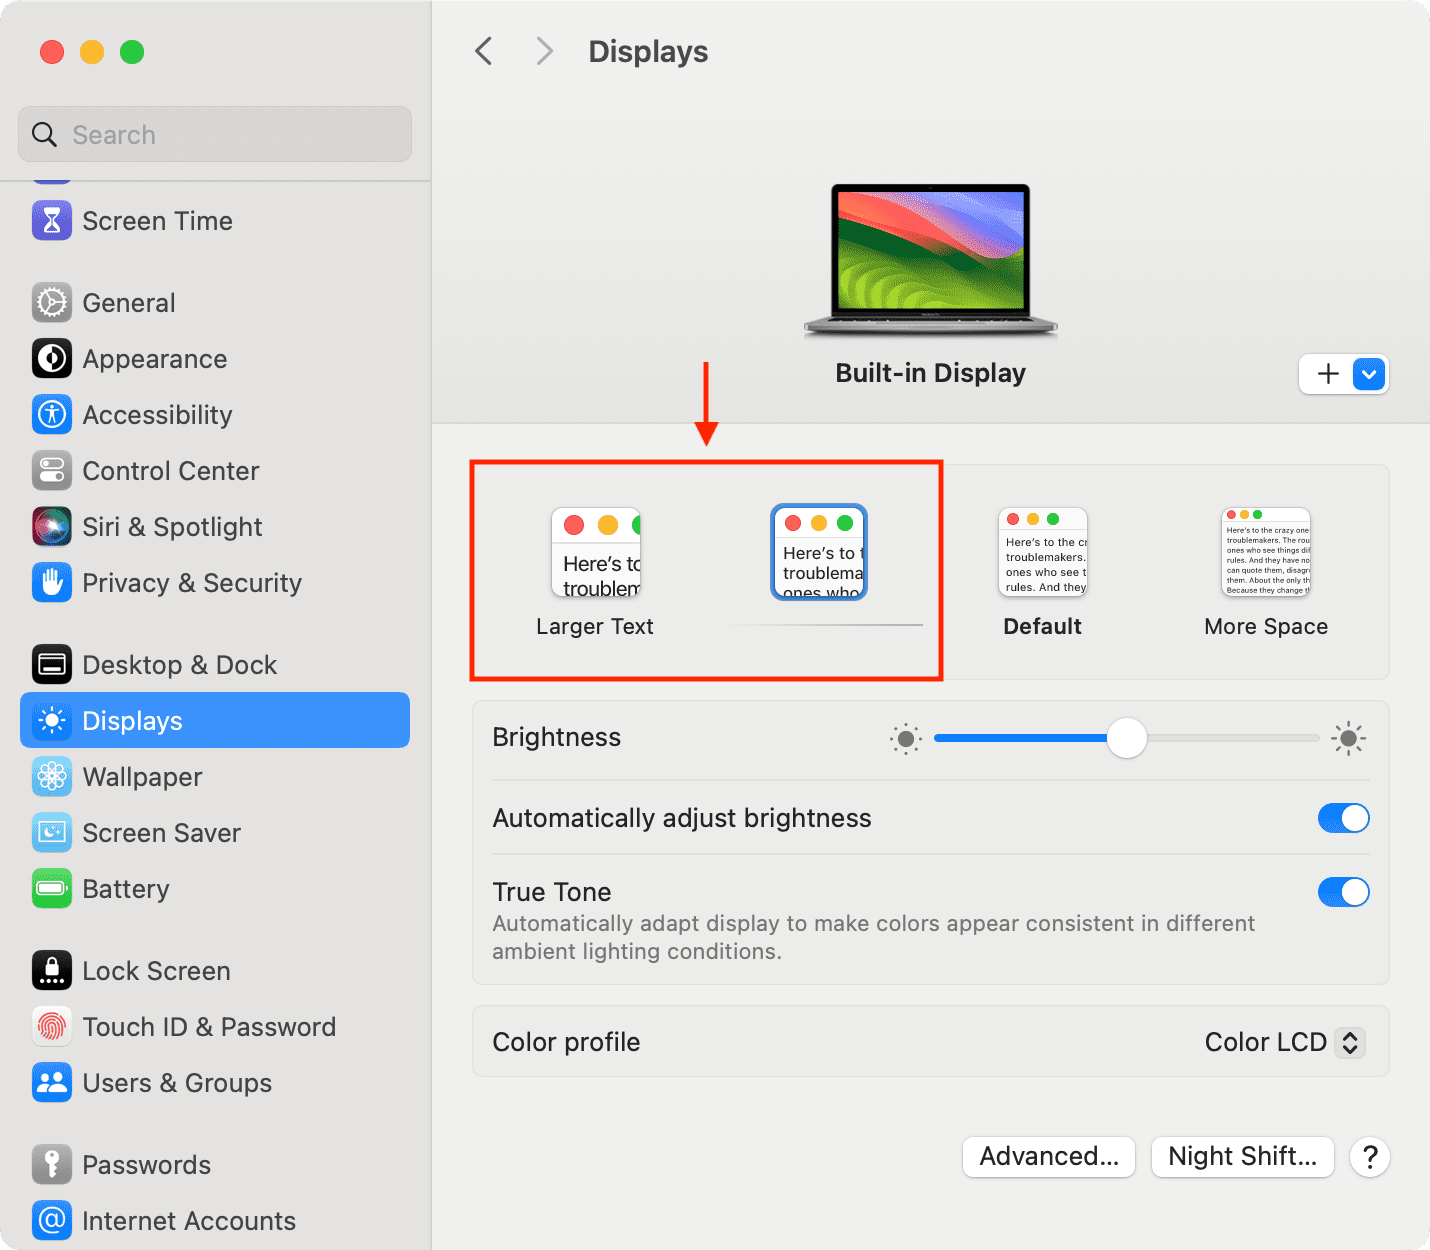
- Open System Settings on your MacBook or Mac desktop.
- Select Displays from the left sidebar.
- Select Larger Text or an option that’s on the left of the currently selected Default text style.
- Depending on the inbuilt screen size or the connected monitor size, you may be shown a popup and asked to confirm. For example, if I select Larger Text on my 13-inch MacBook Pro, it shows a popup asking, “Are you sure you want to switch to this scaled resolution?” I can click the Change Resolution button or hit Cancel and pick another option.
You will now notice bigger app windows and bigger text throughout the system.
On older versions of macOS
Follow these steps if your Mac is running a version of macOS that’s a few years old:
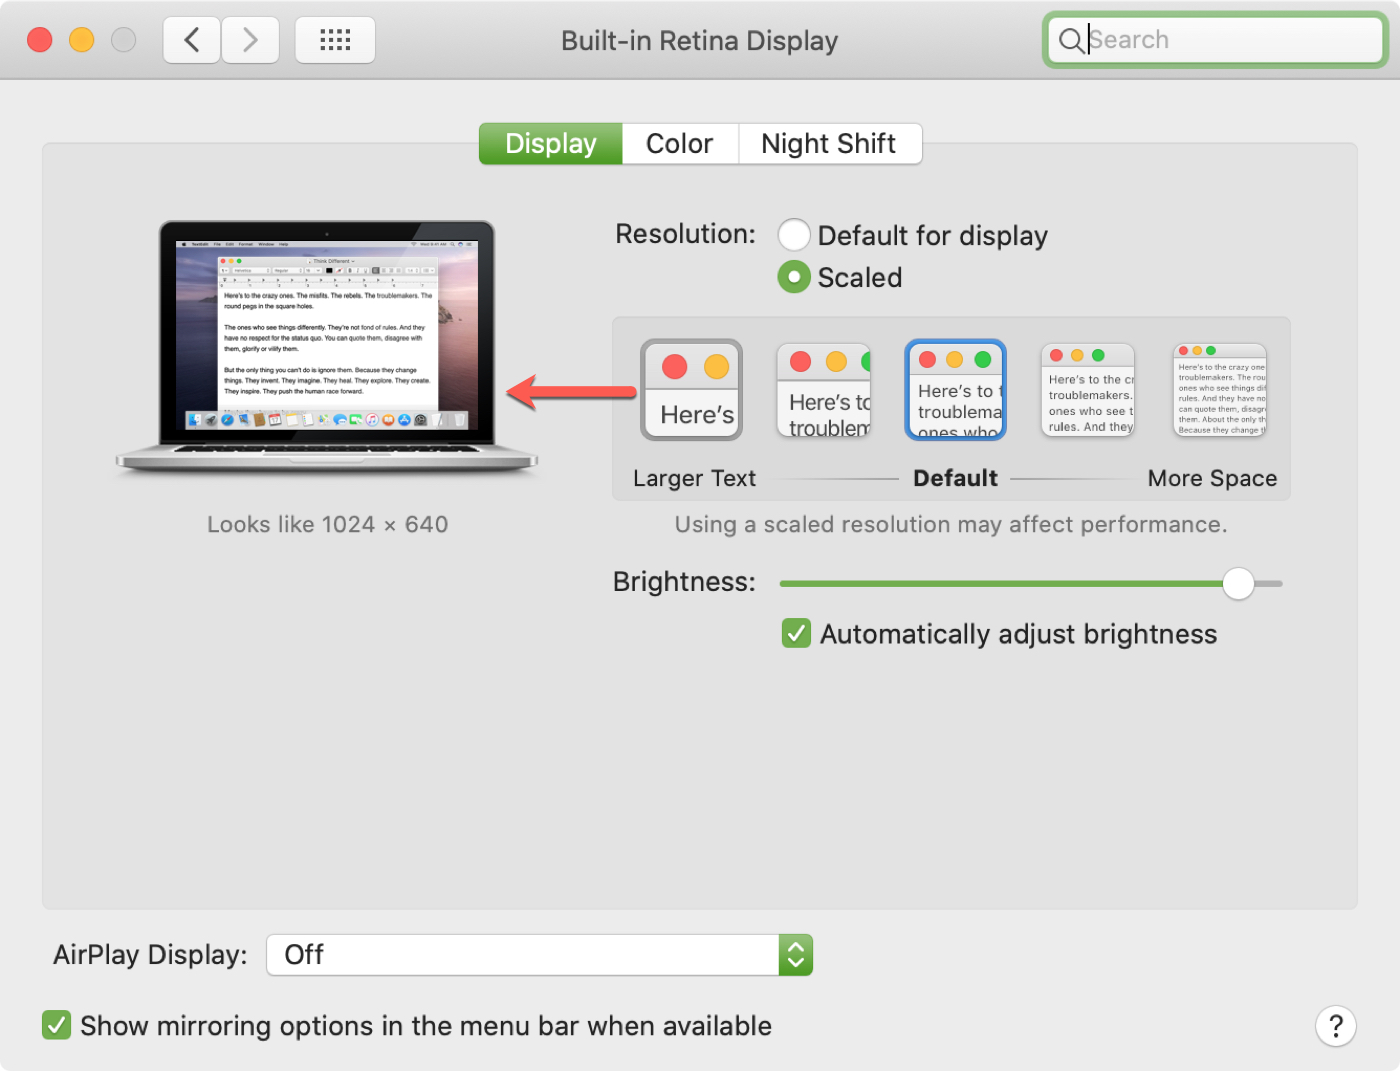
- Go to System Preferences > Displays and make sure the Display tab is selected.
- Next to Resolution, choose Scaled.
- You’ll notice a box open up showing you the settings for Larger Text and More Space. Obviously, you’re here to increase the text size, so pick an option to the left. As you put your cursor over the two different choices, you’ll see a preview to the left, along with what the resolution will look like.
- After you pick an option, click OK to confirm the change. In a moment, your screen will refresh and reflect the change. Now you should see a bigger font size that’s easier to view.
2. Change the text size of some apps
macOS Sonoma allows you to change the text size of a handful of apps on a per-case basis. Please follow our dedicated tutorial to do that.
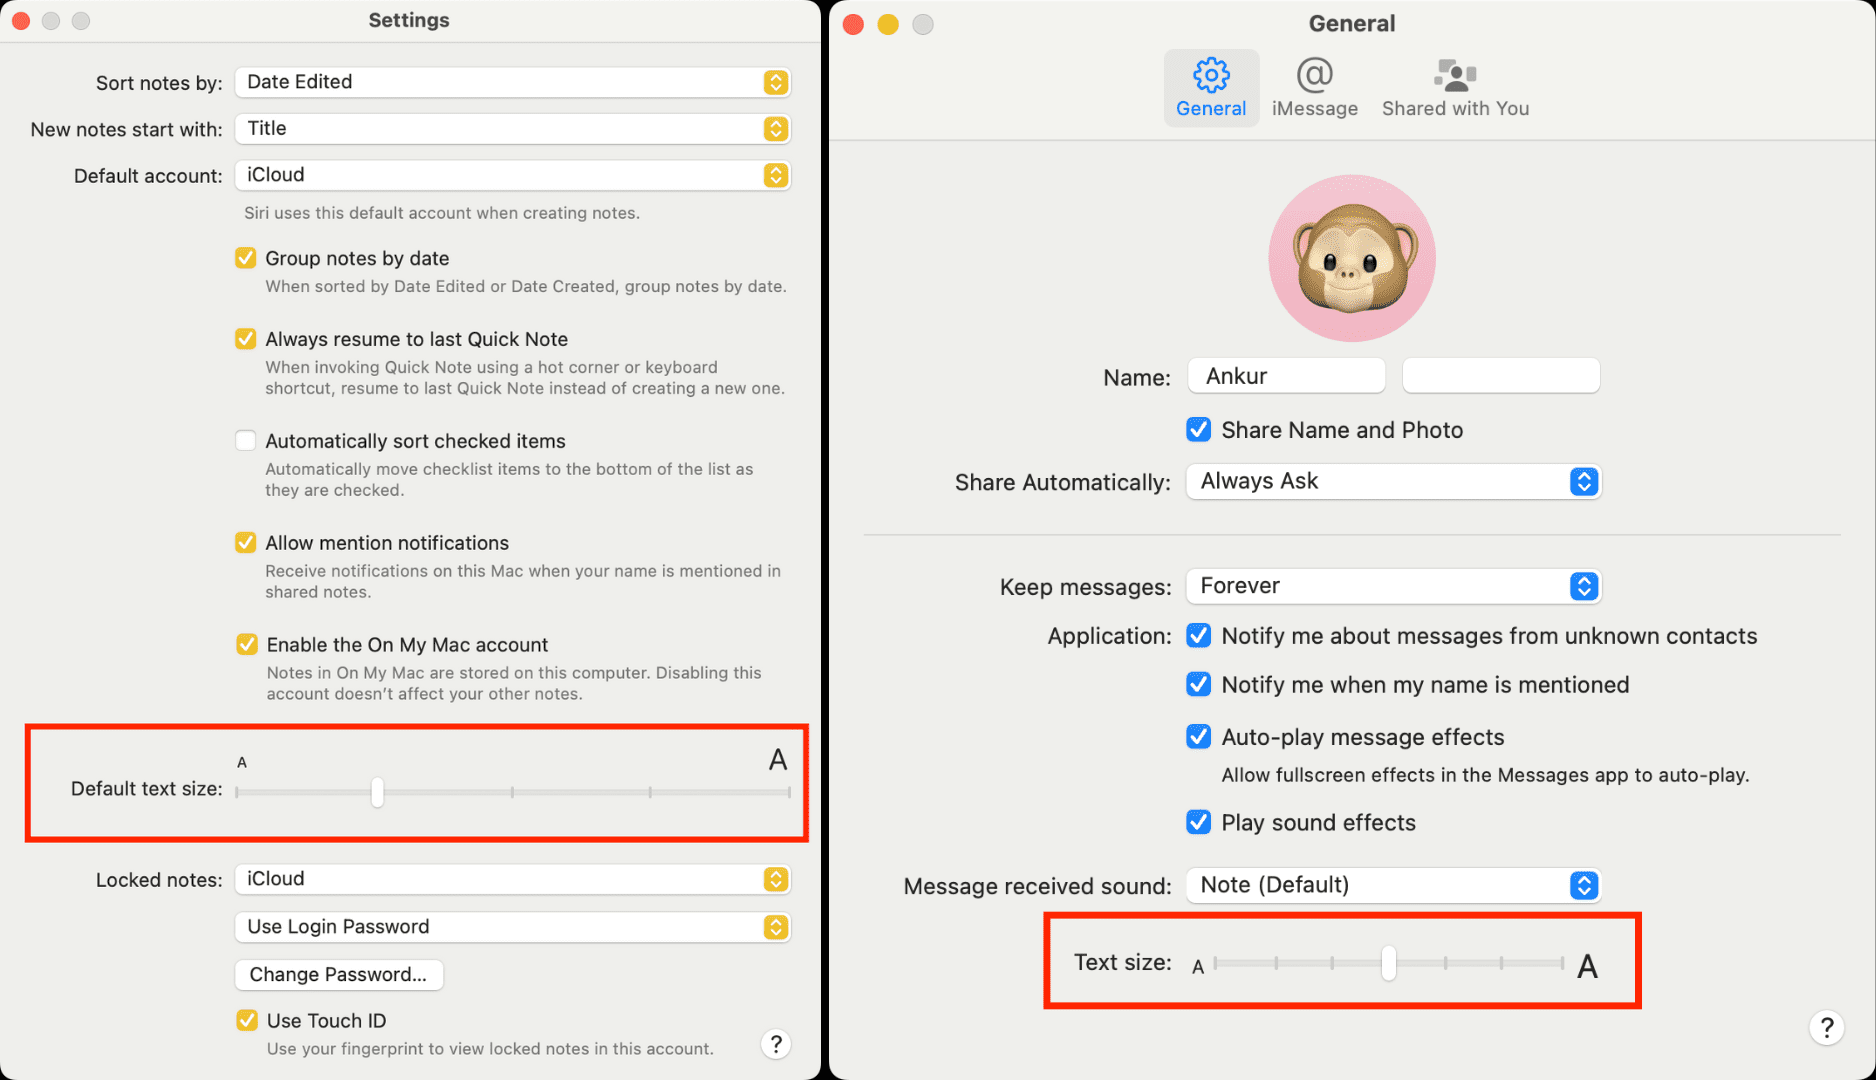
3. Use in-app text size settings
Some apps like Notes and Messages offer an inbuilt option to adjust the text size. You will find them in their in-app settings, which you can access by opening the app and pressing the Command + comma (,) keys or by clicking the app name > Settings from the top menu bar.
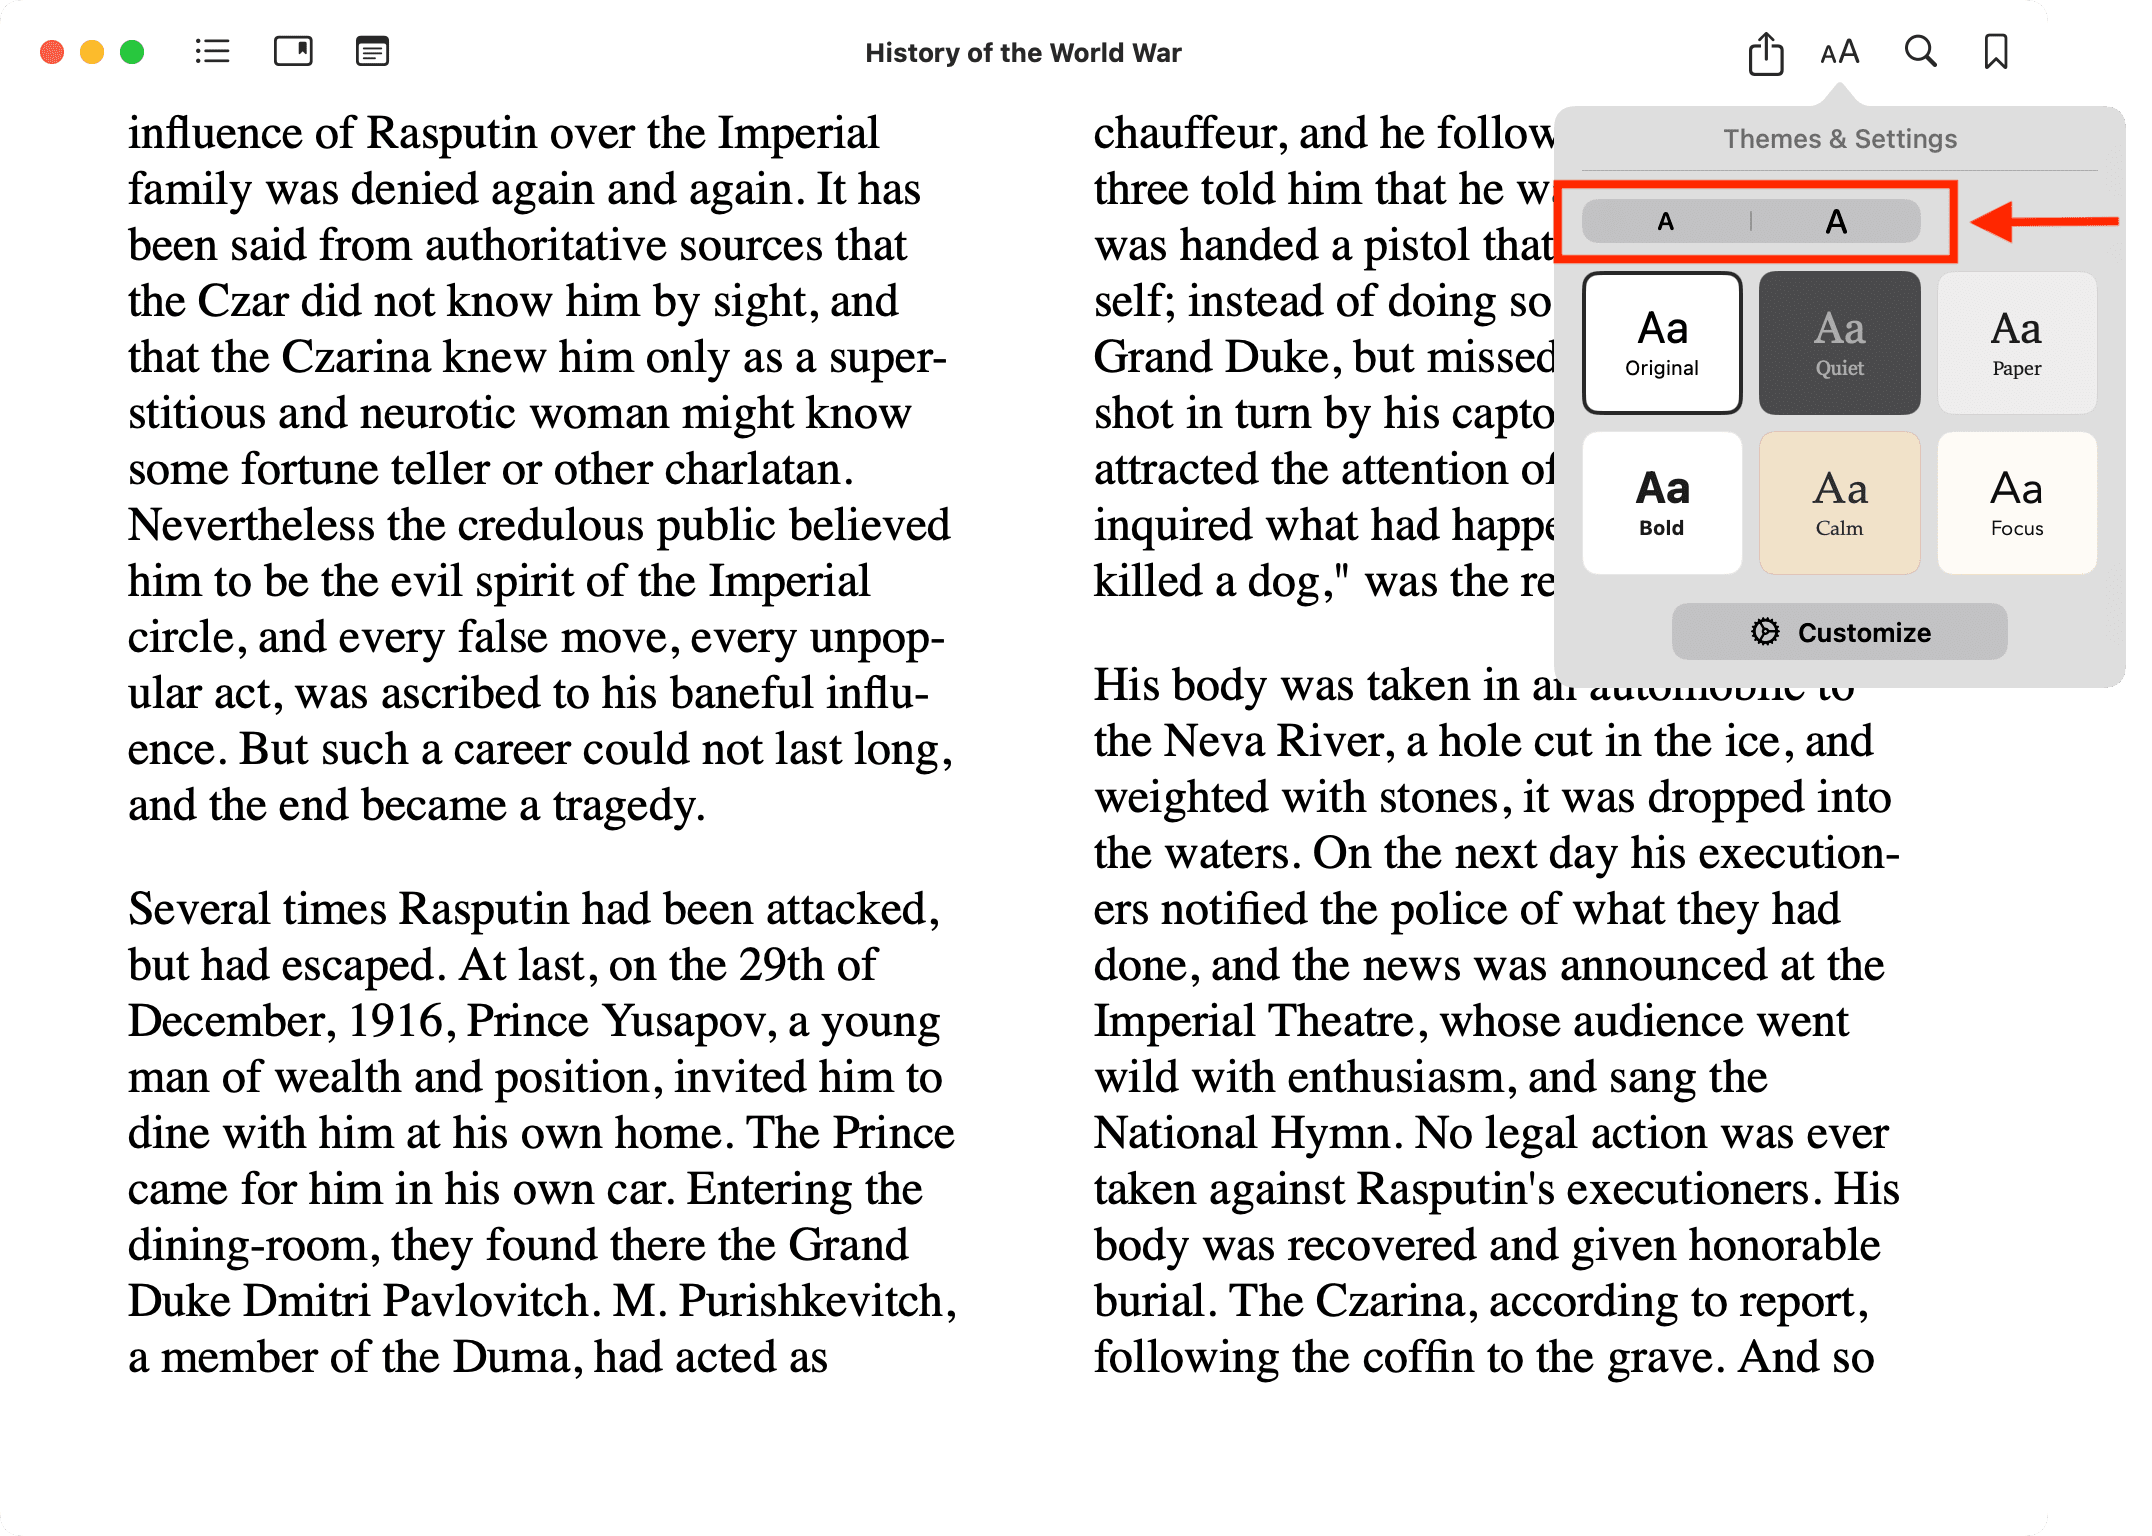
Additionally, some reading apps like Books offer on-screen buttons to increase or decrease the text size to make your reading comfortable and stress-free.
4. Use the Accessibility features to make text bigger
If you want to increase the text size for a shorter period of time, you can do this using the built-in accessibility features and keyboard shortcuts.
Zoom the entire screen
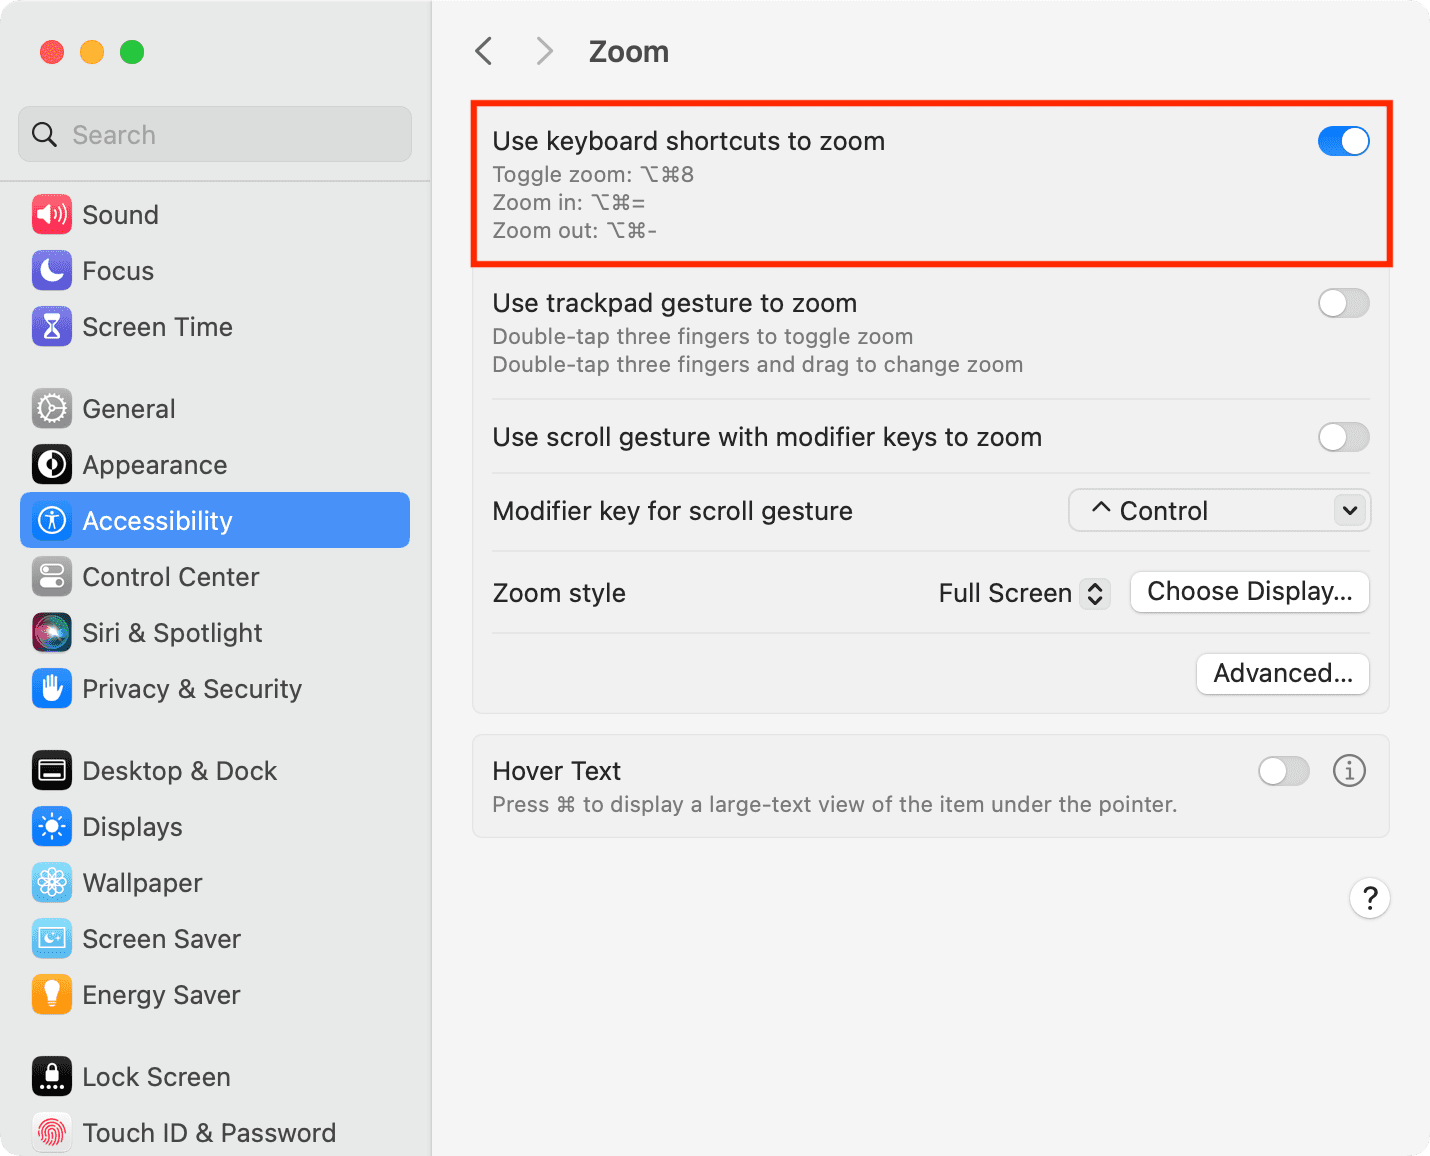
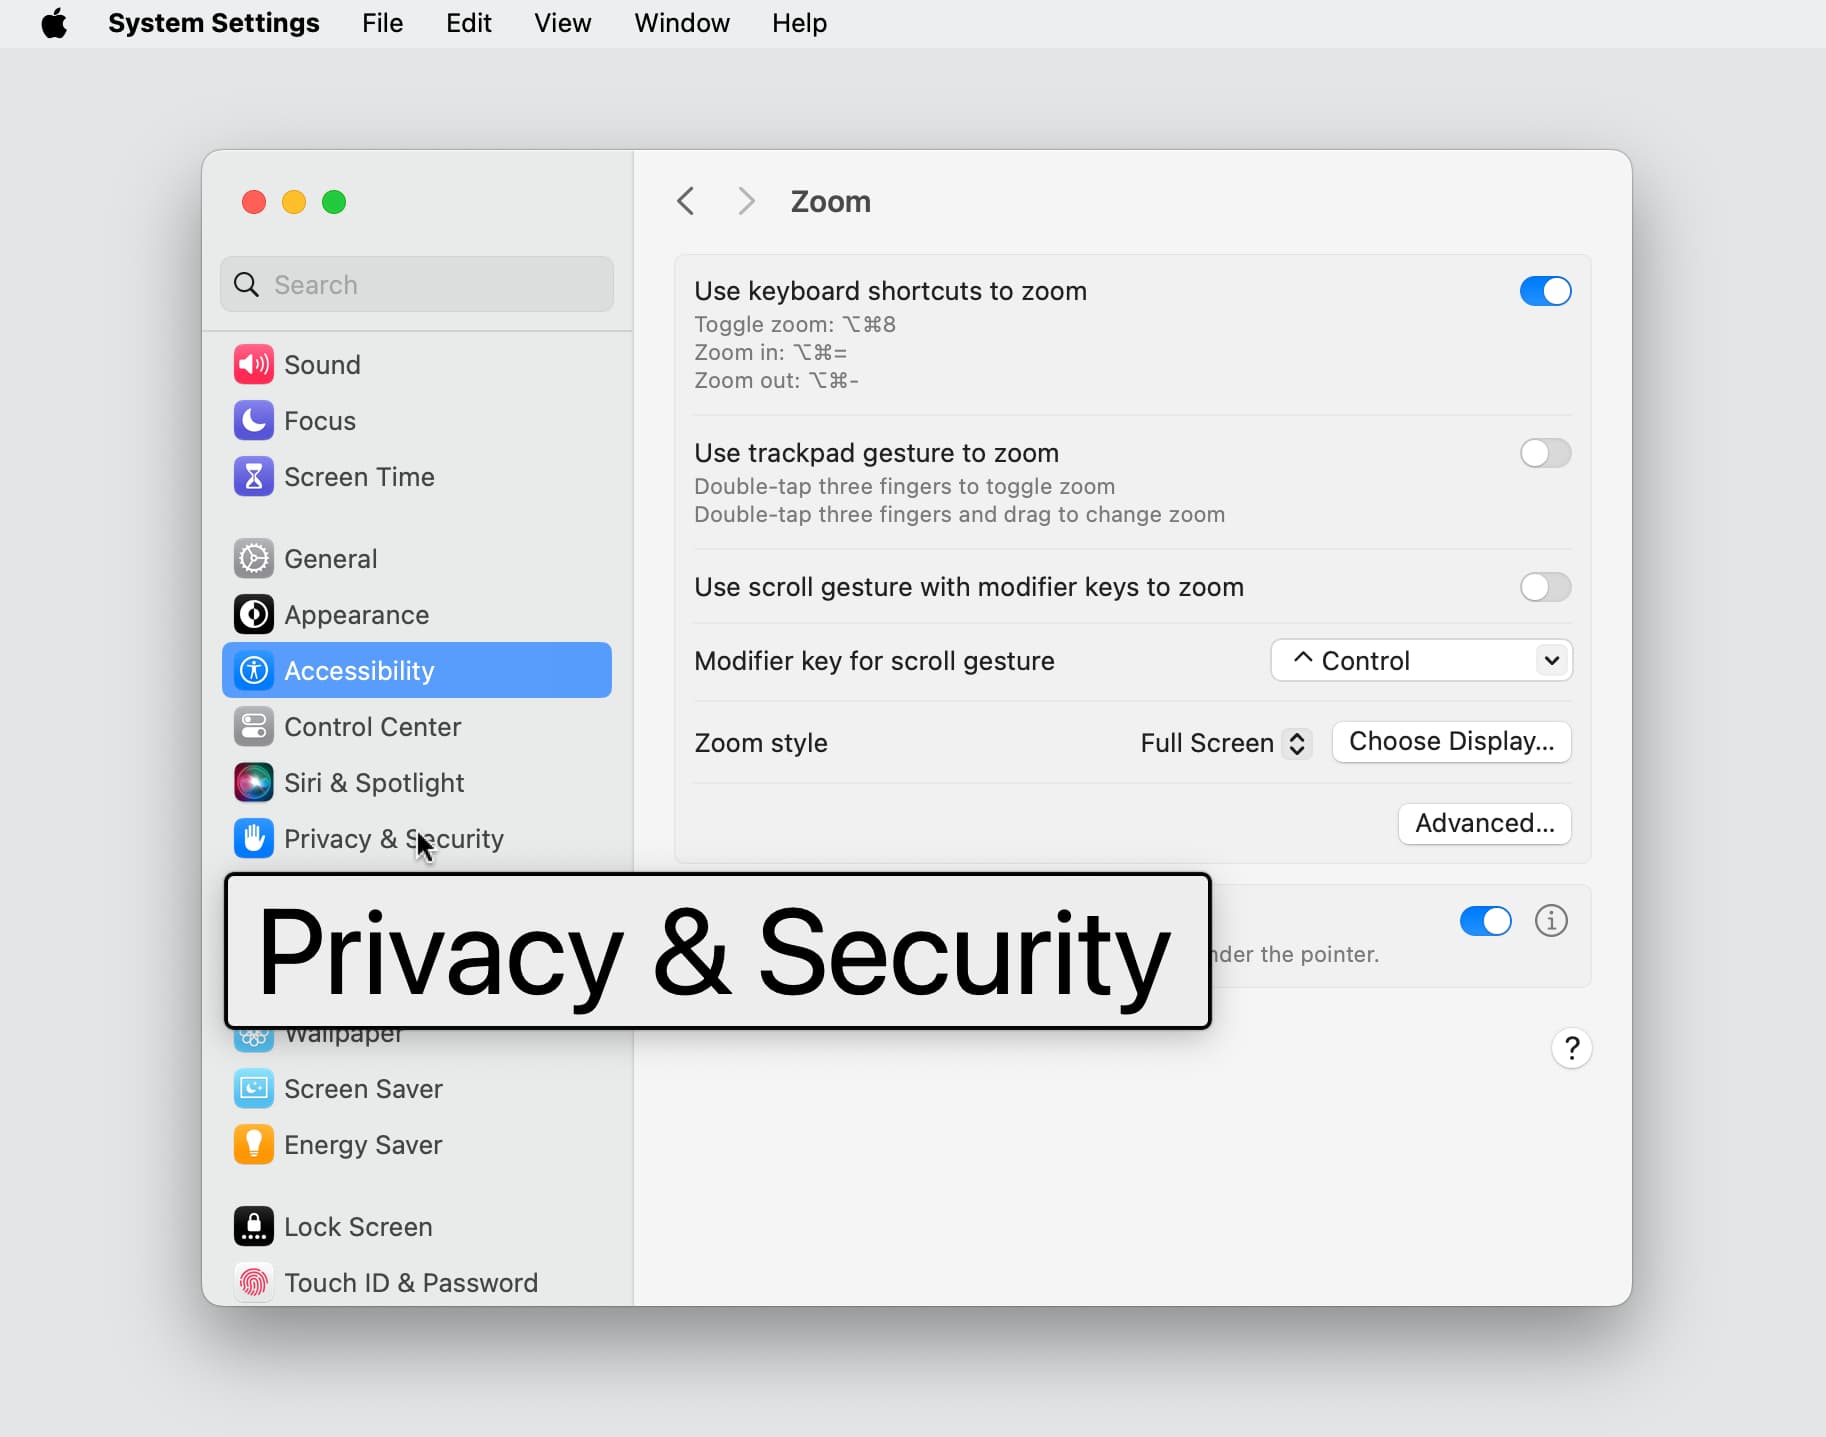
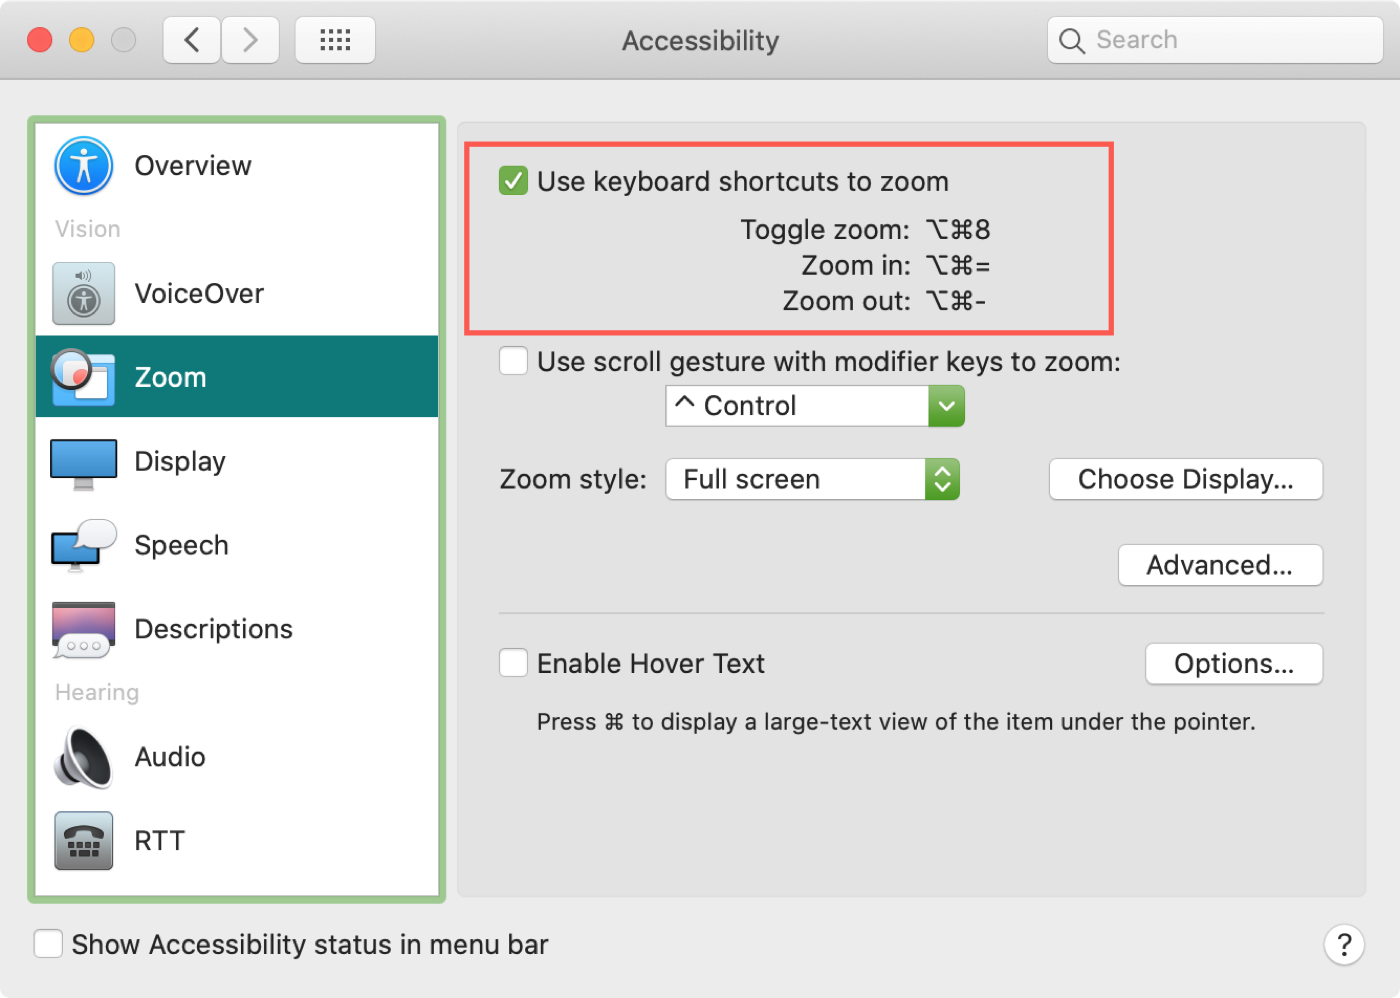
- Open System Settings and go to Accessibility > Zoom.
- Turn on the switch for Use keyboard shortcuts to zoom.
- From now, you can use Option + Command + 8 to trigger screen zoom and use Option + Command + Equal key (+/=) to zoom in and Option + Command + minus key (-) to zoom out.
Zoom just specific texts
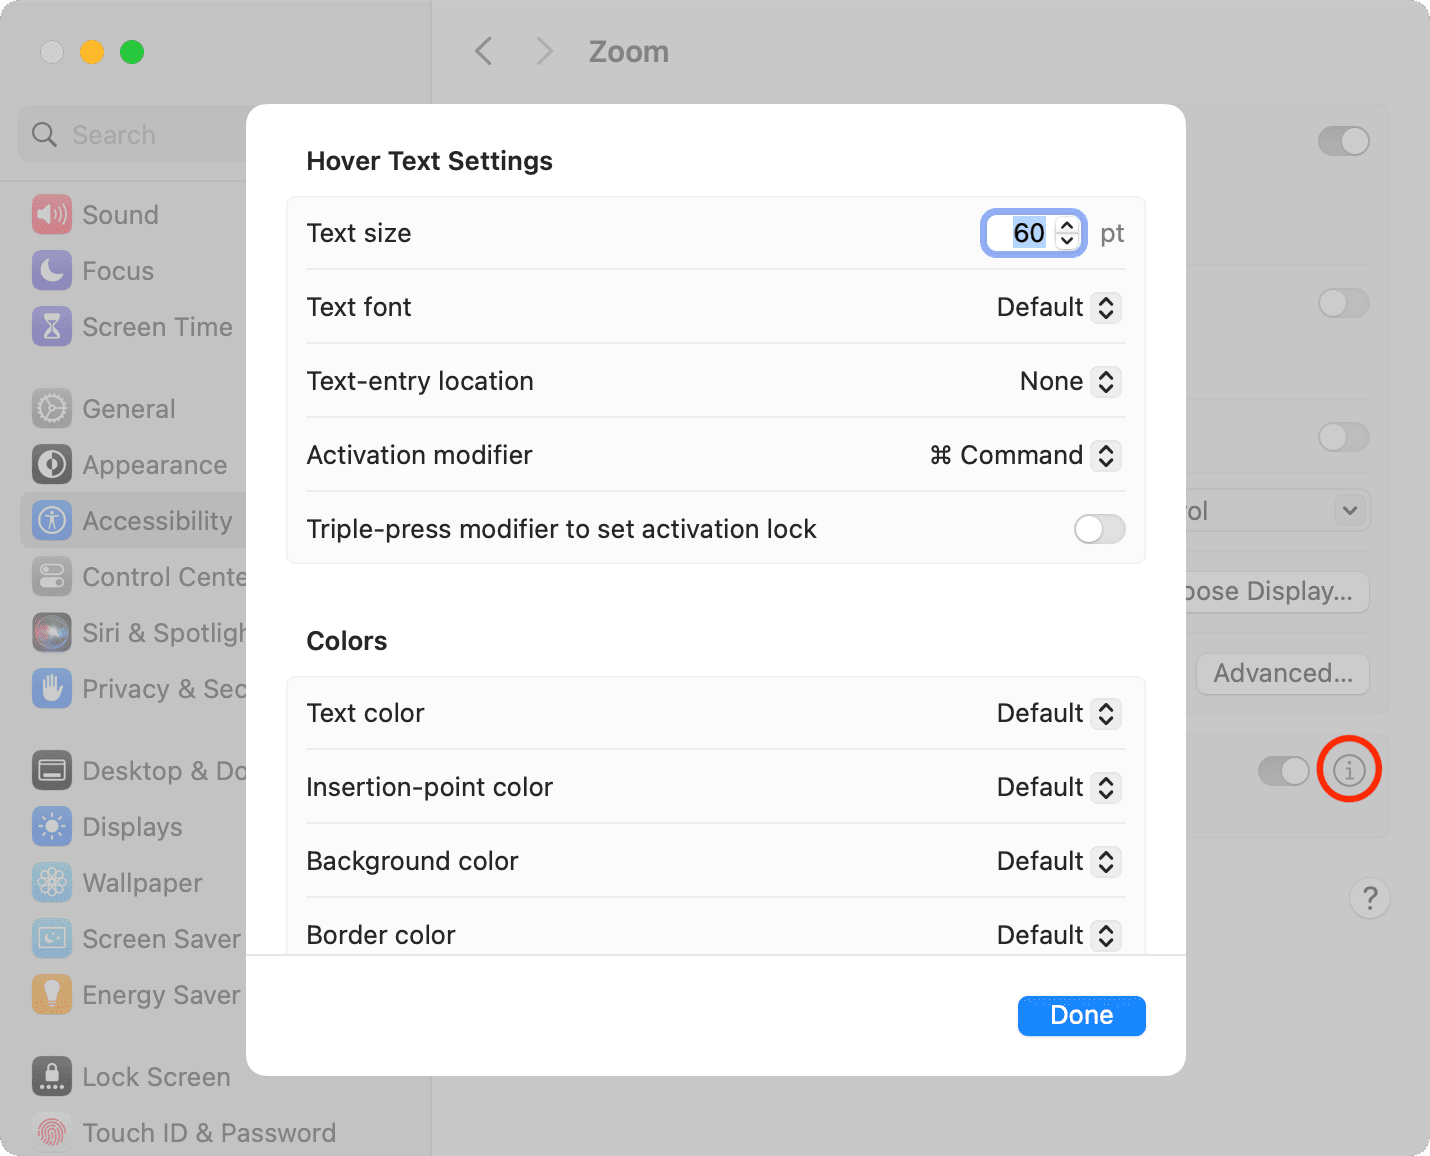
If you’d rather not zoom in on the screen but just increase the text you’re reading, you can enable the setting at the bottom of the Accessibility window for Hover Text.
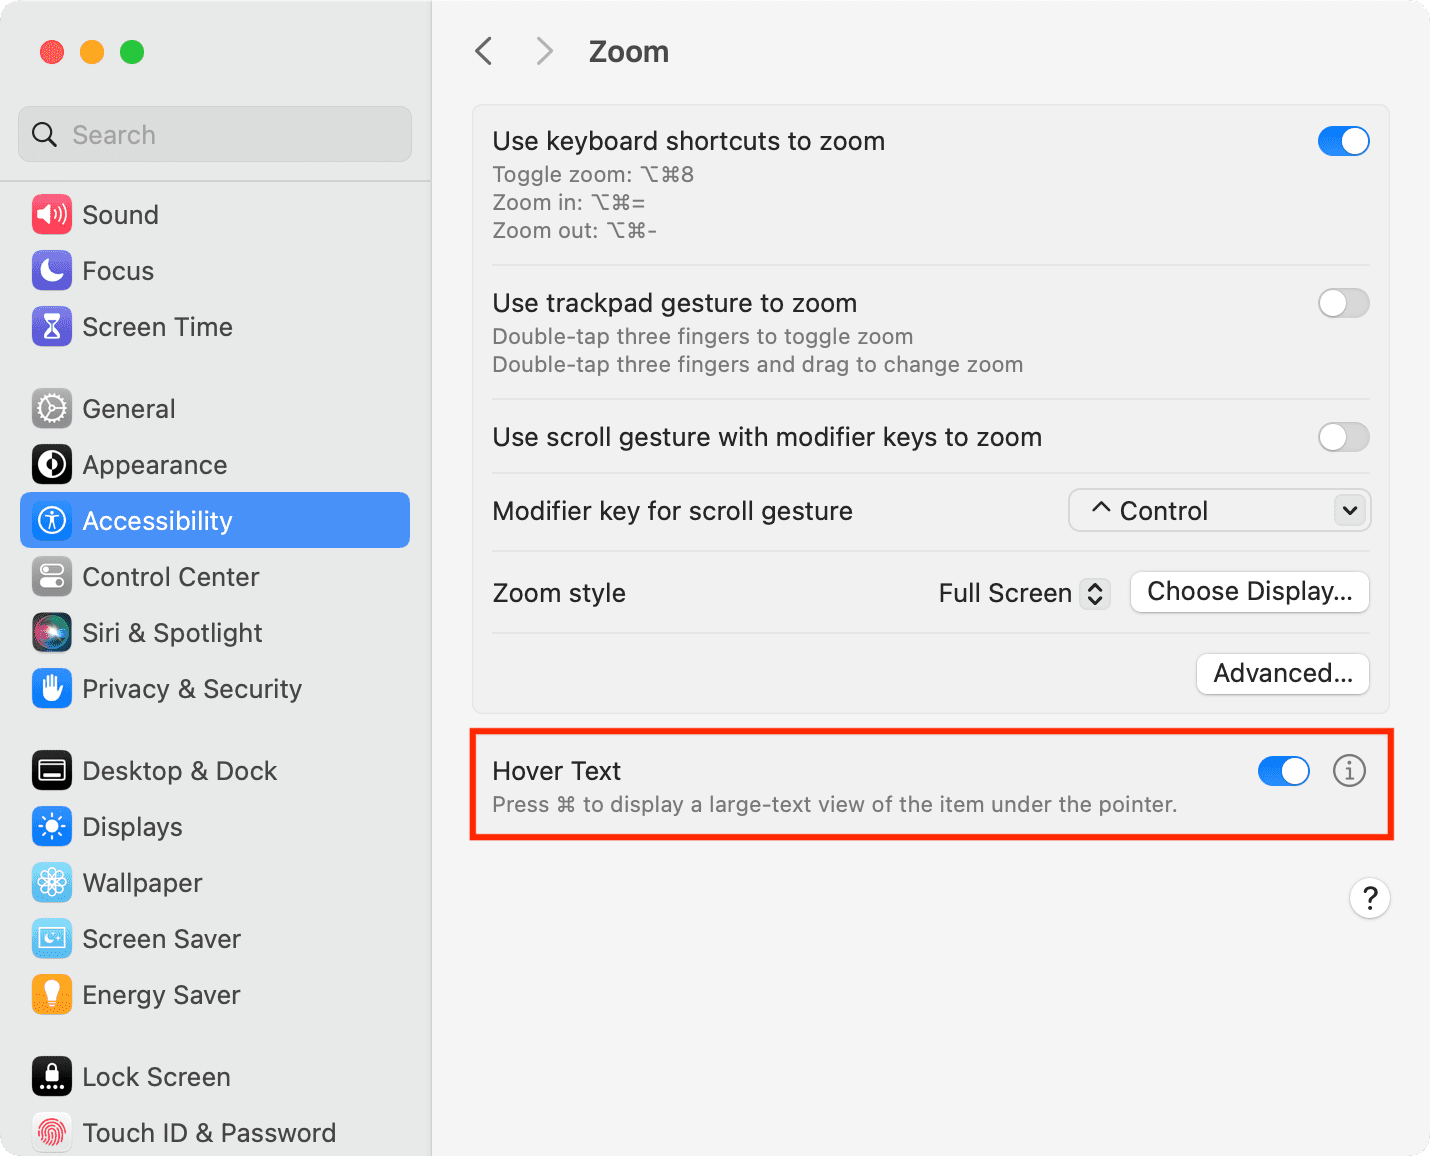
This cool feature will pop the text out in a large font when you hover over it while pressing the Command key.
Additionally, you can click the info button ⓘ next to Hover Text, and you can pick the size, style, location, and a different modifier key if you like.
On older versions of macOS
- Go to System Preferences > Accessibility > Zoom.
- Check the first box at the top for Use keyboard shortcuts to zoom and make a note of the shortcuts you’ll be using. Now you can use those shortcuts to zoom in and increase the size of your screen and, thus, the text on it.
- From this screen, you can also enable Enable Hover Text.
5. Take advantage of quick shortcuts
Here is a couple of extra keyboard shortcuts you can use to increase the font size on Mac.
Desktop
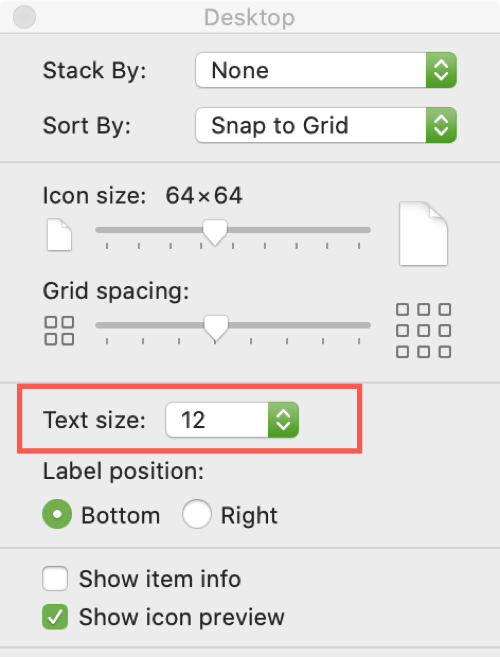
Press Command + J and a small window will open. Next to Text Size, select the size you want in the drop-down box. You’ll see the size of the text for items on your desktop increase immediately.
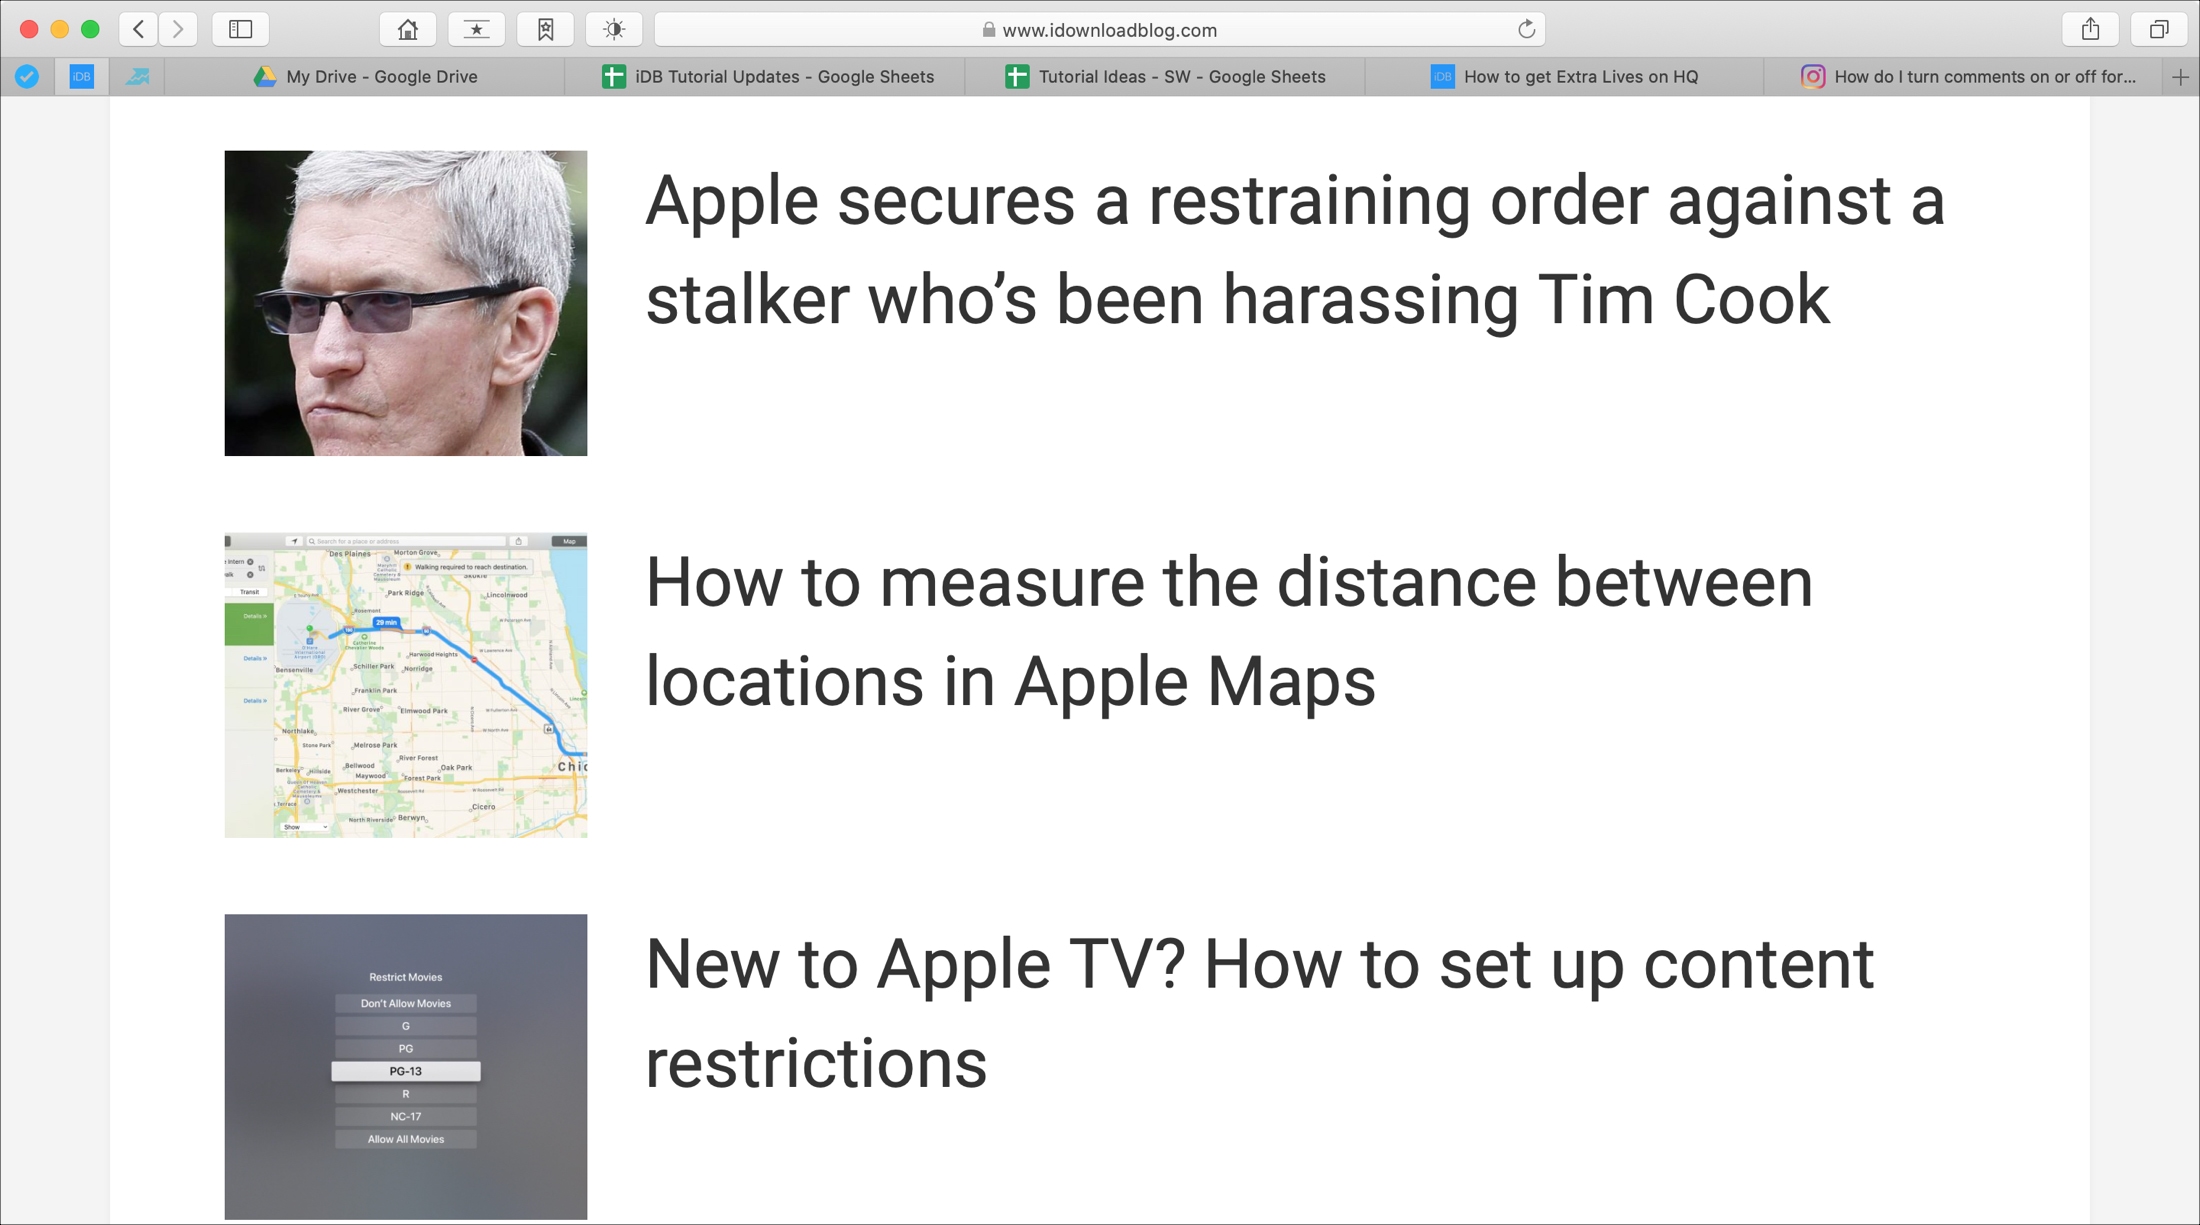
Webpages and apps
For webpages and some apps, you can also use the shortcut Command + plus sign (+) to zoom in and Command + hyphen (-) to zoom out in Safari, Google Chrome, and other web browsers.
Are you going to check out one of these methods for increasing the font size on your Mac? Let us know which one you prefer or if you’ve discovered another way to do it that we can add to the list!
On the same note: