
Nearly two years ago, I installed the iSmartGate garage door opener. During that time, we used it a decent amount, but never daily. Since we still have RF-based remotes, they were often faster to use vs. opening the Home app, waiting on it to connect, and then opening the garage door. Since I finally added CarPlay to my car through the IntelliDash CarPlay Unit, having access to my garage doors in HomeKit has become a daily use.
HomeKit Weekly is a series focused on smart home accessories, automation tips and tricks, and everything to do with Apple’s smart home framework.
iSmartGate has a compatibility checker that is extensive. You look up your brand and then your model, and it will give you the exact wiring diagram on how to configure it. Once I discovered that my units (we have two separate doors) were compatible, I started looking at which model I needed. I went with the Pro option with a second sensor. There are two: Pro and Lite. The Lite model works with HomeKit, but it’s not compatible with more than a single-door wired sensor. It also doesn’t include an LED light or custom opening and closing music. Because I have two doors, I went with the pro model.
Installation process

The first step to installing an iGate garage door opener is figuring out how it will be connected with your opener. With products like this, the installation instructions are a massive part of the initial satisfaction with the product, and iSmartGate delivered with their walkthrough.
As I’ve mentioned many times, I am not very handy, so anything to do with actual home repair/upgrades is not something I am always comfortable doing. I would advise getting everything connected to your network prior to actually pulling out the ladder connecting it to your garage door opener. I did it all on the iSmartGate app. This part is all pretty standard with most smart home products. You go through a pairing process to connect it to your Wi-Fi network (it also supports USB to ethernet if you want to go that route).
During the process, you have the opportunity to connect it to HomeKit. Again, this part is very seamless. I was sent to the Home app where I could scan the QR code on the back of the unit. You actually don’t even need to create an account with the manufacturer if you are using HomeKit. I opted to do this just for testing purposes, but I always appreciate when that is an option as that is one of the reasons I love HomeKit (privacy options).
One thing you’ll need to configure is connecting the wireless sensor to the main unit. There is a code on it that you will use to program it. This sensor allows it to know when the door is up or down.
Once it’s configured and connected to your network, you’ll be ready to do the fun part: connecting it to your opener. The instructions are superb on this part as well. You’ll need a tiny flat screw driver to complete this part. There are two ways to configure it: wiring directly to your opener or wiring to the wall push button. I didn’t have power near my wall push button, so I opted to wire directly into the opener. For your first unit, you wire in two wires into Door 1 slots. For my unit, I then wired them into slots 3 and 4 on the actual opener.
The next step is installing the sensor. We have a sectional door, but they have instructions for almost any type of door you’d have. Once that is configured (and if all done right), you can now open and close your door from the Home app or the iSmartgate app.
You’ll repeat this process if you have a second door. If you didn’t set up the second door on the first round, you can easily add it through the iSmartgate app. The only hiccup I ran into during the entire process was that the included wire wasn’t long enough for my second opener. It’s standard 2 wire that can be purchased from any hardware store or on Amazon. Once I added that, I got my wife’s door configured as well. I used a staple gun to keep the wire from dangling down. Once I added it to the iSmartgate app, it showed up right away in the Home app.
How I am using a HomeKit garage door opener
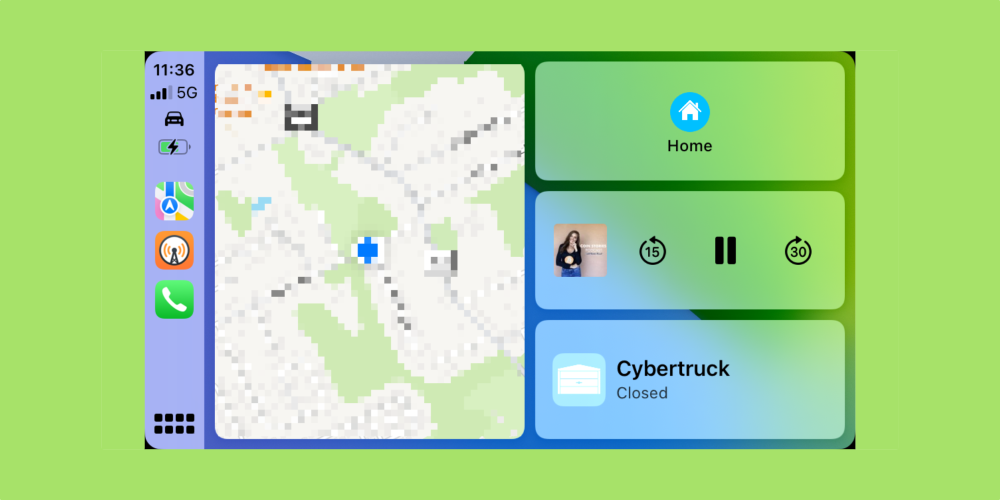
One of the best features of CarPlay is how it can bring in tile suggestions depending on the time of day, where you’re at, or what’s on your calendar. For more information on how it works or what’s available, check out Apple’s Support Page. Every car and CarPlay implementation is slightly different, but here’s a general page on enabling CarPlay Dashboard suggestions.
Because iSmartGate designates itself as a garage door opener, it shows up as I depart and arrive at my house. It’s become the only way I operate my garage door. As I pull away from my house, I tap CarPlay’s garage door button to close it. CarPlay displays the garage door far enough away that I can tap it, and the door is fully open as I pull in the drive way.
Wrap-up on HomeKit garage door opener
Overall, I love having a HomeKit garage door opener. I love how easy it was to install it into my seven-year-old openers. I love how I can now verify my doors are closed. I love how I can open them remotely if a friend or family member needed to borrow a tool from my garage. Of course, ditching my RF-based remote is the best part. CarPlay and HomeKit working together is a perfect example of what I love Apple’s seamless integration of hardware and software across my smartphone, car, and home.
From start to finish, it took me under 30 minutes to get it installed. The hardest part was stapling the wiring between the two units to the ceiling. If you want an easy way to convert your older garage door openers to HomeKit, aren’t super handy, and don’t want to spend a lot of money, check out the iSmartgate Pro garage door opener. If you have two doors, be sure to pick up a second sensor. I couldn’t be happier with the iSmartGate garage door opener.
FTC: We use income earning auto affiliate links. More.


Comments