
When it comes to online word processors, we're spoilt for choice today. There's Google Docs, the first online word processor most would think of, but there's also Microsoft Word Online, Zoho Writer, and dozens of new online writing tools like Draft. Apple's even entered the fray with its new Pages for iCloud web app, a polished word processor that's so nice, you just might forget you're working in your browser.
In a previous tutorial, I showed you how to get started with Keynote for iCloud, Apple's web app for presentations. In this tutorial, I'll show you how to get started with Pages for iCloud. You'll learn how to use templates to create great looking documents, take advantage of all the great text and image features, and collaborate with other people in Pages for iCloud.
Screencast
In this tutorial, I'll create a report using Pages for iCloud to demonstrate how the app works. You can use the same techniques I demonstrate in this tutorial to create essays, posters, envelopes or any of the other great document types Pages for iCloud supports.
Introducing Pages for iCloud
Pages is a full-featured online word processor. Almost everything you can do with Pages on your Mac or iOS device, you can do in Pages for iCloud. It runs in any modern browser (officially, it’s supported on recent versions of Safari and Chrome, as well as Internet Explorer 9 or newer), so you can use Pages on your PC, Chromebook, or even on a Mac that doesn’t have Pages You can create and edit documents in your browser, or open any document you’ve made in Pages on your Mac or iPad that’s synced to iCloud. And, you can share a document with other people and allow them to view and edit your document.
All you'll need to use it is a free iCloud.com account. You can signup for a free iCloud account from any modern Mac, iPhone, or iPad—and if you don't own one, and really want to use iCloud, you could signup from a friend's device, or perhaps a demo Apple device at a store. I can’t imagine Apple will mind; after all, you just might get hooked.
Crafting a New Document
Once you are logged into your iCloud account, click on the Pages icon on the dashboard. You’ll first see the Pages overview, with all the documents you’ve already saved in iCloud using Pages on your Mac or iOS devices. Click on any document to view and edit it online, or you can import documents you’ve made in Microsoft Word, or other word processing apps, by dragging-and-dropping them on to this page.
To create a new document, click the Create Document icon in the top left of your documents list, which looks like a pencil over a piece of paper. This will open the list of templates you can choose from. Pages for iCloud has 60 great templates in 9 categories that you can adapt to suit almost any purpose, along with blank documents that give you a perfect slate to make a new unique document.


Select your template—I’m using Modern Report in this tutorial—and click Choose in the top right or just double-click the theme your choice. This opens the Pages web app in a new window or tab, depending on your browser setting. You’re now ready to begin making your first document using Pages for iCloud.
Tip: Although most of the placeholder text in the built-in templates is aimed at students, there is no reason you can’t use Pages’ templates for professional work.
Adding Your Text
When you first open a new document in Pages for iCloud—unless you’ve chosen a blank document—your template is filled with placeholder text. Depending on your template choice, there may also be placeholder images, headers, footers and pull quotes.
Placeholder text does not behave like regular text; you can’t edit or replace the words. On normal paragraphs of text, a single-click will place the type cursor where you clicked and a double-click will select all the text. You can start typing to replace it, or if you want to just remove it—if, for example your template includes a subheading you don’t want—press delete on your keyboard.


While you're entering text, the sidebar on the right will display the text options panel. You can change your text to one of the preset Paragraph Styles using the drop-down menu, or else control your text directly using the options in the sidebar. You can change the font, weight, size, style, colour, line spacing and paragraph spacing. You can also add, or convert your text to, a bulleted list. The various paragraph styles are all created from different combinations of these options, so you can create any style you want on your own.
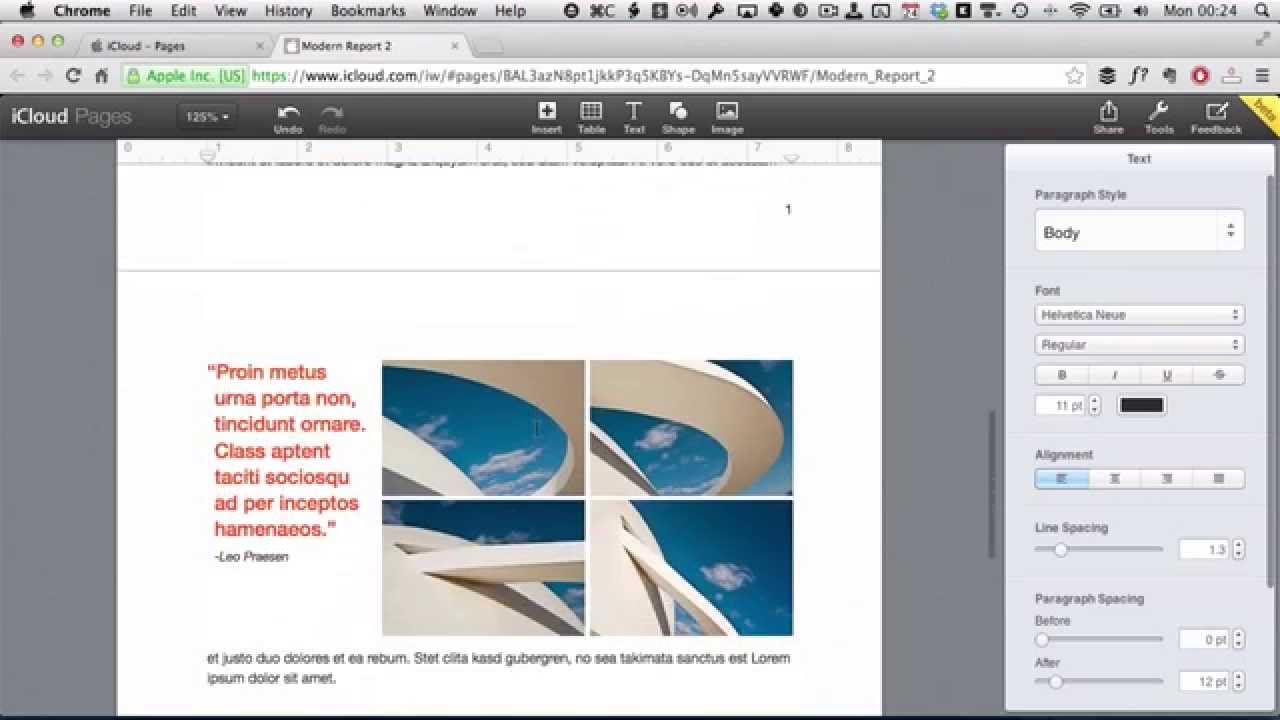
Adding Images and Pull Quotes
One of the best things about Pages for iCloud is how it handles text reflowing. In most other word processors, images are considered part of the text. If you add more text above the image, the image is moved further down the page. Pages, however, considers images part of the page. It creates a margin around them and when text reaches it, the text is reflowed below, or beside the image, depending on the space available. This makes it really easy to create great looking, image filled, documents without having to resort to a professional program like Adobe InDesign.
Putting images in your documents is simple. Open your file browser, navigate to the image you want to use, and drag-and-drop that image into your document. It will get uploaded and added into the document. If you drop it onto one of your template’s placeholder images, it will be resized to that shape automatically. You can also use the Image option from the top menu bar to navigate to and select an image to add.
To edit an image, double-click on it. This brings up control handles around the image’s boundary. You can use these to increase or decrease the size of the image box and edit how the image is cropped within it. You also get the image options panel in the right sidebar.
To change the how the image is cropped by the image box, you can drag on the control handles or move the the slider to resize the image. To use the control handles, make sure the image icon is selected in the image editing tool bar and that the control handles are on the outside of the full image rather than the image box.


Tip: You are able to resize and move an image about just by single-clicking on it, however, this doesn’t let you change the crop of the image within the image box.
The Image options panel in the right sidebar lets you add a Border, Shadow or Reflection to the image box. Selecting any one of them brings up additional effect specific options. There are also six presets that use combinations of those effects.
You can add pull quotes, or other text you might want to highlight such as important statistics, using a textbox. Select Text from the top menu to get a textbox to appear. Textboxes behave just like images, they have control handles to change their size and shape, dragging them around your document will cause the text to dynamically reflow and you even get the same Border, Shadow and Reflection options, although you do not have access to the presets.
To add text to a textbox, double-click on it. You will then be able to enter text as normal. If you enter more text than the textbox can hold. A blue plus icon will appear on the edge of the textbox which you can use to resize it.
When you are moving or resizing an image or textbox, Pages for iCloud will dynamically provide you with guides to allow you to align the object to the margins or the centre of your document.
Tip: You might be tempted to use textboxes for headings but it is better to just add your headings into your document and select one of the Heading paragraph styles.
Adding Page Titles and Page Numbers
As well as the main document area, Pages for iCloud also has built in header and footer areas on each page. You can use these areas to add page titles, your byline or page numbers to your document. Many of Pages for iCloud’s templates come with placeholder text in some of these areas already.
To add text to, or edit the text already in, these areas, hover your cursor over the top or bottom of the document. This will cause Pages for iCloud to highlght them. There are three text areas in both the header and the footer: one on the left, one in the centre and one on the right. Click the header or footer area you want to use and start typing.
If you want to add dynamically updating information such as the page number or page count, Pages for iCloud makes it simple to do. Click on Insert in the top menubar and select either Page Number, if you want the number of the current page, or Page Count if you want the total number of pages.
Adding Footnotes
Pages for iCloud makes it very easy to add footnotes. With your text input cursor at the point you want to place the footnote, go to the Insert menu and choose Footnote. Pages for iCloud will add the footnote’s number in superscript where your cursor was and also add a text area for you to add the footnote at the bottom of your document.
Pages for iCloud is smart; if you add a new footnote earlier in your document than one you’ve added previously, it will update the numbers of all your footnotes so the numbers don’t get mixed up.


Collaborating on a Document
One of the best features of the apps in Apple’s iWork for iCloud suite is that you can collaborate with others on your documents. It’s much better than emailing files back and forth or dealing with conflicting Dropbox files.
To share a document with someone, click on the Share option in the top menu bar. A pop up will appear with the Document Link. To let someone else edit your document, send them this link. You can send the link to as many people as you need to, and you can all edit it together. If you want a bit more security, you can add a password. To do so click Add Password and enter one of your choice—and then be sure to send it along with the document link!


Conclusion
In my previous tutorial, I mentioned that Keynote for iCloud was an amazing web app with a few tradeoffs. Pages for iCloud is an amazing web app with almost no tradeoffs. When compared to its competitors, like Google Docs, Pages for iCloud is a far more polished and useable program.
It is fast and accessible from almost any computer, lets others work along with you, and it costs a grand total of nothing. Pages for iCloud is just that: a no-compromise copy of in the cloud.
Give Pages for iCloud a try, and use it the next time you need to make a document. I think you'll like it. Be sure to leave a comment below if you hit any snags in creating documents in Pages for iCloud.


