

Screencast
In this day and age, free Wi-Fi is ubiquitous. Accessing free Wi-Fi is a great way to go out while still being connected. It is also a great way to avoid exceeding a cell phone carrier's data cap. But these open-access spots come with one big drawback: A major lack of personal security. Anyone with some free software and basic training can see every step you make online.
VPNs keep out a grand majority of prying eyes. They are also great ways to mask the actual location of the connection. In the past, VPNs were too complicated or costly for the everyday consumer to enjoy. Nowadays, setting up a VPN is a much easier and more manageable endeavor.
In this tutorial, I will show you how to:
- Set up and use Cloak VPN
- Ensure the internet connection is safe
- Change the country of origin for the IP address
- Safely surf on a Mac, iPhone or iPad
Set Up Cloak VPN
Open a web browser and go to http://www.getcloak.com. Click the Try free for 30 days button. Complete the signup form by entering your email address and password choice. Click Sign Up.
Cloak will send you an email to verify your address. Click the link provided in the email to activate your free trial. Note: A credit card isn't required to set up a free trial.


From the welcome page, click Download our Apps. Download the app and install it the same way you would from any disk image (.dmg) file.
Launch Cloak from the Applications folder. The first time it launches, you will be asked for the Mac administrator password to allow installation of some helper software. But this only occurs the first time you launch Cloak.
Enable a Safe Connection
Click on the Cloak menu bar icon. If this is the first time you have logged in to Cloak, you will need to enter your credentials. Cloak will remember them going forward. Cloak will show you the name of the Wi-Fi network the Mac is connected to and whether or not it is a trusted connection.


Once logged in, click Secure My Connection. Cloak will set up a secure tunnel for all of your internet traffic to travel through. You will see a message detailing the Wi-Fi network you are connected to and that Cloak has secured the connection.


Change the Country of Origin
Occasionally you may need to mask the IP address so it looks like your internet traffic is coming from a different country than you are actually in. To accomplish this, click on the menu icon, then the gear icon in the top-right. Choose Preferences.
On the preferences pane, choose the Transporter tab. Click the dropdown that says Fastest available. Choose the country you would like your IP address to show as.


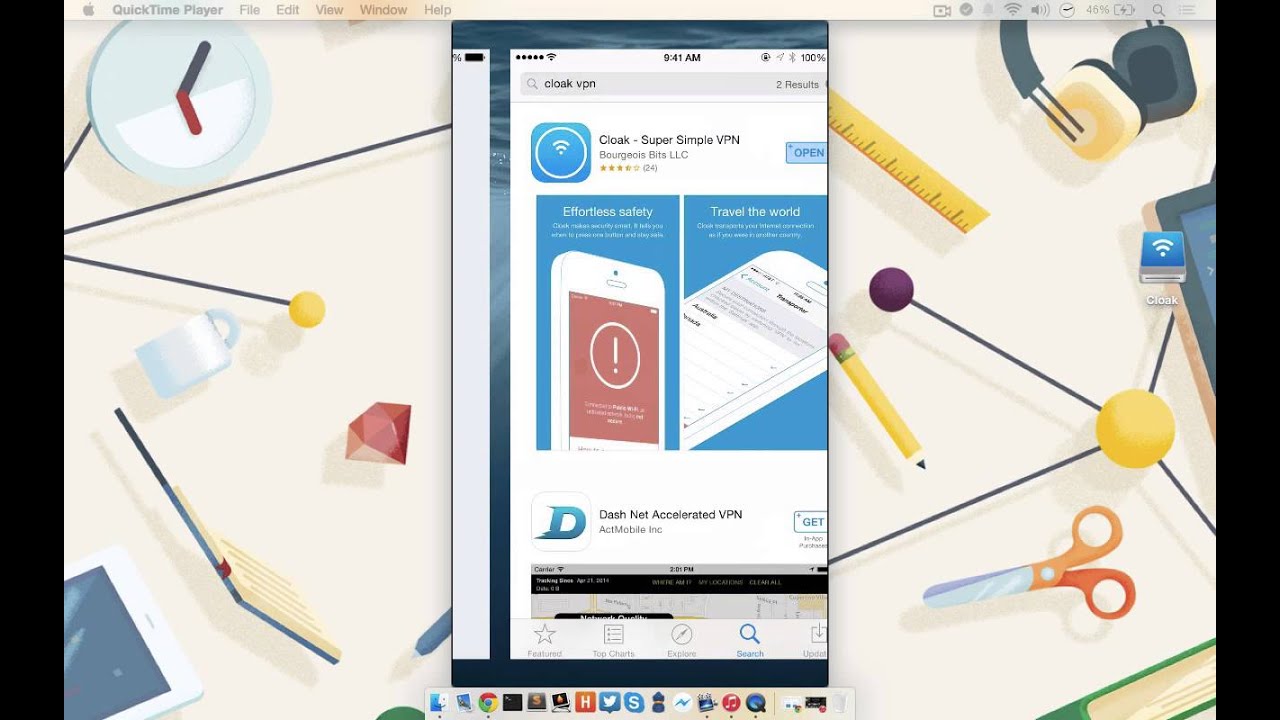
Surf Safely on iOS Devices
Install the Cloak application from the App Store. Tap Log in to existing account and log in. Click Sync Settings. You will see a Warning screen appear with the message: The network traffic of your iPhone may be secured, filtered, or monitored by a VPN server. Click Install. Click Done. Enable Auto-secure connection.
Cloak will auto secure any insecure locations. A blue Secured with Cloak banner will appear at the bottom of the screen and the words VPN will appear in the top of the menu bar.


Conclusion
Public Wi-Fi hotspots can be a great way to stay connected, but it is also imperative that you keep your connection safe while doing so. Using Cloak VPN, you not only have the peace of mind that comes with a secure connection, but you can also mask your location as well.
Going forward, don't be afraid of public or insecure Wi-Fi hotspots. Just enable Cloak and surf as usual. Let me know how you get on.


