Over the last several weeks we’ve only been working with Mac OS devices, we haven’t yet enrolled or pushed configurations out to an iOS devices, until today.
Setting up your iOS device to use Profile Manager
You may recall from
episode eight in this series that we needed to make sure that your soon-to-be-managed devices needed to have access to your DNS servers in order for Profile Manager to work properly. If your wireless network DNS servers already know about your Profile Manager server, you can skip the following steps. But, if your Profile Manager server is the only server in your network that knows about your Profile Manager server, you’ll need to make some changes to DNS on your iOS device before you can enroll it in Profile Manager.
Change DNS on your iOS device
To change DNS on your iOS device:
Open the Settings app.
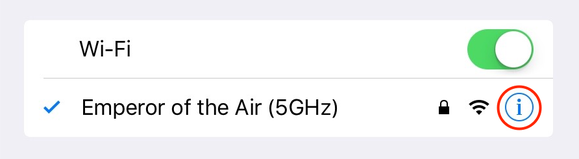
Tap the Wi-Fi setting.Verify that the Wi-Fi network you’re connected to is on the same network as your Profile Manager server.
Tap the Info button that appears next to your connected Wi-Fi network.
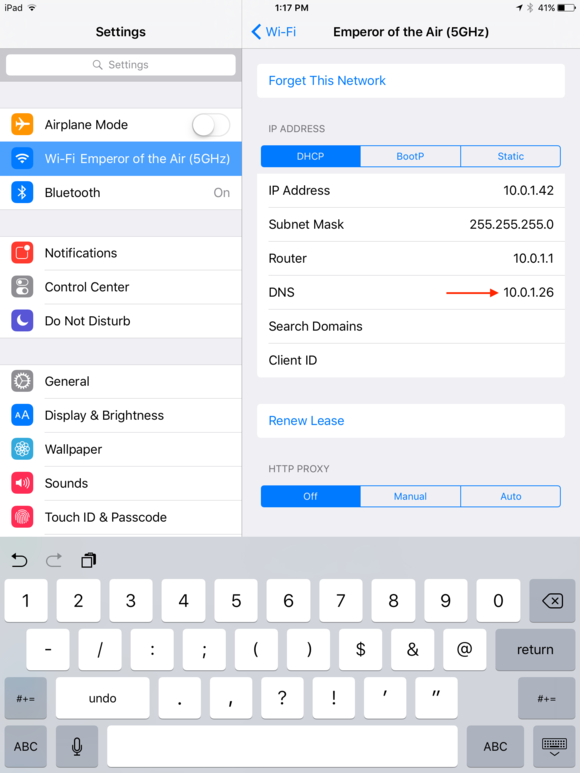
Tap in the DNS field and change your DNS server to the server the has a DNS record for your Profile Manager server.
Enroll your iOS device in Profile Manager
Now that DNS is correct, you can enroll your iOS device in Profile Manager.
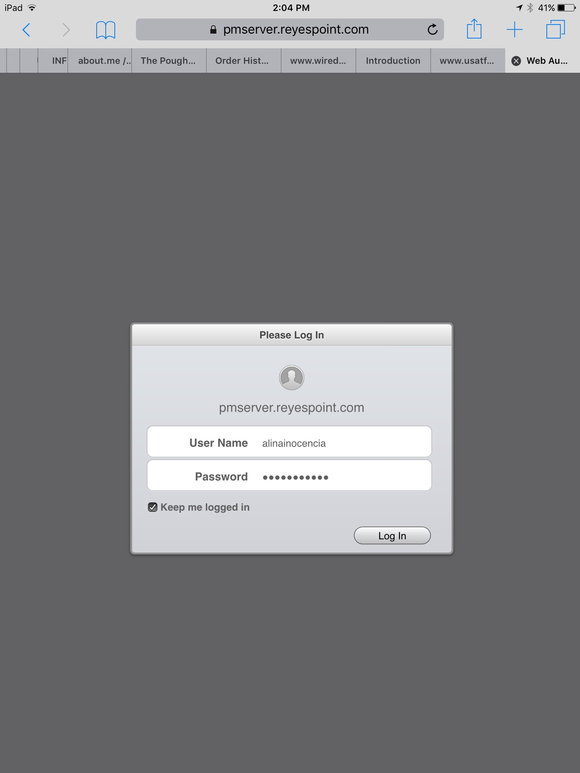
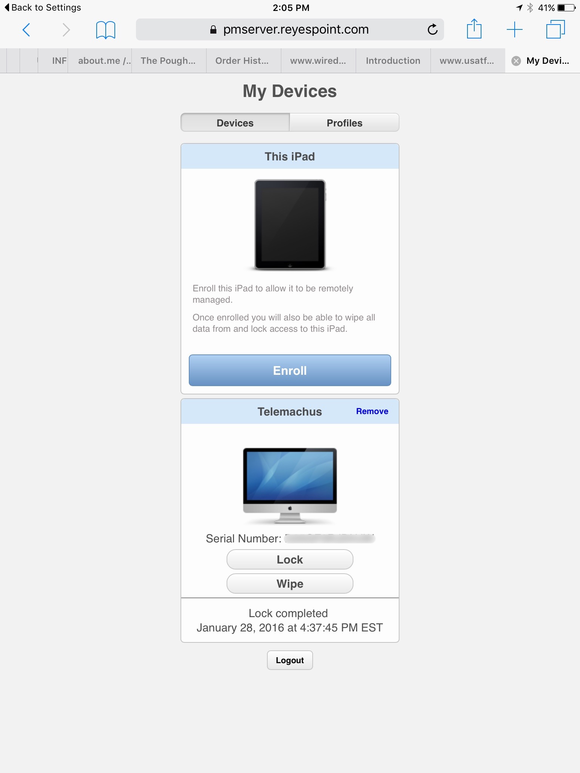
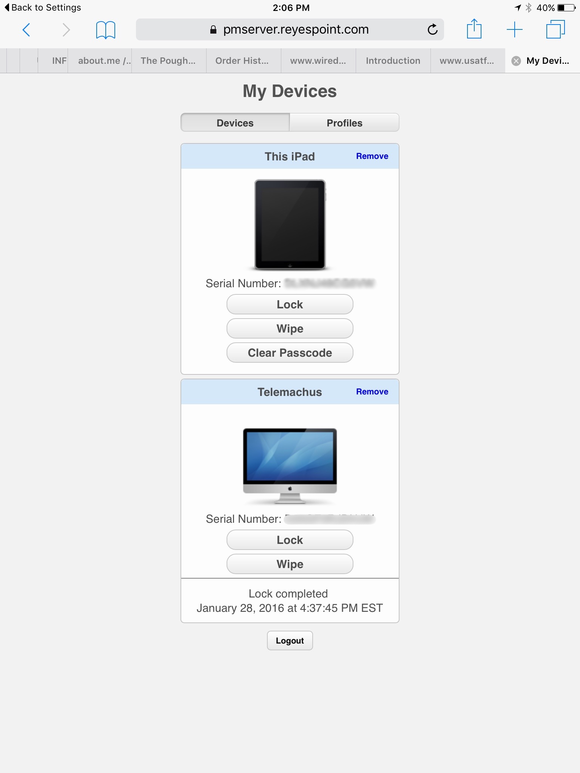
On your iOS device, open Safari and navigate to the My Devices portal for your Profile Manager server: yourserver.yourdomain.com/mydevices
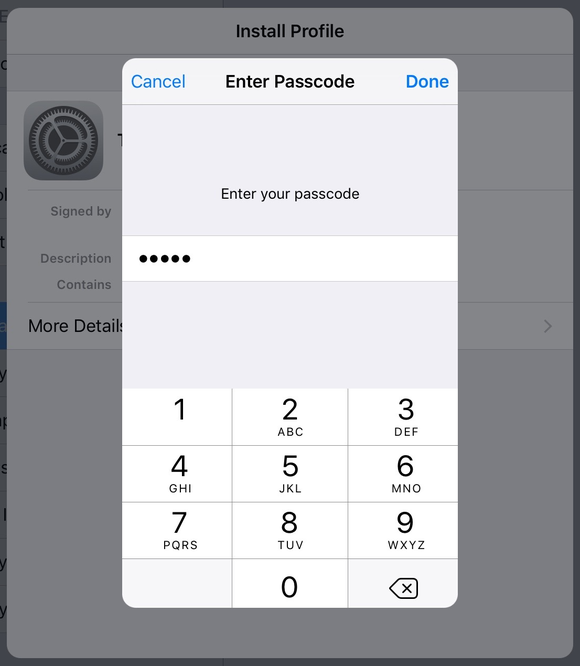
Type Install in the resulting Install Profiles screen.
Enter your device passcode and click Done.
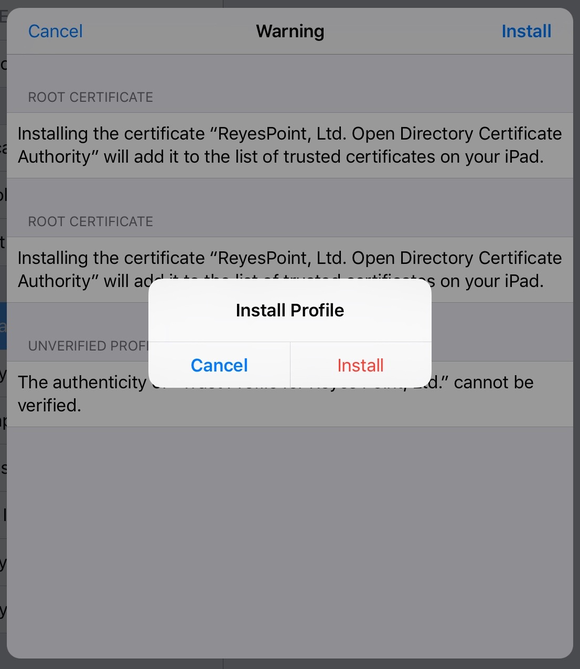
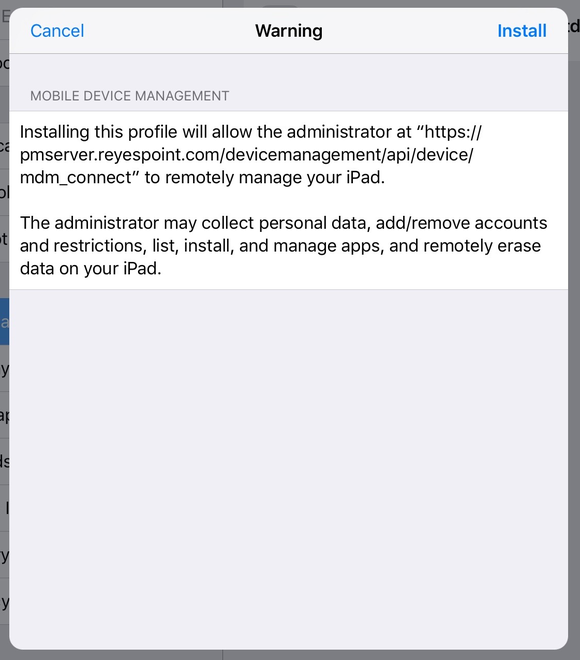
Click Install when you see the Warning screen.
Click Install when you see the Install Profile confirmation window.
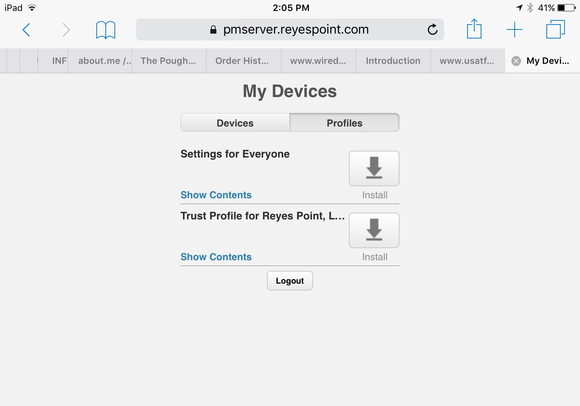
Tap the Devices tab.
Tap the Enroll button for your iOS device.
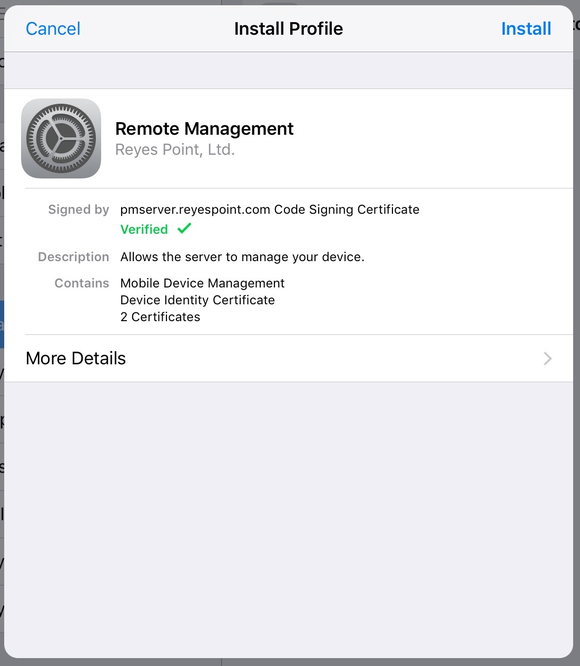
Tap the Install button when the Install Profile screen appears.
Enter your passcode and tap done.
Tap Install when you see the warning window.
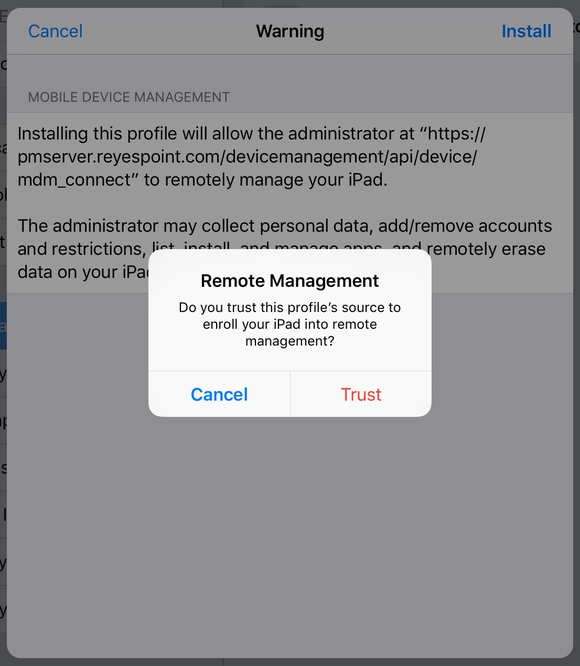
Tap Trust when the Remote Management confirmation appears.
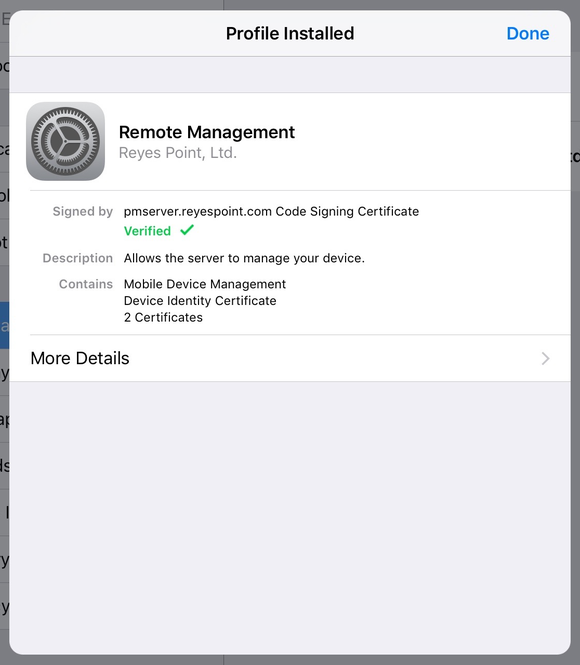
Tap Done when the Profile Installed window appears.When this process is complete, My Devices in Safari should now include your iOS device as one of your devices.
Your device has been successfully enrolled in Profile Manager. To verify that the device is enrolled and assigned to the correct user:
Log into Profile Manager as an administrative user.
Select Users from the Profile Manager sidebar.
Select the user whose device you just enrolled.
Click the Devices tab for that user and verify that newly added device is associated with that user.
Restrictions payload
As was the case with the Restrictions payload on the Mac, the Restrictions payload for iOS devices lets you control access to features of both iOS software and specific hardware features available in iOS devices. As you look through the list of available restrictions you should notice that many of these restrictions include a parenthetical supervised only. Supervised devices are devices you are also managing using
Apple Configurator. Apple Configurator is designed for managing and configuring multiple devices simultaneously. Using Profile Manager and Apple Configurator together allows you to have more control over your iOS devices.
For this episode, we’ll lock down a few features so you can see how this works. But first, let’s take a look at the settings we’re going to lock down.
Camera and Siri
On your managed iOS device, locate the Camera app and make sure it’s on iOS device’s first home screen.
Tap it once to open it and make sure it works.
Click and hold your Home button to see if Siri is working. (For giggles, feel free to ask Siri to open the Camera app.)If Siri isn’t on:
Open your iOS device’s Settings app.
Tap the General setting.
Locate and tap the Siri setting.
Slide the Siri switch to On.
Locate the iTunes Store app and make sure it’s on your managed device’s first Home screen.
Configure restrictions
Log into Profile Manager using and administrative password by navigating to: yourserver.yourdomain.com/profilemanager
Select Devices in the Profile Manager sidebar.
Select the device you just enrolled in Profile Manager.
Click the Settings tab.
Click the Edit button.
Locate and select Restrictions in the Payloads sidebar.
Click the Configure button.Note that there are three tabs at the top of the settings: Functionality, Apps, and Media Content. We’ll makes changes to Functionality and Apps.
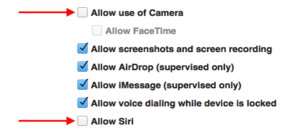
Click the Functionality tab.
Uncheck the box that says Allow use of Camera.
Uncheck the box that says Allow Siri.
Click the Apps tab.
Uncheck the box next to Allow use of iTunes Store.
Unlock your managed iOS device and make sure you can see your first Home screen.
In Profile Manager, click OK and click Save.Within a few seconds you should see both the Camera and iTunes apps disappear from your iOS device’s Home screen.
Click and hold and Home button to open Siri.Note that Siri no longer works.
Remove Restrictions payload
To remove the Restrictions payload:
Select the Restrictions payload for your device.
Click the Edit button.
Click the ”-” at the upper-right-hand side of the Restrictions payload window.
Click OK and then Save.Note that the Camera and iTunes Store apps reappear on your Home screen. Now try to use Siri. Note that Siri still doesn’t work.