The biggest problem with subscription services like Apple Music, Spotify and others is the unnerving fact that labels make songs available for streaming on a time-limited basis. As a result, some of the tracks you add to Apple Music playlists may no longer be available for streaming, leaving you with no other choice but to purchase them on the iTunes Store.
Starting with iTunes 12.4, there’s a new iCloud status of ‘No Longer Available’ which you can use to create a dynamically updated playlist containing the songs that you added to your Apple Music library that are no longer available for streaming, here’s how.
How to create ‘No Longer Available’ smart playlist in iTunes
1) Open iTunes 12.4 or later on your Mac or Windows PC.
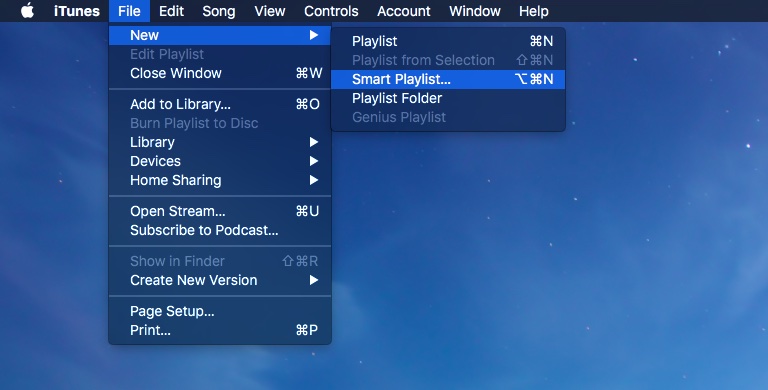
2) Select File → New → Smart Playlist in the iTunes menu, or press the Option (⌥)-Command (⌘)-N shortcut on the keyboard.
3) In the Smart Playlist window, set the following conditions:
- Match—Click the Match popup menu and select Music.
- iCloud Status—In the Rules menus right below, select iCloud status and set its value to “is” and then choose “No Longer Available” from the menu.
- Live Updating—Tick this box so that the playlist dynamically updates.
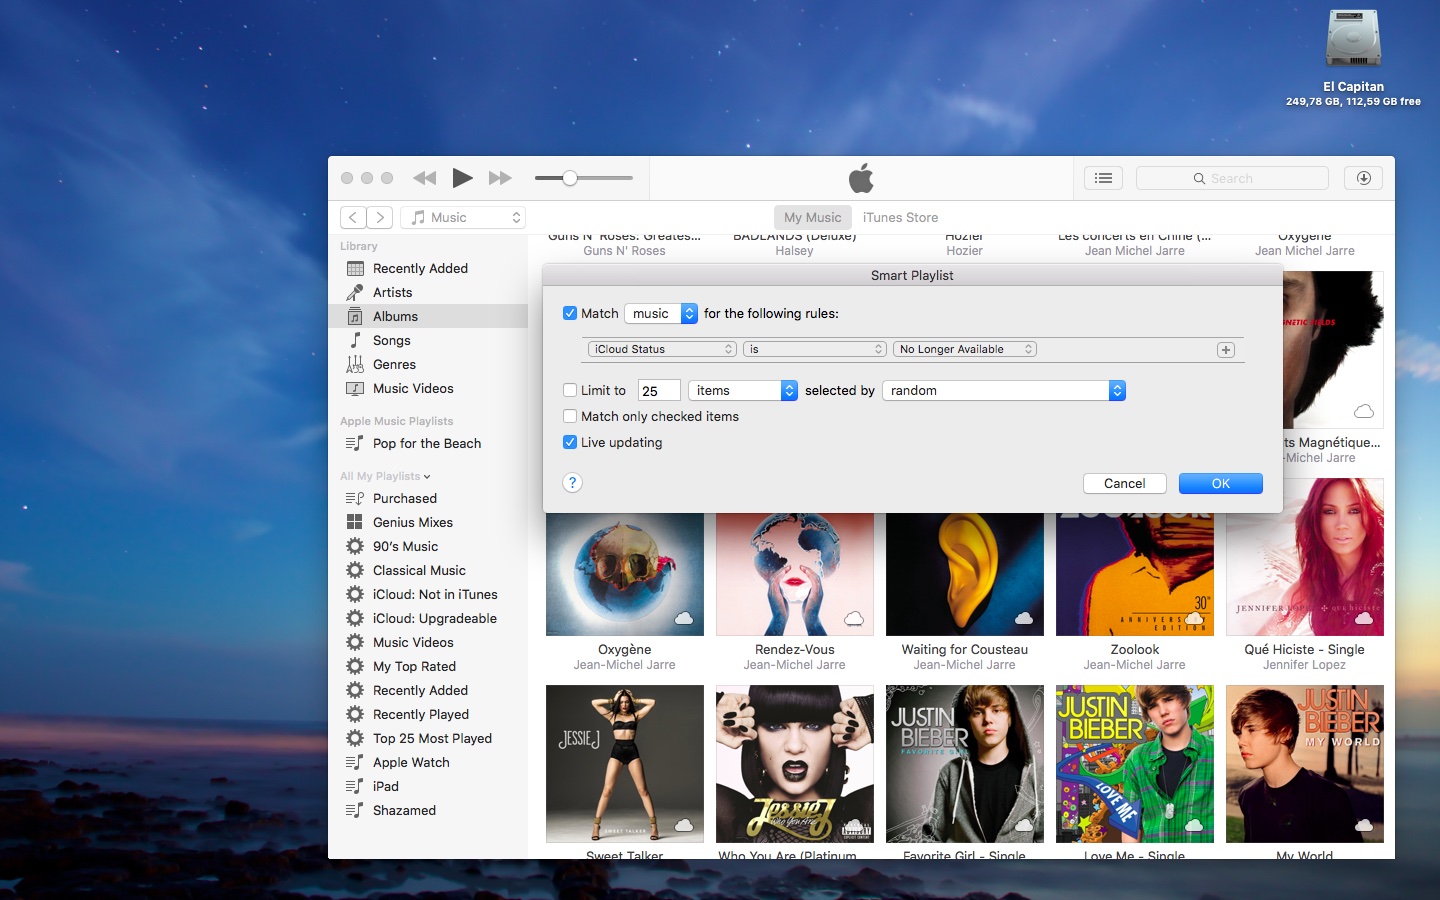
Click OK to finish creating your playlist.
4) Name your custom playlist.
5) Select Music in the popup menu in the iTunes sidebar on the left.
6) Collapse the All My Playlists section and click your newly created smart playlist.
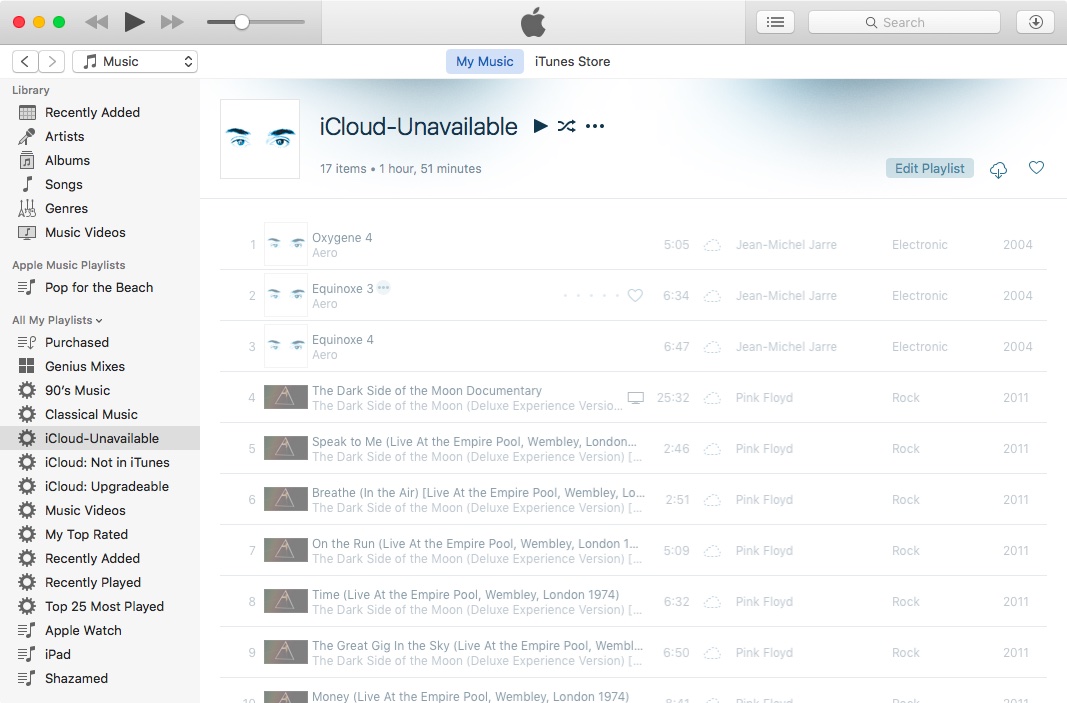
Any Apple Music tracks that you previously added to your playlists or library that are no longer available for streaming should be listed here.
How do you like this iTunes tip?
RELATED: Troubleshooting iPhone and iPad syncing issues in iTunes
For more tips like this, browse our complete tutorials archive.
Need help? Ask iDB!
Got stuck? Not sure how to do certain things on your Apple device? Let us know at help@iDownloadBlog.com and a future tutorial might provide a solution. You can also submit your how-to suggestions at tips@iDownloadBlog.com.